Playbooks

At a Glance
In 55 playbooks
Overview
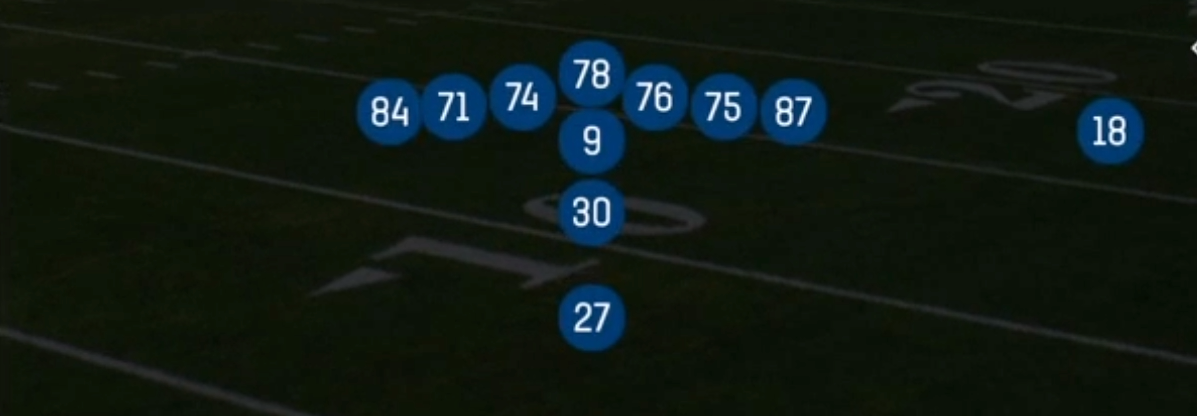
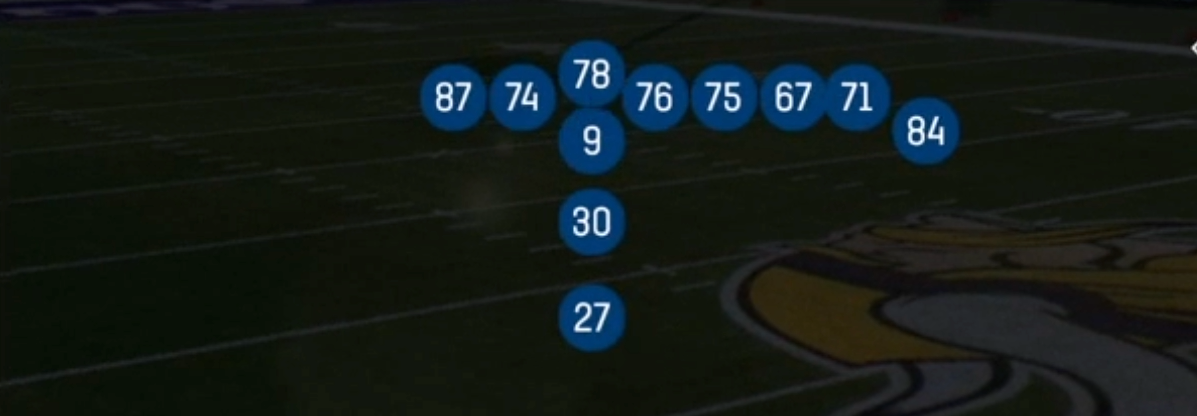
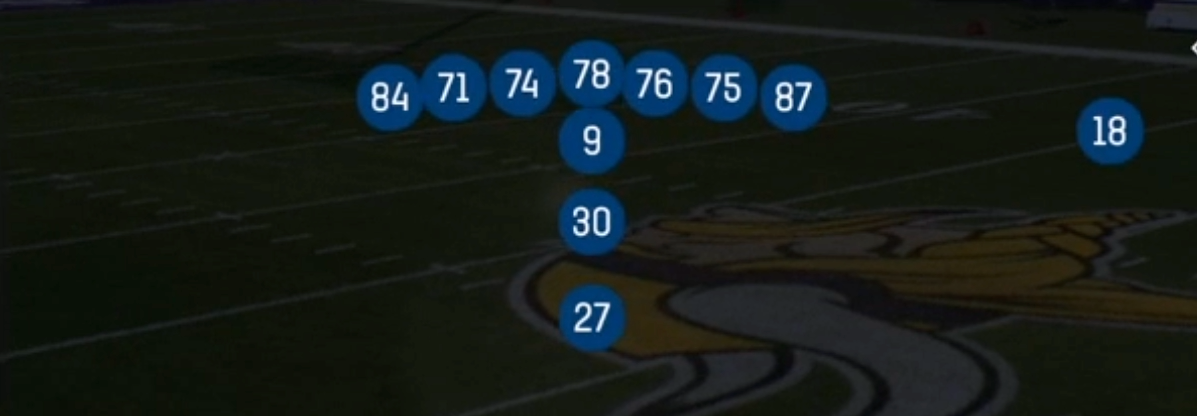
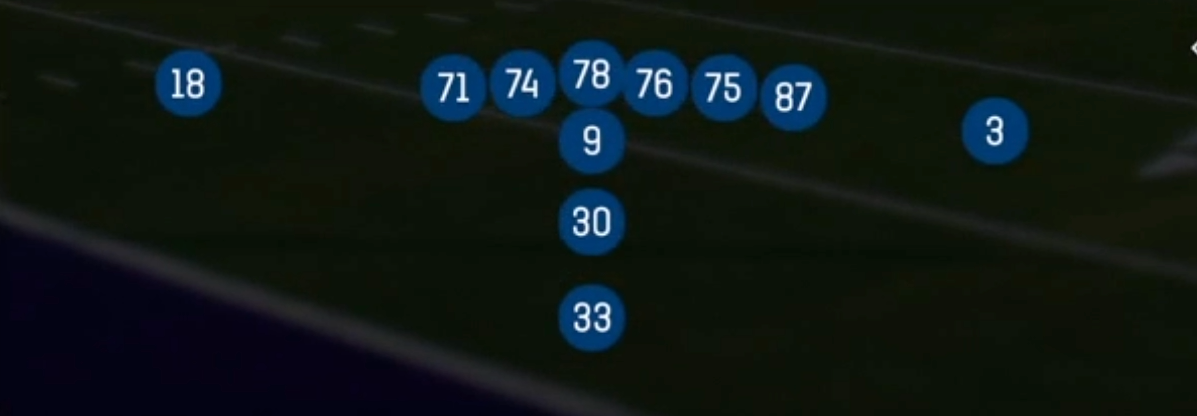
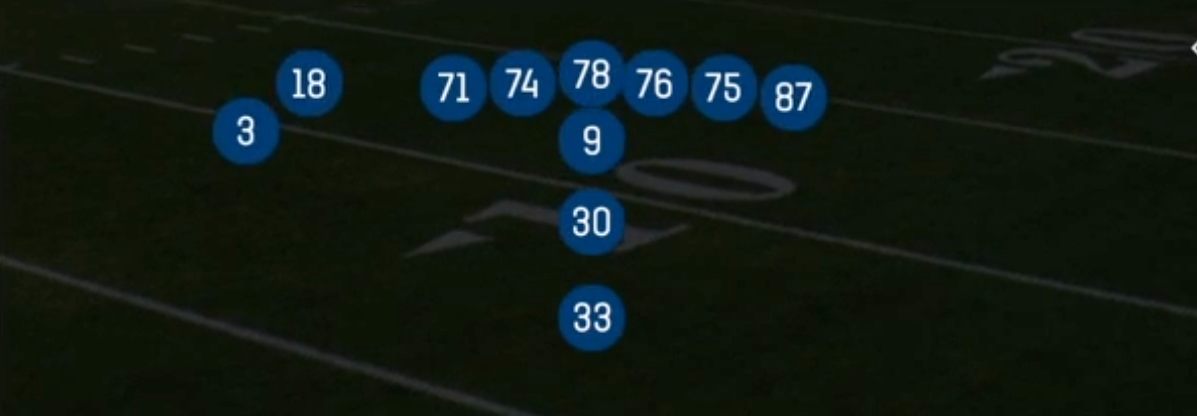
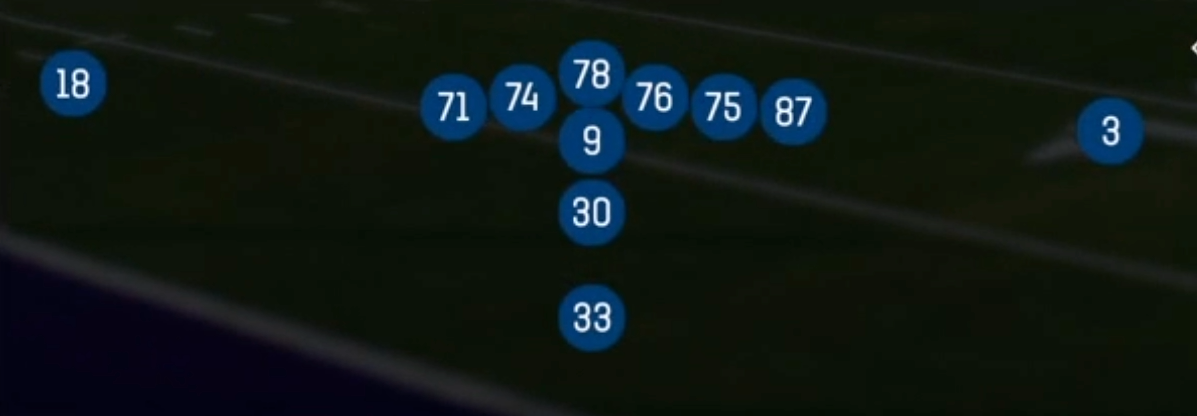
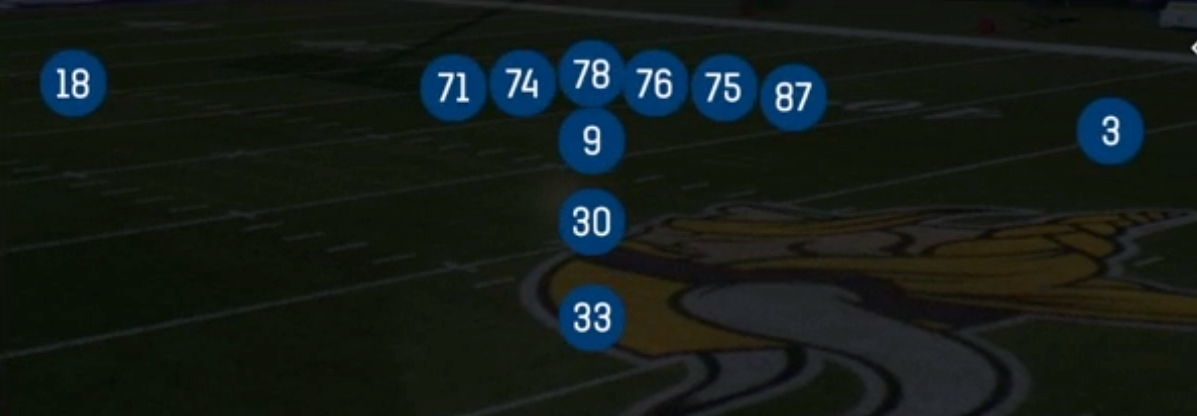
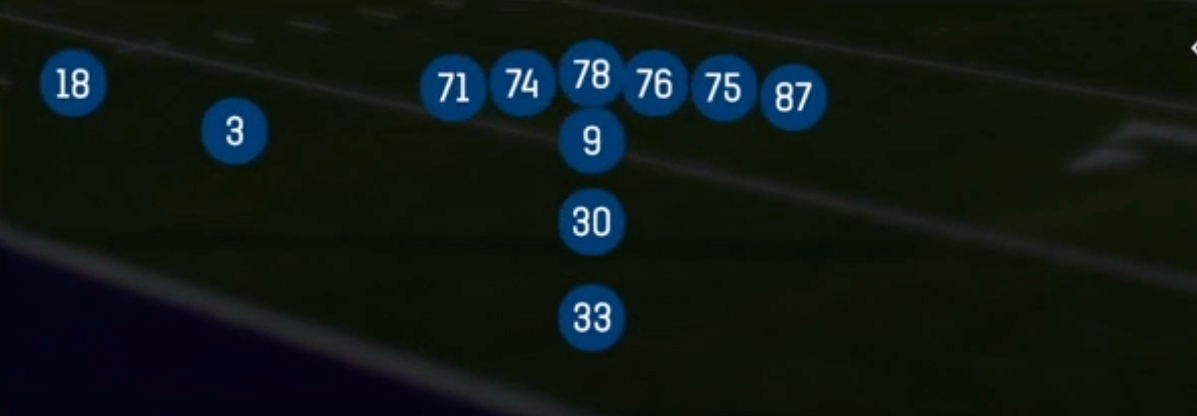
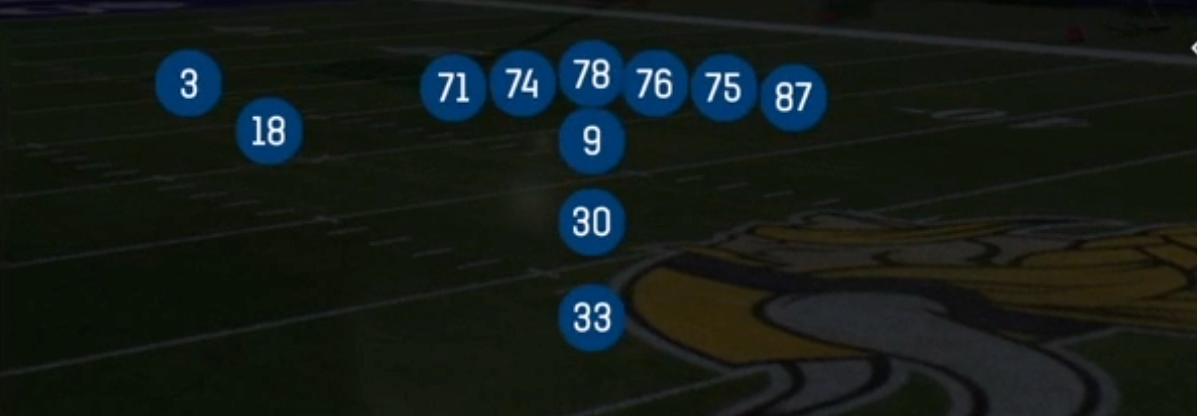
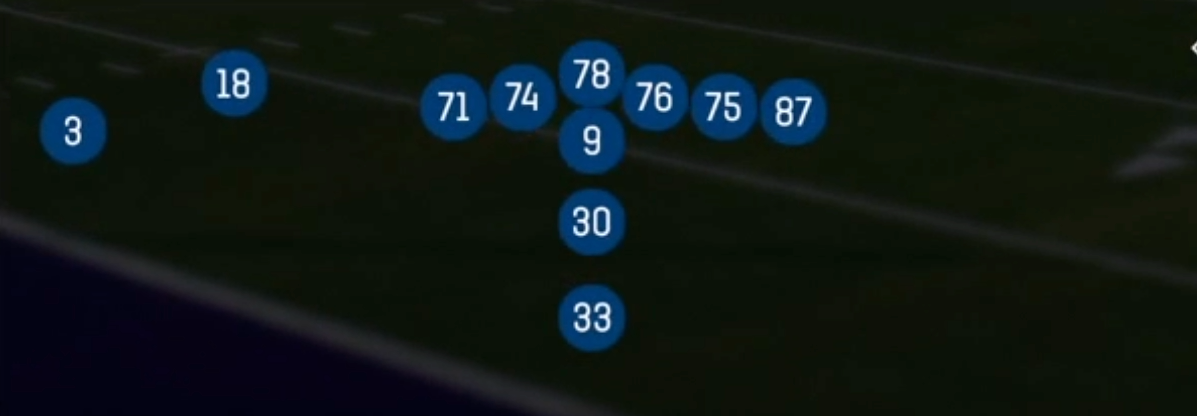
I Form Wing is a heavy 22 personnel look: a fullback and halfback stacked in the I, one tight end attached to the line, a second tight end set in a wing alignment just off the edge, and a lone X receiver split wide. Other I Form sets spread the field with more receivers. Wing condenses the box and gives you an extra blocker who can seal the edge, arc to the second level, or leak into the flat. Defenses usually answer with base or goal line personnel and an extra safety in the box, and that sets up both the ground game and the shot plays in this set.
The wing tight end drives the whole set. From that spot he can kick out on Power O, wham a 3 technique on HB Counter Wk, or release on PA Close Cross and PA TE Leak before the defense sorts out his assignment. Having two tight ends also creates a strength problem. Motion Power Weak and Mtn Power let you flip the run strength pre-snap, and a defense running slow shifts gets caught with the wrong gap fits.
With only one wideout, the X receiver is isolated on the backside and usually draws single coverage from a corner with no inside help. X Fade, X Slant, WR Sluggo, Post Shot, and the RPO Alert X tags all attack that matchup. A defense that brings a safety down to handle 22 personnel run fits leaves your best receiver in true one on one coverage. Throw in gadget looks like FB Fake HB Toss and TE Option, and this set lets you punish base defense both on the ground and over the top.
Strengths
- The wing tight end adds a gap on the edge, so HB Power O, HB Power G, and HB Counter Wk get extra kick out and wham blocks that overload Cover 3 Sky and single high run fits.
- The isolated X receiver sees single coverage against 22 personnel, so X Fade, WR Sluggo, and Post Shot become strong man beaters when the corner has no inside safety help.
- Play action is lethal because defenses have to respect the downhill run. PA Close Post, PA Scissors, and PA Clearout pull linebackers forward and open the intermediate windows behind them.
- RPO Power O Alert X Smoke and RPO Stretch Alert X Lookie punish Cover 0 and Cover 1 Robber looks: if the corner presses and the box is stacked, you throw the alert, and if not, you hand off into a favorable box count.
- Motion plays like Mtn Power, Mtn Zone, and Mtn PA Power O shift the run strength pre-snap, which breaks slow defensive adjustments and exposes gap fits on the new strong side.
Weaknesses
- Only one wide receiver means few route distribution options against Cover 2 Man and Cover 4, and a strong single corner can shut down the X and force checkdowns to the tight ends.
- Heavy personnel invites goal line and 6-2 fronts with extra run defenders, and a user-controlled linebacker or safety crashing the A gaps can blow up inside zone and lead plays.
- Nano blitzes off the edge are dangerous on longer developing play action like PA Boot Flow and PA Sprint HB Flat, because the wing and fullback often release instead of picking up pressure.
- The route trees are short on vertical stretch. Against Cover 3 with a user dropping into the hook or flat, many play action concepts can be bracketed by one well placed defender.
- The tendency is easy to read: good opponents key on 22 personnel and sell out against the run, so if you cannot win the isolated X matchup, the whole set stalls.
Usage Tips
Pre-snap, count the box. If you see 8 or more defenders with a single high safety, audible to X Fade, X Slant, or an RPO Alert X play to punish the vacated coverage on your lone receiver.
On 3rd and short or in the red zone, use Mtn Power or Motion Power Weak to shift the run strength, then read where the defense adjusts before hiking into the lighter side.
After establishing HB Power O and HB Lead, dial up PA Power O or PA Close Cross. Hot route the HB to a block if the defense shows edge pressure so the boot has time to develop.
Against aggressive users who cheat into the box, call TE Option or FB Fake HB Toss to exploit their over pursuit, then come back with HB Counter Wk on the next series.
In four minute offense, lean on HB Inside Zone, HB Stretch, and Close HB Lead to burn clock, and keep one PA Clearout or Post Shot in your audibles for when the safety creeps down.
Plays (45)
 95 MikeRun Play, Power Run, Designed Qb Run +1
 Close HB LeadIso, Run Play, Power Run
 CurlsPass Play, Flat, Hitch
 FB DiveDive, Run Play
 FB Fake HB TossToss, Run Play
 HB Counter WkCounter, Run Play, Power Run
- HB Inside ZoneInside Zone, Run Play, Zone Run
 HB LeadIso, Run Play, Power Run
 HB Lead DiveDive, Run Play
 HB Power GPower, Run Play, Power Run
 HB Power OPower, Run Play, Power Run
 HB StretchOutside Zone, Run Play, Zone Run
 HB SweepSweep, Run Play
 HB Zone TossToss, Run Play, Inside Zone +1
 Motion Power WeakMotion
 Mtn HB Power OPower, Motion, Run Play +1
 Mtn PA Power OPlay Action, Motion, Pass Play +4
- Mtn PA Sprint HB FlatPlay Action, Flat, Motion +3
 Mtn PowerMotion, Run Play
- Mtn Power WeakMotion, Run Play
 Mtn ZoneMotion, Run Play
 PA Boot FlowPlay Action, Pass Play, Comeback +4
 PA ClearoutPlay Action, Pass Play, Flat +4
 PA Close CrossPlay Action, Pass Play, Crosser +3
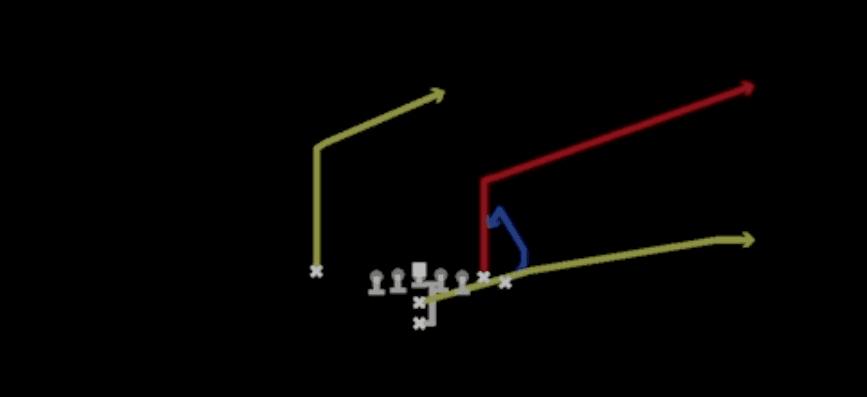 PA Close PostPlay Action, Post, Pass Play +3
 PA Mtn Power OPlay Action, Motion, Pass Play +4
 PA Power OPlay Action, Pass Play, Corner +4
 PA ScissorsPlay Action, Scissors, Pass Play +5
 PA SpotPlay Action, Spot, Pass Play +5
 PA Sprint HB FlatPlay Action, Flat, Pass Play +4
 PA TE LeakPlay Action, Pass Play, Corner +3
 PA U SlidePlay Action, Slide, Pass Play +5
 PA WagglePlay Action, Pass Play, Block and Release +3
 PA X Burst CrossPlay Action, Pass Play, Crosser +3
 Post ShotPost, Pass Play, Deep Cross +2
- RPO Power O Alert X SmokePower, RPO, Run Play +3
 RPO Stretch Alert X LookieOutside Zone, RPO, Run Play +3
 Strong StretchOutside Zone, Run Play, Zone Run
 TE OptionOption Route, Pass Play, Angle +3
 TE PostPost, Pass Play, Drag +3
 WR CornerCorner, Pass Play, Angle +2
 WR SluggoSluggo, Pass Play, Man Beater +4
 X FadeFade, Pass Play
 X SlantSlant, Pass Play, Flat +2
 Zone WkInside Zone, Run Play, Zone Run