Playbooks

At a Glance
Overview
Tight Open is a compressed 11 personnel look out of Shotgun. It pairs one RB next to the QB and one TE with receivers aligned in reduced splits close to the tackle box, instead of the wide, field-stretching alignments you see in Doubles or Trips sets. That condensed spacing is the whole point. Receivers start inside the numbers with free release lanes, so defenders can't jam them cleanly at the line. Corners are forced into off or inside leverage, and outside breaking routes like corners, flats, whips and outs have far more green grass to work with than they would from a standard split.
The play list is built around motion and stacked release concepts. Zipper, Orbit and Mtn tagged plays use pre-snap movement to shift the strength of the formation, reveal man or zone, and create natural picks for Mesh, Spot and Drive concepts. Spot variations dominate the playbook (Mtn X Spot, Dig Z Spot, Zipper Mesh Spot, Orbit Z Spot, Spot X Option), which gives you a curl, flat and corner triangle from multiple alignments. Bench, Stick, Spacing and Curl Y-Option cover the quick game, while Post Corner Drive, Tight Seams and Verticals HB Burst give you vertical shots off the same compressed look.
Personnel is where Tight Open creates mismatches. With the SLWR tag, your slot receiver lines up close to the core and gets isolated on linebackers or safeties in Cover 1 and Cover 3 match looks. The 3DRB and Gadget tags reward backs who can run routes, so HB Slip Screen, Zipper HB Slip Screen and Redzone HB Scissors become legitimate weapons. The Power HB tag keeps the run game honest with Inside Zone, HB Mid Zone, Same Side Zone, HB Draw, Mtn HB Draw, Read Option, Speed Option and Mtn RPO Read Flat, all from a formation that looks identical to your pass sets pre-snap.
Strengths
- Compressed splits give every receiver a free release against press, which neutralizes press man and turns Zipper Mesh Spot, Mesh Crossers and Mesh Clearout into natural rub route man beaters.
- Spot concepts from multiple motions (Mtn X Spot, Orbit Z Spot, Dig Z Spot, Zipper GL X Spot) create a curl, flat and corner high/low triangle that stresses the flat defender in Cover 3, Cover 4 and Cover 2 zones.
- Motion tagged plays (Zipper, Orbit, Mtn) reveal coverage pre-snap: a defender trailing the motion signals man and lets you check to Mesh or Drive, while a coverage shift signals zone and keeps you in Spot or Flood.
- Outside breaking routes like Post Corner Drive, Orbit Whip Flood and Mtn Flood H-Choice have huge space to the sideline because the receivers start tight, which punishes inside leverage and Cover 2 hard flat defenders.
- A legitimate run and RPO menu (Inside Zone, HB Mid Zone, Same Side Zone, Read Option, Speed Option, Mtn RPO Read Flat) paired with PA Scissors and Mtn PA Cross lets a Power HB set up play action shots from identical pre-snap looks.
Weaknesses
- Tight splits condense the field, so a disciplined Cover 2 or Tampa 2 can wall off seams and crossers with fewer defenders, especially when a user-controlled MLB or hook defender sits in the middle hole.
- Compressed alignments bring every defender closer to the box, making nano blitzes and edge pressure from Nickel and Dime sets more dangerous since there is no wide receiver split to pull a slot defender out of the blitz lane.
- With only one TE and one RB for protection, overload pressure off the edge can beat your pass pro on longer developing concepts like Post Corner Drive, Tight Seams and Mtn Drive Wheel unless you slide protect or keep the HB in.
- Outside zone and Speed Option lose effectiveness when the defense crashes the edge, because a tight formation already has defenders stacked near the tackles who can squeeze the perimeter.
- Motion heavy plays tip tendencies over a long game. Opponents who track which motion leads to which concept can user the landing spot of the Zipper or Orbit receiver and jump the flat or mesh route.
Usage Tips
Run a Zipper or Orbit motion early in drives to read man versus zone. If a defender chases the motion, attack with Zipper Mesh Spot or Mesh Crossers. If the defense rotates without a chaser, stay in Spot or Flood concepts to hit the zone voids.
On 3rd and short, Stick, Bench and Quick Mtn Spot give you fast, high percentage throws, and Curl Y-Option lets your TE win against a linebacker in man. Hot route the RB to a block if you see a Cover 0 or nickel pressure look.
When the safety rolls down late or you see single high Cover 3, check to Post Corner Drive or Tight Seams and hot route the slot to a streak to hold the post safety, opening the corner route against the flat defender.
In the red zone, use RZ Mtn Spot, Zipper GL X Spot and Redzone HB Scissors, where compressed splits create natural traffic against man coverage. A 3DRB or Gadget back becomes a matchup nightmare on linebackers.
Establish Inside Zone or HB Mid Zone with a Power HB first, then call PA Scissors or Mtn PA Cross when you see linebackers cheating downhill or a user sitting in the box. Mtn RPO Read Flat punishes defenders who overcommit to the run.
Plays (55)
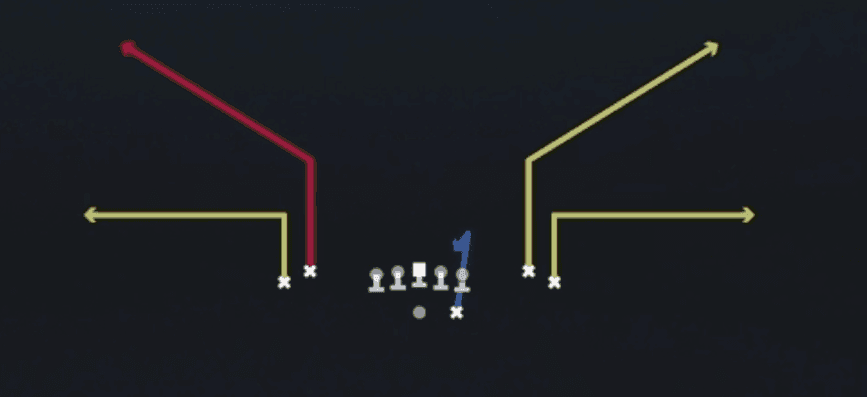 BenchBench, Pass Play, Block and Release +2
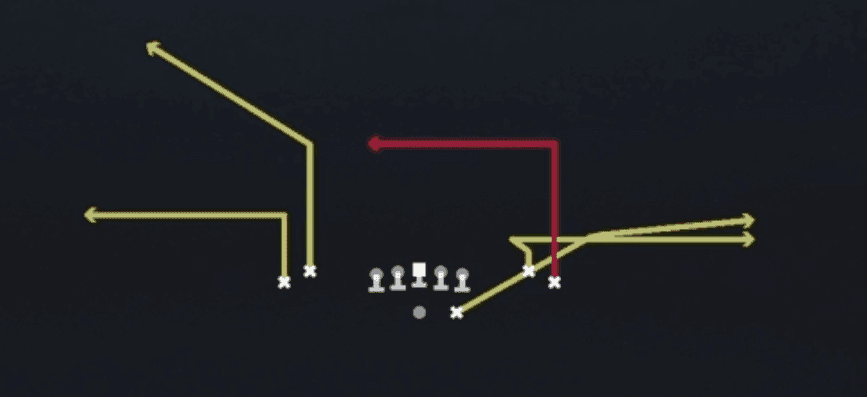 Bench Dig PivotDig, Pivot, Pass Play +5
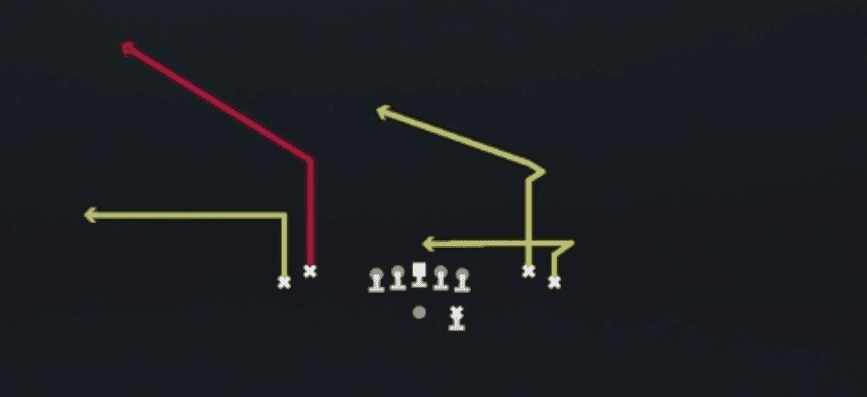 Bench ReturnMotion, Bench, Pass Play +4
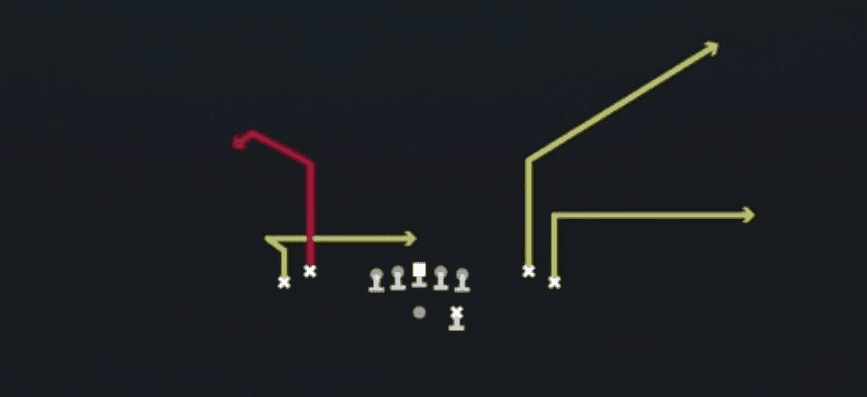 Bench Swirl-ReturnMotion, Bench, Pass Play +4
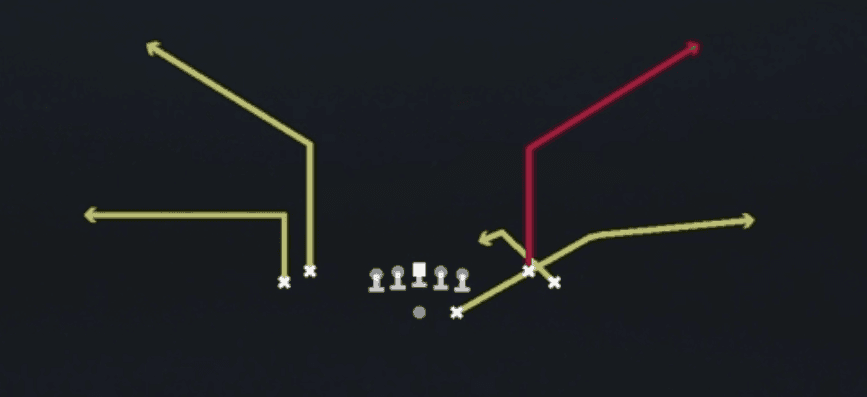 Bench Z SpotSpot, Pass Play, Cover 3 Beater +4
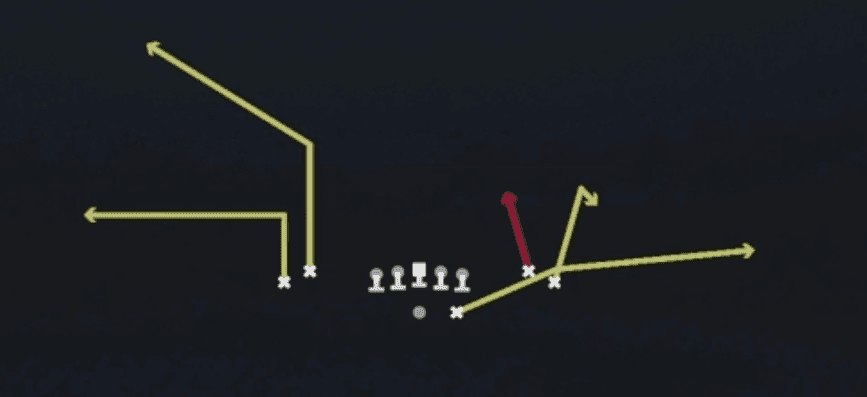 Curl Y-OptionOption Route, Pass Play, Corner +3
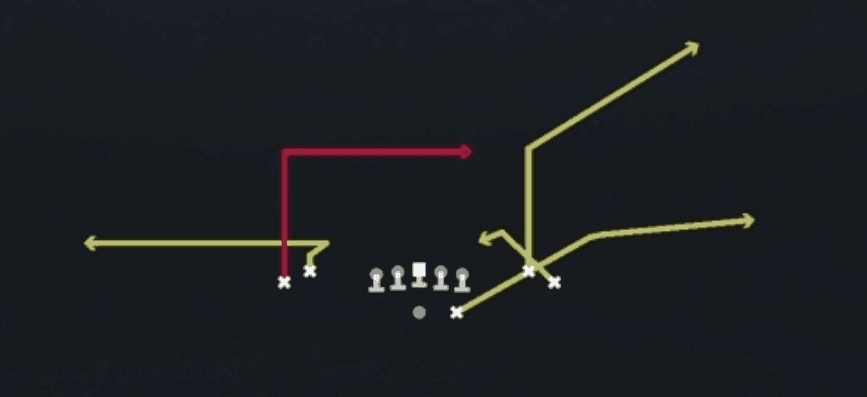 Dig Z SpotDig, Spot, Pass Play +4
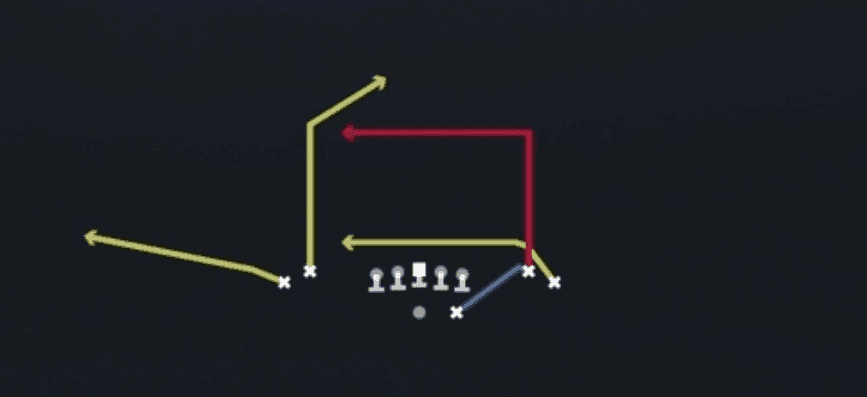 DriveDrive, Pass Play, Cover 4 Beater +6
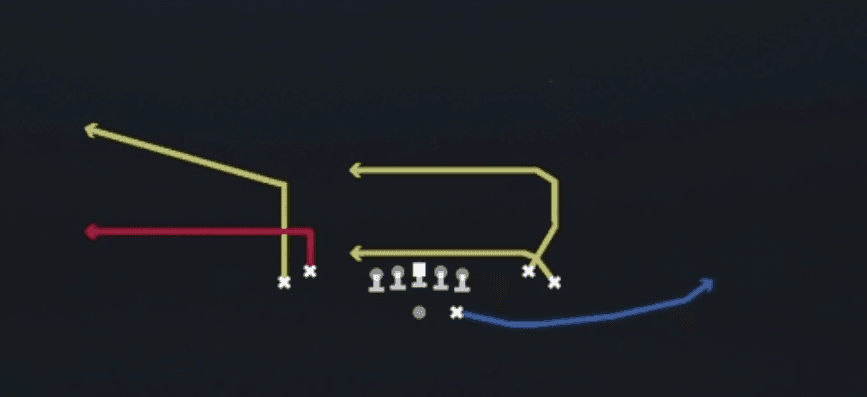 Drive Stutter FlatDrive, Pass Play, Cover 4 Beater +6
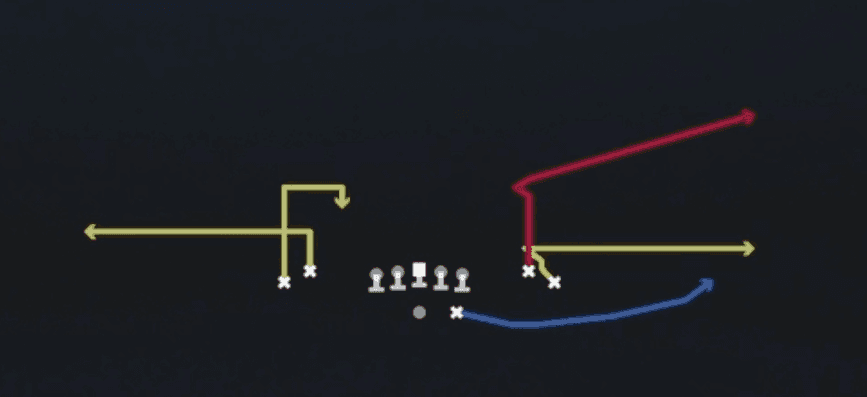 Fk Drive StutterPlay Action, Drive, Pass Play +6
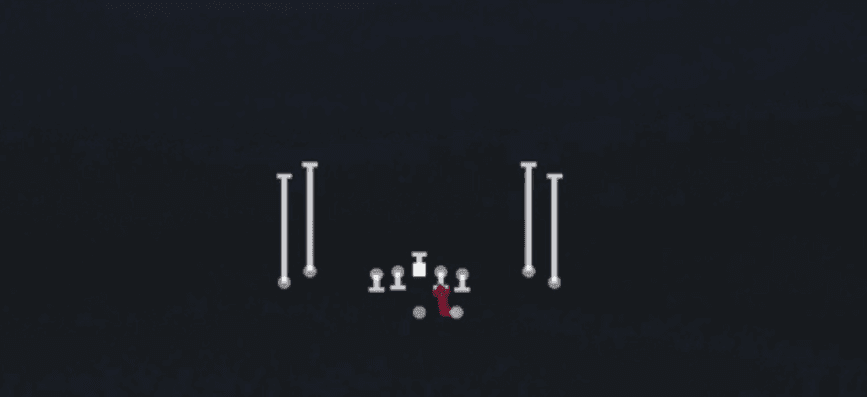 HB DrawDraw, Run Play
- HB Mid ZoneRun Play
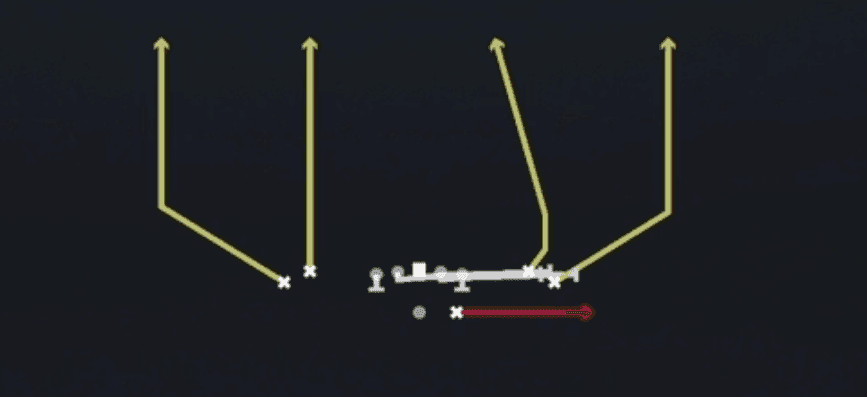 HB Slip ScreenScreen Pass, Hb Screen, Pass Play +2
- Hitch N GoHitch, Go, Stop And Go +5
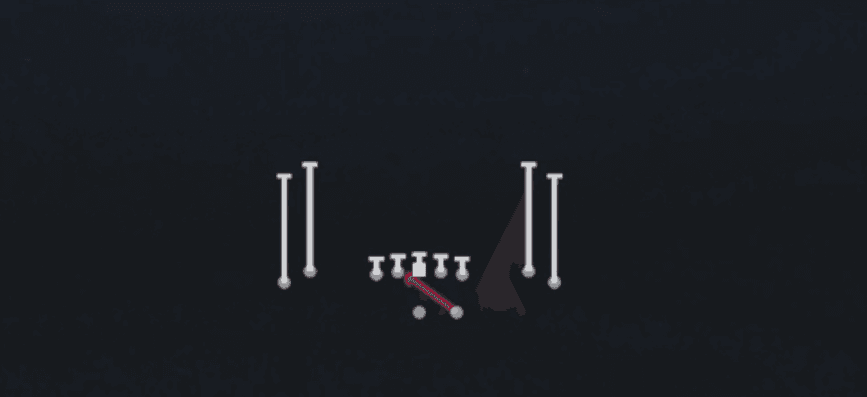 Inside ZoneInside Zone, Run Play, Zone Run
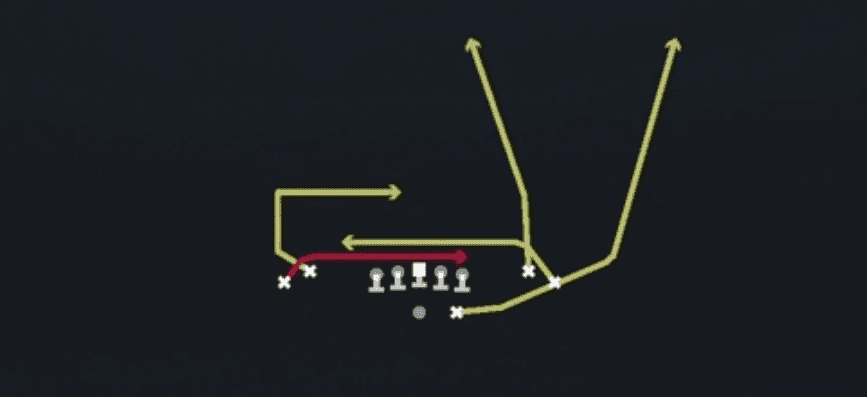 Mesh ClearoutMesh, Pass Play, Man Beater +5
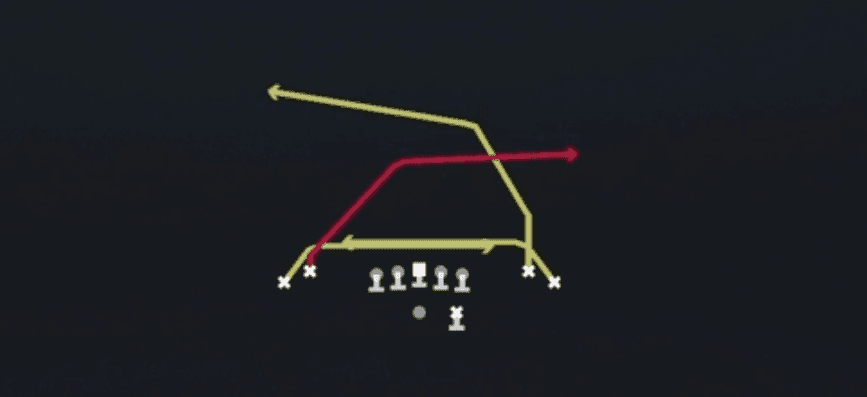 Mesh CrossersCrosser, Mesh, Pass Play +3
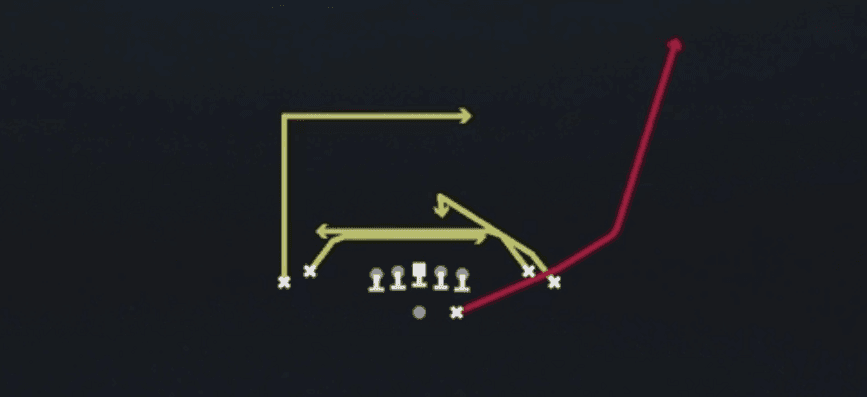 Mesh SpotSpot, Mesh, Pass Play +7
- Mtn Curls OutnupCurl, Motion, Pass Play +2
 Mtn Curls Out N UpOut, Out And Up, Motion +3
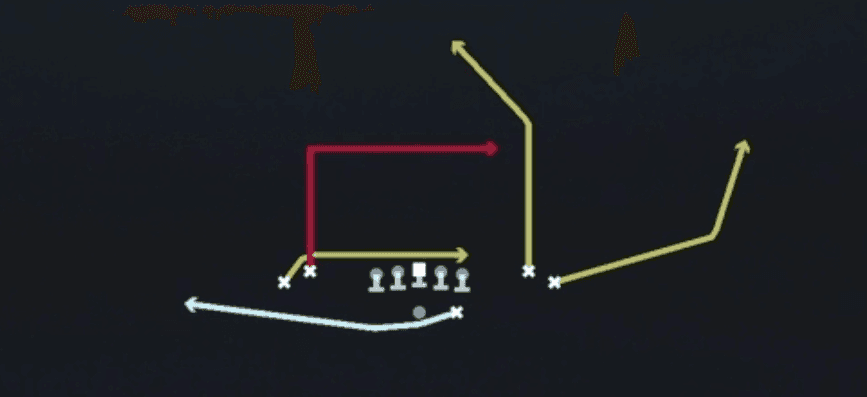 Mtn Drive WheelWheel, Drive, Motion +7
 Mtn Flood H-ChoiceOption Route, Flood, Motion +6
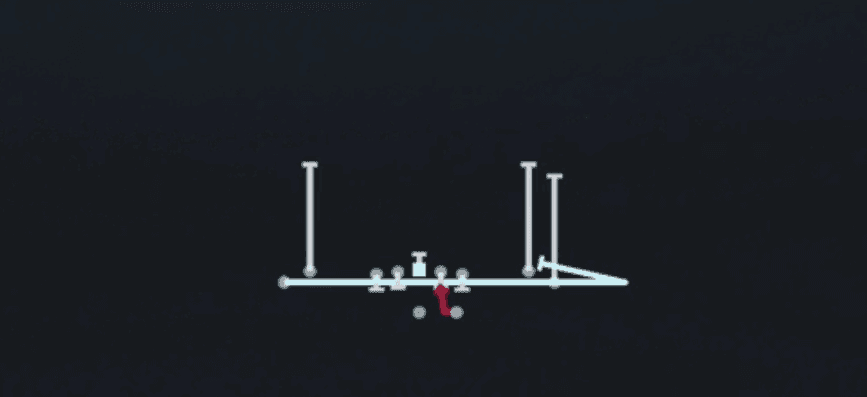 Mtn HB DrawDraw, Motion, Run Play
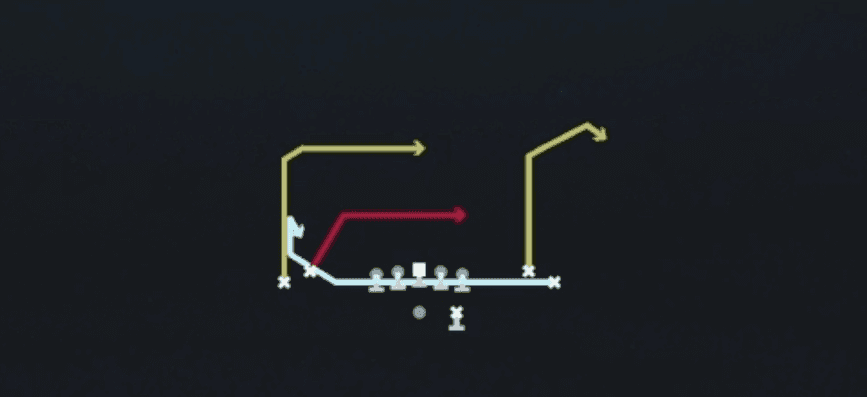 Mtn Jet Pull ShallowShallow Cross, Motion, Pass Play +4
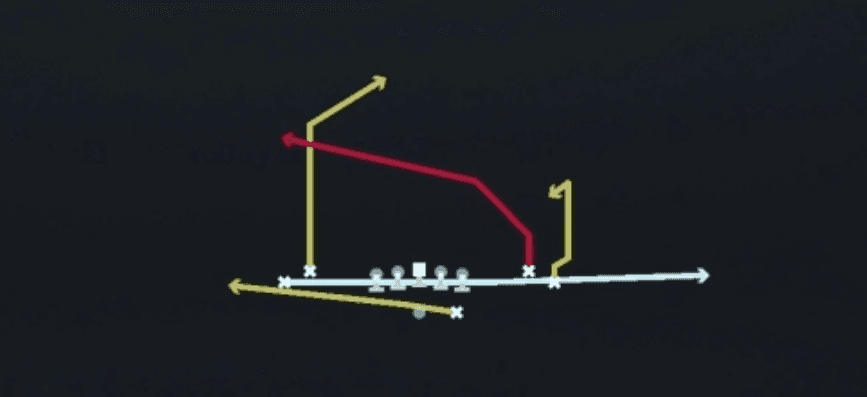 Mtn PA CrossPlay Action, Motion, Pass Play +5
 Mtn RPO Read FlatRPO, Flat, Motion +2
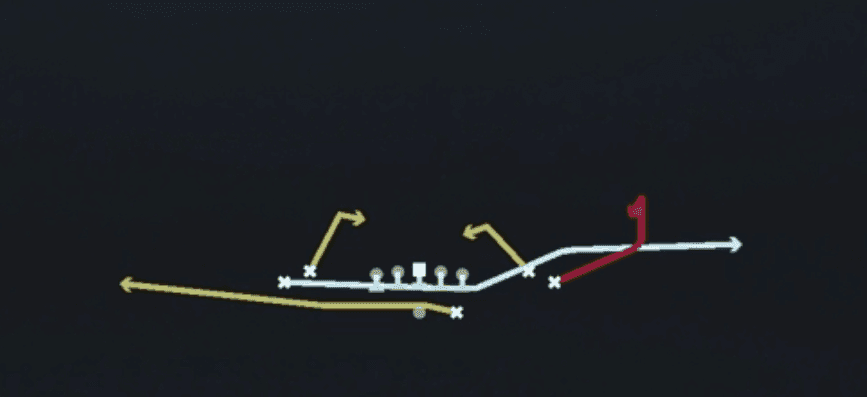 Mtn Spacing FlatFlat, Spacing, Motion +5
 Mtn Spot N GoGo, Spot, Motion +5
 Mtn X SpotSpot, Motion, Pass Play +5
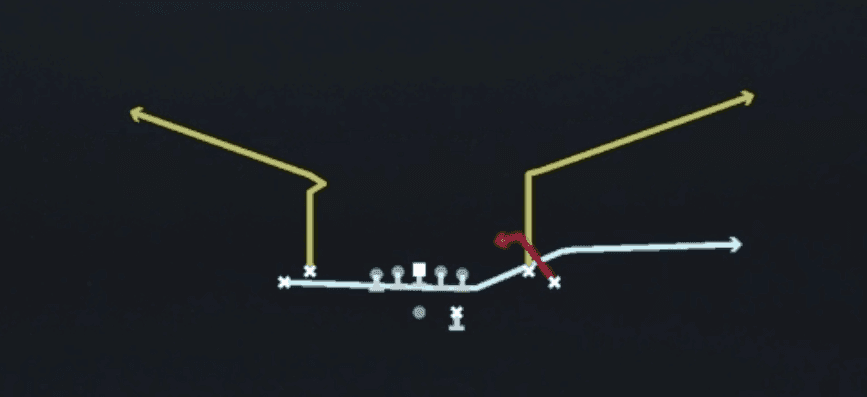 Mtn Z Spot PoCoPost Corner, Spot, Motion +6
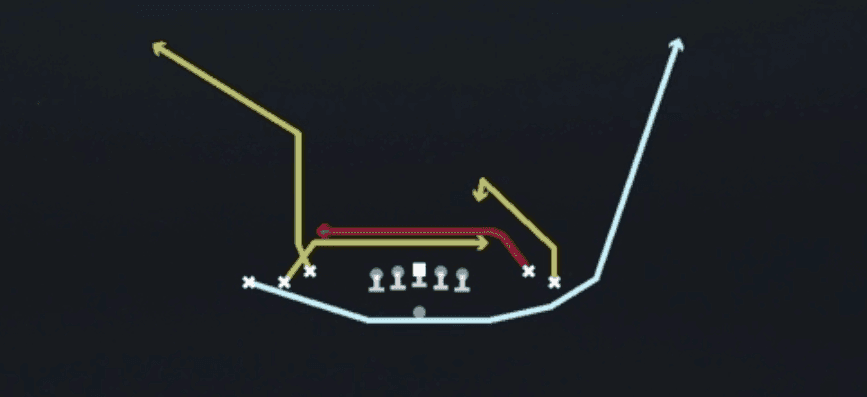 Orbit Mesh RailMesh, Motion, Pass Play +6
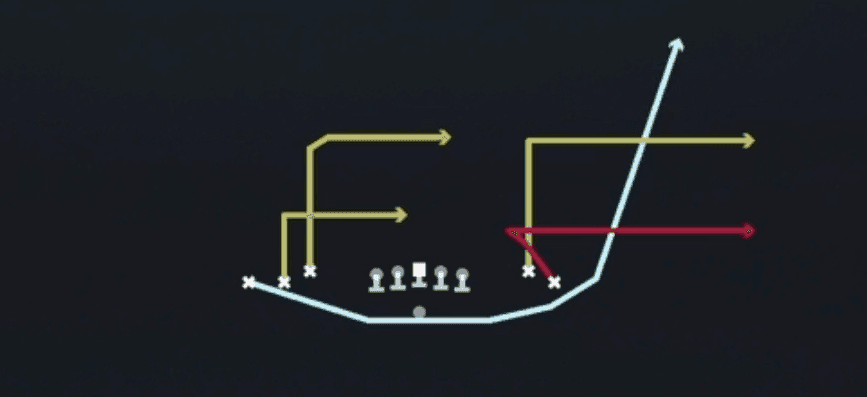 Orbit Whip FloodWhip, Flood, Motion +7
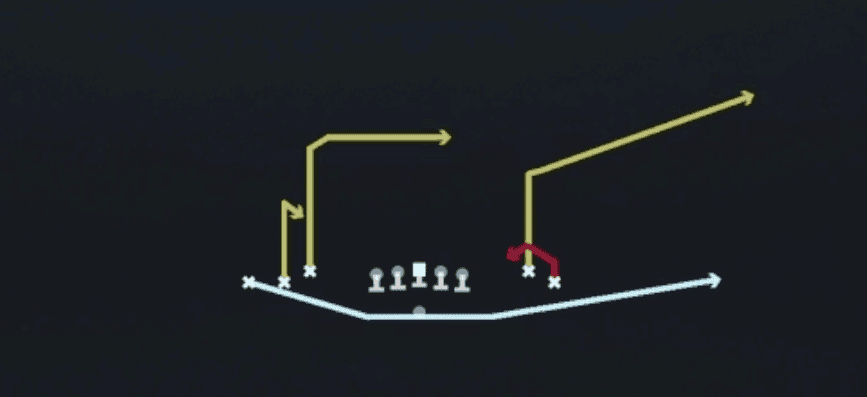 Orbit Z SpotSpot, Motion, Pass Play +5
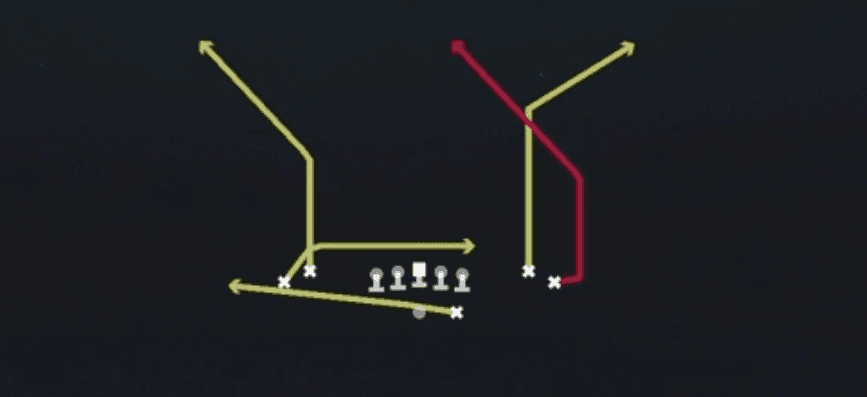 PA ScissorsPlay Action, Scissors, Pass Play +7
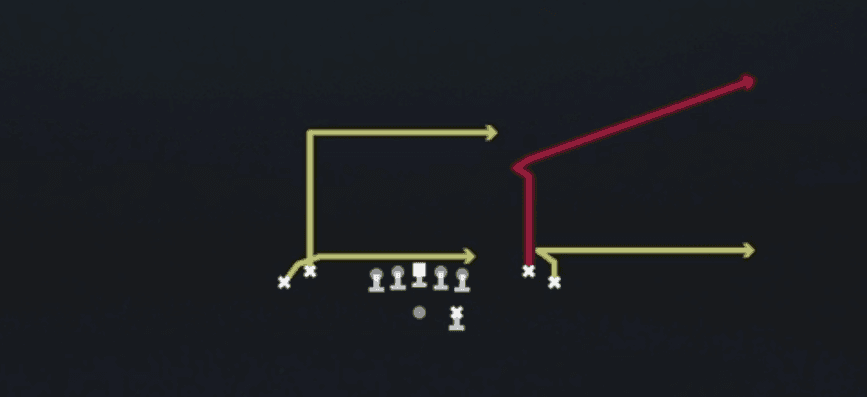 Post Corner DriveCorner, Post, Post Corner +9
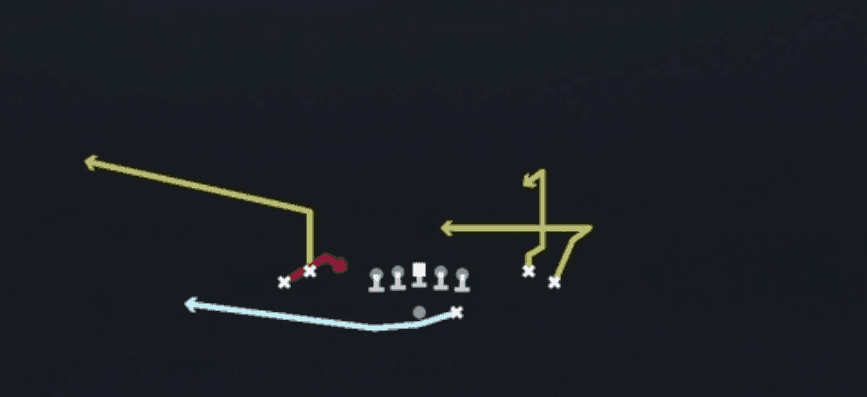 Quick Mtn SpotQuick Pass, Spot, Motion +6
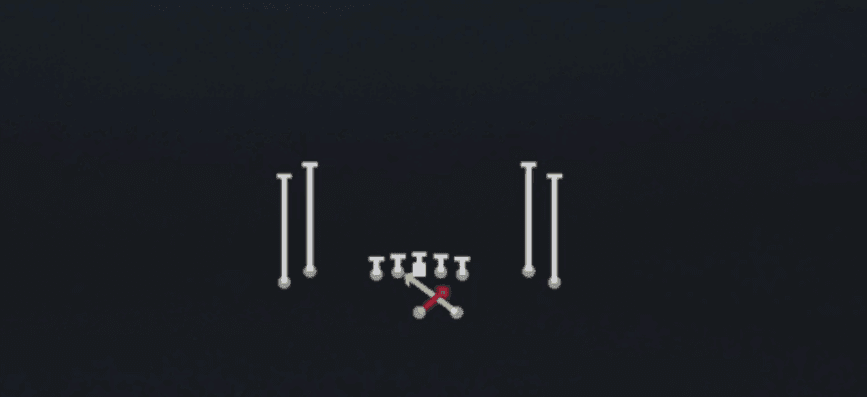 Read OptionRead Option, Run Play
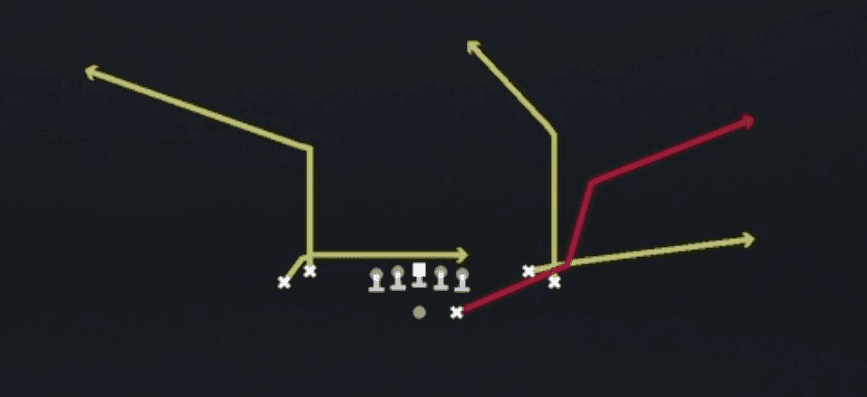 Redzone HB ScissorsScissors, Pass Play, Cover 2 Beater +6
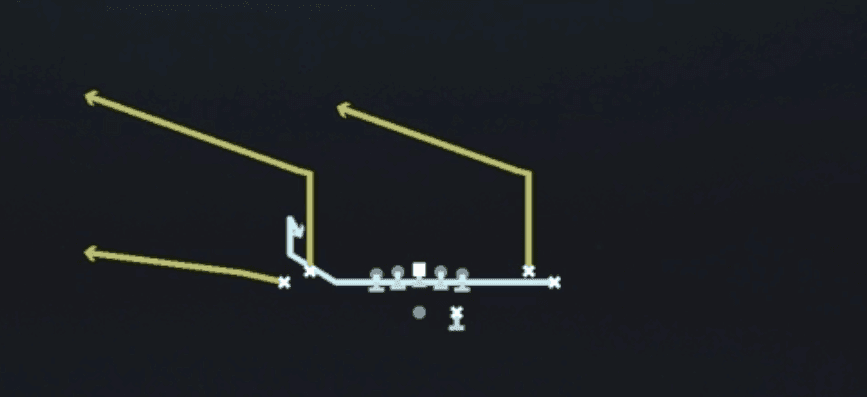 RZ Mtn SpotSpot, Motion, Pass Play +5
- Same Side ZoneRun Play
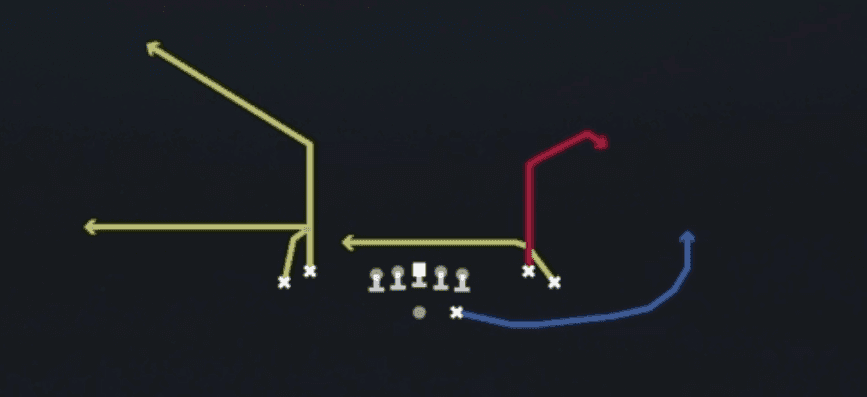 Shallow Corner StopCorner, Shallow Cross, Pass Play +5
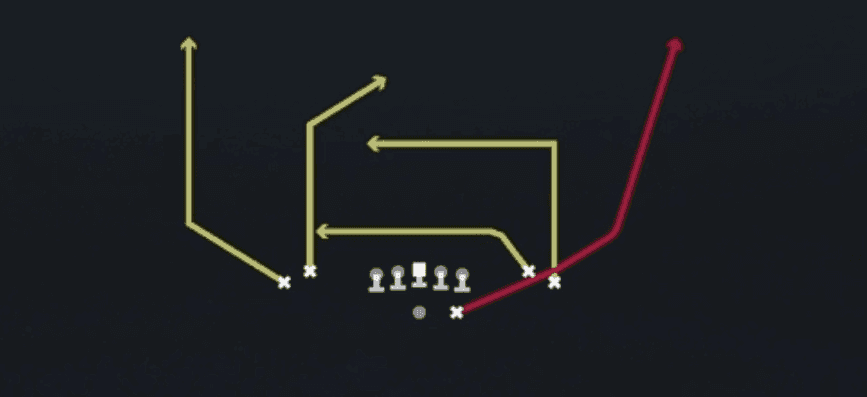 Slot PostPost, Pass Play, Dig +3
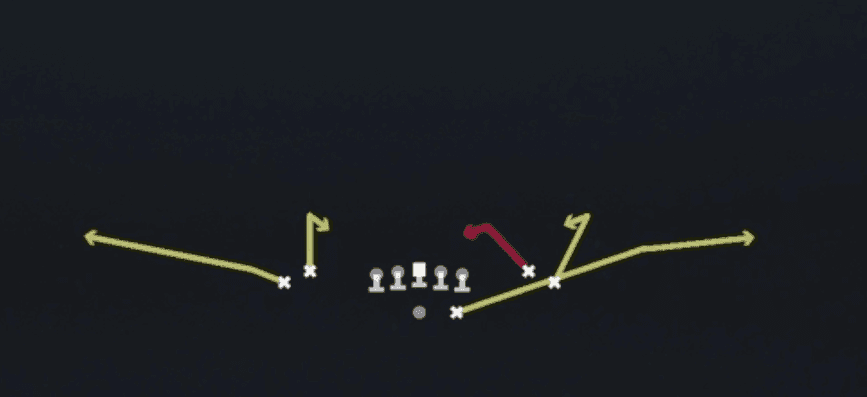 SpacingSpacing, Pass Play, Cover 3 Beater +3
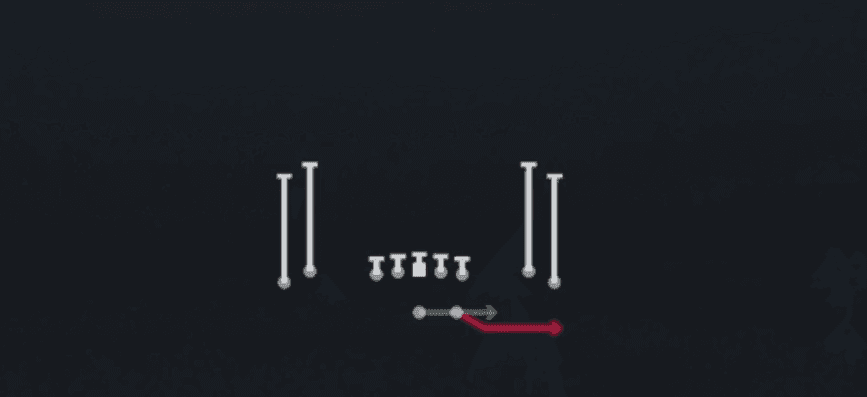 Speed OptionSpeed Option, Run Play
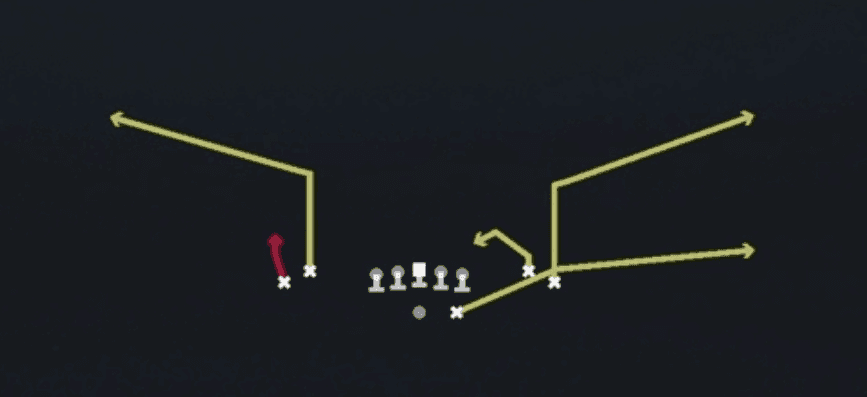 Spot X OptionOption Route, Spot, Pass Play +3
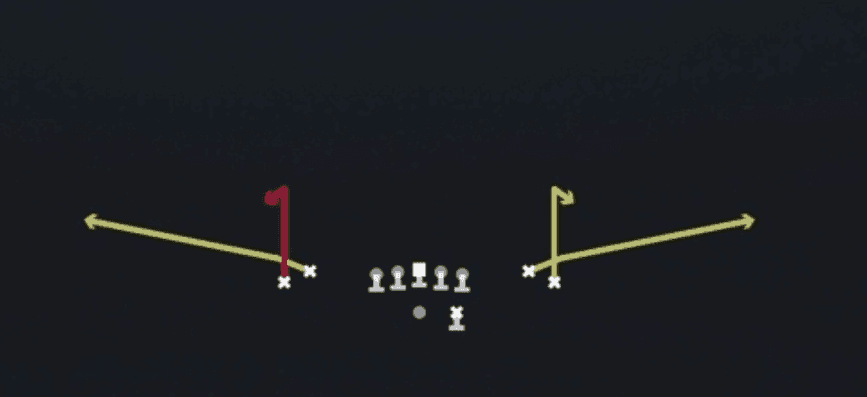 StickStick, Stick Concept, Pass Play +2
 Tight SeamsSeam, Pass Play, In +2
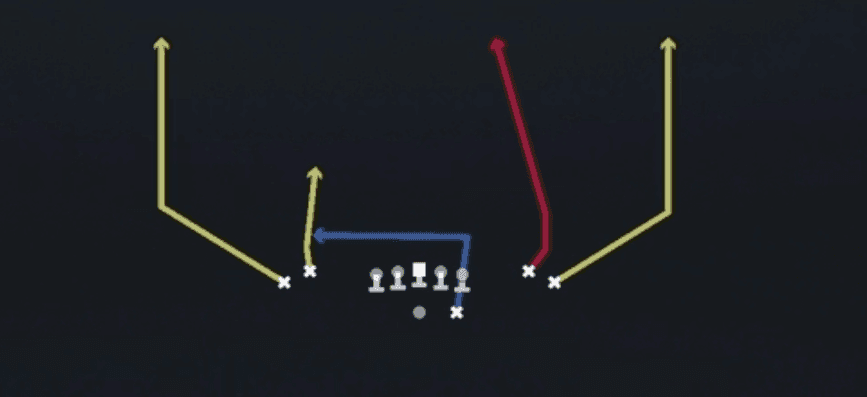 Verticals HB BurstFour Verts, Pass Play, Cover 2 Beater +5
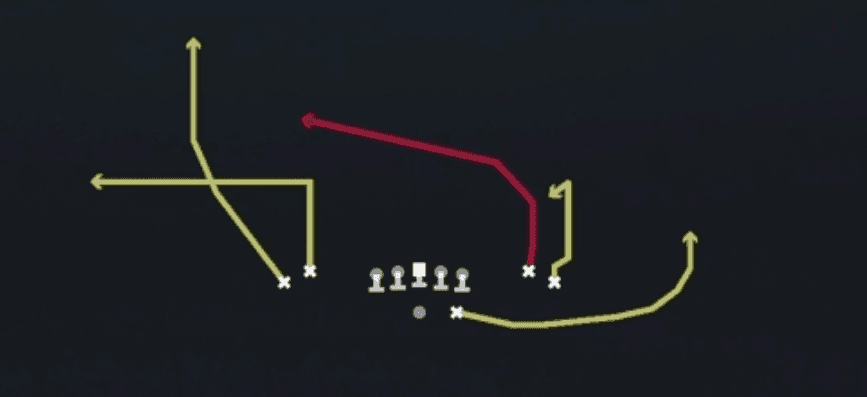 Y CrossY Cross, Pass Play, Crosser +5
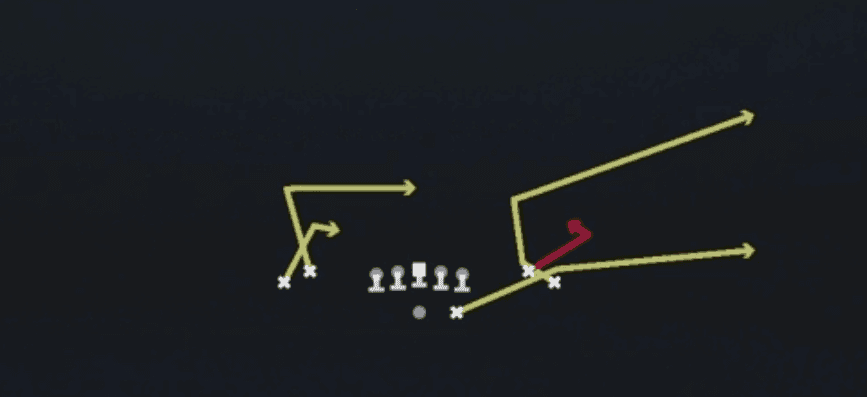 Y-Spot SalemSpot, Pass Play, Cover 3 Beater +4
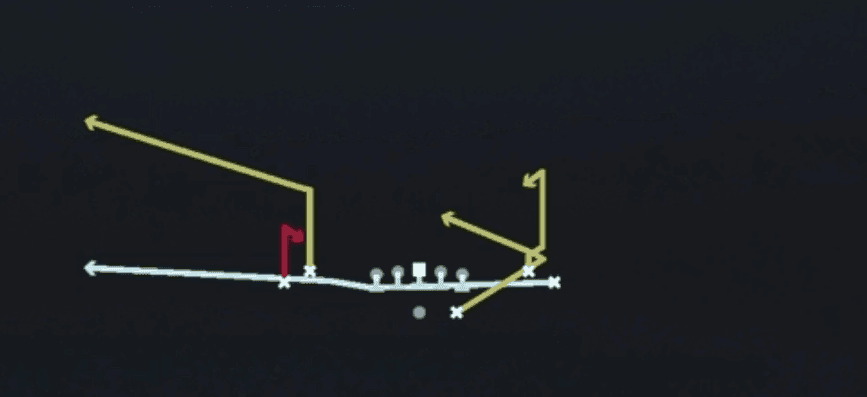 Zipper GL X SpotSpot, Pass Play, Cover 3 Beater
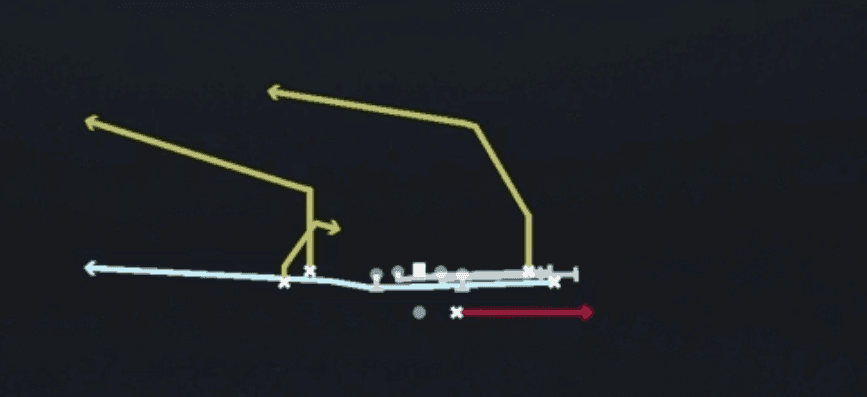 Zipper HB Slip ScreenScreen Pass, Hb Screen, Pass Play +4
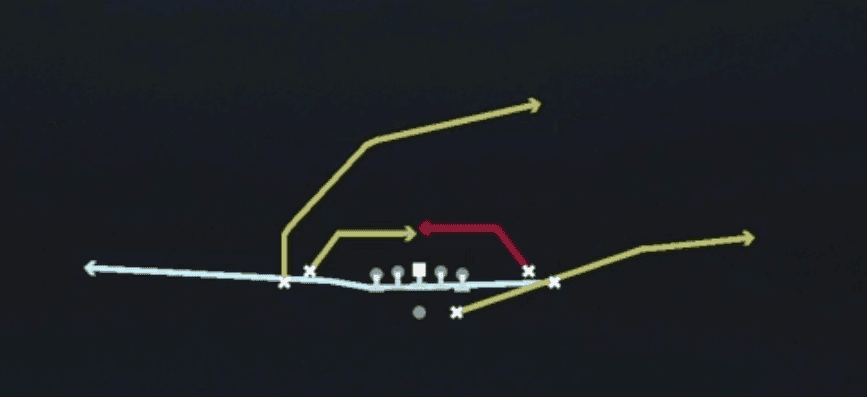 Zipper Mesh SpotSpot, Mesh, Pass Play +6
- Zipper X SpotSpot, Pass Play, Cover 3 Beater +5
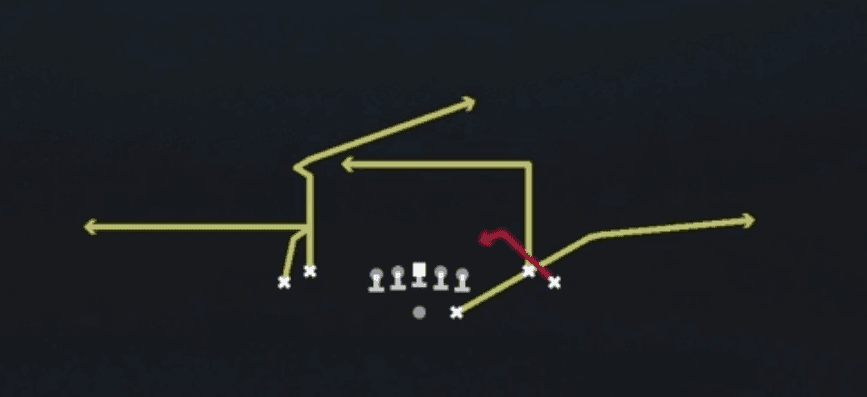 Z Spot DigDig, Spot, Pass Play +5









