Playbooks

At a Glance
In 14 playbooks
Overview
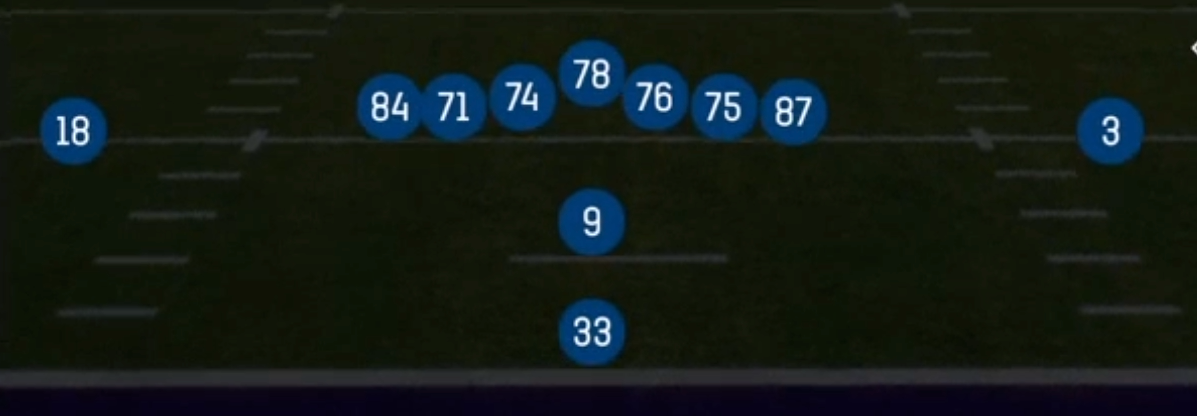
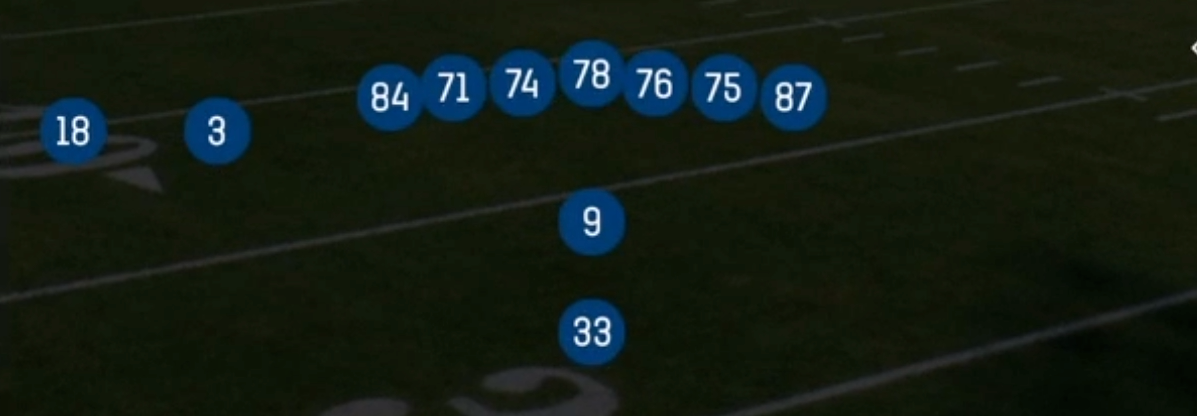
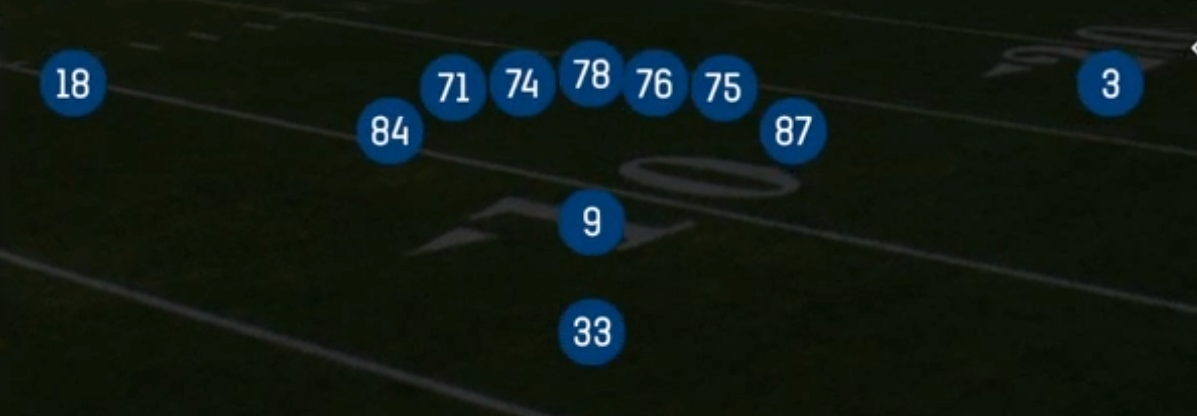
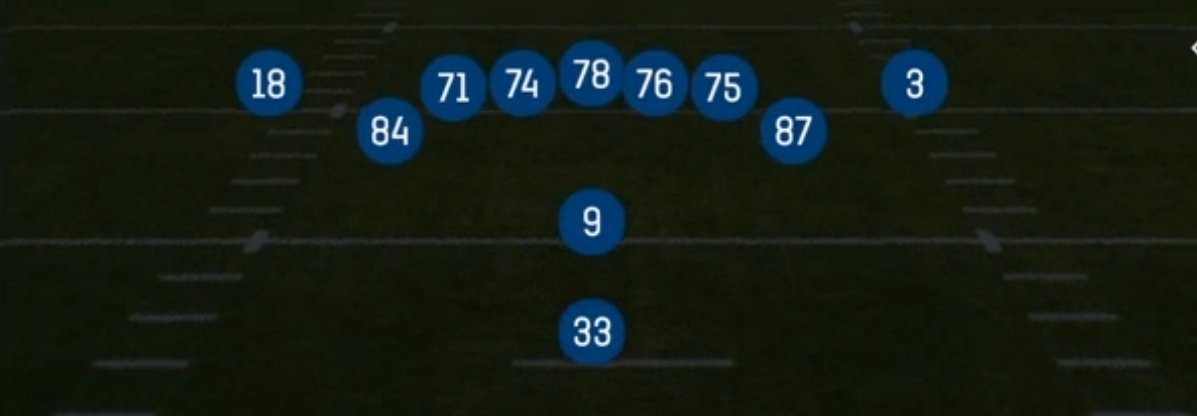
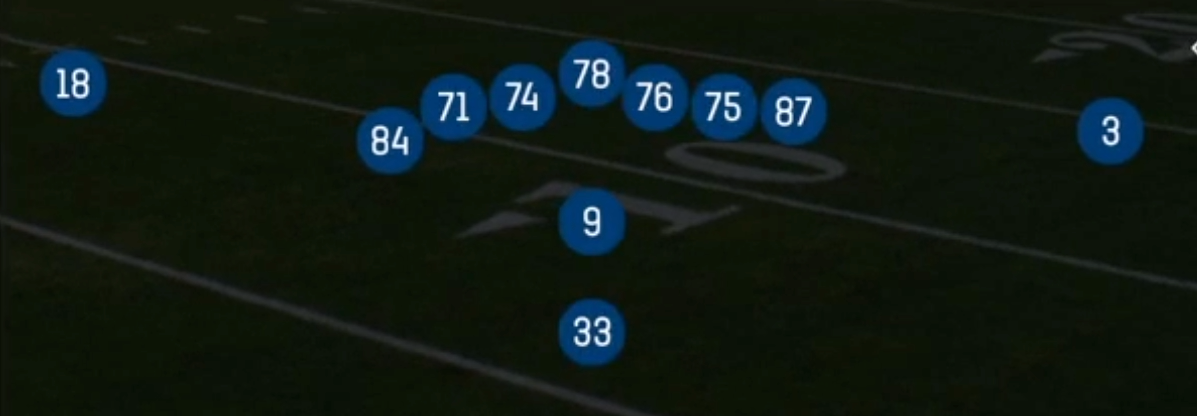
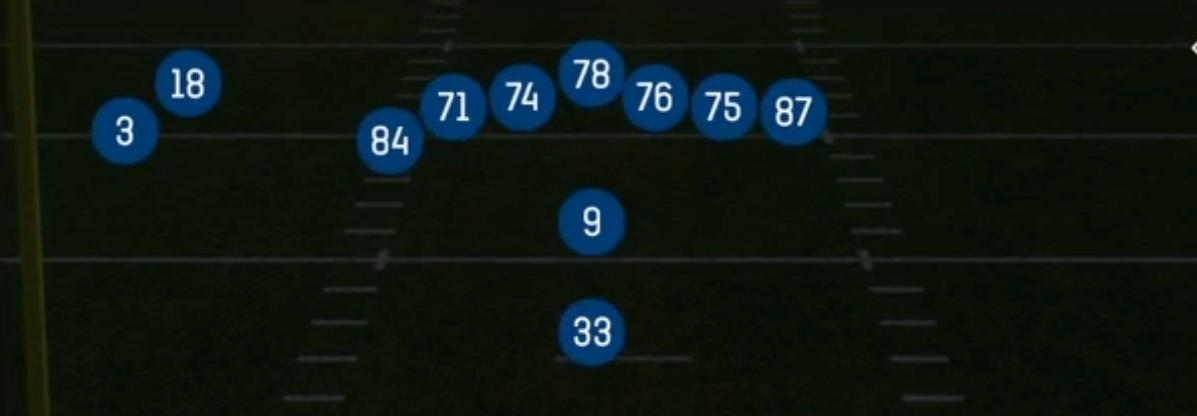
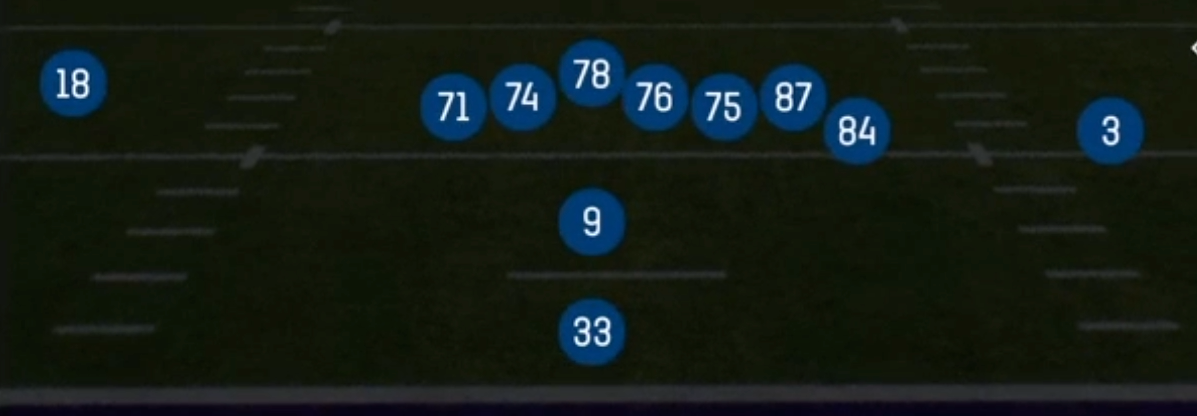
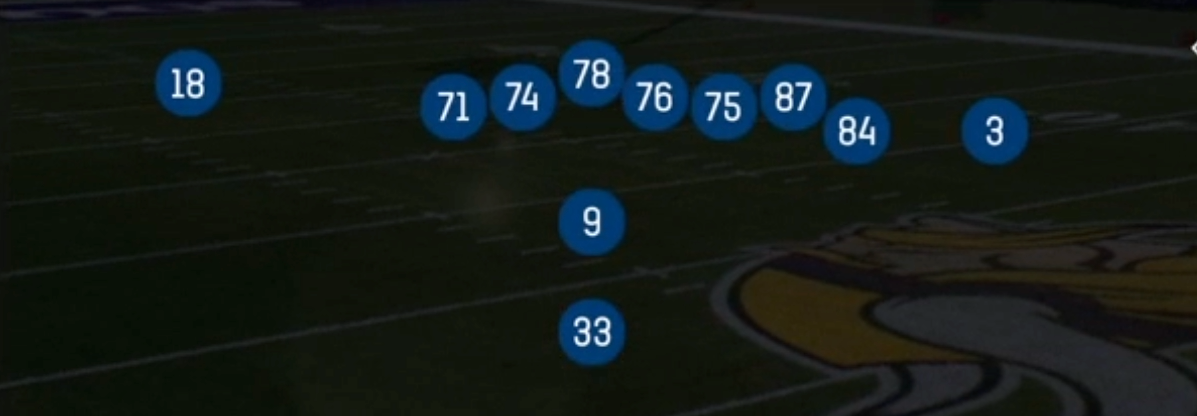
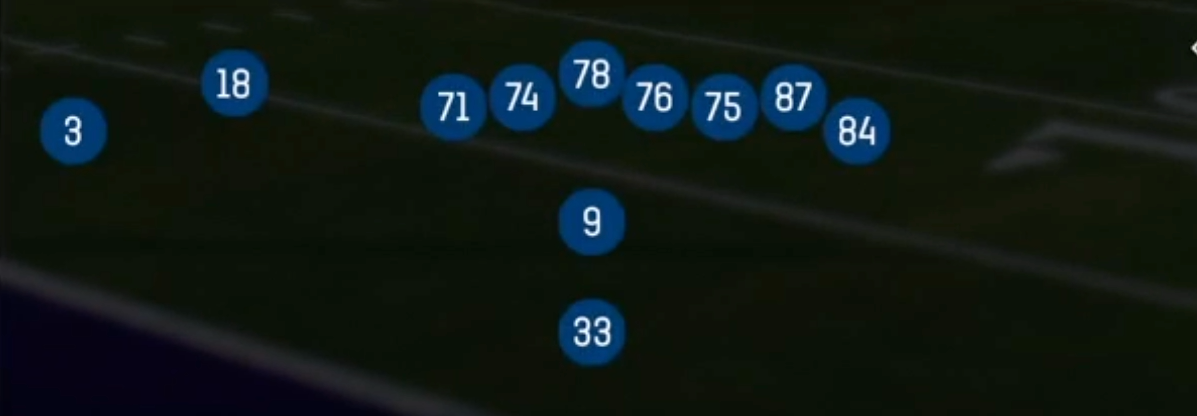
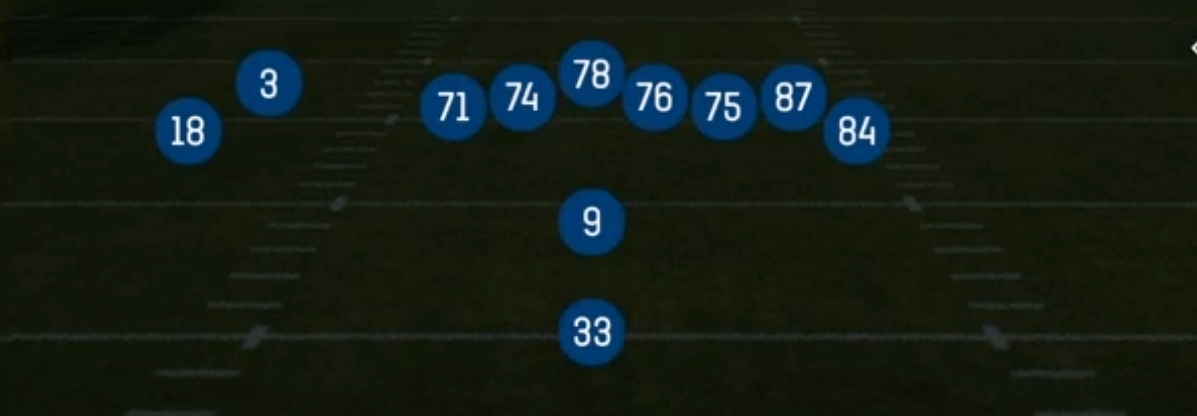
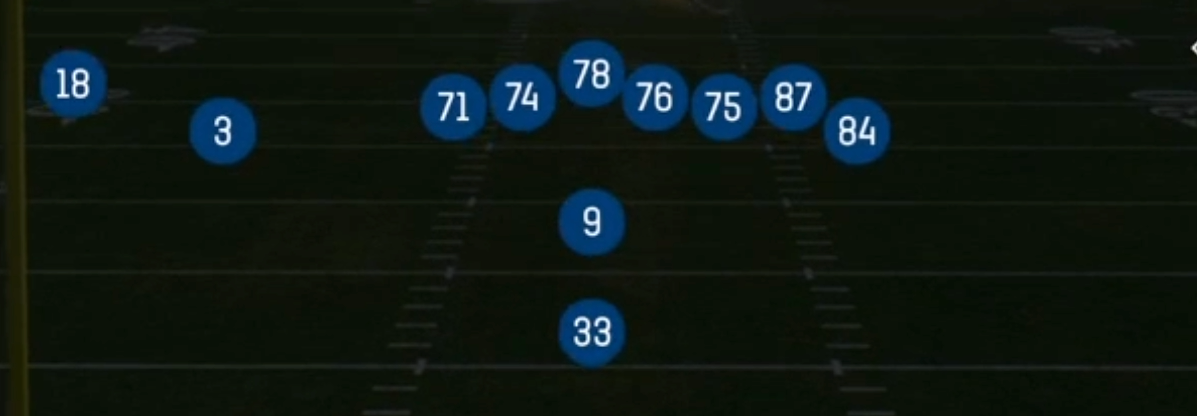
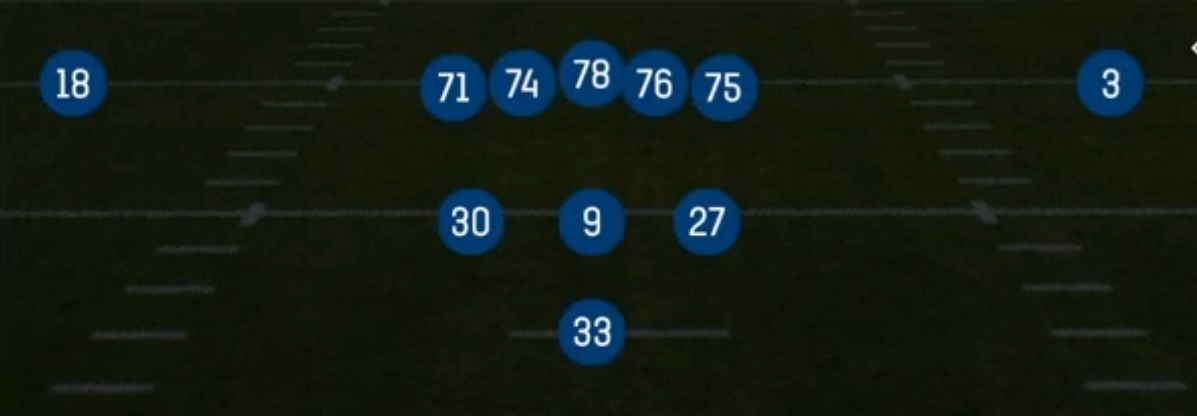
U Off Trips in the Pistol puts 12 personnel into a three-man surface to one side while keeping the running back directly behind the quarterback. The trips side is built with an inline tight end, the U tight end aligned off the ball as a wing or H-back, and a receiver outside them. The backside receiver stands alone as an isolated X. Most Pistol sets spread the field or stack two receivers to each side. This one packs extra blockers and receiving threats to the strength while still giving you a true one-on-one on the weak side. Defenses have to respect the power run look to the trips surface, and that often pulls a safety down and leaves the isolated receiver in single coverage.
The off-ball U is the key piece. Because he is not attached to the line, he can arc, kick out, slice back across the formation on Inside Zone Split and Orbit HB Split Zone, or leak into routes on the play-action game without a jam. That flexibility lets one pre-snap look carry gap schemes (Strong Power, HB Counter), zone schemes (HB Stretch, HB Zone Wk), option football (Read Option, Orbit Triple Option, Jet Lead Read Option), and a deep bootleg package (PA Boot, PA Boot Over, Jet PA Boot). Jet and Orbit motion add eye candy and window dressing that stress linebacker keys and flow.
The matchup advantage comes from two directions. Heavy personnel invites base or big nickel defense, which puts linebackers on tight ends in Stick, TE Cross, and PA Y Corner. The trips surface, meanwhile, leaves the weak-side receiver isolated for Quick Slants, the backside post in DBL Post, and the dig in PA Corner Dig. If the defense matches with a nickel to cover your tight ends, you run downhill with Strong Power and HB Slam into a lighter box.
Strengths
- The run and pass tendency is balanced from one look. Strong Power, HB Counter, Inside Zone Split, and the Read Option family all mirror the play-action art, so defenders keyed on run fits get caught flat-footed by PA Boot Over and PA Y Corner.
- The isolated backside receiver is a built-in man beater. When the defense rolls coverage toward trips, Quick Slants, DBL Post, and a hot-routed slant or fade on the X give you a clean one-on-one against a corner with no help underneath.
- The bootleg package beats zone. PA Boot, PA Boot Over, and Jet PA Boot put flat, intermediate crosser, and deep over routes in one vertical line on the rollout side, which puts Cover 3 flats defenders and Cover 4 apex players in constant conflict.
- Off-ball tight end mismatches are strong against base defense. TE Cross, Stick, Switch Flood, and Orbit PA DBL Cross get the U into space against linebackers, and you can hot route him to a drag or wheel to punish man coverage from slower Mike and Will backers.
- Option and RPO tags deal with blitz and loaded boxes. RPO Alert Flat and RPO Zone Alert Flat let you read a nano or crashing overhang pre- and post-snap, while Orbit Triple Option and Jet Lead Read Option punish undisciplined edge defenders who crash the dive.
Weaknesses
- You only have two true receivers on the field. Against Cover 2 Man or Cover 1 Robber with a user lurking the middle, the depth of your pass concepts is limited if your tight ends lack separation ratings.
- The trips surface tips the strength. Savvy opponents shift the linebackers and slant the line toward the three-man side, and they will blow up Strong Power and HB Stretch before the pulling guard or U kicker can get to his block.
- Play-action boots are slow to develop and vulnerable to backside pressure. An edge blitz or a user-controlled end crashing off the weak side will sack or hurry the QB on PA Boot and Jet PA Boot before the deep over clears.
- A user flying over the middle kills the crossing game. Orbit PA Cross, TE Cross, and Orbit PA DBL Cross all funnel through the same zone, so a user linebacker or safety sitting at 10 to 12 yards can take away the primary read and bait interceptions.
- The backside X is a single point of failure. If the opponent shades a safety over the top or presses with a shutdown corner, your best isolation option disappears and the offense becomes run-dependent.
Usage Tips
Before the snap, count the box and check the safety rotation. Six or fewer in the box means you should stay with Strong Power, HB Counter, or Inside Zone Split. A safety rolling down to the trips side is your signal to audible to Quick Slants or DBL Post for the isolated X.
On 1st and 10 and 2nd and medium, build a run tendency with HB Slam and Orbit HB Split Zone, then take the same look to PA Boot Over or PA Y Corner. The mirrored play art and motion sell the run hard enough to pull linebackers and flip safeties.
Against a heavy blitz or nano looks, go to RPO Alert Flat or RPO Zone Alert Flat and read the overhang defender. Consider hot routing the U to a quick flat or setting the RB to block on the boots to buy time against backside edge pressure.
In the red zone, use PA Corner Dig and PA FL Clown to attack the compressed field, and use Switch Flood to create natural picks against man coverage near the goal line. Jet Touch Pass and Jet Lead Read Option are good constraint plays when defenses overload the strength.
Save HB Slip Screen and Shock for 2nd and long or 3rd and long against aggressive pass rushers and all-out pressure. Motion the jet receiver first to check if the defense bumps in man, then snap before the defense can reset its leverage.
Plays (30)
 DBL PostPost, Double Posts, Pass Play +4
 HB CounterCounter, Run Play, Power Run
 HB DiveDive, Run Play
 HB SlamDive, Run Play
 HB Slip ScreenScreen Pass, Hb Screen, Pass Play +2
 HB StretchOutside Zone, Run Play, Zone Run
 HB Zone WkInside Zone, Run Play, Zone Run
 Inside Zone SplitInside Zone, Run Play, Zone Run
 Jet Lead Read OptionRead Option, Motion, Run Play
 Jet PA BootPlay Action, Motion, Pass Play +5
 Jet Touch PassMotion, Pass Play
 Orbit HB Split ZoneMotion, Inside Zone, Run Play +1
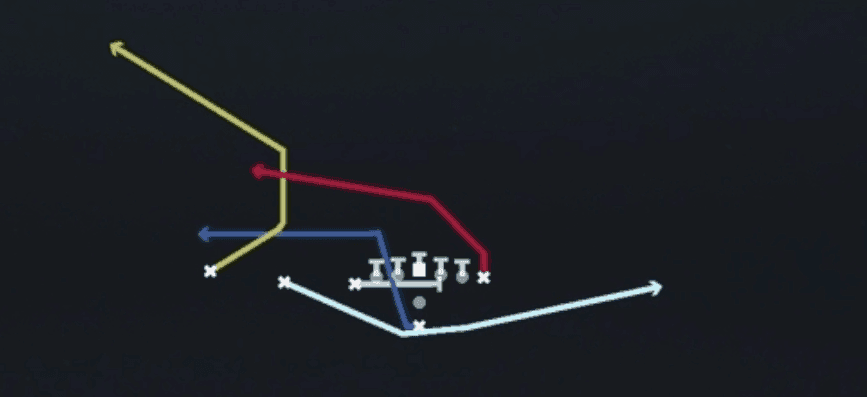 Orbit PA CrossPlay Action, Motion, Pass Play +5
 Orbit PA DBL CrossPlay Action, Motion, Pass Play +4
 Orbit Triple OptionTriple Option, Motion, Run Play
 PA BootPlay Action, Pass Play, Block and Release +3
 PA Boot OverPlay Action, Pass Play, Block and Release +3
 PA Corner DigPlay Action, Dig, Corner +2
 PA FL ClownPlay Action, Pass Play, Corner +3
 PA Slot OutPlay Action, Out, Pass Play +2
 PA Y CornerPlay Action, Corner, Pass Play +4
 Quick SlantsSlant, Pass Play, Flat
 Read OptionRead Option, Run Play
 RPO Alert FlatRPO, Flat, Pass Play +1
- RPO Zone Alert FlatRPO, Flat, Pass Play +1
 ShockMotion, Hitch, Stick +3
 StickStick, Stick Concept, Pass Play +3
 Strong PowerPower, Run Play, Power Run
- Switch FloodPost, Drag, Crosser +4
 TE CrossCrosser, Pass Play, Deep Cross +2