Playbooks

At a Glance
In 1 playbook
Overview
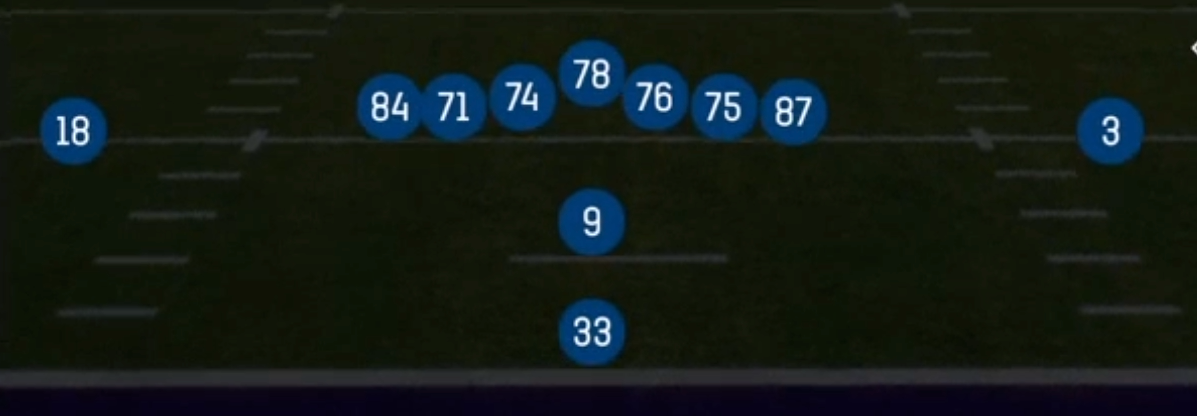
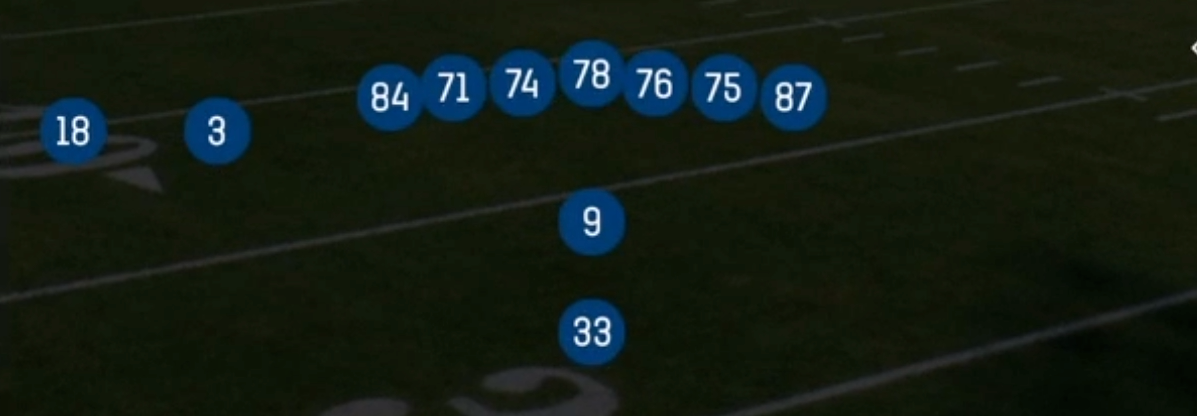
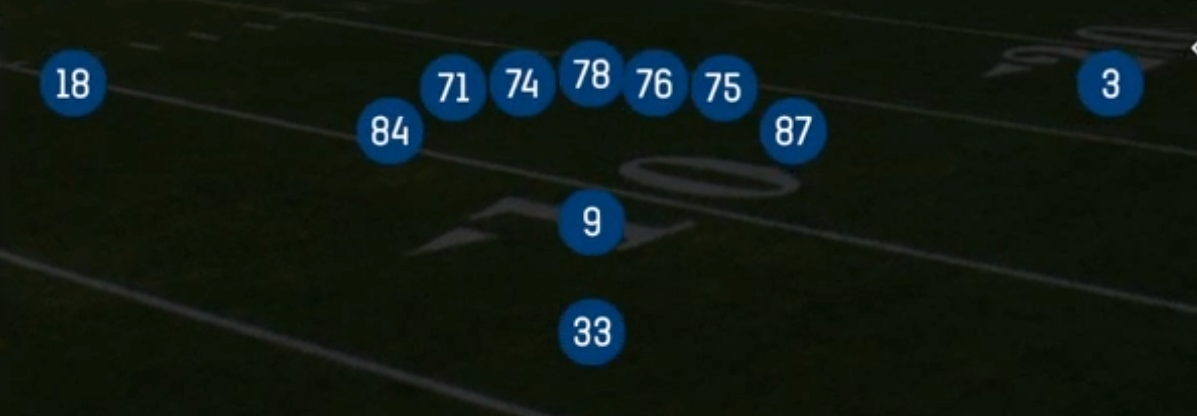
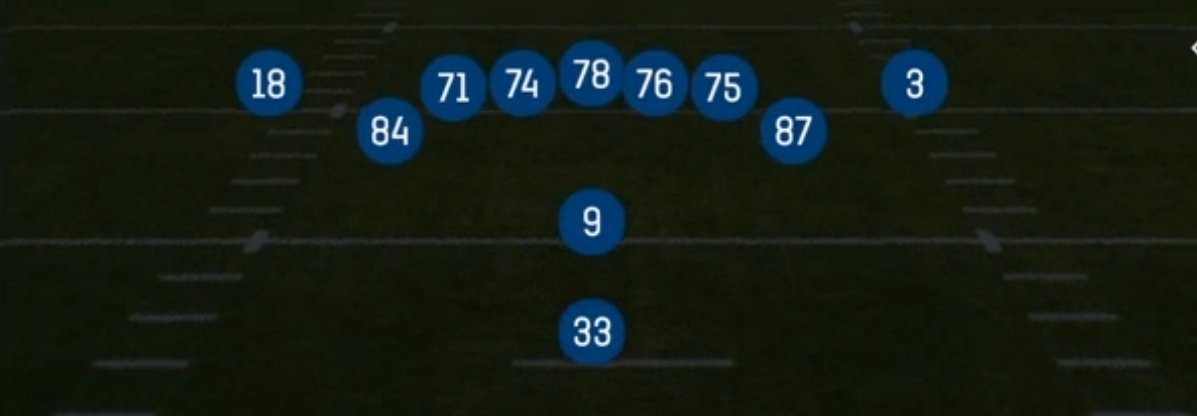
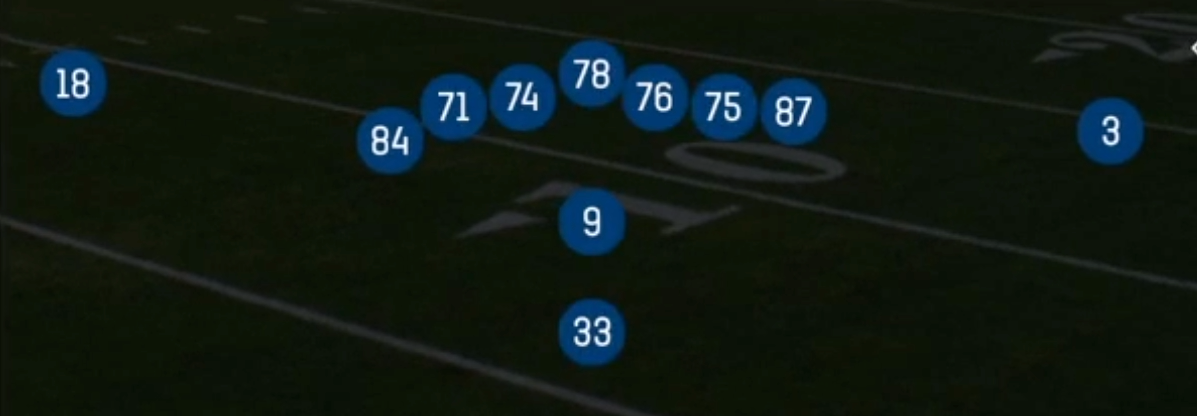
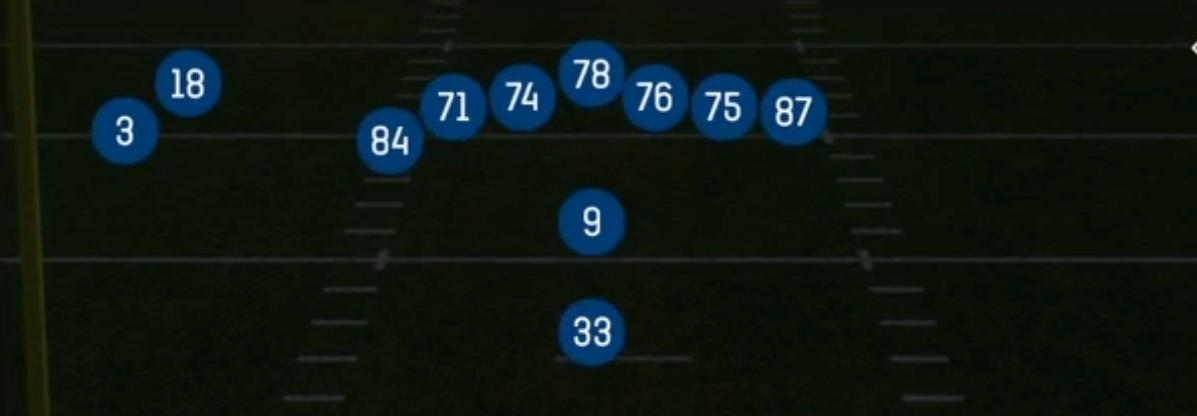
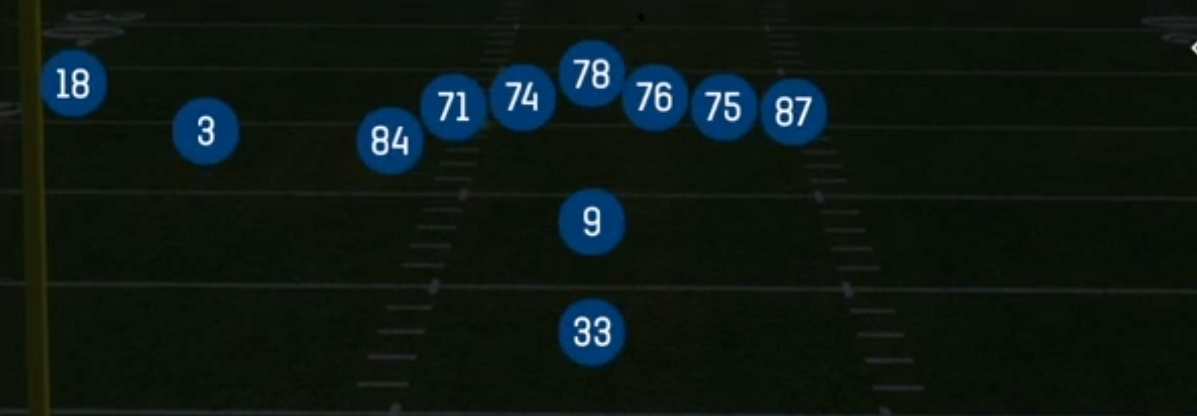
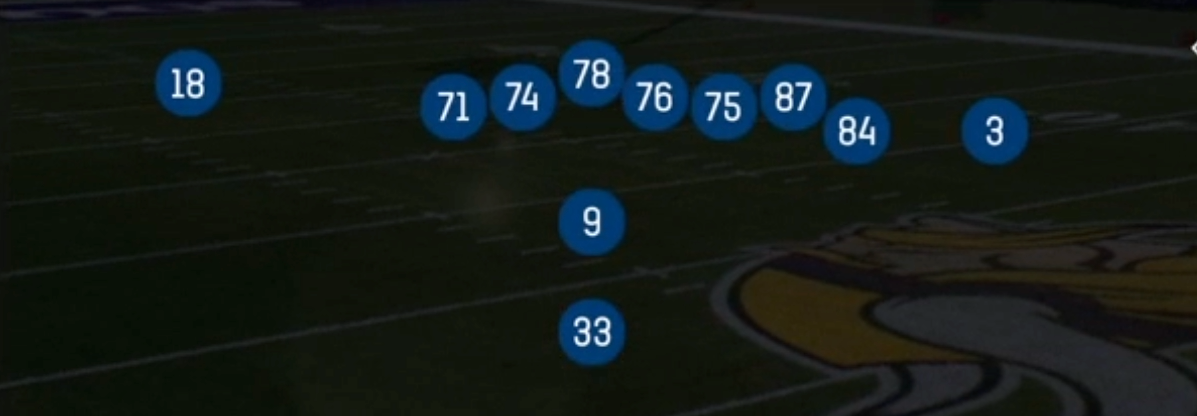
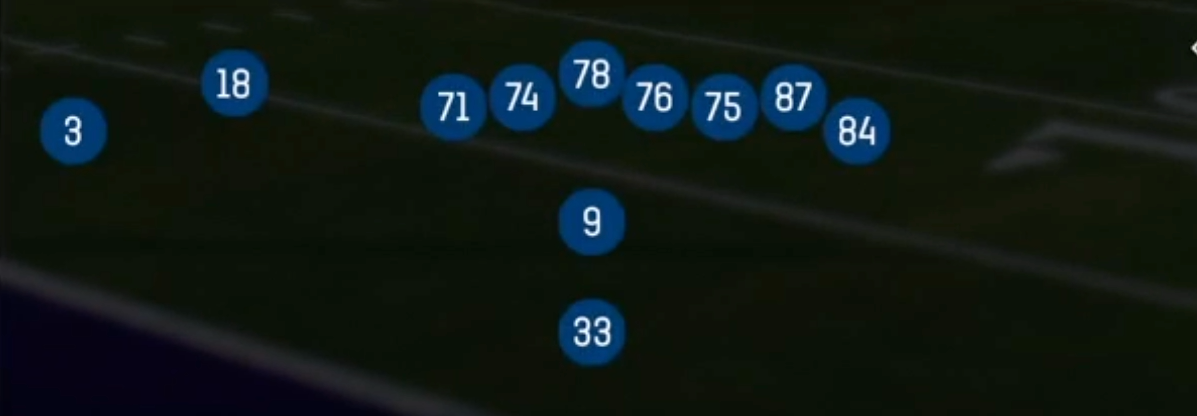
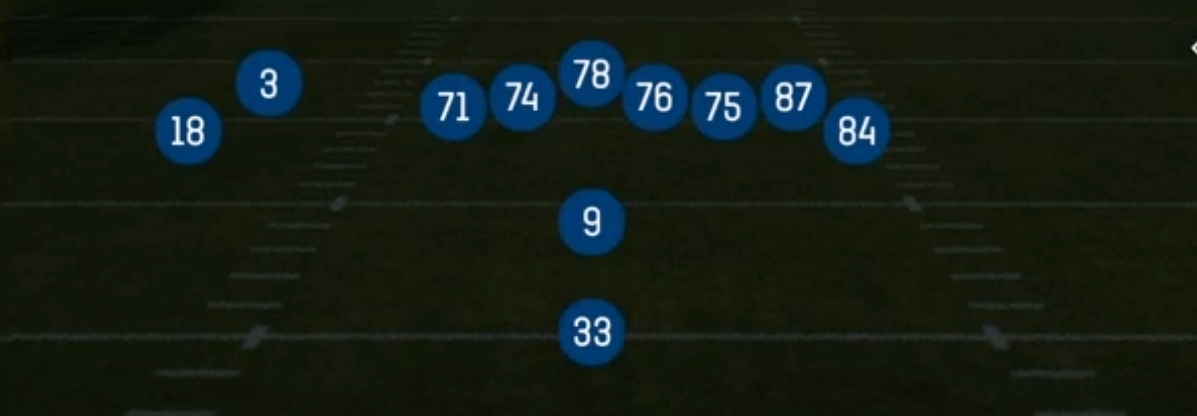
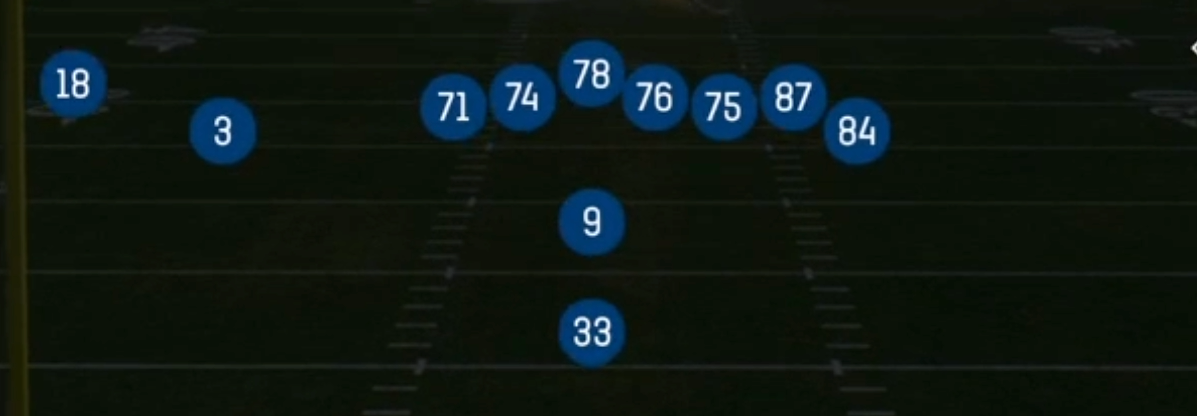
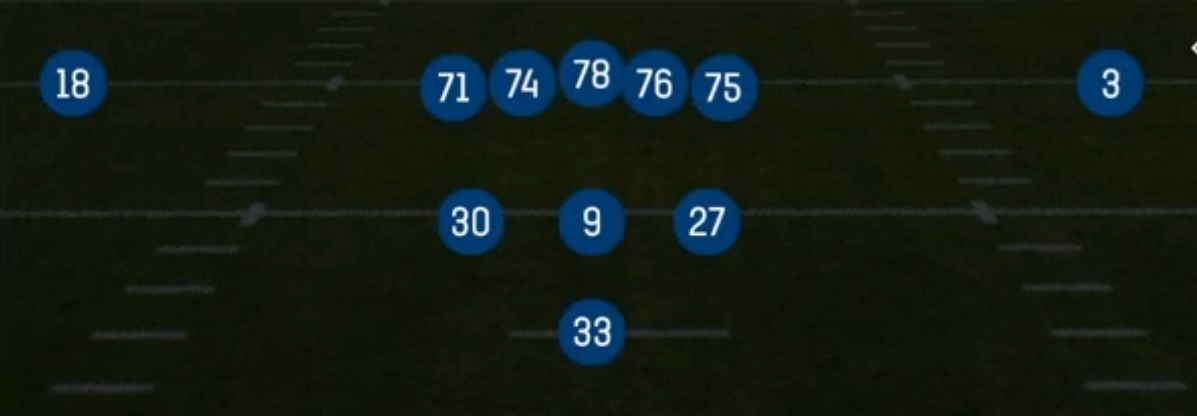
The Wing set in the Pistol formation puts the quarterback at pistol depth with the halfback aligned directly behind him, one tight end attached inline and a second tight end in a wing alignment just off the edge. Two receivers are split wide to balance the look. Compared with other Pistol sets, Wing trades a slot receiver for a second tight end positioned as a movable edge piece. That wing tight end can seal the backside, kick out the end man on the line, lead through the hole on gap schemes, or release late on play-action. Because the halfback sits directly behind the QB, the defense cannot key run direction from the back's alignment, which makes the power and counter game harder to diagnose pre-snap.
The play art is built around downhill gap runs with play-action and boot concepts layered on top. Strong Power, Mtn HB Power O and HB Slam put extra hats at the point of attack. HB Counter and HB Stretch punish flowing linebackers, and Read Option and Read Option Wk make the backside end play honest. Once the defense loads the box, PA Power O, PA Boot, PA Boot Lt, PA Ctr Waggle and PA TE Slip use the same backfield action to leave linebackers and safeties chasing the flow while tight ends and receivers leak into the voids behind them.
The 12 personnel package creates constant matchup stress. Opponents who stay in base personnel to stop the run leave linebackers covering tight ends on TE Stick, TE Attack and Curl Combo. Opponents who sub in nickel to cover get outnumbered at the point of attack by the wing blocker. The Power HB and 3DRB tags mean both bruisers and dual-threat backs fit here, and screens like HB Slip Screen and WR Screen give a third-down back touches in space against aggressive pressure. The Gadget tag reflects the option and waggle looks that stress assignment discipline.
Strengths
- The wing tight end adds a sixth gap blocker at the point of attack, so Strong Power, Mtn HB Power O and HB Slam create hat-on-hat numbers against 6 and 7 man boxes that most shells cannot overcome without committing a safety.
- PA Boot and PA Boot Lt flood the flat, intermediate and deep third off identical power action, which shreds Cover 3 and Cover 1 when the flat defender bites on the run fake and the rollout gives the QB an easy high-low read.
- TE Stick and TE Attack isolate tight ends on linebackers in man coverage, and hot routing the inline tight end to a slant or the wing to a drag creates quick man beaters against Cover 1 and Cover 0 looks.
- Read Option and Read Option Wk turn the backside end into a liability, so defenses that crash the edge to stop the power game give up QB keepers, and HB Counter punishes linebackers who fast-flow to the wing side.
- HB Slip Screen and WR Screen are built-in blitz punishers, letting you slow down edge pressure and nano blitz setups without leaving the formation or tipping your hand.
Weaknesses
- With only two wide receivers, the set lacks vertical stress, so Cover 4 and Cover 2 Man shells can bracket both outside targets and force you into short tight end throws against a crowded underneath zone.
- Boot and waggle concepts are vulnerable to edge contain and backside blitzes, and a nano blitz off the side you roll toward can sack the QB before the play-action fake finishes.
- A user-controlled middle linebacker or robber safety sitting in the intermediate window can jump TE Stick, TE Attack and PA TE Slip because the heavy formation telegraphs tight end targets.
- Opponents who show a heavy box can run commit or shift linebackers toward the wing pre-snap, forcing checks and stalling power runs that depend on the wing tight end winning his block.
- Read Option plays can be neutralized with QB contain assignments and scrape exchange, and if your quarterback lacks speed the keeper threat disappears, which leaves the option tags as dead weight.
Usage Tips
Count the box pre-snap: against 6 or fewer defenders run Strong Power or Mtn HB Power O to the wing side, and against 8 in the box audible to PA Boot or PA Power O to attack the vacated deep middle and flats.
On 1st and 10 and 2nd and short, establish HB Slam and Strong Power early so later PA TE Slip and PA Ctr Waggle calls pull linebackers downhill and open the tight end behind them.
If the defense shifts linebackers to the wing side, flip the look with HB Counter or PA Boot Lt, or motion the wing tight end across to change the strength and reset their run fits.
Against Cover 0 or heavy blitz tells on 3rd down, hot route the wing tight end to a slant and slide protection toward the pressure, or check to HB Slip Screen when the edge rushers are clearly bailing past the halfback.
In the red zone and short yardage, pair Drive and Curl Combo against zone with TE Attack against man, and use the Read Option to create a numbers advantage when defenders key the halfback exclusively.
Plays (18)
 Curl ComboCurl, Pass Play, Flat +1
 DriveDrive, Pass Play, Cover 4 Beater +6
 HB CounterCounter, Run Play, Power Run
 HB SlamDive, Run Play
 HB Slip ScreenScreen Pass, Hb Screen, Pass Play +3
 HB StretchOutside Zone, Run Play, Zone Run
 Mtn HB Power OPower, Motion, Run Play +1
 PA BootPlay Action, Pass Play, Block and Release +3
 PA Boot LtPlay Action, Pass Play, Comeback +4
 PA Ctr WagglePlay Action, Pass Play, Block and Release +3
 PA Power OPlay Action, Pass Play, Corner +4
 PA TE SlipPlay Action, Pass Play, Deep Cross +4
 Read OptionRead Option, Run Play
 Read Option WkRead Option, Run Play
 Strong PowerPower, Run Play, Power Run
 TE AttackPass Play, Go, Flood +4
 TE StickStick, Stick Concept, Pass Play +3
 WR ScreenScreen Pass, Wr Screen, Pass Play +3