Playbooks

At a Glance
In 1 playbook
Overview
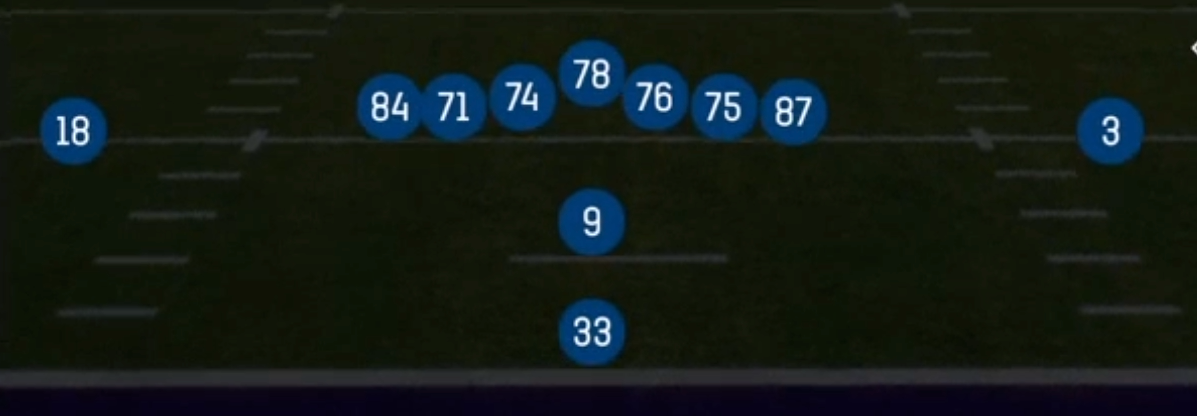
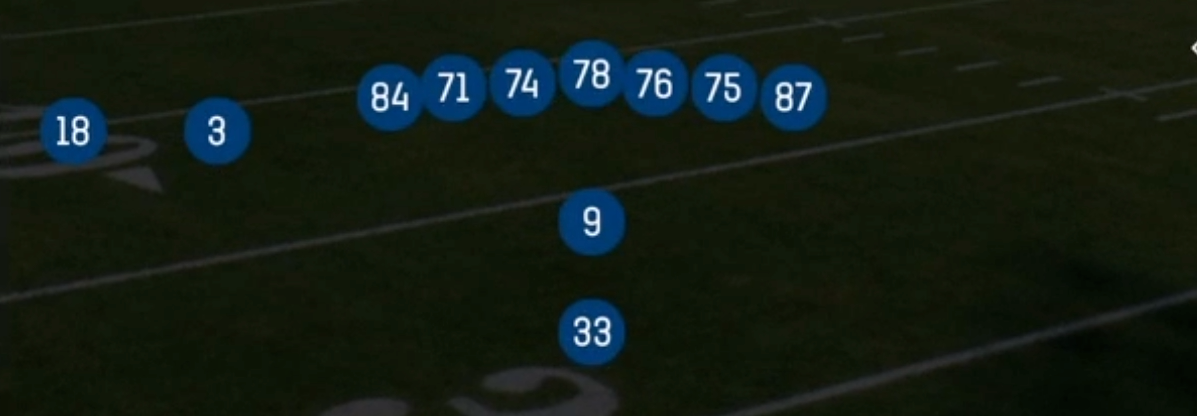
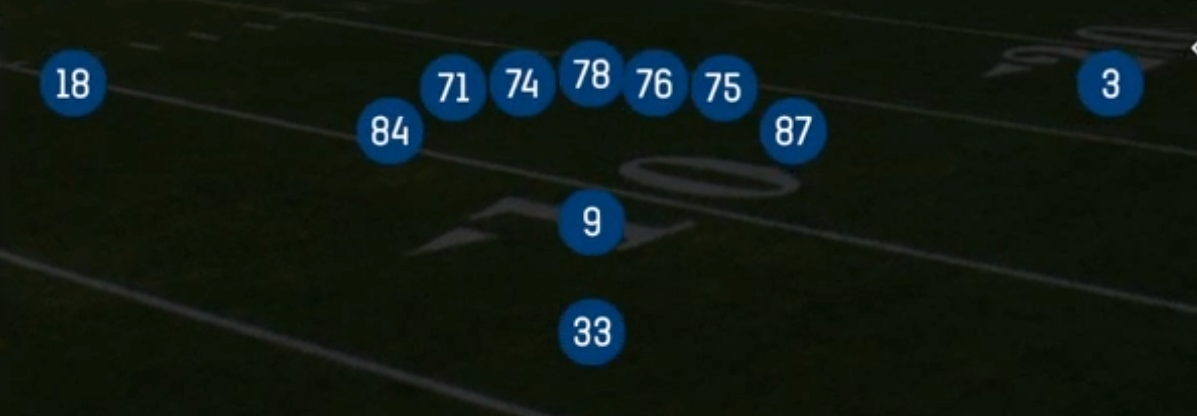
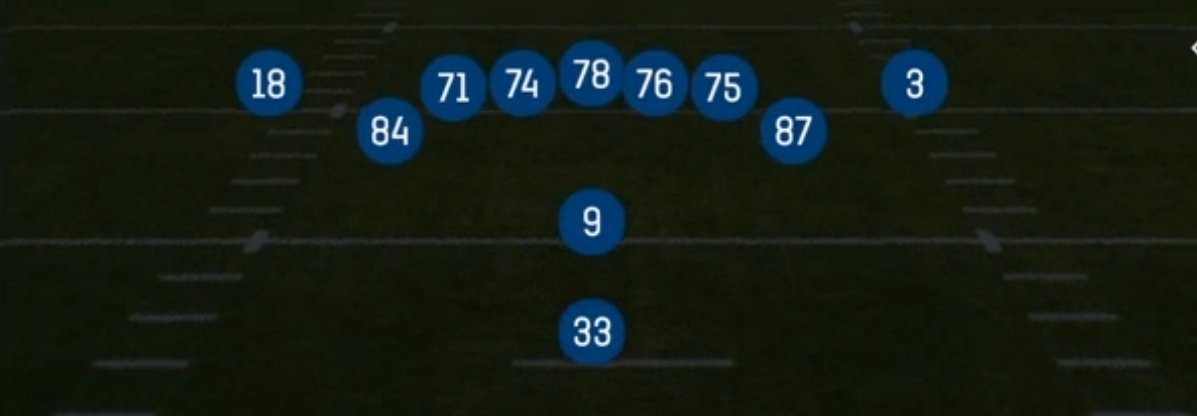
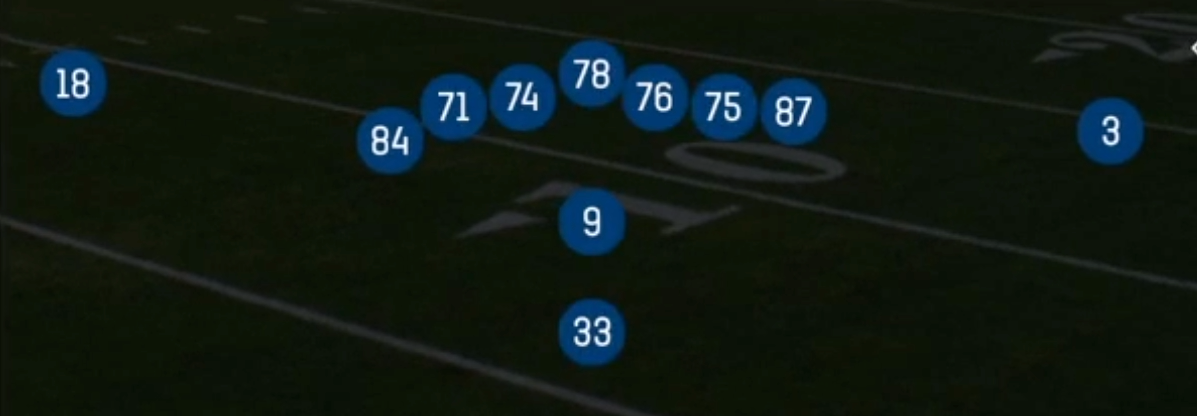
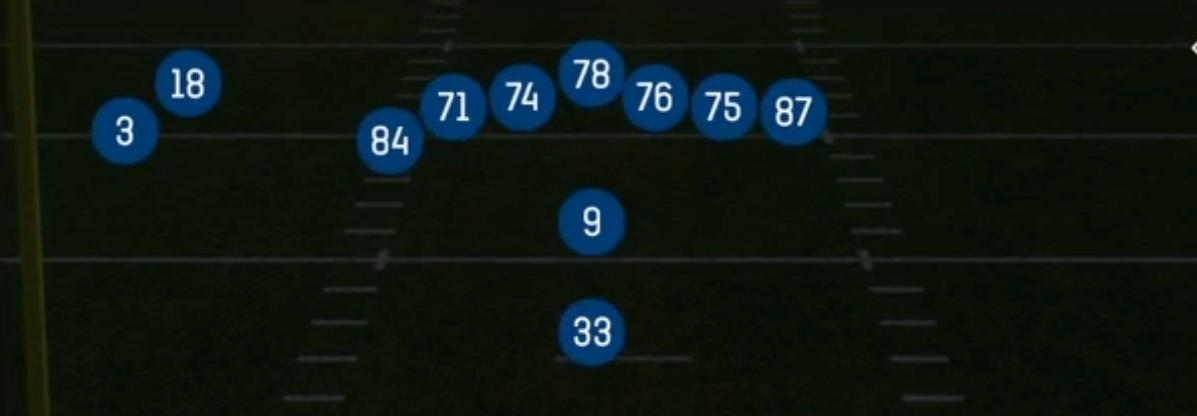
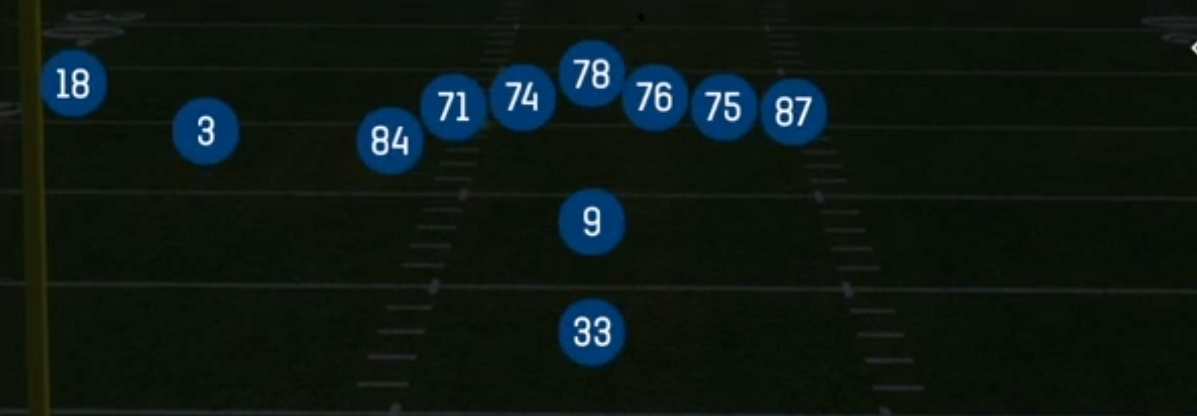
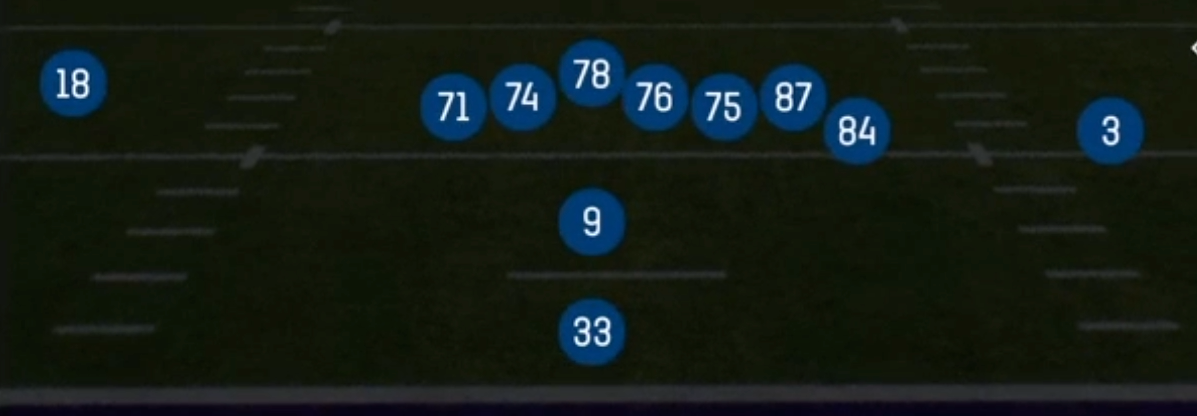
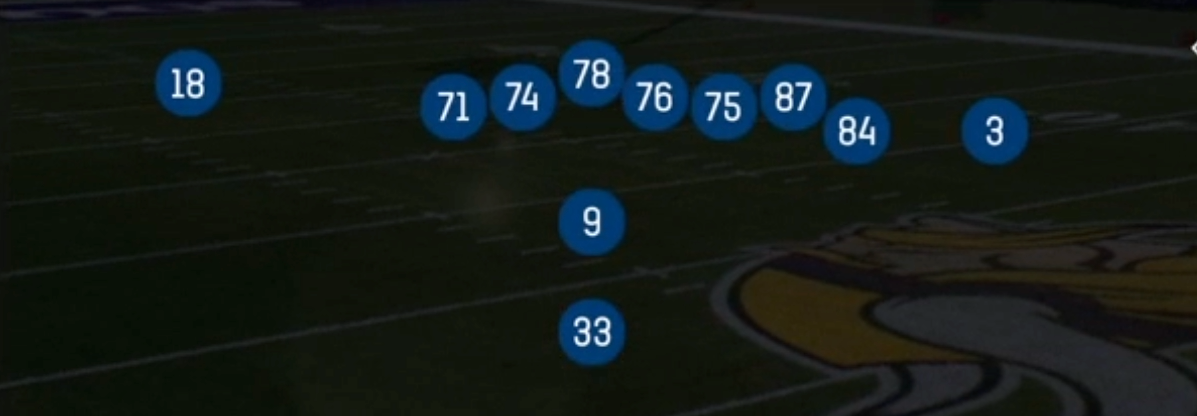
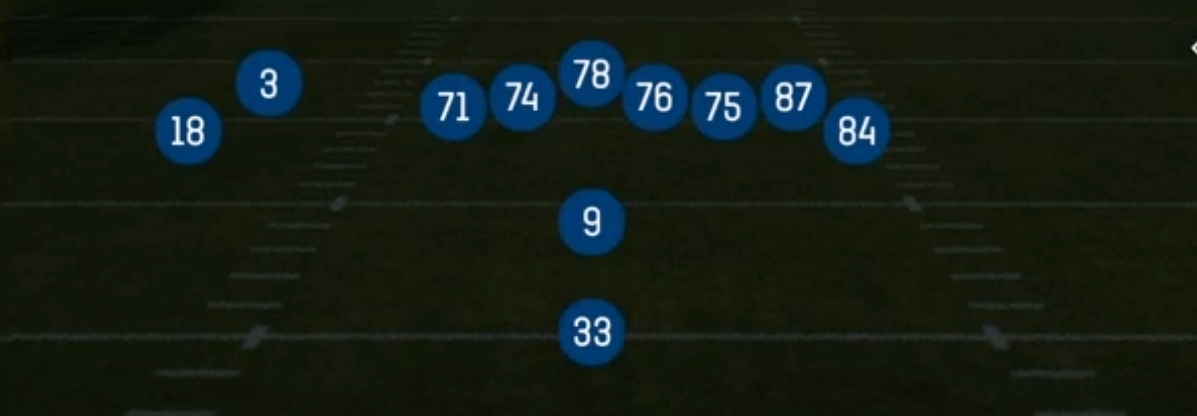
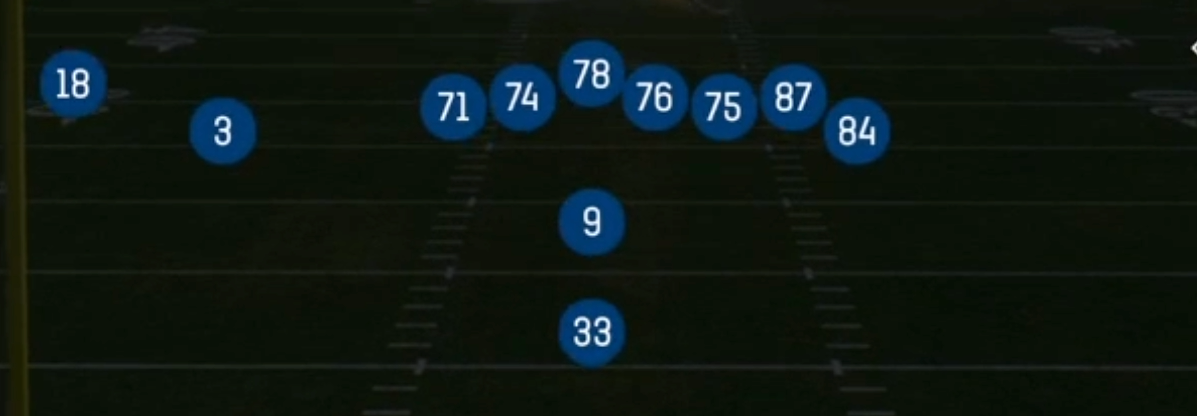
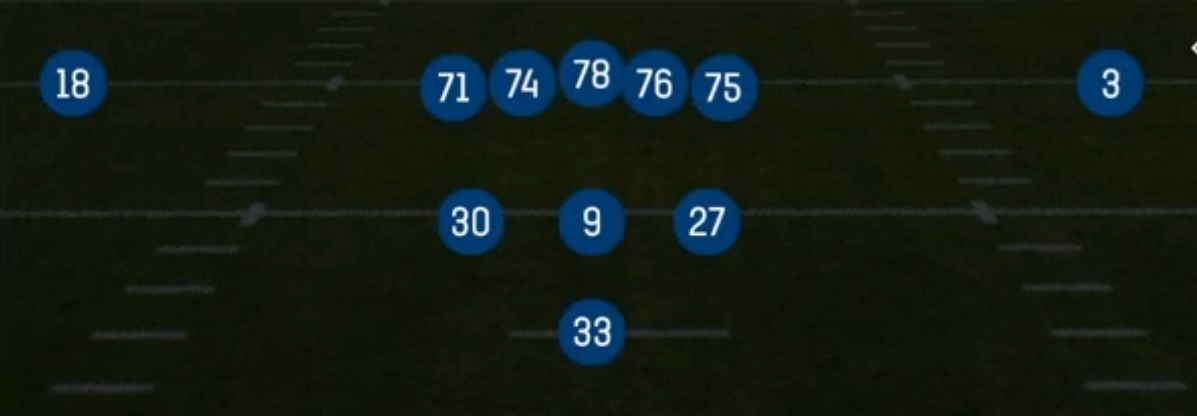
Wing Flex is a 12 personnel look out of the Pistol that splits the two tight ends into different jobs. One TE aligns as a wing just off the edge of the tackle, giving you an extra gap blocker and a lead insert for gap scheme runs. The second TE flexes out into a detached slot position, forcing the defense to declare how it wants to handle a big body in space. Two wideouts frame the formation, and the back sits directly behind the QB in the Pistol alignment, so the defense gets no pre-snap tell on run direction the way it would with an offset Shotgun back.
What separates Wing Flex from the heavier Pistol sets is the balance between a true power run structure and a legitimate passing picture. The wing TE lets you run PA Power O, Mtn HB Power O, and Counter U with a real puller or kicker at the point of attack, while the flexed TE stretches a base defense horizontally. When the defense stays in base personnel to respect the run, the flex TE draws a linebacker or strong safety in coverage, which is the matchup you want on Y Stick, Smash Spot, and the RPO Alert Strong Power tag. If they sub in nickel to cover the flex, you get a lighter box against a gap scheme run game.
The Gadget tag reflects how much misdirection lives in this set. HB Slip Screen, HB Draw, and the play action shots (PA Post Shot, PA Power O) all feed off the same backfield look as the downhill runs. Pair that with Dagger and Deep Flood for vertical stress, and Wing Flex becomes a full menu that punishes whichever way the defense leans pre-snap.
Strengths
- The flexed TE creates a mismatch against base defenses, and Y Stick or Smash Spot isolates him on a linebacker for easy completions on the stick or spot route.
- The wing TE gives Counter U, PA Power O, and Mtn HB Power O an extra gap blocker, producing numbers advantages against 6 man boxes and single high shells.
- RPO Alert Strong Power lets you read the box pre-snap and throw the alert when a Cover 1 or Cover 3 safety rotates down to fill against the run.
- Dagger and Deep Flood attack Cover 3 and Cover 4 vertically, with the flood beating Cover 3 sky rotation and the dig underneath the seam stressing Quarters safeties.
- The centered Pistol back hides run direction, so HB Draw and HB Slip Screen punish aggressive nano blitzes and edge pressure that cheat toward the back.
Weaknesses
- With only two true receivers, Cover 2 Man and Cover 1 Robber with a good user in the middle can take away your primary reads because you lack a third quick separation threat.
- The wing TE is a pass protection liability against overload blitzes to his side, and heavy edge pressure can blow up play action rollouts before the shot develops.
- User-controlled linebackers sitting in the hook zone can jump Y Stick and the stick route on Smash Spot, turning your high percentage throws into pick six risks.
- Defenses that match with Big Nickel can cover the flex TE with a safety and still keep enough size to fit the power runs, limiting the core matchup advantage.
- The Pistol alignment slows HB Slip Screen and outside runs compared to offset Shotgun sets, and disciplined contain defenders can string out Mtn HB Power O.
Usage Tips
Before the snap, check who aligns over the flex TE: if a linebacker lines up on him, audible to Y Stick or Smash Spot; if a corner or nickel slides over, check to Counter U or HB Slam against the lighter box.
On 1st and 10, lean on RPO Alert Strong Power and PA Power O to set up tendencies, then call PA Post Shot on 2nd and short when the safety starts filling the alley.
Against Cover 3 heavy opponents, hot route the flex TE to a streak on Deep Flood to occupy the deep third and open the sail route for a clean completion.
When you see pre-snap blitz shows or nano pressure, audible to HB Slip Screen or HB Draw to punish the vacated second level instead of throwing into the rush.
In the red zone and on 3rd and short, motion the flex TE into the wing side on Mtn HB Power O to create a heavy strong side and force the defense to fit an extra gap.
Plays (12)
 Counter UCounter, Run Play, Power Run
 DaggerDagger, Pass Play, Cover 2 Beater +6
 Deep FloodFlood, Pass Play, Cover 3 Beater +4
 HB DrawDraw, Run Play
 HB SlamDive, Run Play
 HB Slip ScreenScreen Pass, Hb Screen, Pass Play +3
 Mtn HB Power OPower, Motion, Run Play +1
 PA Post ShotPlay Action, Post, Pass Play +3
 PA Power OPlay Action, Pass Play, Curl +5
 RPO Alert Strong PowerPower, RPO, Run Play +3
 Smash SpotSmash, Spot, Pass Play +5
 Y StickStick, Stick Concept, Pass Play +3