Playbooks

At a Glance
In 16 playbooks
Overview
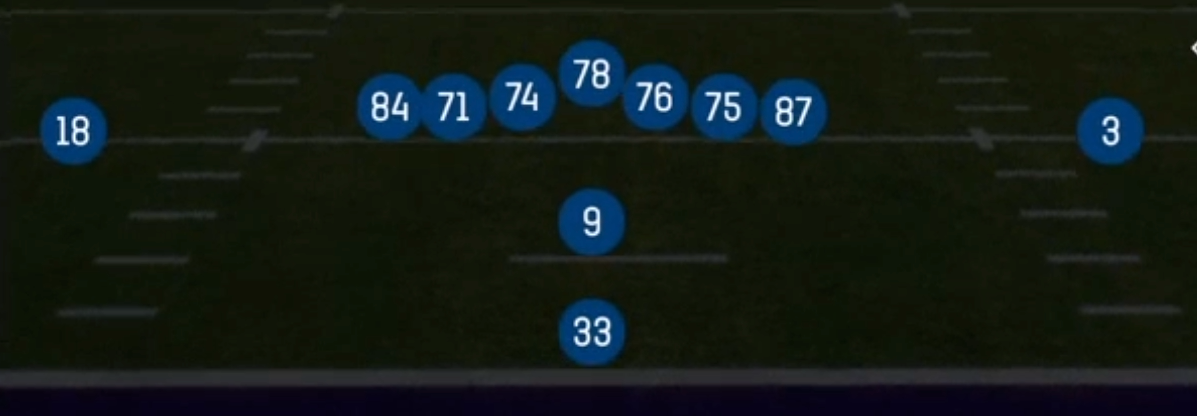
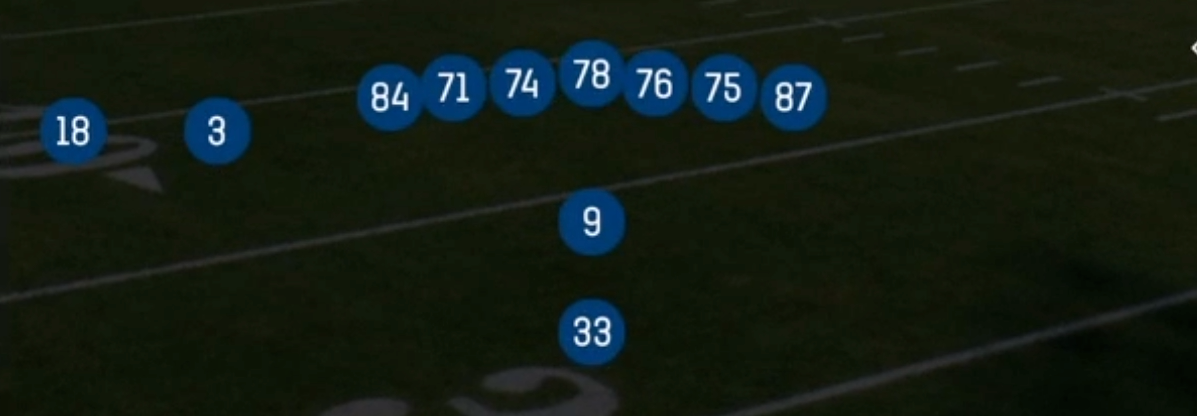
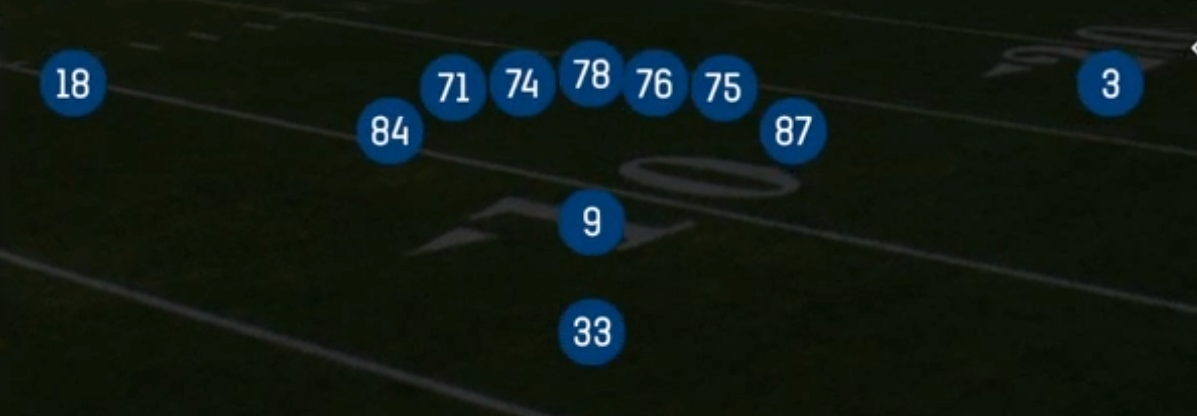
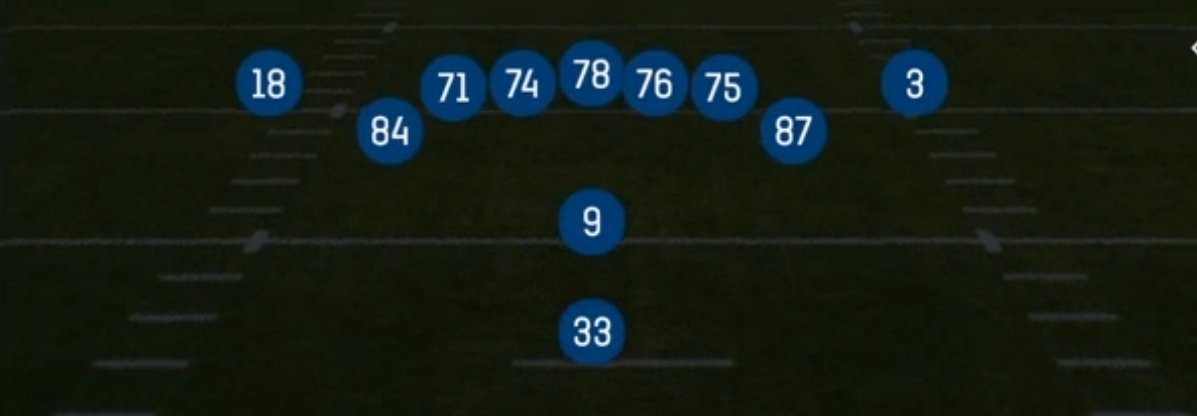
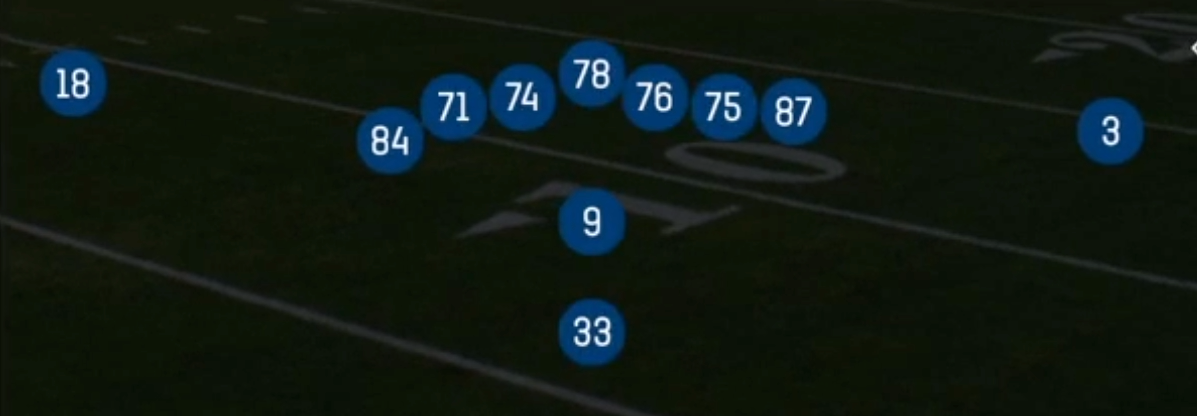
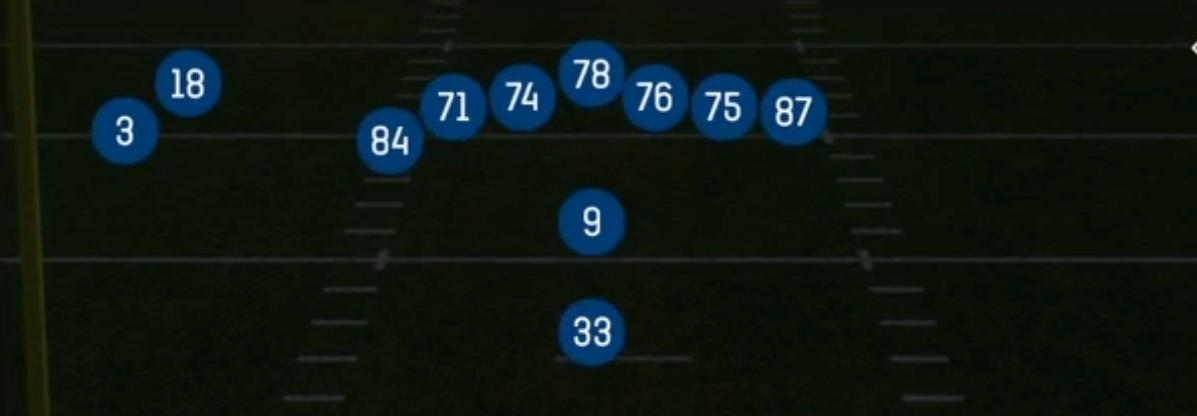
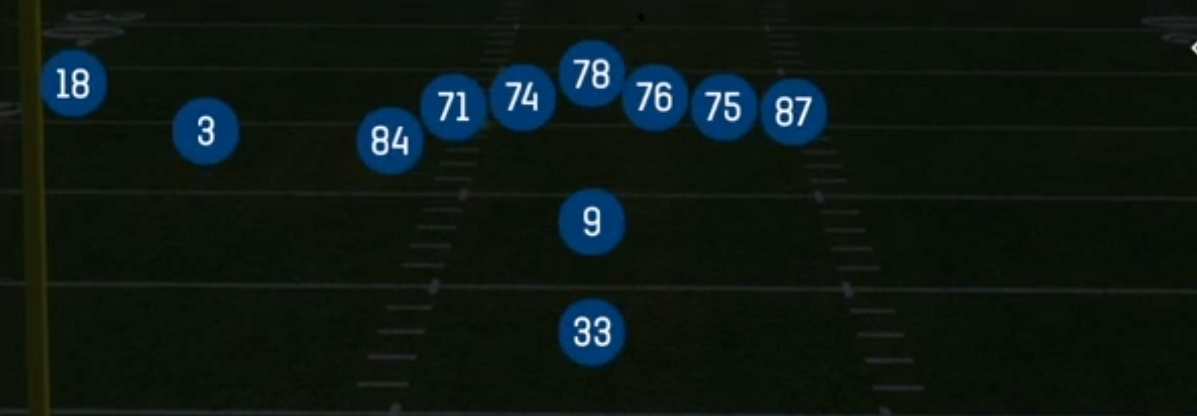
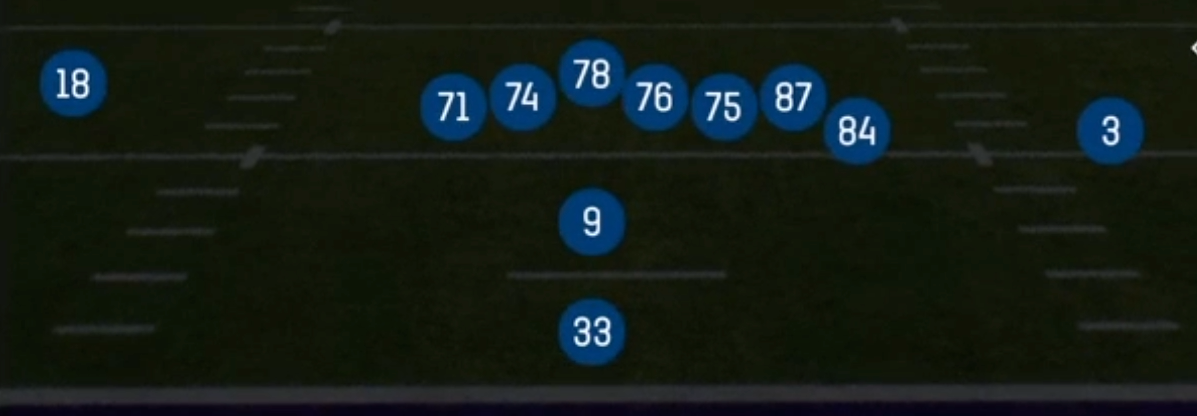
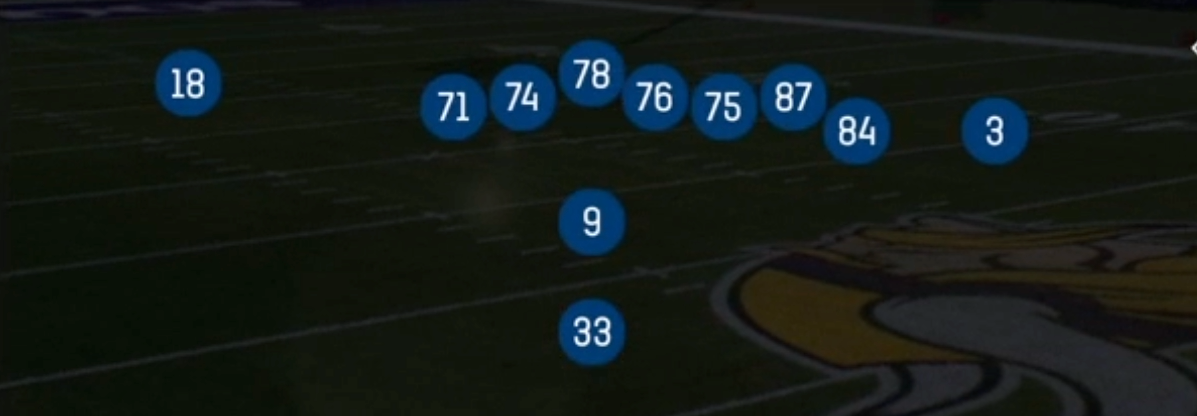
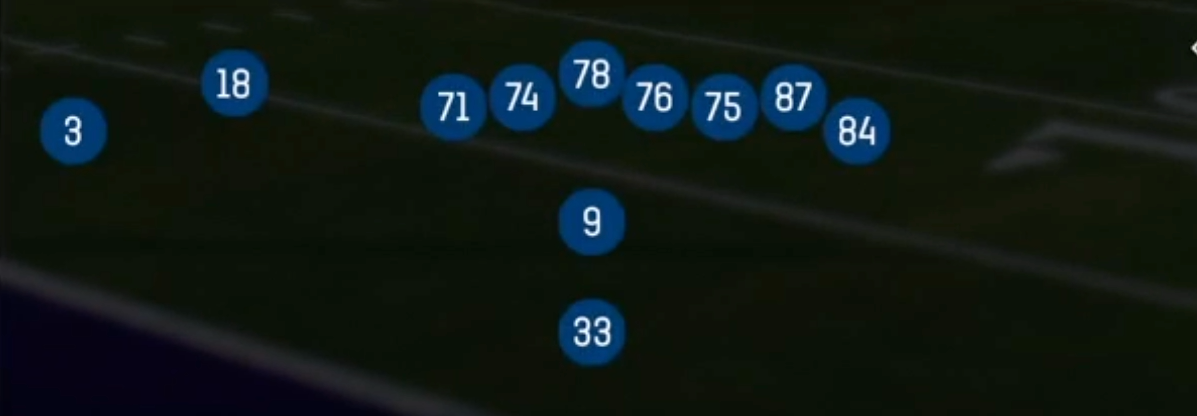
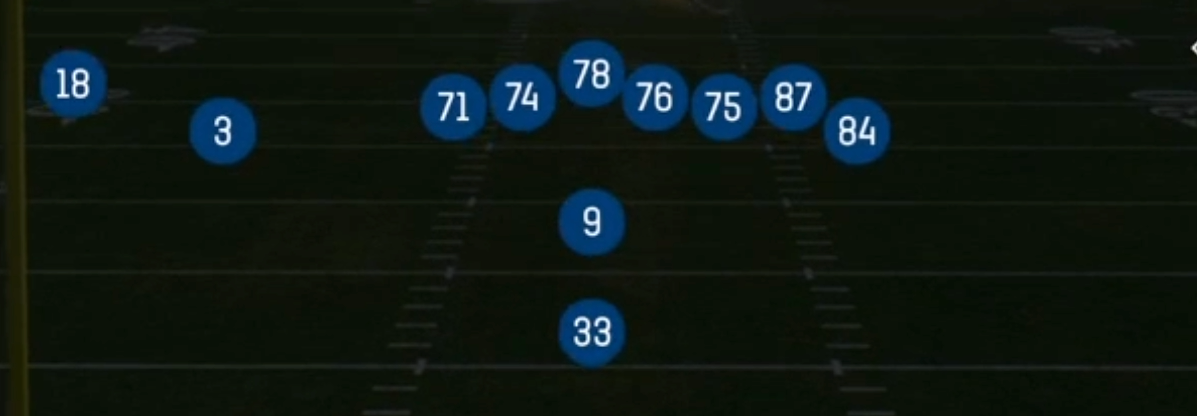
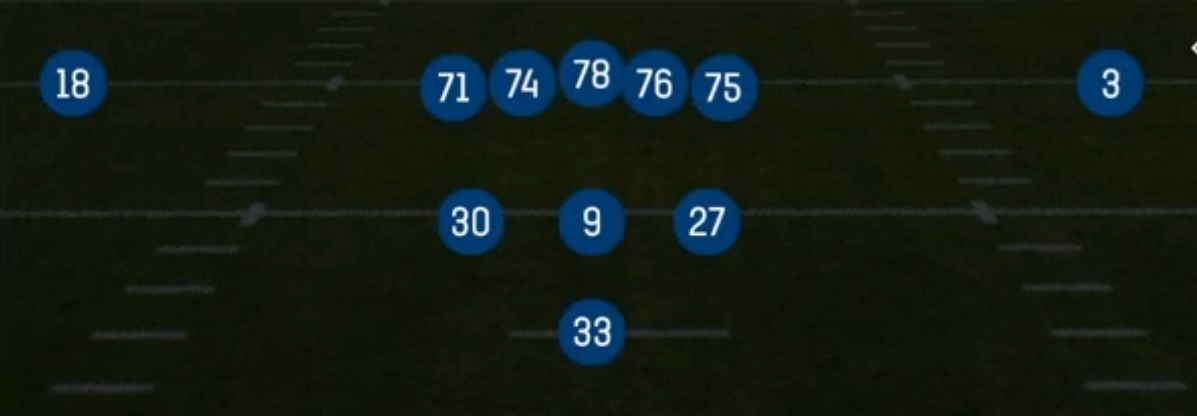
Wing Flex Close is a 12 personnel look out of the Pistol that puts one tight end on the wing just off the edge of the line and flexes the second tight end tight to the formation in a close slot alignment, with two receivers spread outside. The Wing Flex sets in the Pistol generally spread the formation, but this Close variation condenses the tight ends near the box. That gives you extra gap control and a sixth blocker at the point of attack while still showing a legitimate two-receiver passing structure. The ball carrier stays aligned directly behind the quarterback, so the defense cannot key run direction off the back's alignment, and the downhill angle makes Wide Zone and HB Zone Wk hit faster than they would out of Shotgun.
The set is built around eye candy. Jet motion drives RPO Read Jet Slide, Jet RPO Read Slide, Jet Pass Fk Zone, and Zone Fake Jet, which force linebackers and safeties to declare their run fits before the snap. Once defenders start flowing with the jet, PA Boot Lt, PA Boot Y Sail, and PA Flood leave the backside wide open. The flexed tight end is the key matchup piece. Defenses usually answer 12 personnel with base personnel, which leaves a linebacker covering a flexed TE on Mtn Fork H-Choice, Stick, or Spacing. If they go nickel to match the receivers, you run Wide Zone and Speed Option at a lighter box.
The Mtn (Mountain) concepts add a vertical dimension that many condensed run sets lack. Mtn Dig Go's and Mtn Slot Comeback isolate the outside receivers against corners who are sitting on the run and jet fakes. Combined with quick game like WR Under and Zone Alert WR Screen, the set lets a 3DRB or Power HB carry the offense while the tight ends make every coverage shell defend both run and pass on the same snap.
Strengths
- Jet motion on RPO Read Jet Slide and Jet RPO Read Slide stresses the flat defender and hook players, so the correct read is often decided before the snap based on who chases the motion.
- 12 personnel forces base defense, creating linebacker on tight end matchups for the flexed TE on Mtn Fork H-Choice, Stick, and Spacing, which are elite man beaters against Cover 1 and Cover 0 looks.
- The wing TE seals the edge on Wide Zone, HB Zone Wk, and Speed Option, giving a Power HB or 3DRB a clean cutback lane and punishing defenders who overplay the jet.
- PA Boot Lt, PA Boot Y Sail, and PA Flood create three-level flood reads that beat Cover 3 and Cover 4 once safeties start triggering downhill on the run fake.
- Mtn Dig Go's and Mtn Slot Comeback provide real vertical and intermediate threats outside, so single-high defenses selling out against the run get beaten over the top.
Weaknesses
- The condensed tight end alignment brings extra defenders near the box, so a nano blitz off the edge or a Cover 0 overload can arrive before boot and flood concepts develop.
- A user-controlled linebacker or spy who drops into the middle hook and ignores the run fake can take away the dig, the stick, and the TE sit routes that the set relies on.
- Only two true receivers are on the field, so heavy man press with a single-high safety can bracket them. This limits quick outs against aggressive zone coverage when the TEs are slow.
- Jet motion becomes a tell when overused. Opponents who read the motion tendency can shade their user toward the jet side and blow up Jet Pass Fk Zone and Zone Alert WR Screen.
- Speed Option and the RPO reads depend on QB decision speed and ball carrier vision. A mobile edge defender with high pursuit can collapse the pitch and give-read lanes if the QB lacks speed.
Usage Tips
Pre-snap, count the box. With six or fewer defenders, check to Wide Zone or HB Zone Wk. With seven or more and a single-high safety, audible to Mtn Dig Go's or PA Boot Y Sail to attack the vacated deep areas.
On 3rd and short, use Stick or Mtn Fork H-Choice and hot route the flexed TE to a slant if you read man coverage. The TE's size advantage over a linebacker is your easiest conversion.
Establish Jet RPO Read Slide and Zone Fake Jet early in the game. Then call PA Boot Lt or PA Flood from the same look once safeties and hook defenders start triggering on the motion.
Against heavy blitz looks, hot route the running back to a block, or audible to Zone Alert WR Screen and WR Under to get the ball out quickly and make the pressure pay.
In the red zone, the tight end alignment is ideal for PA Boot Y Sail and Spacing. Condensed splits create natural traffic that frees the flexed TE against man coverage near the goal line.
Plays (17)
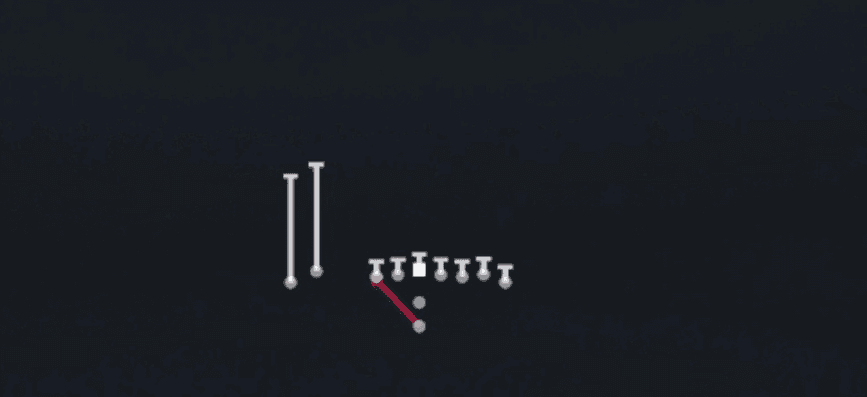 HB Zone WkInside Zone, Run Play, Zone Run
 Jet Pass Fk ZoneMotion, Run Play
- Jet RPO Read SlideSlide, RPO, Motion +3
 Mtn Dig Go'sDig, Go, Motion +5
 Mtn Fork H-ChoiceOption Route, Motion, Pass Play +3
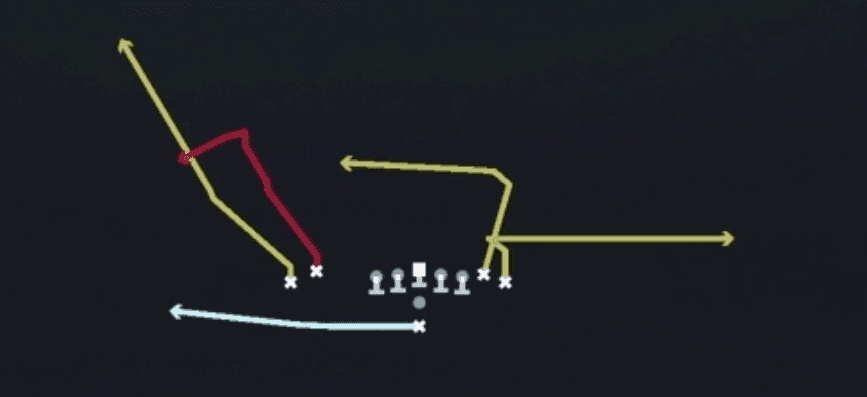 Mtn Slot ComebackComeback, Motion, Pass Play +4
 PA Boot LtPlay Action, Pass Play, Corner +4
 PA Boot Y SailPlay Action, Sail, Pass Play +7
 PA FloodPlay Action, Flood, Pass Play +5
 RPO Read Jet SlideSlide, RPO, Motion +2
 SpacingSpacing, Pass Play, Cover 3 Beater +5
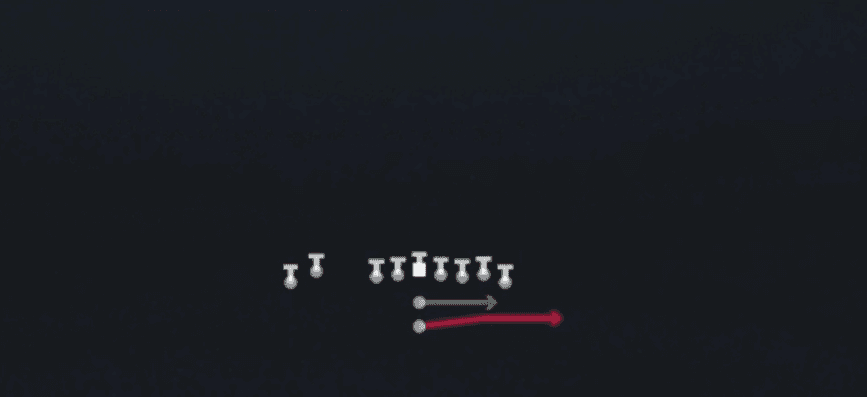 Speed OptionSpeed Option, Run Play
 StickStick, Stick Concept, Pass Play +2
 Wide ZoneOutside Zone, Run Play, Zone Run
 WR UnderPass Play, Go, Seam +9
 Zone Alert WR ScreenScreen Pass, Wr Screen, Pass Play +1
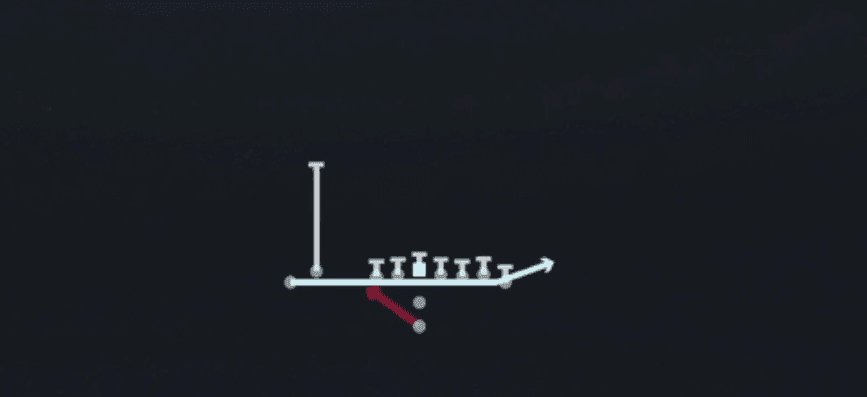 Zone Fake JetMotion, Run Play