Playbooks
At a Glance
In 2 playbooks
Overview
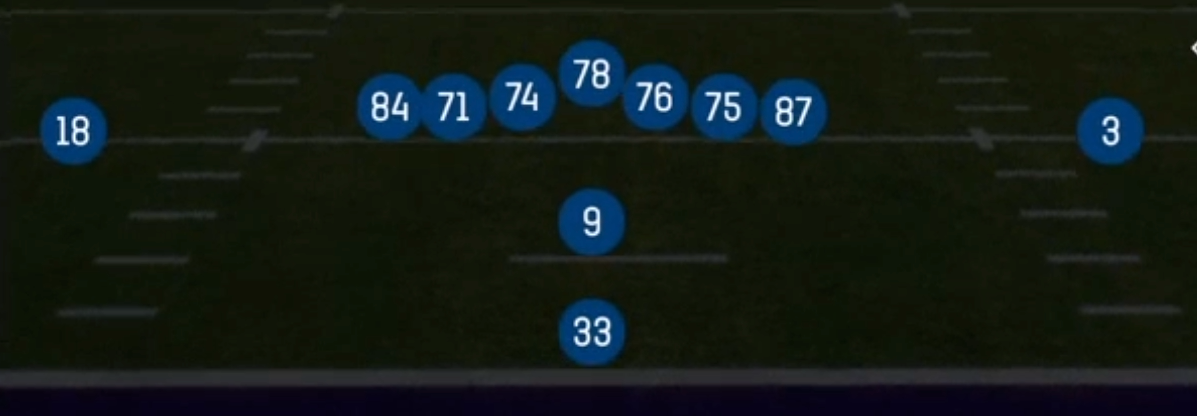
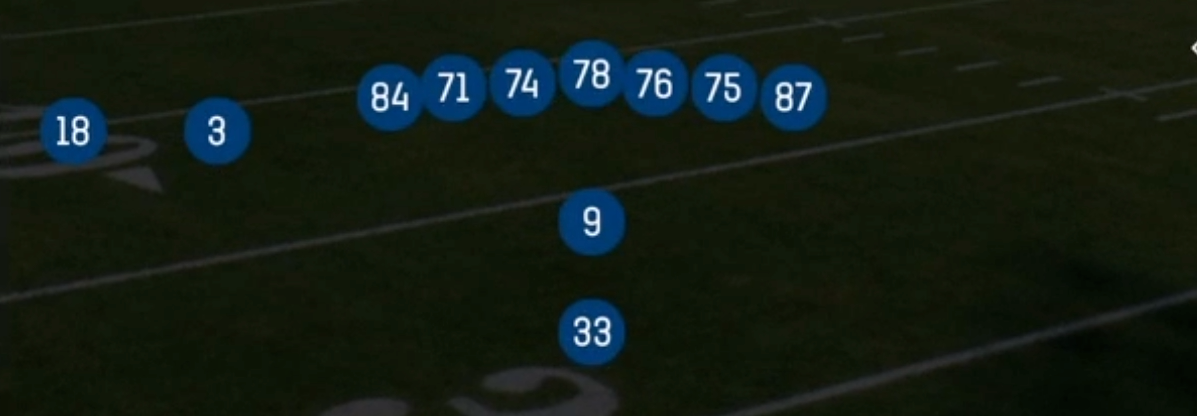
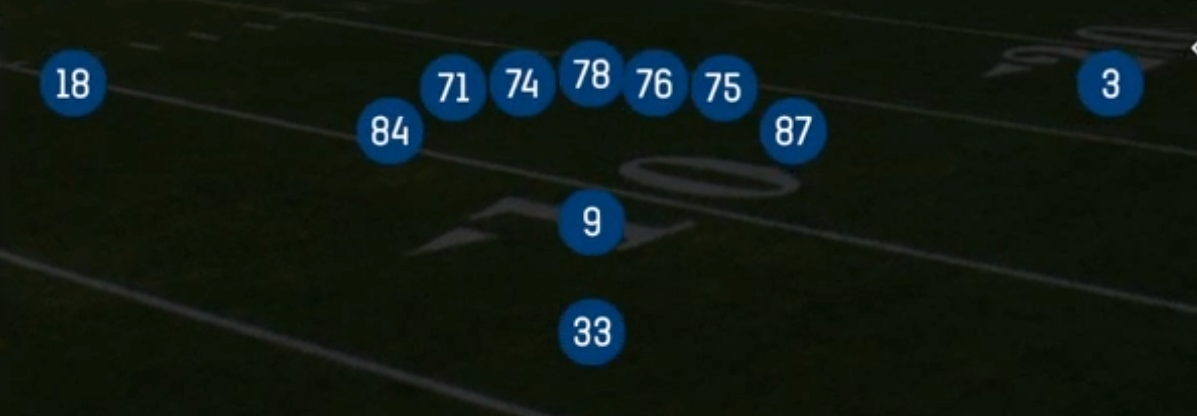
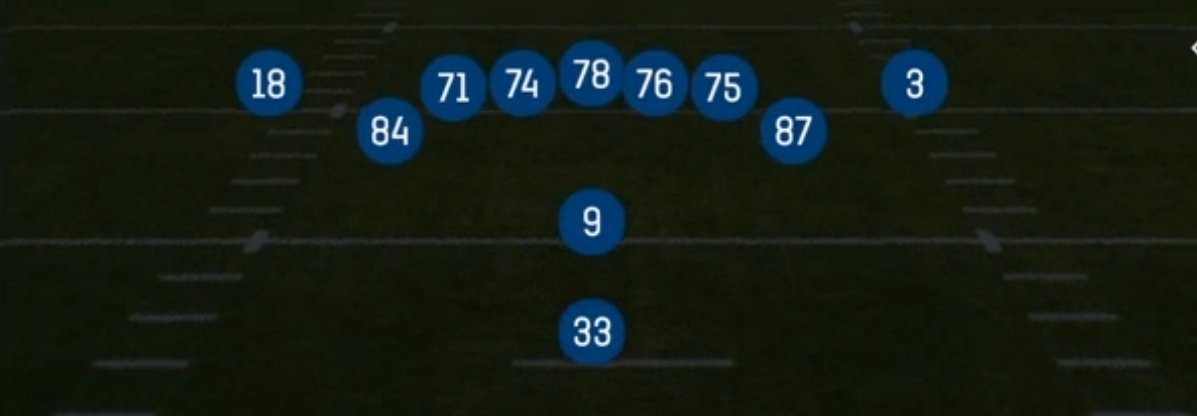
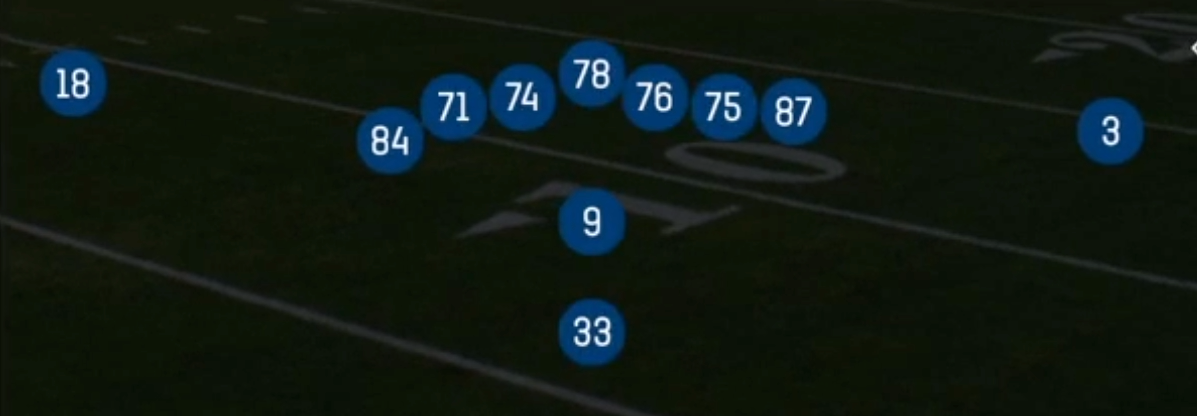
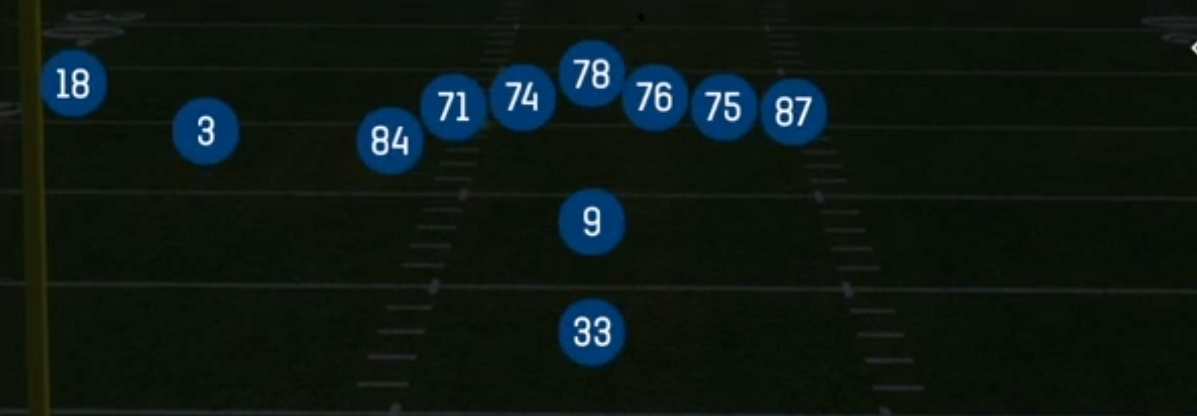
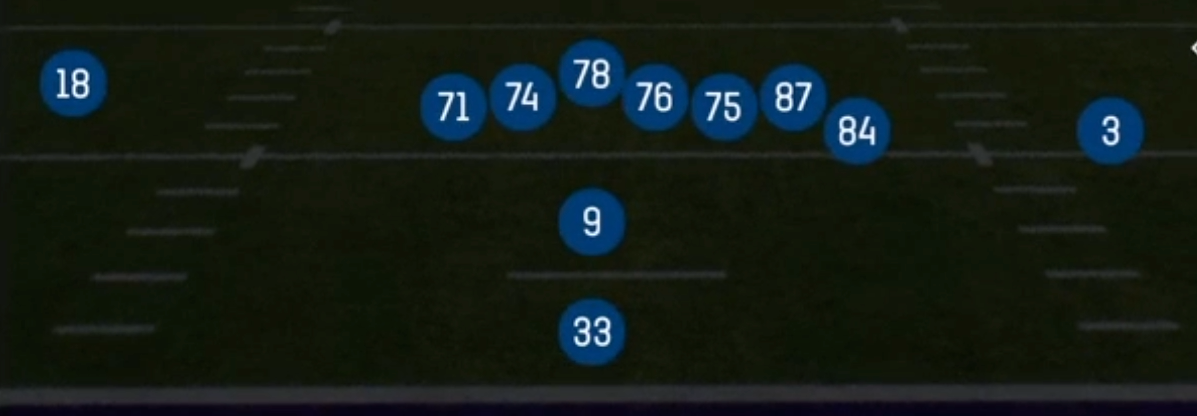
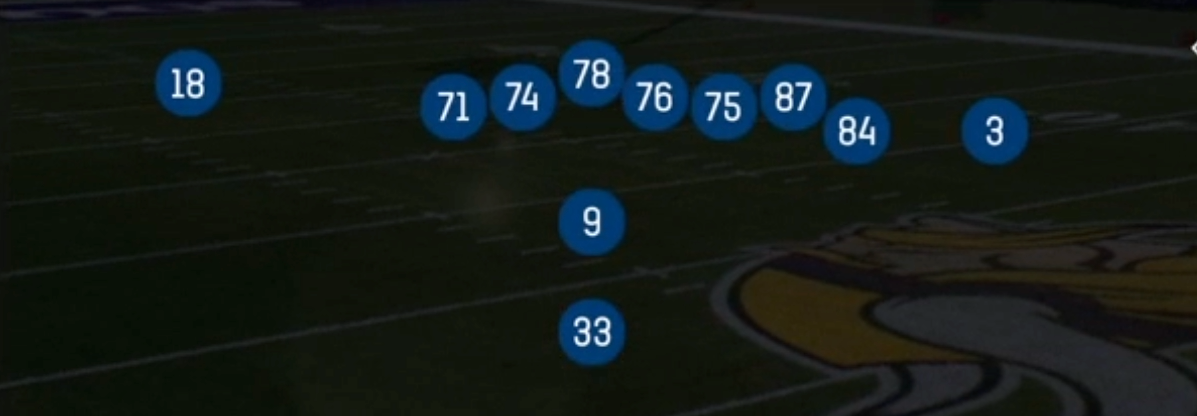
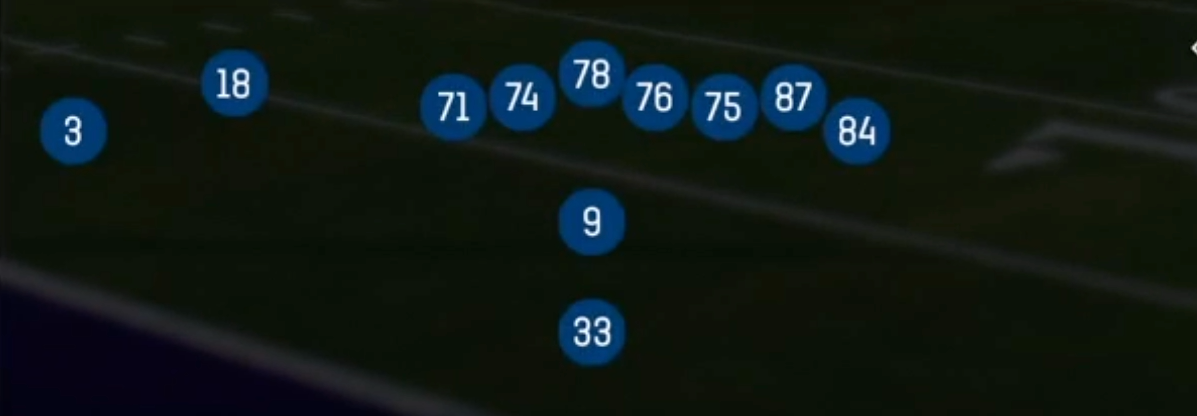
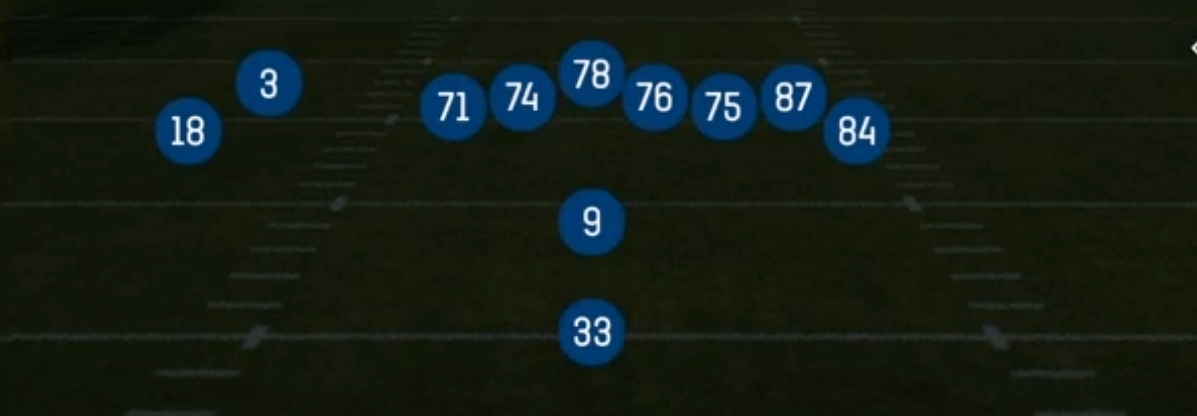
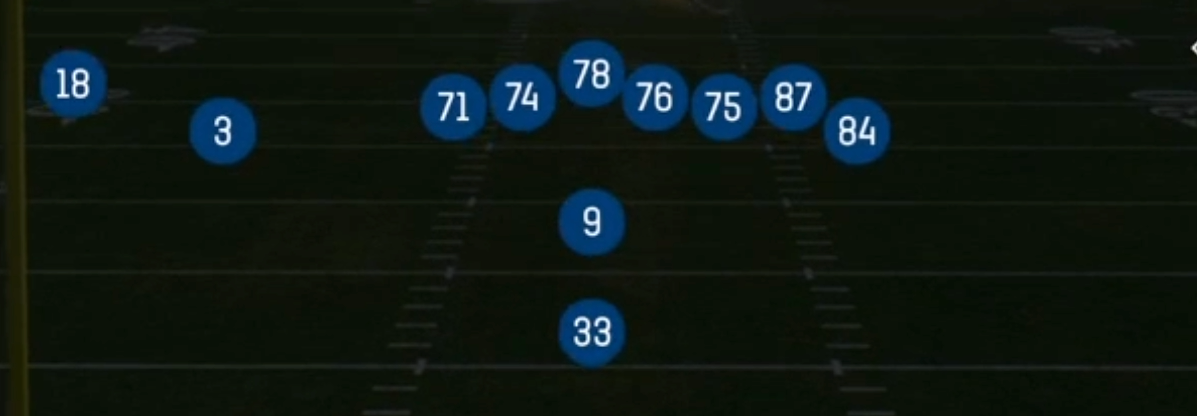
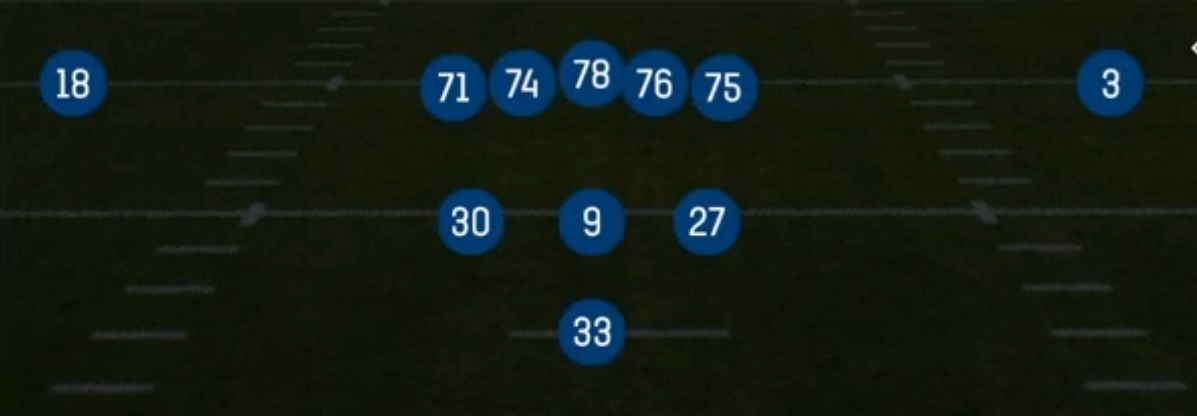
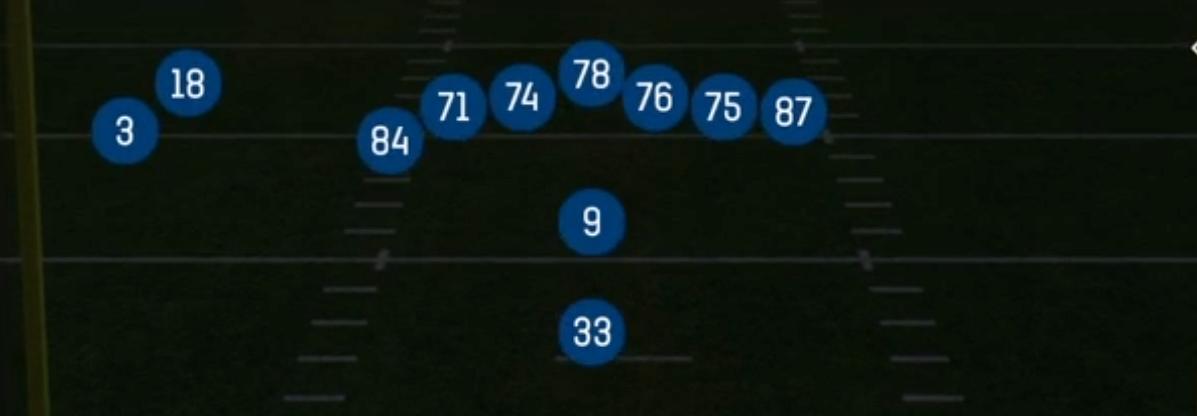
U Off Stack is a 12 personnel look in the Pistol formation built around one tight end aligned off the ball as a U (a movable wing or H-back type) and a stacked receiver alignment that forces the defense to declare its coverage rules before the snap. Most Pistol sets lean either spread or heavy. This one keeps two tight ends on the field and still presents a stacked release to the defense. The inline Y anchors the edge. The off-ball U can arc, split zone, or leak into the flat. The stack gives the offense natural rub and release advantages against press man, and the running back sits behind the QB at pistol depth, so run and play-action share the same downhill mesh.
The U's alignment is what separates this set from standard Pistol Strong or Twin TE looks. Because he starts off the line, he can cross the formation on Inside Zone Split to kick out the backside end, then run the same path on PA Boot and settle in the flat. That shared footwork makes the zone run game and the bootleg game look identical on the first two steps, which punishes run fits that key the tight end. The stack creates leverage conflicts: defenders must choose in or out alignment, and the point man or the trailing receiver usually wins a free release.
The play list covers a full offense. HB Zone, HB Stretch, and Inside Zone Split handle the run game. PA Flood Out, PA Corner Dig, and PA Boot are the high-low and three-level shots off that action. Dash Flood moves the pocket, HB Slip Screen punishes pressure, and DBL Post attacks single-high safeties. Against base personnel you get favorable box counts. Against nickel, a Power HB or 3DRB back gets lighter defenders in the fits, and the U tight end gets a linebacker or safety matchup in the flat and seam.
Strengths
- Inside Zone Split and PA Boot share the U tight end's crossing path, so defenders who read the U on the run get stranded when he leaks to the flat on the boot
- The stack alignment beats press man by creating natural rubs and free releases, making PA Corner Dig and DBL Post strong man beaters when a cornerback is forced to jam the point receiver
- PA Flood Out and Dash Flood produce true three-level floods that stress Cover 3 and Cover 3 Buzz, with the flat, out, and deep route overloading the cloud corner and the curl flat defender
- DBL Post splits single high safeties in Cover 1 and Cover 3 Sky, and hot routing the backside receiver to a drag gives a built-in underneath check if the safety drops the middle
- 12 personnel with a Power HB forces base defense or a light box, and HB Zone, HB Stretch, and Inside Zone Split give three distinct run tracks from one look, keeping the defense honest for play-action
Weaknesses
- With two tight ends and a back in the pistol, there are only two true wide receivers, so Cover 2 Man and 2 Man Under can blanket the stack and take away quick outside throws
- Play-action and Dash Flood take time to develop, and edge pressure from a sim or nano blitz off the boot side can arrive before the flood routes clear
- A user-controlled linebacker or safety sitting in the flat or hook zone can jump the U's leak on PA Boot and the flat route on PA Flood Out, since those are the first reads in the progression
- The stack is easy to identify pre-snap, so opponents can bracket it with in and out leverage or a banjo call, taking away both receivers without a coverage bust
- Stretch and zone runs to the wide side can be spilled by a loaded front with the safety rotating down, and the limited formation width makes it harder to punish an overcommitted box with a quick outside throw
Usage Tips
Establish HB Zone and Inside Zone Split early on first and second down to set up linebacker run fits, then call PA Boot or PA Flood Out off the same look when you see the second level crashing downhill
Read the stack pre-snap: if the corners press or align in trail, check to DBL Post or PA Corner Dig to exploit the rub and free release. If they play off and bail, take the quick flat or run HB Stretch
Against blitz-heavy opponents showing six or more rushers, audible to HB Slip Screen, or hot route the U tight end to block on PA plays to buy time against edge pressure
Use Dash Flood on third and medium against Cover 3 to move the pocket away from a nano blitz side and get a clean read on the flood, taking the out route if the flat defender widens
In the red zone, motion the U to adjust run fits and use PA Corner Dig or PA Flood Out when defenses load the box against 12 personnel, since the corner route has space to the pylon
Plays (9)
 Dash FloodFlood, Pass Play, Cover 3 Beater +5
 DBL PostPost, Double Posts, Pass Play +4
 HB Slip ScreenScreen Pass, Hb Screen, Pass Play +3
 HB StretchOutside Zone, Run Play, Zone Run
 HB ZoneInside Zone, Run Play, Zone Run
 Inside Zone SplitInside Zone, Run Play, Zone Run
 PA BootPlay Action, Pass Play, Block and Release +3
 PA Corner DigPlay Action, Dig, Corner +2
 PA Flood OutPlay Action, Flood, Pass Play +3