Playbooks
At a Glance
In 14 playbooks
Overview
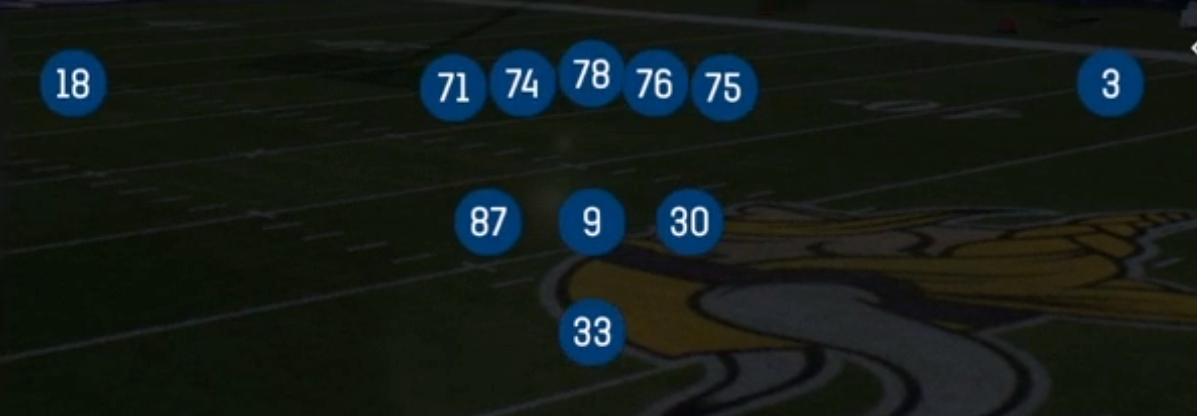
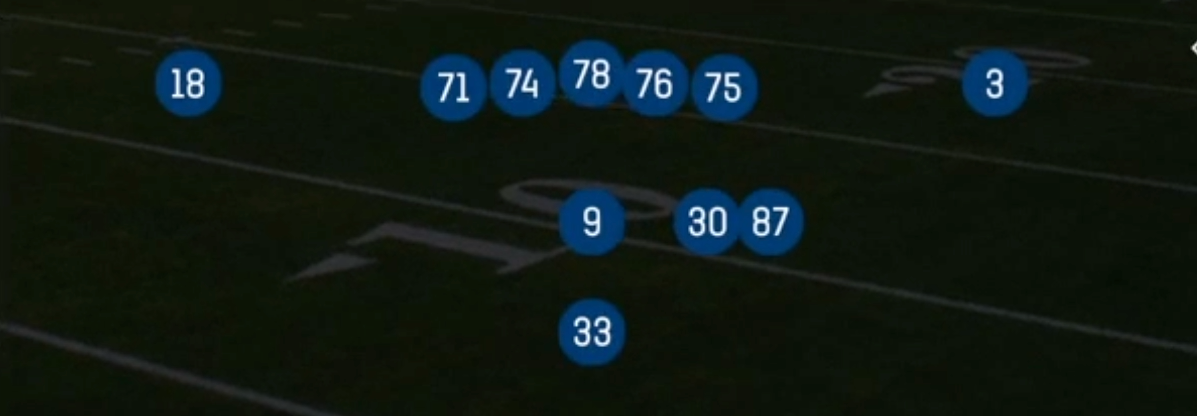
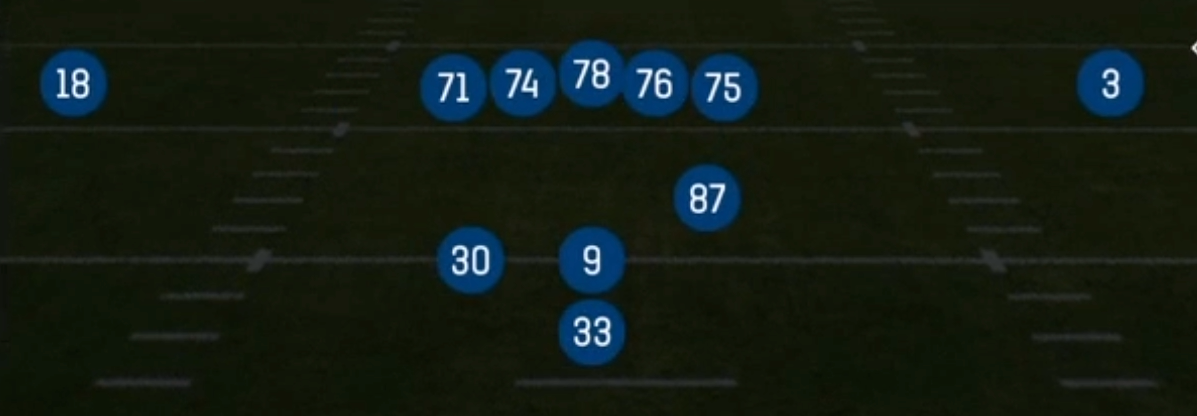
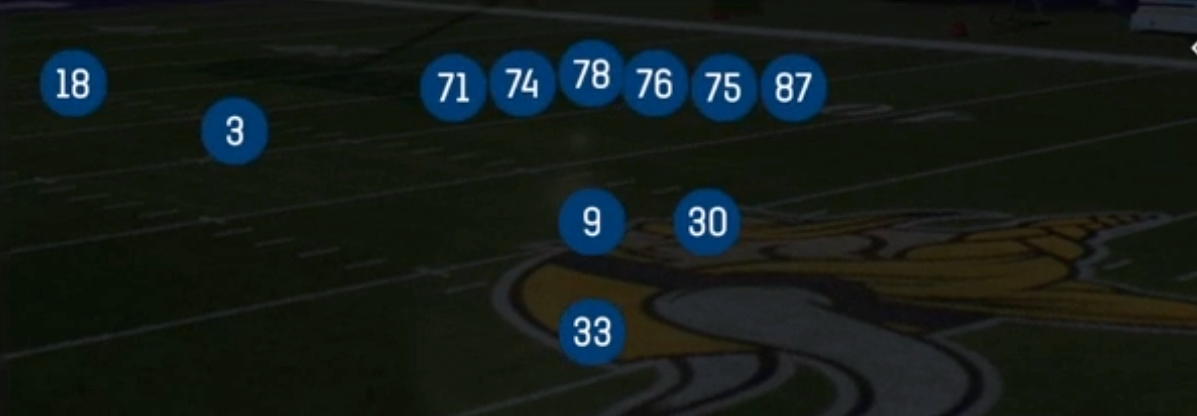
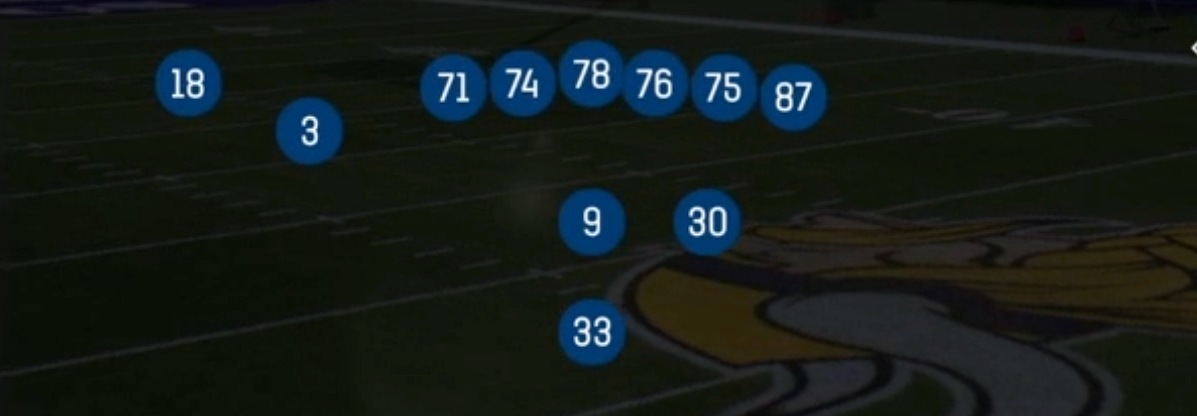
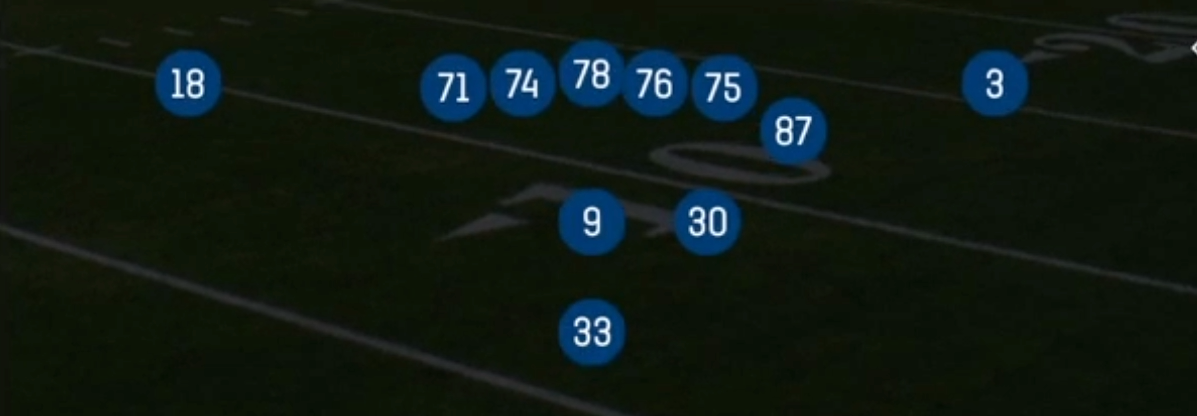
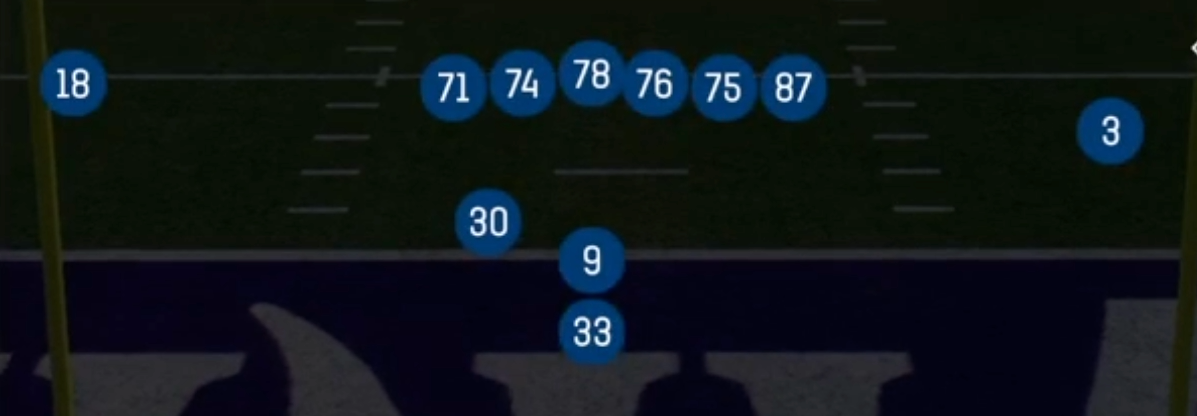
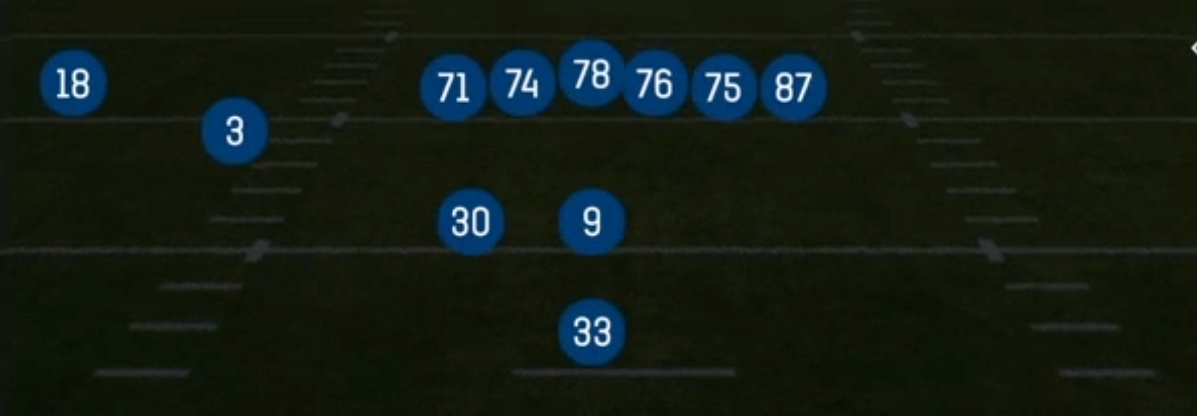
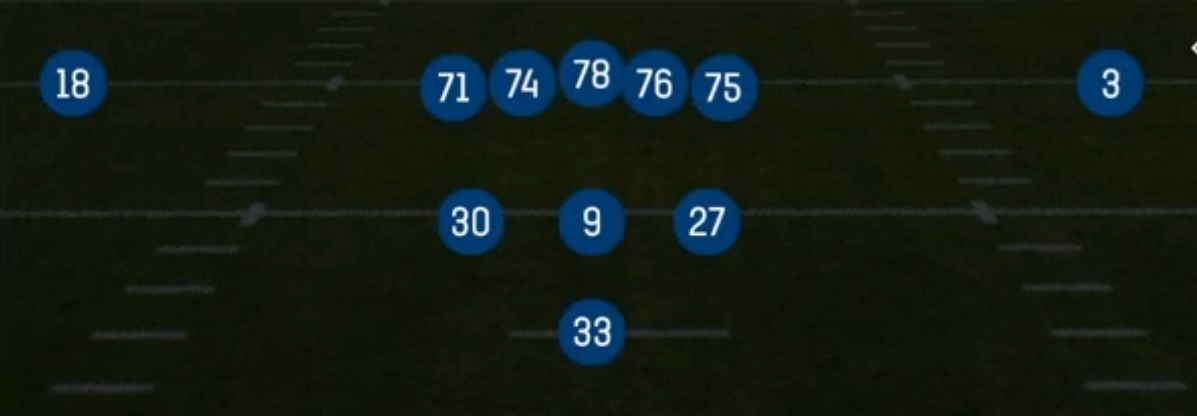
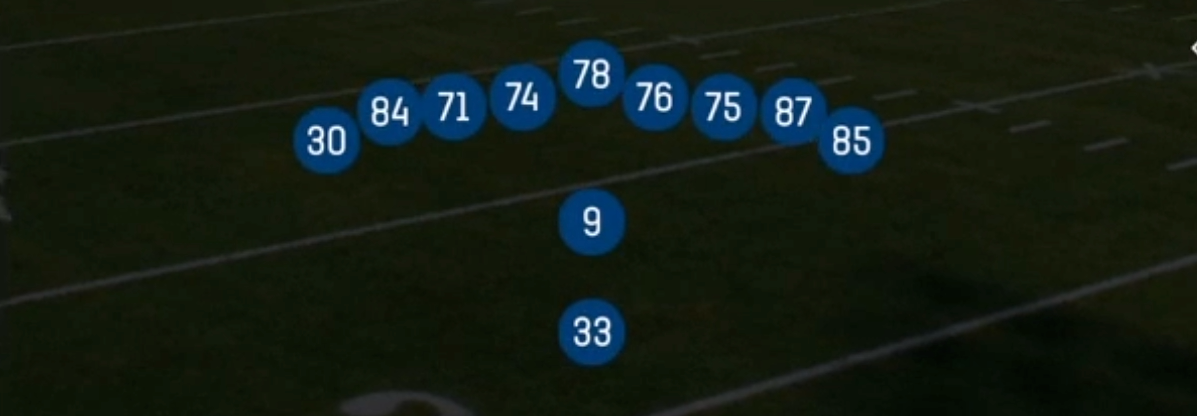
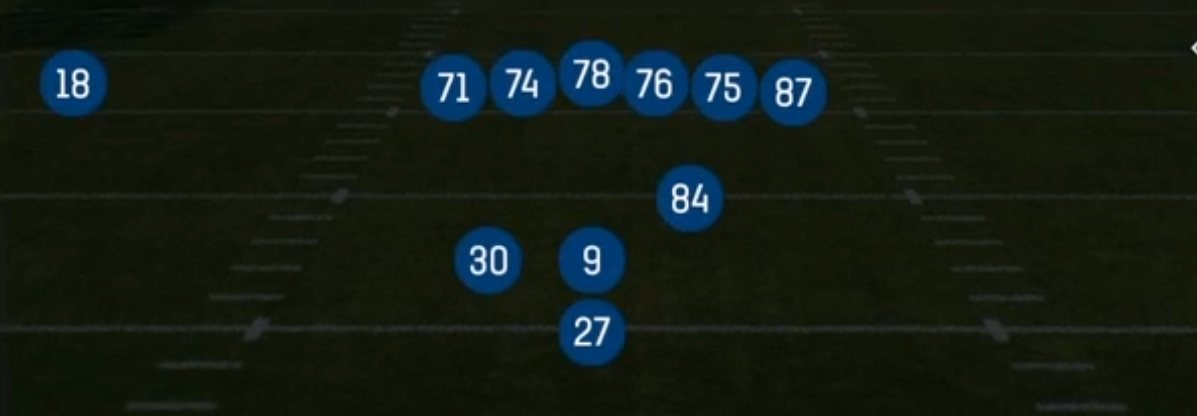
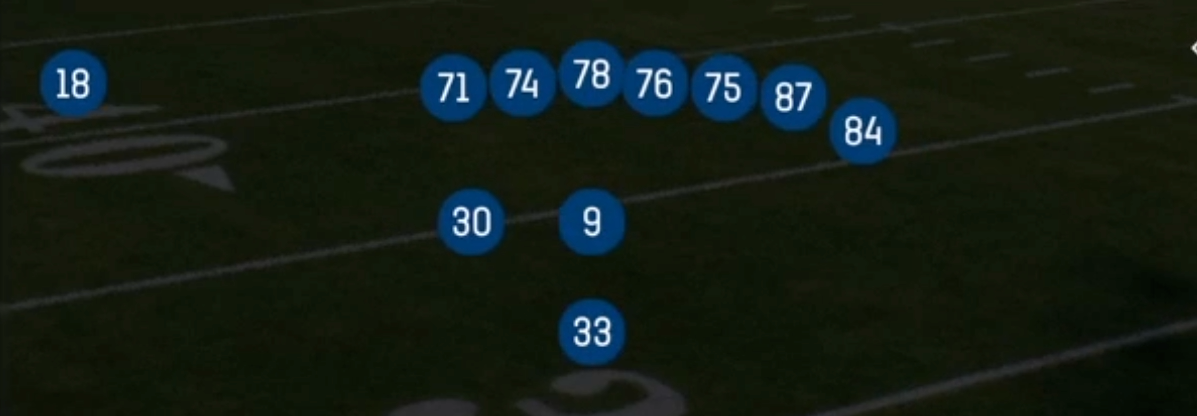
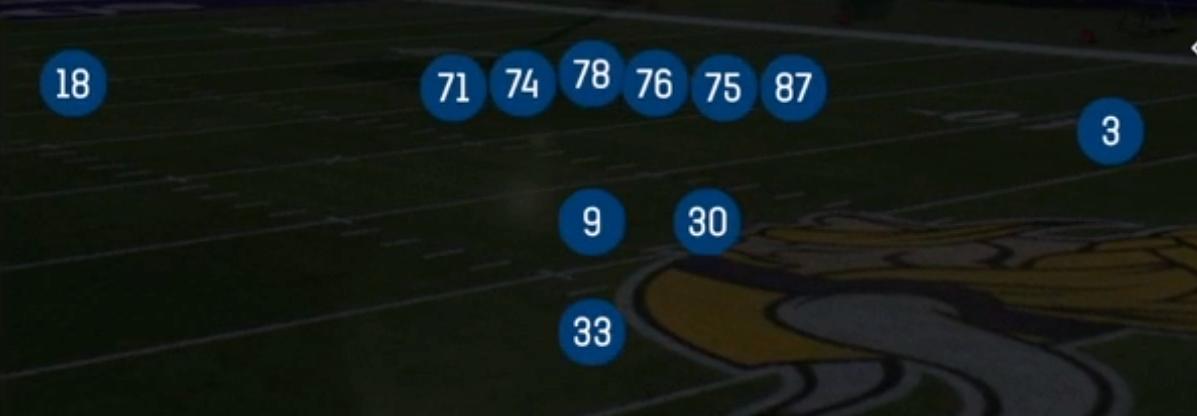
Pistol Strong puts the quarterback at pistol depth with the halfback aligned directly behind him and the fullback offset to the tight end side, pairing an inline TE with two receivers split wide. That offset fullback is what separates Strong from the other Pistol sets. It gives you an extra gap blocker at the point of attack, a lead back for power and option schemes, and a strength call that forces the defense to declare how it will fit the strong side before the snap. The pistol depth lets the HB take downhill handoffs to either side, so the defense cannot key the stance or alignment the way it can against a traditional offset I.
The 21 personnel package (2 RB, 1 TE) pulls most opponents into base or heavier defensive personnel, which is where the set earns its Gadget tag. Triple Option, Power Option, Tr Opt Switch, F Lead Read Option and the Orbit motion series (Orbit Lead Triple Option, Orbit HB Power G, Orbit PA Power G, Orbit PA Wheel) create multiple ball carriers from one look and force the defense to account for the dive, the QB keep and the pitch. When linebackers and safeties start sitting on those run fits, the two wide receivers get isolated on corners with little help.
On top of the run game, the play art layers in RPO alerts (HB Stretch Alert X Lookie, HB Blast Alert X Smoke), play-action shots (PA Flood, PA Boot Lt, Mtn PA Y Corner, PA Corner HB Slip) and a quick game menu (Slants, Spacing, Z Spot, X Post, 494 F Flat). The same heavy look can punish a loaded box with the pass, punish a light box with Ravens Power or HB Counter, and give you answers on every down without subbing personnel.
Strengths
- The option package (Triple Option, Orbit Lead Triple Option, Power Option, Tr Opt Switch) forces the CPU and user defenders to cover dive, keep and pitch, so a single missed assignment by the edge defender turns into a chunk run.
- The offset FB gives you a true lead blocker on HB Power O, Ravens Power and Orbit HB Power G, which wins the numbers game at the point of attack against 4-3 and 3-4 base fronts that only match 21 personnel with 7 in the box.
- PA Boot Lt and PA Flood sell hard strong-side run action, then flood the weak side or the sideline with high, intermediate and flat levels that beat Cover 3 and Cover 4 once safeties start triggering on the run.
- RPO alerts on HB Stretch Alert X Lookie and HB Blast Alert X Smoke let you read press or off alignment on the X receiver pre-snap and throw the quick look or smoke screen against off coverage without taking a run into a stacked box.
- The quick game (Slants, Spacing, Z Spot, X Post) gives you man and zone beaters from a heavy look, so opponents who stay in base personnel to stop the run end up with linebackers covering slants and spacing concepts.
Weaknesses
- Only two wide receivers means limited five-out spread concepts, and a Cover 1 Robber or Cover 0 with safeties rotated down can blanket both WRs while still outnumbering your run blockers.
- The offset FB telegraphs strength, so a user linebacker or safety who pinches to the strong side pre-snap can blow up power, lead and stretch plays before the pulling guard or FB arrives.
- Option plays are vulnerable to Commit QB contain and a user defender playing the pitch man, and a mistimed pitch against a fast edge rusher is a real turnover risk in close games.
- Orbit motion and pistol-depth play action take extra time to develop, so a weak-side edge blitz or a nano pressure off the boot side can sack the QB before PA Boot Lt or Orbit PA Wheel gets to its deep read.
- Opponents who sub into dime while still stunting the front can match your receivers with speed and trust the defensive line to hold up against 21 personnel runs, forcing you to win with a limited pass menu.
Usage Tips
Count the box pre-snap: with 6 or fewer defenders, call HB Power O, HB Counter or Ravens Power, and with 7 or more hit PA Flood, Mtn PA Y Corner or an RPO alert to punish the loaded front.
Build your audibles around Triple Option, PA Boot Lt, Slants and HB Counter so you can flip between run, play action and quick game from the same Pistol Strong alignment based on the coverage shell.
On short yardage and goal line, lean on HB Dive Wk, F Lead Read Option and Ravens Power, then call RZ Mtn PA Crossers inside the 10 when the defense sells out for the run in man coverage.
Use the Orbit motion to diagnose coverage: if a defender runs with the motion man it is man, so check to Slants or Orbit PA Wheel, and if the defense shifts over it is zone, so work Spacing or PA Flood.
When the opponent keeps sending weak-side pressure, hot route the FB to a block or slide protection toward the boot side before calling PA Boot Lt, and use HB Slip Screen to punish repeated blitzes.
Plays (37)
 494 F FlatFlat, Pass Play, Curl +2
- Fl DriveDrive, Pass Play, Cover 4 Beater +5
 F Lead Read OptionRead Option, Run Play
 HB Blast Alert X SmokeIso, Run Play, Power Run +2
 HB CounterCounter, Run Play, Power Run
 HB Dive WkDive, Run Play
 HB Off TackleOff Tackle, Run Play
 HB PowerPower, Run Play, Power Run
 HB Power OPower, Run Play, Power Run
 HB Slip ScreenScreen Pass, Hb Screen, Pass Play +3
 HB StretchOutside Zone, Run Play, Zone Run
 HB Stretch Alert X LookieOutside Zone, Run Play, Zone Run +2
- HB ZoneRun Play
 Inside Zone SplitInside Zone, Run Play, Zone Run
 Mtn HB ZoneMotion, Inside Zone, Run Play +1
 Mtn PA Y CornerPlay Action, Corner, Motion +5
- Orbit HB PowerRun Play
- Orbit HB Power GRun Play
- Orbit HB StretchRun Play
- Orbit Lead Triple OptionRun Play
- Orbit PA Power GAngle, Drag, Crosser +5
- Orbit PA WheelWheel, Deep Cross, Crosser +5
 PA Boot LtPlay Action, Pass Play, Comeback +4
 PA Corner HB SlipPlay Action, Pass Play, Deep Cross +4
 PA FloodPlay Action, Flood, Pass Play +5
 Power OptionPower, Run Play, Power Run
- Ravens PowerRun Play
 Read OptionRead Option, Run Play
 RZ Mtn PA CrossersPlay Action, Crosser, Motion +3
 SlantsSlant, Pass Play, Flat
- SpacingSpacing, Pass Play, Cover 3 Beater +4
 Triple OptionTriple Option, Run Play
 Tr Option SlipTriple Option, Run Play
 Tr Opt SwitchTriple Option, Run Play
 X PostPost, Pass Play, In +1
- Zone SplitInside Zone, Run Play, Zone Run
- Z SpotSpot, Pass Play, Cover 3 Beater +3