Playbooks

At a Glance
In 33 playbooks
Overview
Shotgun Trey Y-Flex is a 3x1 look out of 11 personnel. The tight end (Y) is detached from the line and flexed into the trips side as the innermost receiver, the #3, with two wide receivers aligned outside him. A lone X receiver sits on the backside, and the running back is offset next to the quarterback. Standard Gun Trips sets keep the TE attached or put three WRs to one side. Trey Y-Flex instead puts your tight end in a two-way go off the ball, so the defense has to declare how it wants to handle the #3 before the snap. That makes it one of the most information-rich pre-snap looks in the Shotgun formation.
The personnel package is where the matchup advantages come from. Base defenses often answer 11 personnel with nickel. That leaves a linebacker or a safety responsible for a flexed TE who has a free release and space to work the seam, the dig, or the corner. On the backside, the single X receiver is isolated against a corner, often with no safety help, because the defense has to rotate toward trips. The 3DRB and SLWR tags show how this set is built. It gets its best value from a receiving back running Wheels, Angles, and Options, and from a quick slot winning underneath.
Conceptually, the set covers the full modern playbook. You get Flood and Levels variations for zone, Stick, Shock, and Whip concepts for man and matchup, and Mtn (Mountain) shots with choice routes. Several Empty calls motion the back out of the backfield to create 4x1 or 3x2 spreads. The run and RPO menu includes Inside Zone, Outside Zone, Read Option, and HB Draw variants, plus RPO Alert Out, RPO Alert Omaha, and RPO Zone Y Peek. That forces light boxes to respect the ground game. The Gadget tag reflects screen and misdirection calls like Fake Screen Wheel, HB Pump Draw, and PA Draw Choice, which punish aggressive run fits and overplayed flat defenders.
Strengths
- Flood concepts like Titans Flood Switch, Flood Swap, and Titans Cross Flood stress Cover 3 and Cover 4 flat and curl defenders with three levels to the trips side, and the flexed TE gets a clean release into the intermediate window.
- The backside X is routinely isolated when defenses rotate to trips, so SE Corner, Fade Smash, and Slot Post let you take one-on-one shots, and a quick hot route to a fade or slant on the X punishes Cover 1 and Cover 0 looks.
- Man beaters are deep here: Shock H Option, Shock HB Angle, Whips HB Wheel, and Mtn Whip Y-Shake put the 3DRB and flexed TE on linebackers with option and angle routes that break away from leverage.
- A true RPO and zone run package (RPO Alert Out, RPO Alert Omaha, RPO Zone Y Peek, Inside Zone, Read Option) punishes light nickel boxes and forces defenders to commit, which opens play-action calls like PA Crossers and PA Deep Over.
- Empty motion calls (Empty Y Cross, Empty Smash, Empty Stick, Empty Vertical) let you spread the field on the fly, expose blitz tells, and create mismatches with the back split out wide against a linebacker.
Weaknesses
- The 3x1 alignment tells the defense where the strength of the concept is, so opponents can shade coverage to trips with Cover 3 Match, Cover 4 Palms, or trips check coverages and bracket the flexed TE with a user linebacker in the hook zone.
- With the TE detached and only the back in protection, this set is thin against nano blitzes and overloads off the backside edge, especially on longer-developing calls like Verticals, Dagger, and PA Deep Over.
- A user-controlled safety or linebacker sitting in the middle of the field can erase the crossers and digs that concepts like Post Y Dig, WR Cross, and Empty Y Cross rely on, so reading only the first window gets costly.
- Run game physicality is limited because the tight end is not attached, and defenses that play heavy boxes with quarters coverage can spill Inside Zone and Outside Zone without giving up much through the air.
- Empty variants remove your only protector, so a defense that shows a disguised Cover 0 after motion can force quick throws and sacks if you have not built in a hot route answer.
Usage Tips
Before the snap, read the defender aligned over the flexed TE: a linebacker in man points to Shock H Option or Mtn Whip Y-Shake, while a safety rolled down with soft corners points to Flood Swap or Titans Flood Switch against Cover 3.
On 3rd and short to medium, call Stick, Empty Stick, or Stick Nod H-Angle and hot route the X to a slant. That gives you a quick man beater backside and a zone beater to the trips side, so you can throw against either look.
When the defense plays two high safeties with six in the box, stay in RPO Zone Y Peek or RPO Alert Omaha and take what the box count gives you. Once linebackers start triggering downhill, come back with PA Crossers or PA Draw Choice.
If you see blitz pressure off the backside edge, audible to HB Slip Screen, WR Screen, or RPO Zone Alert Screen, or put the RB on a block assignment. That keeps the 3DRB in protection on dropback calls like Dagger and Verticals.
In two-minute and red zone situations, use Levels Y Corner, Levels Out KO, and Fade Smash to attack the sideline and stop the clock, and save Fake Screen Wheel for when opponents start jumping the flat after seeing screens earlier in the game.
Plays (47)
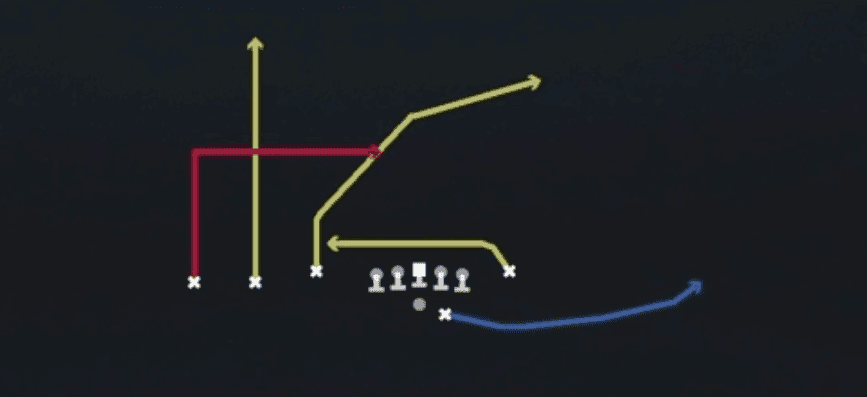 DaggerDagger, Pass Play, Cover 2 Beater +7
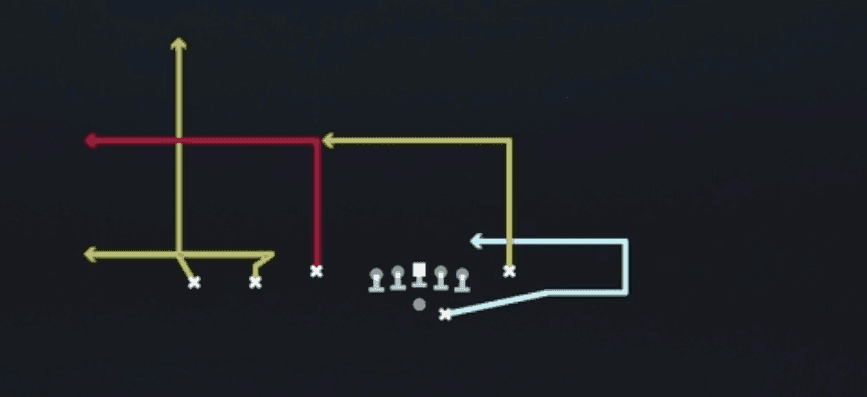 Empty Flood SwitchFlood, Pass Play, Cover 3 Beater +5
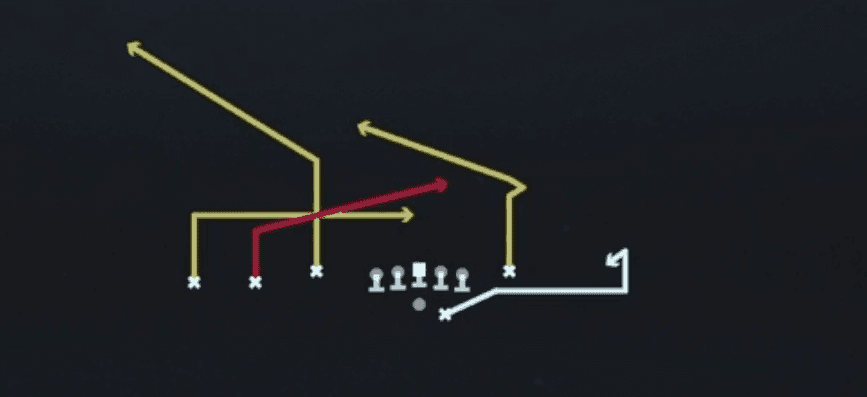 Empty Slot UnderPass Play, Quick Pass, Slant +9
 Empty SmashSmash, Pass Play, Cover 2 Beater +3
 Empty StickStick, Stick Concept, Pass Play +4
 Empty VerticalPass Play, Four Verts, Go +9
 Empty Y CrossY Cross, Pass Play, Crosser +5
- Fade SmashFade, Corner, Hitch +3
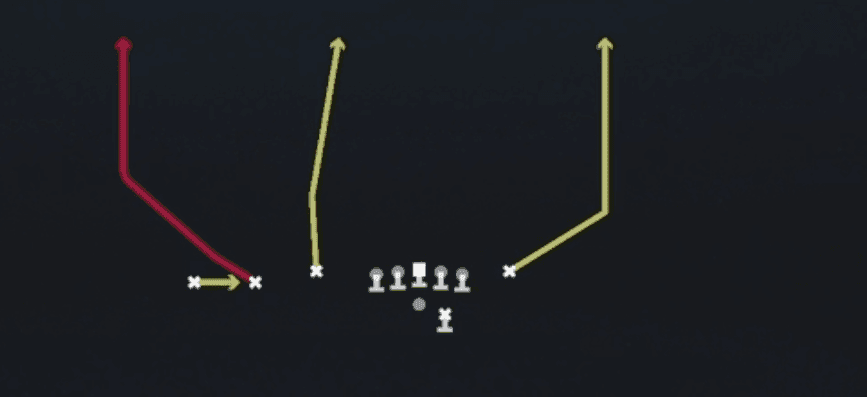 Fake Screen WheelPlay Action, Screen Pass, Wheel +3
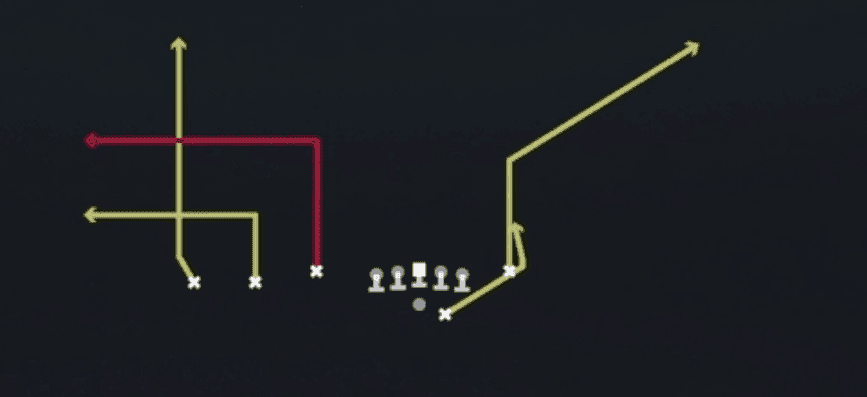 Flood SwapFlood, Pass Play, Cover 3 Beater +4
 HB DrawDraw, Run Play
 HB OptionOption Route, Pass Play, Dig +3
- HB Pump DrawRun Play
 HB Slip ScreenScreen Pass, Hb Screen, Pass Play +3
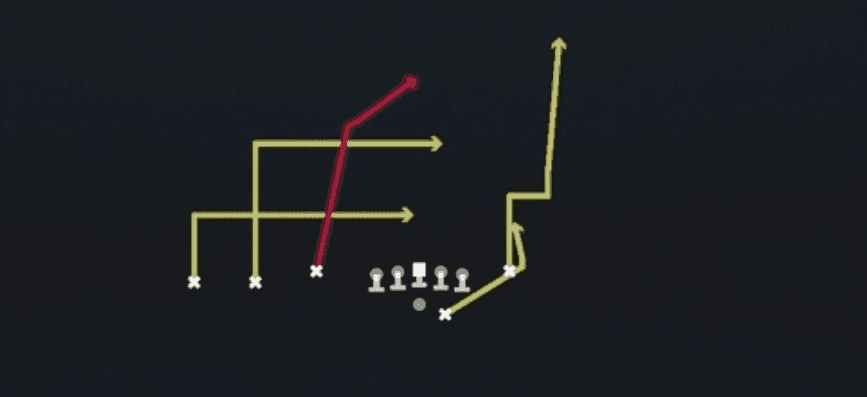 Inside PostPost, Pass Play, Dig +3
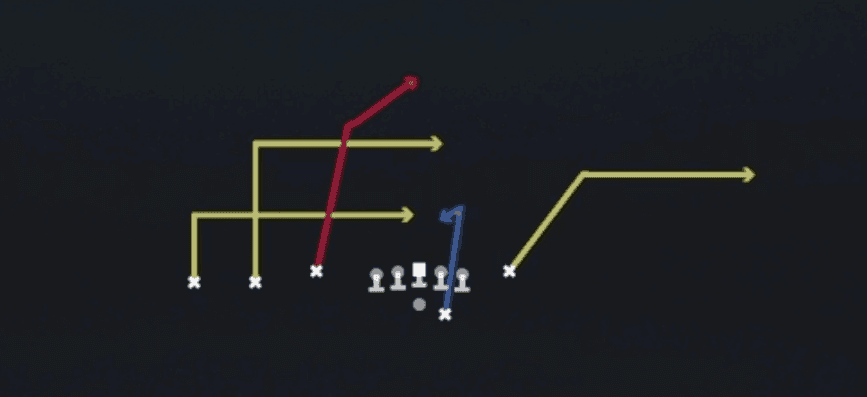 Inside Post OutOut, Post, Pass Play +4
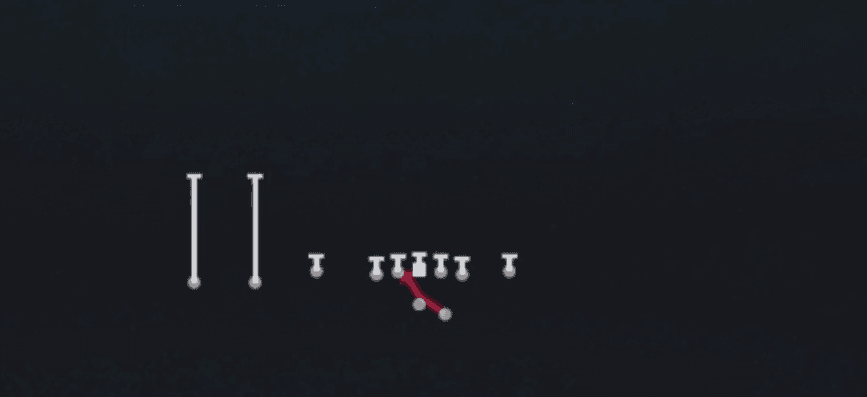 Inside ZoneInside Zone, Run Play, Zone Run
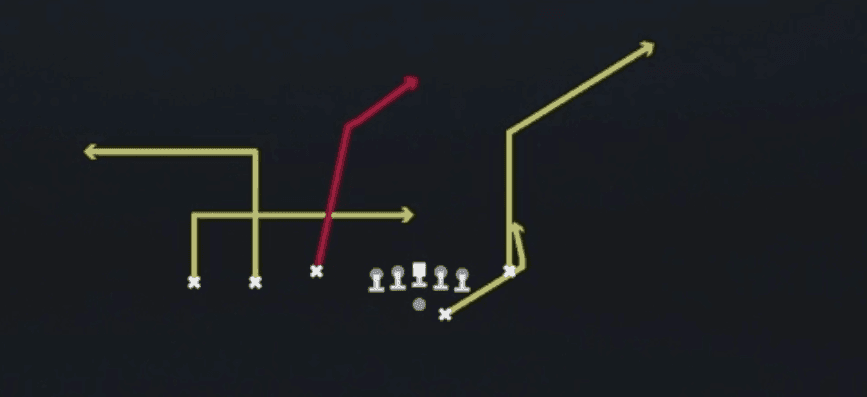 Levels OutOut, Levels, Pass Play +5
- Levels Out KOOut, Levels, Pass Play +4
 Levels Y CornerCorner, Levels, Pass Play +3
- Mtn DBL Outs SwirlOut, Corner, Corner Stop +4
- Mtn Wheels Slot ChoiceWheel, Option Route, Post +2
- Mtn Whip Y-ShakeWhip, Corner, Flat +4
 Outside ZoneOutside Zone, Run Play, Zone Run
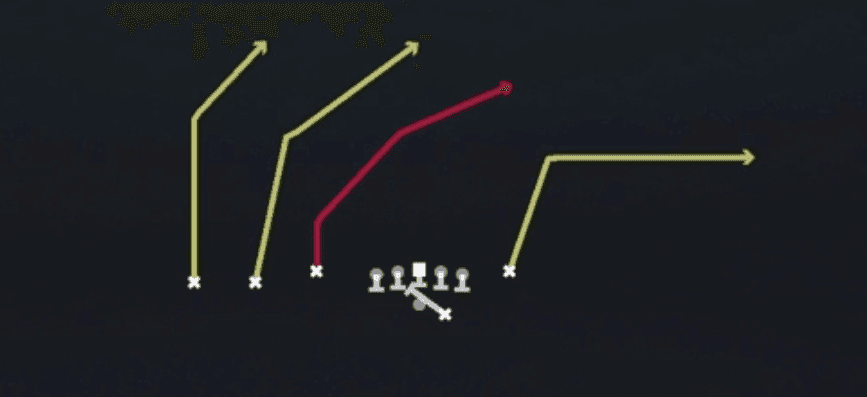 PA CrossersPlay Action, Crosser, Pass Play +3
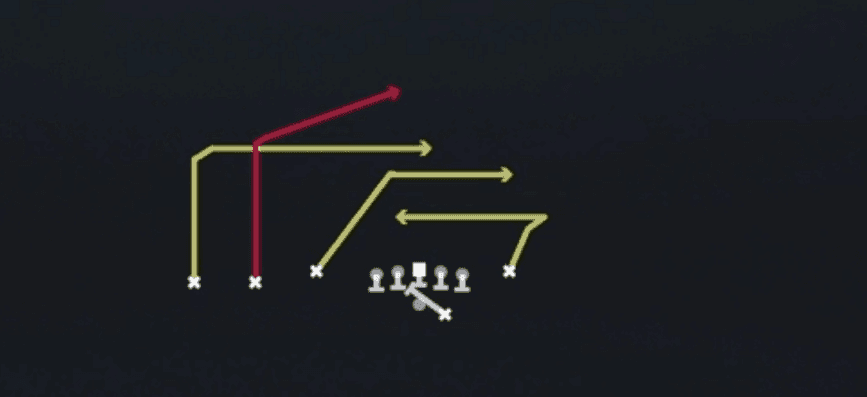 PA Deep OverPlay Action, Deep Over, Pass Play +4
- PA Draw ChoiceOption Route, Post, Wheel +4
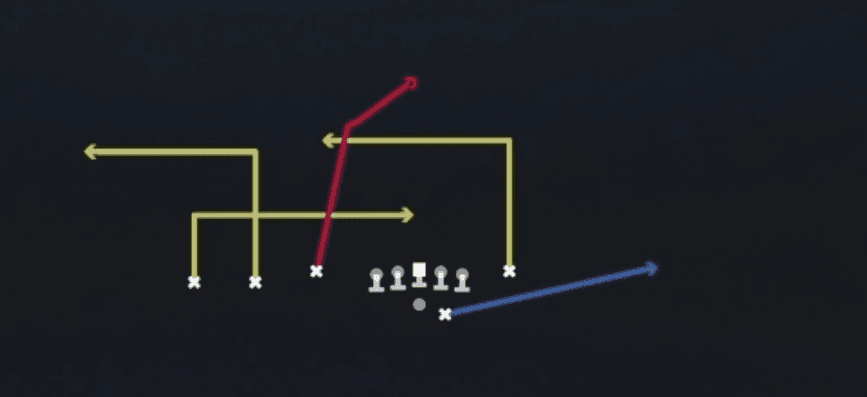 Post Y DigDig, Post, Pass Play +3
 Read OptionRead Option, Run Play
 RPO Alert OmahaRPO, Pass Play, Run Play +4
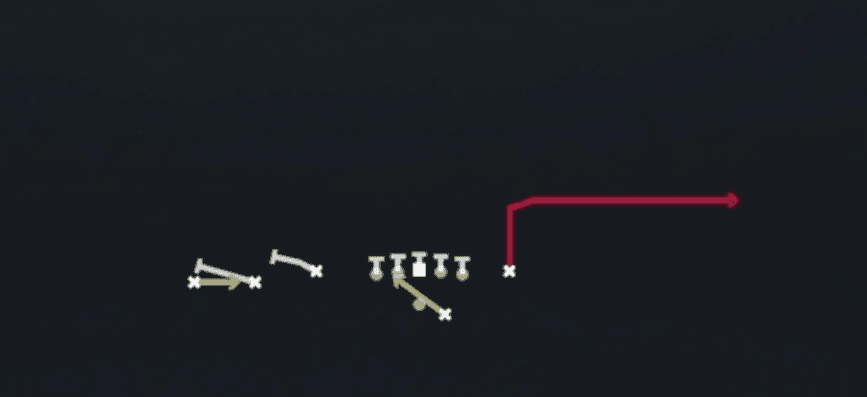 RPO Alert OutRPO, Out, Pass Play +1
- RPO Zone Alert ScreenScreen Pass, RPO, Pass Play +3
 RPO Zone Y PeekRPO, Pass Play, Run Play +1
- Same Side ZoneRun Play
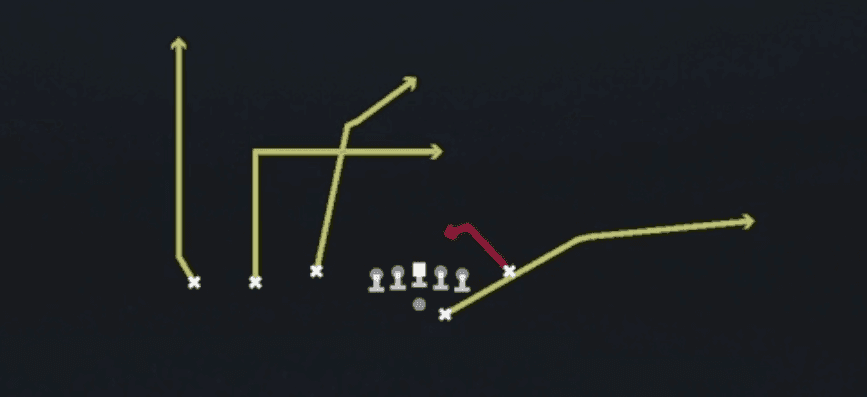 ScatScat, Pass Play, Dig +3
 SE CornerCorner, Pass Play, In +1
 Shock HB AngleAngle, Motion, Pass Play +5
 Shock H OptionOption Route, Motion, Pass Play +4
- Slot PostPost, Block and Release, Hook +1
 StickStick, Stick Concept, Pass Play +4
 Stick Nod H-AngleStick, Angle, Stick Concept +5
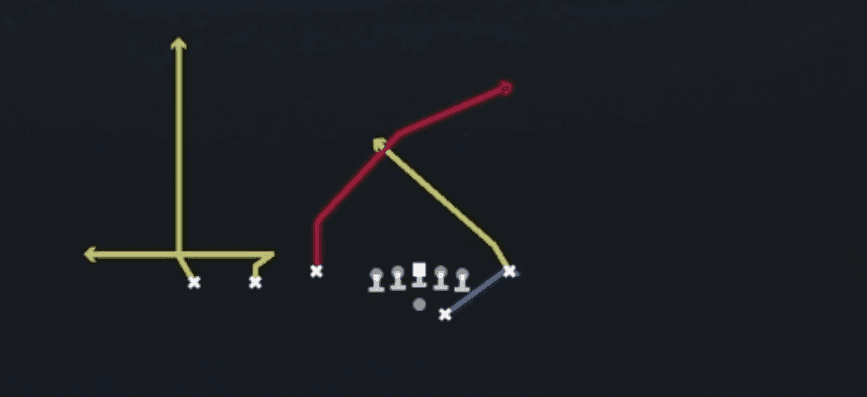 Titans Cross FloodFlood, Pass Play, Cover 3 Beater +5
 Titans Flood SwitchFlood, Pass Play, Cover 3 Beater +4
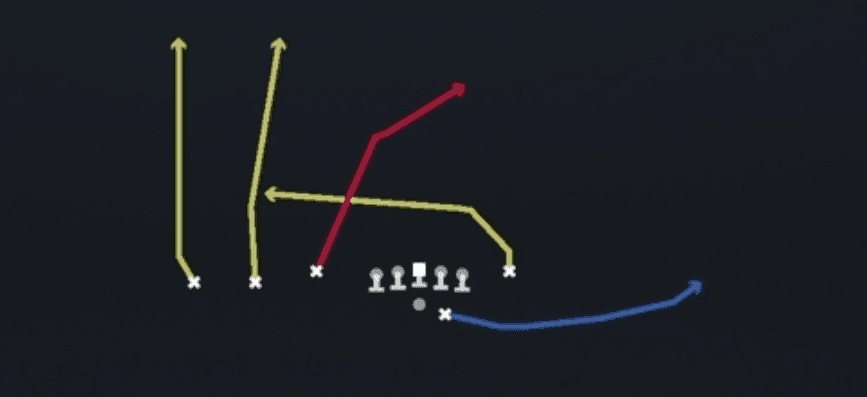 VerticalsFour Verts, Pass Play, Cover 2 Beater +7
 Whips HB WheelWheel, Pass Play, Whip +3
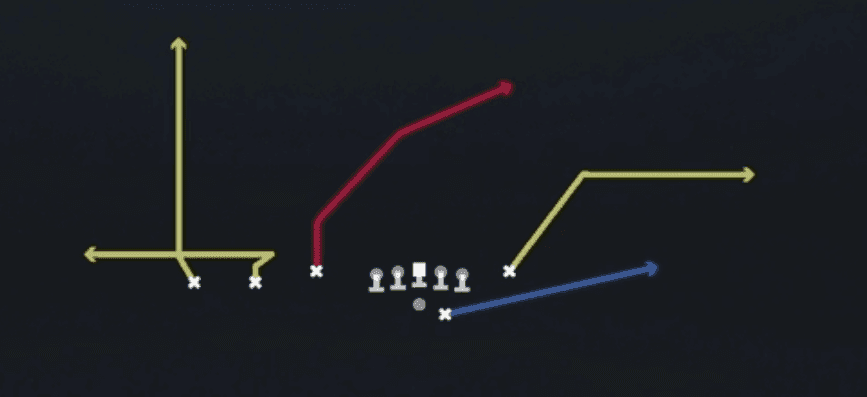 WR CrossCrosser, Pass Play, Block and Release +4
- WR ScreenScreen Pass, Bubble Screen, Hitch +2









