Playbooks

Quick Reference
In 2 playbooks
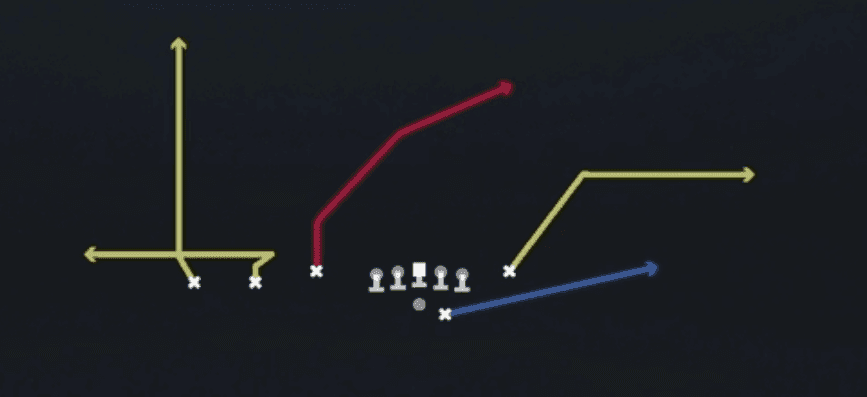
Receiver routes
Depth-chart slots are shown as they line up in the base package for this set.
| Player | Side | Route |
|---|---|---|
| HB1 | Right | Hitch |
| WR3 | Left | Corner and Go |
| WR2 | Left | Hitch |
| TE1 | Right | Corner |
| WR1 | Left | Corner |
Read progression
- WR1 left, Corner
- WR3 left, Corner and Go
- TE1 right, Corner
- HB1 right, Hitch
- WR2 left, Hitch
Breakdown
Empty Smash aligns five receivers wide out of Trey Y-Flex with no running back in the backfield. The backside receiver runs a deep corner route while the inside slot climbs a seam, and the underneath corner route on that side stops at the sideline for a classic high low smash combo. On the trips side the outside receiver pushes a deep vertical to stretch the field while the two inside receivers work a short flat route and a corner breaking route underneath the same read, giving you smash concepts stacked on both sides against a Cover 2 shell.
Defensive Reads
Read the deep safeties before the snap since this play is designed to attack a Cover 2 shell where the corner defenders are forced to squeeze the flat and the corner route at the same time. Watch the flat defender after the snap because if he sinks too deep to help on the corner route, the underneath flat throw is wide open for an easy completion. Key the outside cornerback's depth at the snap since if he is playing tight man technique with no safety help, the trips side corner route becomes a big play opportunity. Look for a user controlled defender jumping the flat route since that lurk threat is the most common way defenses take away the easy checkdown against this concept. Empty formations with no back in protection are vulnerable to interior pressure, so identify if the defense is bringing extra rushers up the middle and get the ball out on your first read quickly.
Usage Tips
Pre snap identify the safety alignment first since this play is built specifically to punish two high shells with deep zone drops underneath.
If you see man coverage with no help over the top, hot route the corner route on the trips side into a fade or slant to isolate the cornerback in a one on one matchup.
Use the flat route as your outlet against a blitz look since it releases quickly and gives you a built in answer versus pressure without needing to adjust protection.
Pair Empty Smash with Empty Y Cross or Empty Vertical in your play calling sequence so the defense cannot sit on the flat and corner combo without opening up crossing routes underneath.
Best called on second and long or third and medium when you expect a zone shell, since the high low read on both sides forces a defender to choose between the flat and the corner.
Other Plays in Trey Y-Flex
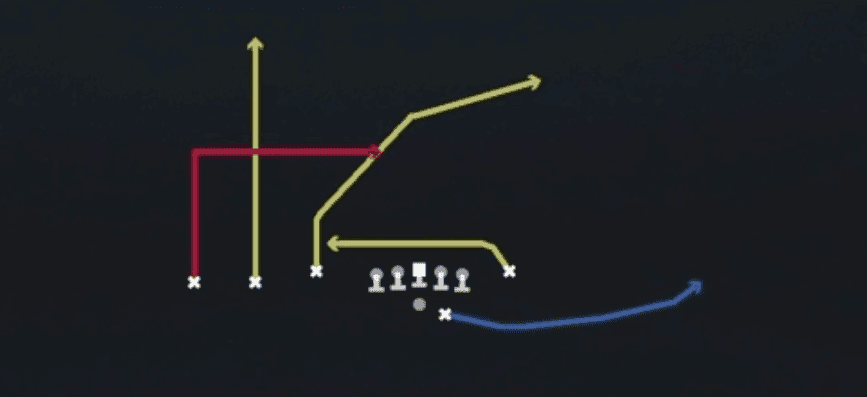 DaggerDagger, Pass Play, Cover 2 Beater +7
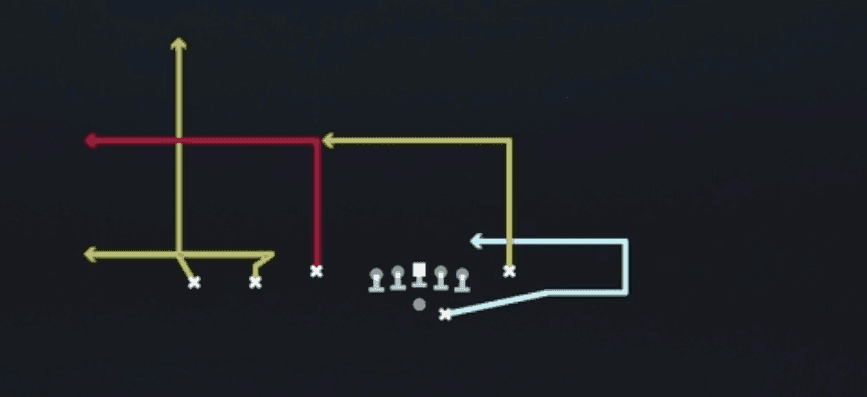 Empty Flood SwitchFlood, Pass Play, Cover 3 Beater +5
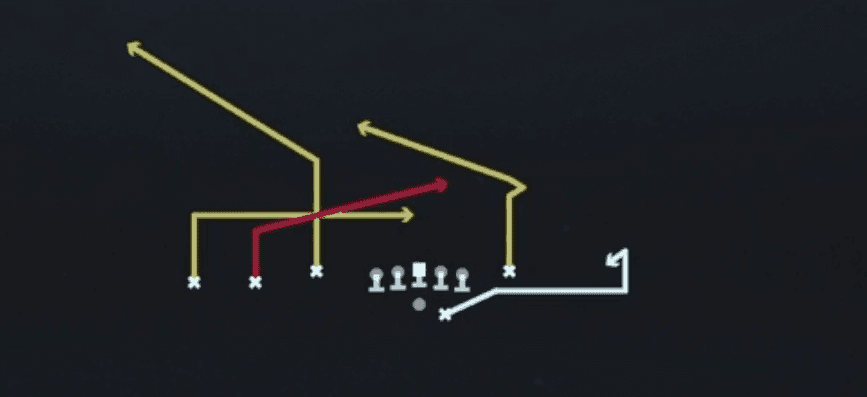 Empty Slot UnderPass Play, Quick Pass, Slant +9
 Empty StickStick, Stick Concept, Pass Play +4
 Empty VerticalPass Play, Four Verts, Go +9
 Empty Y CrossY Cross, Pass Play, Crosser +5
- Fade SmashFade, Corner, Hitch +3
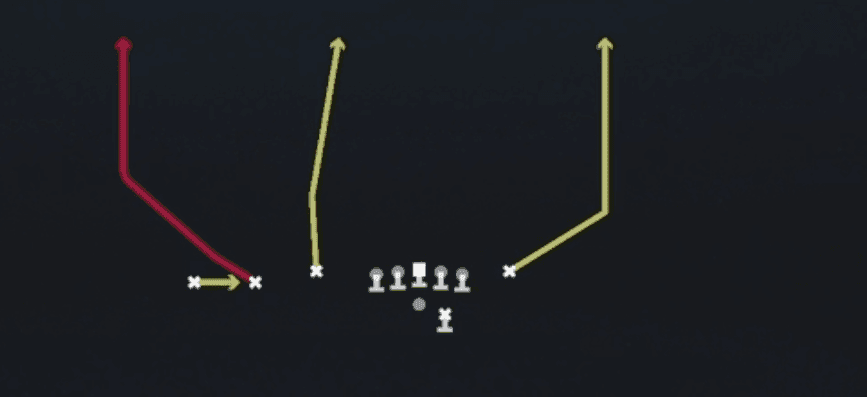 Fake Screen WheelPlay Action, Screen Pass, Wheel +3
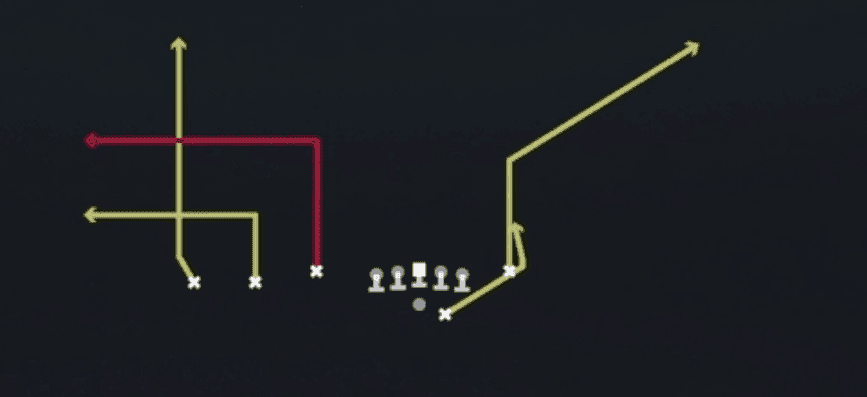 Flood SwapFlood, Pass Play, Cover 3 Beater +4
 HB DrawDraw, Run Play
 HB OptionOption Route, Pass Play, Dig +3
- HB Pump DrawRun Play
 HB Slip ScreenScreen Pass, Hb Screen, Pass Play +3
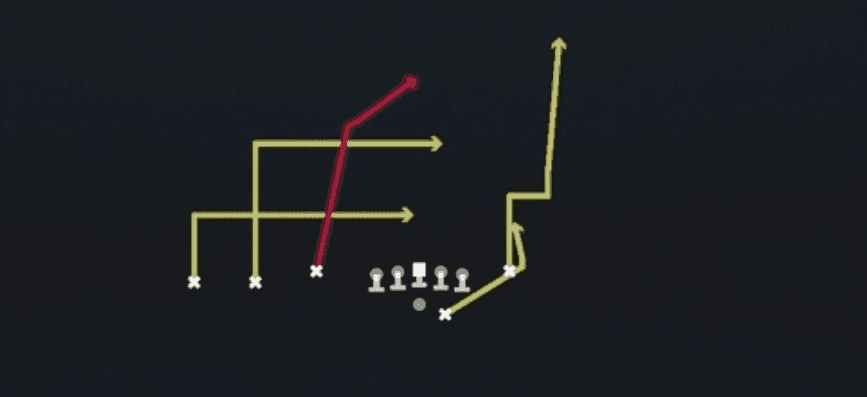 Inside PostPost, Pass Play, Dig +3
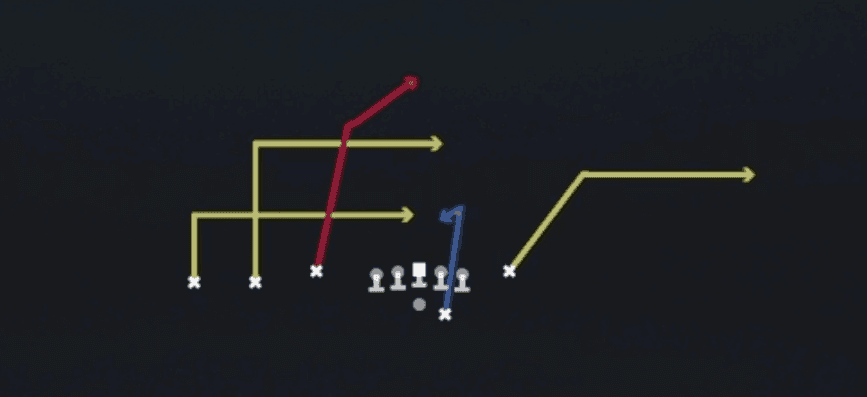 Inside Post OutOut, Post, Pass Play +4
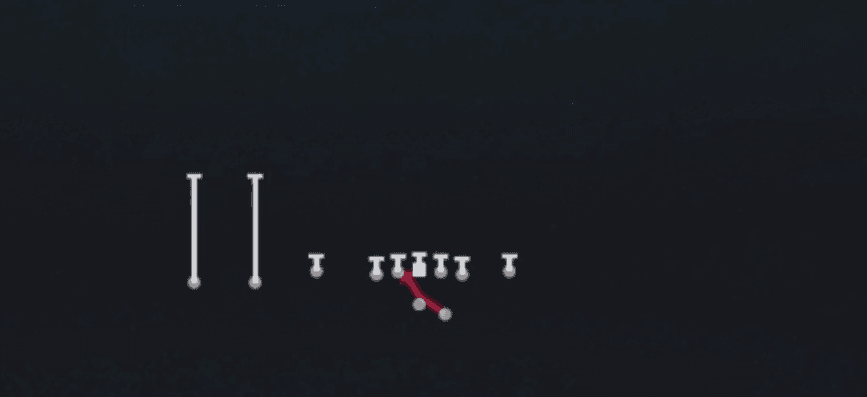 Inside ZoneInside Zone, Run Play, Zone Run
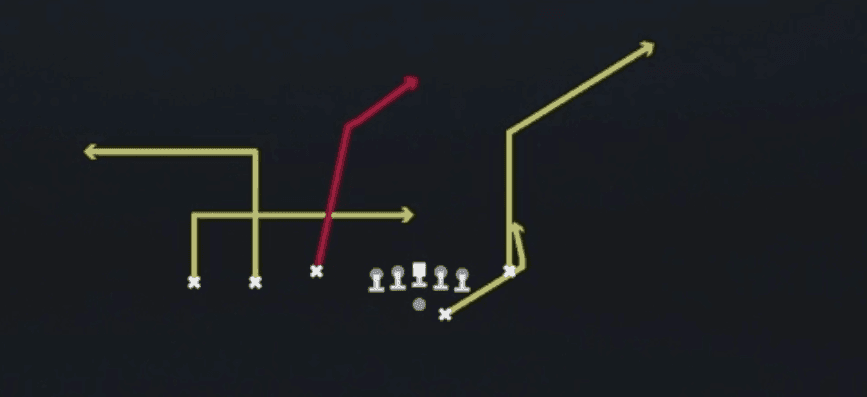 Levels OutOut, Levels, Pass Play +5
- Levels Out KOOut, Levels, Pass Play +4
 Levels Y CornerCorner, Levels, Pass Play +3
- Mtn DBL Outs SwirlOut, Corner, Corner Stop +4
- Mtn Wheels Slot ChoiceWheel, Option Route, Post +2
- Mtn Whip Y-ShakeWhip, Corner, Flat +4
 Outside ZoneOutside Zone, Run Play, Zone Run
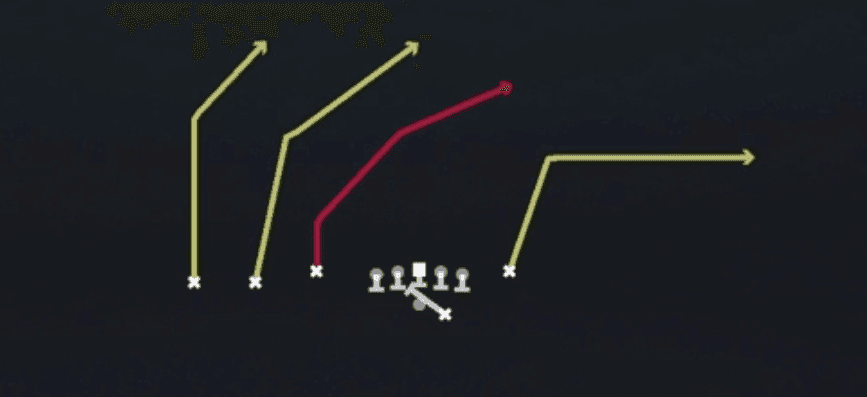 PA CrossersPlay Action, Crosser, Pass Play +3
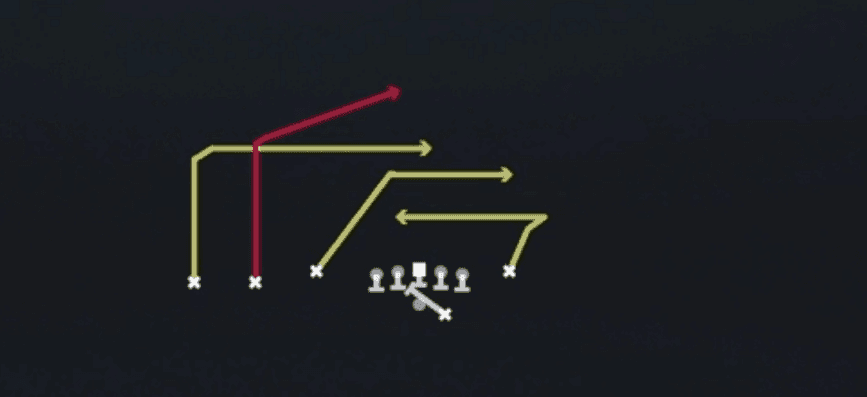 PA Deep OverPlay Action, Deep Over, Pass Play +4
- PA Draw ChoiceOption Route, Post, Wheel +4
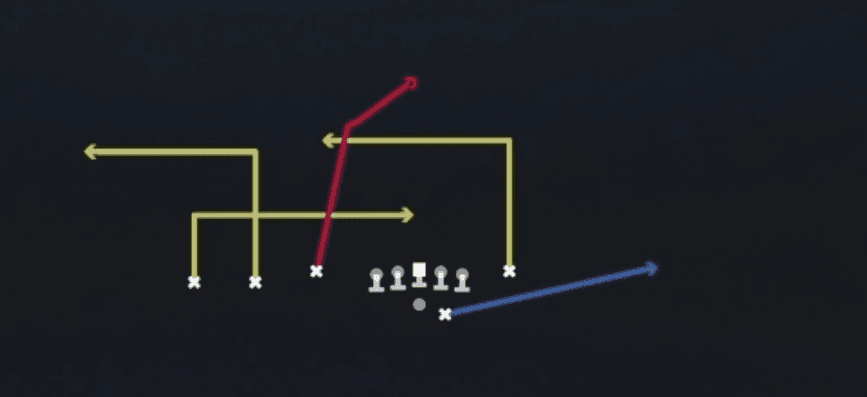 Post Y DigDig, Post, Pass Play +3
 Read OptionRead Option, Run Play
 RPO Alert OmahaRPO, Pass Play, Run Play +4
 RPO Alert OutRPO, Out, Pass Play +1
- RPO Zone Alert ScreenScreen Pass, RPO, Pass Play +3
 RPO Zone Y PeekRPO, Pass Play, Run Play +1
- Same Side ZoneRun Play
 ScatScat, Pass Play, Dig +3
 SE CornerCorner, Pass Play, In +1
 Shock HB AngleAngle, Motion, Pass Play +5
 Shock H OptionOption Route, Motion, Pass Play +4
- Slot PostPost, Block and Release, Hook +1
 StickStick, Stick Concept, Pass Play +4
 Stick Nod H-AngleStick, Angle, Stick Concept +5
 Titans Cross FloodFlood, Pass Play, Cover 3 Beater +5
 Titans Flood SwitchFlood, Pass Play, Cover 3 Beater +4
 VerticalsFour Verts, Pass Play, Cover 2 Beater +7
 Whips HB WheelWheel, Pass Play, Whip +3
 WR CrossCrosser, Pass Play, Block and Release +4
- WR ScreenScreen Pass, Bubble Screen, Hitch +2