Playbooks
Quick Reference
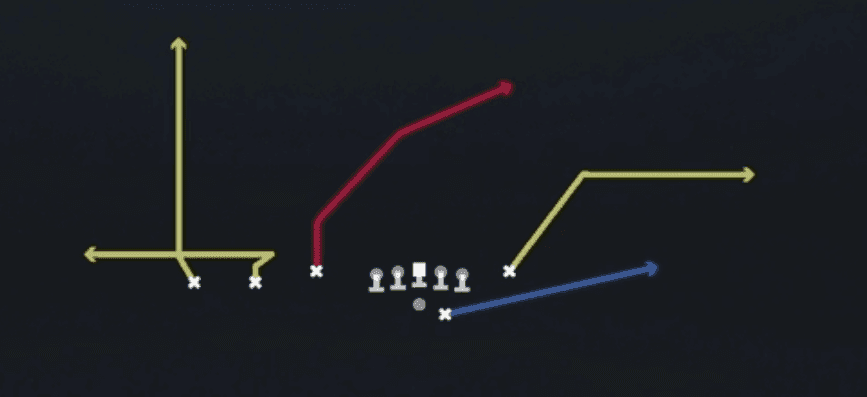
Receiver routes
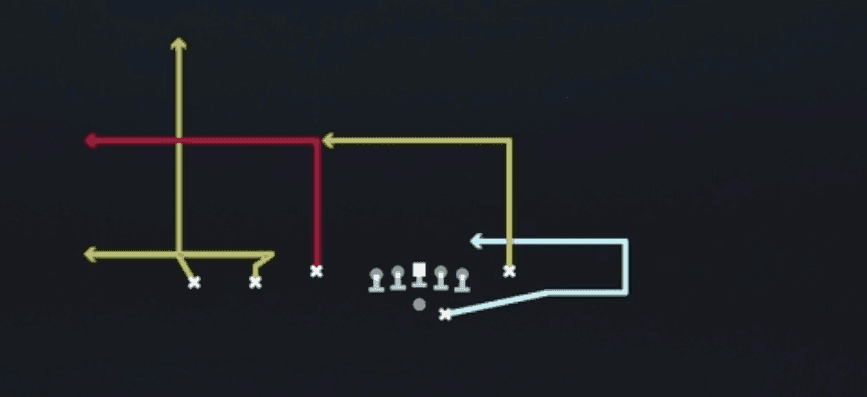
Depth-chart slots are shown as they line up in the base package for this set.
| Player | Side | Route |
|---|---|---|
| HB1 | Right | Short In |
| WR3 | Left | Zig |
| WR2 | Left | Fade |
| TE1 | Right | Deep In |
| WR1 | Left | Deep Out |
Read progression
- WR1 left, Deep Out
- WR3 left, Zig or WR2 left, Fade
- HB1 right, Short In or TE1 right, Deep In
Breakdown
Empty Flood Switch is a five wide route concept out of Trey Y-Flex that creates a true flood to the boundary side while stacking two vertical stems to the trips side. The near receiver in the bunch runs a deep vertical seam, the two outside receivers on that side both push straight up the field on vertical stems, and the backside single receiver runs a deep in breaker crossing the field underneath those verticals. To the flood side, the outermost receiver runs a deep comeback while the inside slot receiver runs an out and up wheel style route underneath him, creating a high low stretch on the flat and deep quarter defender. With five receivers out and no blocking help, this is a pure dropback pass built to attack Cover 3 by overloading one side with three levels of routes. The primary read starts with the flood side comeback and wheel combo, then works back to the crossing route and stacked verticals if the flood side is capped.
Defensive Reads
Pre-snap, check safety depth and corner alignment on the flood side since a hard outside shade on the corner signals Cover 3 or Cover 4 rather than man. Post-snap, key the flat defender and deep quarter defender on the flood side. If the flat defender sinks with the wheel route, the comeback should sit down in the window behind him. Watch for a user controlled defender sitting in the throwing lane of the backside crosser, this is the most common lurk spot defenses use to bait the quarterback into a turnover. Cover 2 and Cover 4 shells with two deep safeties tend to shut down the flood side comeback since the safety can rotate over the top, forcing you to live underneath. Man coverage with a blitz is the biggest threat since there is no protection help, so identify blitz alignment pre-snap and be ready to get the ball out fast to the shortest route in the concept.
Usage Tips
Use pre-snap motion or a hard count to bait the safety and confirm whether you are seeing Cover 3, Cover 4 or man before the snap.
If you diagnose Cover 3, work the flood side first since the comeback and wheel combo puts the corner and flat defender in an immediate conflict.
Against Cover 4 or Cover 6, hot route the backside crosser into a deeper dig or shift your first read to the stacked verticals since the deep in breaker will run into the safety shell.
This play pairs well with Empty Y Cross and Levels Y Corner in the same set since all three attack zone drops with different flood and crossing angles, keeping the defense honest on down and distance.
Best called on second and long or third and medium when you expect zone coverage and need a quick vertical answer with no blocking to worry about.
Other Plays in Trey Y-Flex
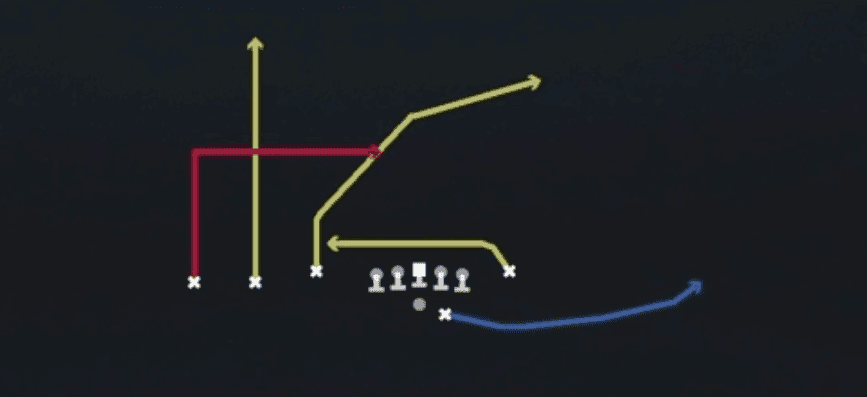 DaggerDagger, Pass Play, Cover 2 Beater +7
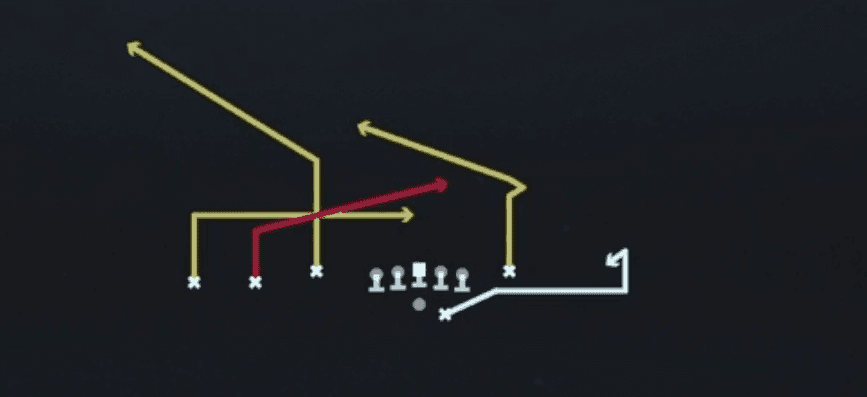 Empty Slot UnderPass Play, Quick Pass, Slant +9
 Empty SmashSmash, Pass Play, Cover 2 Beater +3
 Empty StickStick, Stick Concept, Pass Play +4
 Empty VerticalPass Play, Four Verts, Go +9
 Empty Y CrossY Cross, Pass Play, Crosser +5
- Fade SmashFade, Corner, Hitch +3
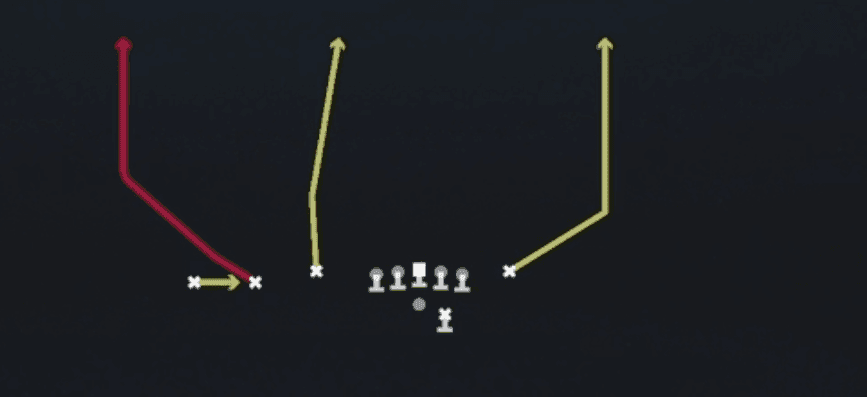 Fake Screen WheelPlay Action, Screen Pass, Wheel +3
 Flood SwapFlood, Pass Play, Cover 3 Beater +4
 HB DrawDraw, Run Play
 HB OptionOption Route, Pass Play, Dig +3
- HB Pump DrawRun Play
 HB Slip ScreenScreen Pass, Hb Screen, Pass Play +3
 Inside PostPost, Pass Play, Dig +3
 Inside Post OutOut, Post, Pass Play +4
 Inside ZoneInside Zone, Run Play, Zone Run
 Levels OutOut, Levels, Pass Play +5
- Levels Out KOOut, Levels, Pass Play +4
 Levels Y CornerCorner, Levels, Pass Play +3
- Mtn DBL Outs SwirlOut, Corner, Corner Stop +4
- Mtn Wheels Slot ChoiceWheel, Option Route, Post +2
- Mtn Whip Y-ShakeWhip, Corner, Flat +4
 Outside ZoneOutside Zone, Run Play, Zone Run
 PA CrossersPlay Action, Crosser, Pass Play +3
 PA Deep OverPlay Action, Deep Over, Pass Play +4
- PA Draw ChoiceOption Route, Post, Wheel +4
 Post Y DigDig, Post, Pass Play +3
 Read OptionRead Option, Run Play
 RPO Alert OmahaRPO, Pass Play, Run Play +4
 RPO Alert OutRPO, Out, Pass Play +1
- RPO Zone Alert ScreenScreen Pass, RPO, Pass Play +3
 RPO Zone Y PeekRPO, Pass Play, Run Play +1
- Same Side ZoneRun Play
 ScatScat, Pass Play, Dig +3
 SE CornerCorner, Pass Play, In +1
 Shock HB AngleAngle, Motion, Pass Play +5
 Shock H OptionOption Route, Motion, Pass Play +4
- Slot PostPost, Block and Release, Hook +1
 StickStick, Stick Concept, Pass Play +4
 Stick Nod H-AngleStick, Angle, Stick Concept +5
 Titans Cross FloodFlood, Pass Play, Cover 3 Beater +5
 Titans Flood SwitchFlood, Pass Play, Cover 3 Beater +4
 VerticalsFour Verts, Pass Play, Cover 2 Beater +7
 Whips HB WheelWheel, Pass Play, Whip +3
 WR CrossCrosser, Pass Play, Block and Release +4
- WR ScreenScreen Pass, Bubble Screen, Hitch +2