Playbooks

At a Glance
In 18 playbooks
Overview
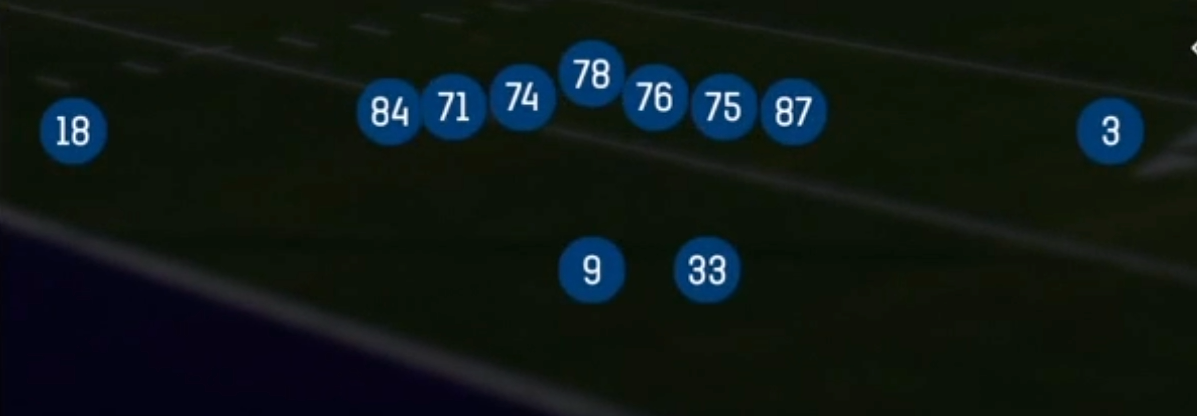
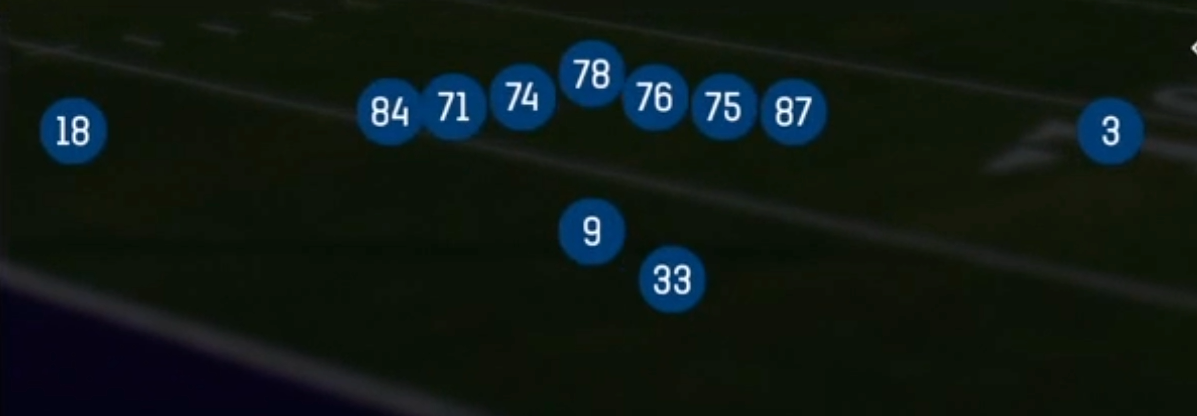
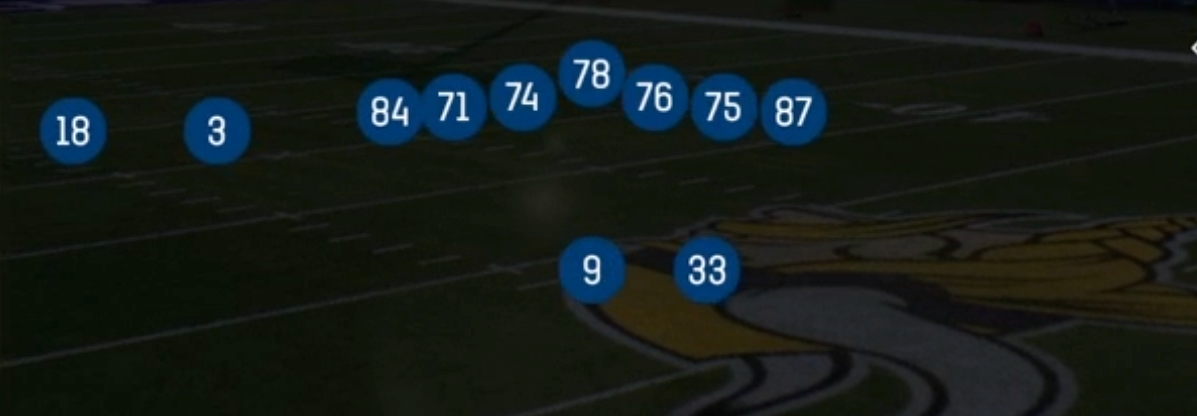
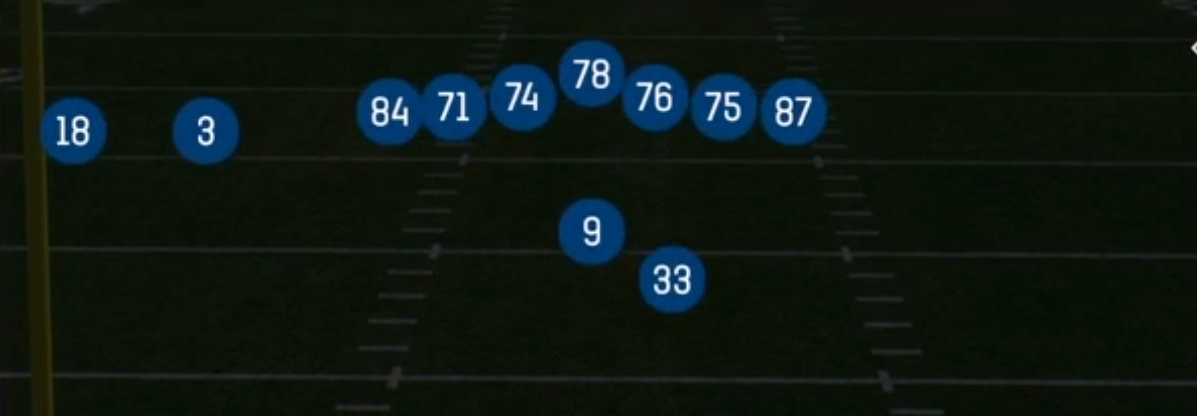
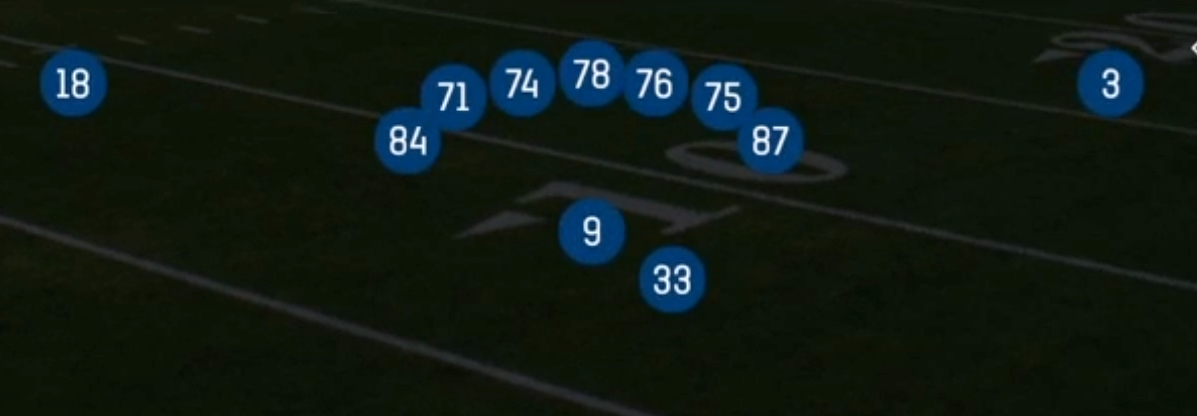
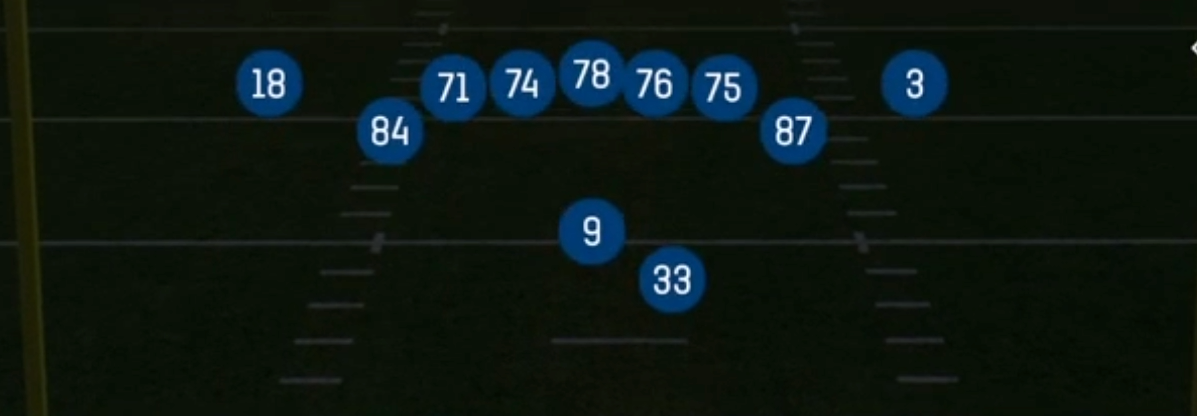
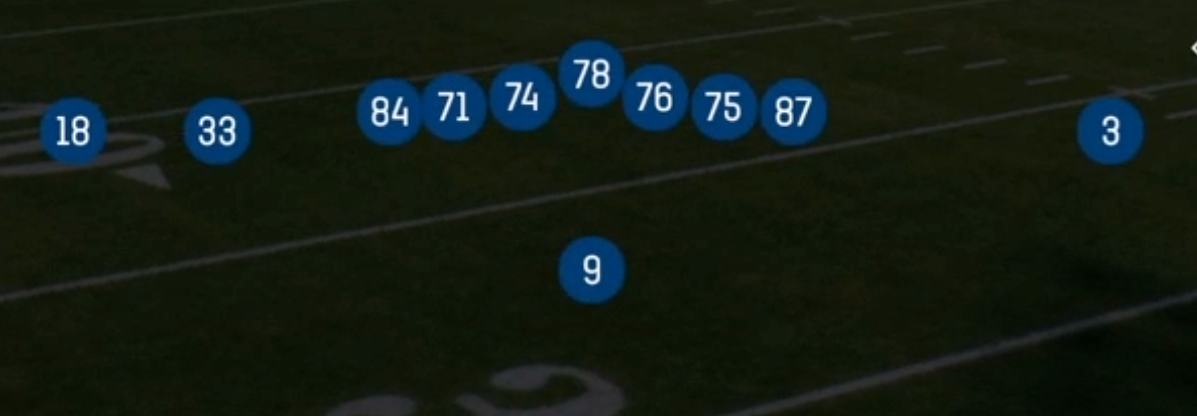
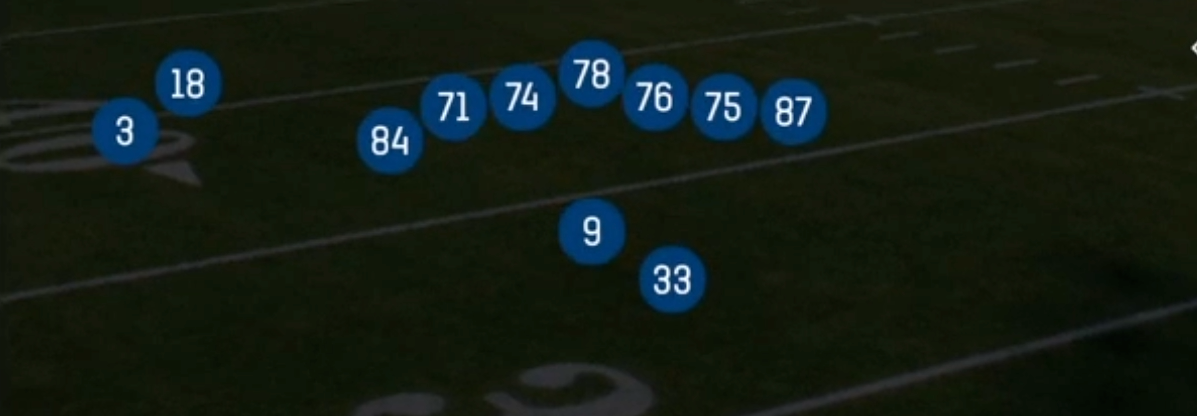
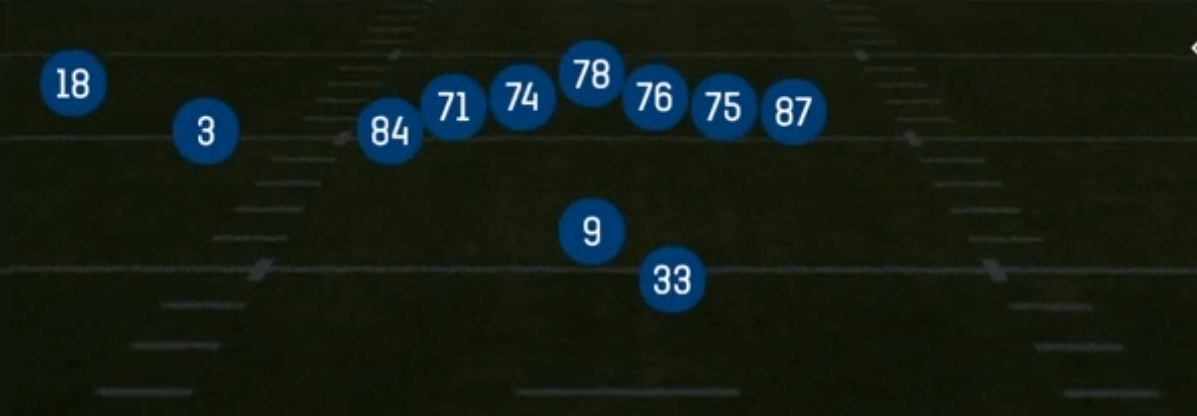
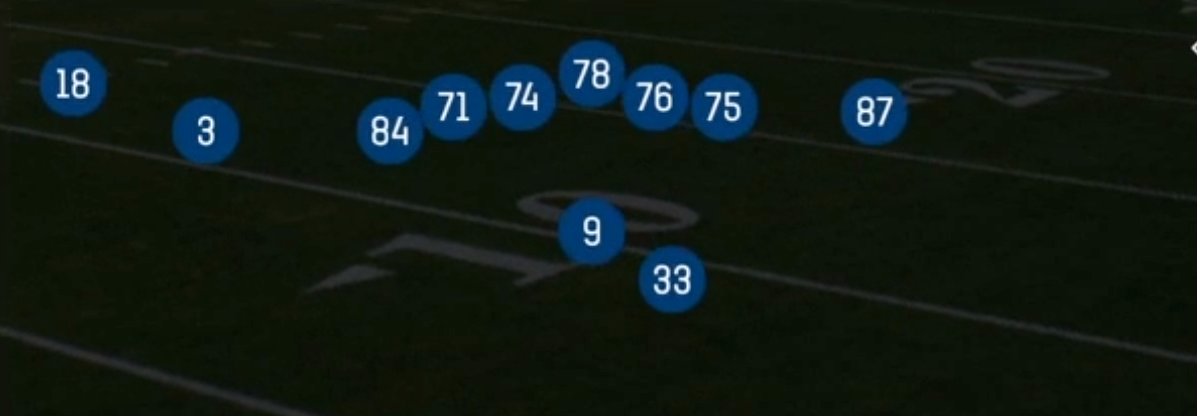
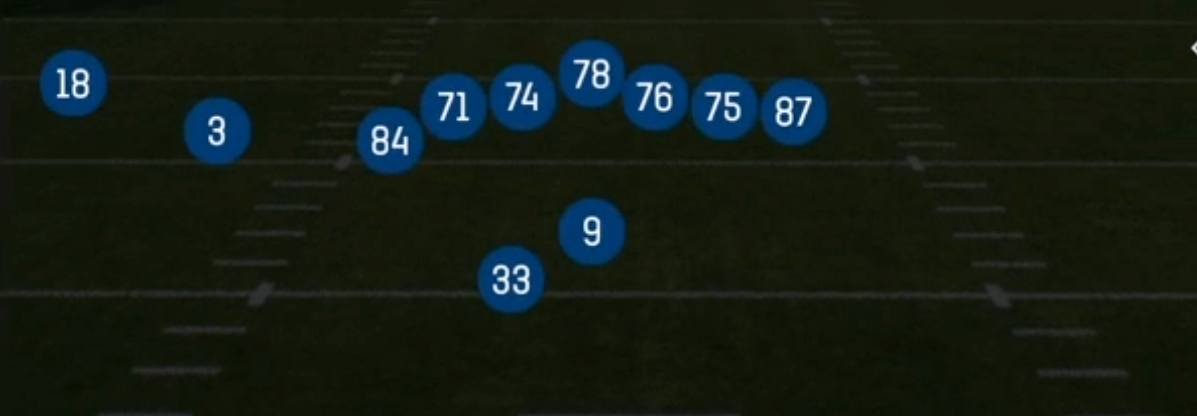
Shotgun Wing Slot Wk is a 12 personnel gadget set that pairs one tight end in a wing alignment off the edge of the line with a second tight end flexed into the slot on the weak side, while two wide receivers split wide and the running back offsets in the gun. Most Shotgun sets spread the field with three or four receivers. This one keeps two in-line capable bodies close to the box, so the defense has to respect a gap-scheme run game on every snap even though the offense is in a spread-friendly gun look. The wing tight end acts as a lead blocker, a kick-out player, or a leak route runner, and the slot tight end creates a big-bodied matchup against nickel corners or safeties rolled down into the box.
The playbook in this set leans heavily on option and RPO concepts: Read Option, Midline Read Option, Speed Option, PA Inverted Veer, Power Read, and a long list of RPO tags like RPO Peek Slant, RPO Read Bubble, RPO Power Alert Bubble, and RPO Zone Slant Peek. Because the defense usually answers 12 personnel with base or heavy nickel, the bubble and alert tags frequently leave a wide receiver isolated against a corner with no underneath help, while the peek and glance tags punish linebackers who trigger downhill on the run fake.
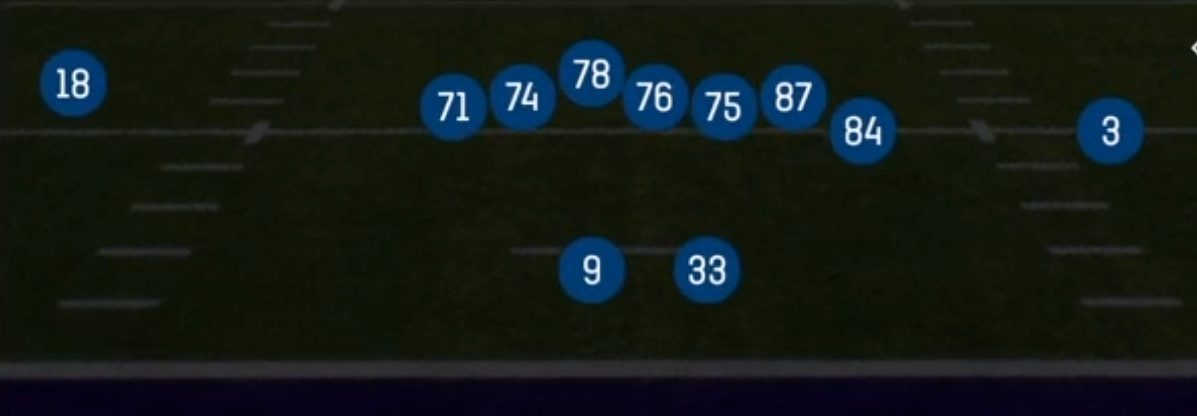
What gives Wing Slot Wk its gadget identity is motion. The Mtn and Orbit plays (Mtn Buck Sweep, Mtn TE Lead Read Opt, Mtn Fk Screen Wheel, Orbit Counter Bash, Orbit Outside Zone, Orbit PA Verts HB Seam) shift the strength of the formation or put a jet or orbit runner in the backfield, which forces defenders to re-declare their alignment and often breaks man coverage assignments or bends zone landmarks. Pair that with play-action shots like Mtn PA Verticals, PA Dagger, and Mtn PA Cross and you have a set that can go from a downhill power look to a four-vertical stress on the same pre-snap picture.
Strengths
- Deep RPO menu (RPO Peek Slant, RPO Power Alert Bubble, RPO Zone Read Bubble, RPO Power Alert Glance) lets you read a single conflict defender post-snap and punish base defenses that load the box against 12 personnel.
- Gap-scheme runs like HB Counter U, Power Read, Buck Sweep Read Opt, and TE Lead Read Opt get an extra puller or lead blocker from the wing tight end, creating numbers advantages that zone run heavy sets cannot match.
- Motion and orbit plays shift the formation strength pre-snap, revealing man versus zone when a defender travels with the motion and disrupting auto-adjusted gap assignments against the run.
- Play-action shots like Mtn PA Verticals, Orbit PA Verts HB Seam, and PA Dagger attack Cover 3 and Cover 1 safeties who bite on the heavy run tendency, often springing a seam or dig behind vacated linebackers.
- The slot tight end creates a size mismatch against nickel corners and safeties, making Smash, Slant Stick, and Double Post reliable man beaters when the defense stays in base or nickel man.
Weaknesses
- Only two true wide receivers means limited spacing against Cover 2 and Cover 4 shells, so drop-back concepts like Four Verticals and Mesh HB Corner can get squeezed when defenders sit on the tight end routes.
- Edge pressure off the weak side is dangerous because the slot tight end is detached and cannot chip, so a nano blitz from the boundary or a slot fire can get home before RPO throws develop.
- A disciplined user on the conflict linebacker or a user spying the QB can blow up read options and RPO peeks by playing the mesh point and taking away the throw lane at the same time.
- Motion plays add snap time and telegraph intent, so savvy opponents can read Mtn and Orbit tags, adjust with shade coverage toward the motion, and jump bubble and screen routes.
- The heavy run and RPO tendency can be scouted quickly, and defenders who show Cover 0 or overload box looks can force you into low-percentage quick throws with backup options that lack vertical stretch.
Usage Tips
On early downs versus base or a light nickel box, open with Power Read or HB Counter U and let the wing tight end climb to the linebacker, then use the same look for RPO Power Peek once the defense starts crashing the run fit.
Read the conflict defender pre-snap on any RPO bubble tag: if the flat defender is inside the slot tight end or blitzing, throw the bubble immediately; if he widens, hand it off and attack the lighter box.
Use Mtn or Orbit plays to diagnose coverage: if a defender follows the motion across the formation, audible to Slant Stick or Smash for a man beater, and if the defense rotates without anyone traveling, check to PA Dagger or Mtn PA Cross to attack the zone.
On 3rd and short or in the red zone, Midline Read Option and QB Wrap stress the interior, and a hot route on the slot tight end to a quick slant gives you a safe throw if the defense sells out with a Cover 0 look.
After establishing the run, call Orbit PA Verts HB Seam or Mtn PA Verticals against single-high safeties who have been triggering downhill, and consider streaking the wing tight end to overload the deep safety.
Plays (50)
 Buck Sweep Read OptSweep, Read Option, Run Play
 Double PostPost, Double Posts, Pass Play +5
 Four VerticalsFour Verts, Pass Play, Cover 2 Beater +5
 HB BaseDive, Run Play
 HB Counter UCounter, Run Play, Power Run
 HB Slip ScreenScreen Pass, Hb Screen, Pass Play +3
 Inside ZoneInside Zone, Run Play, Zone Run
 Mesh HB CornerCorner, Mesh, Pass Play +5
 Midline Read OptionRead Option, Run Play
 Mtn Buck SweepSweep, Motion, Run Play
 Mtn Fk Screen WheelPlay Action, Screen Pass, Wheel +7
 Mtn HB BaseMotion, Dive, Run Play
 Mtn HB WheelWheel, Motion, Pass Play +5
 Mtn Inside ZoneInside Zone, Motion, Run Play +1
 Mtn Mesh TrafficMesh, Motion, Pass Play +6
 Mtn PA CrossPlay Action, Motion, Pass Play +5
 Mtn PA Slot OptionPlay Action, Option Route, Motion +4
 Mtn PA VerticalsPlay Action, Four Verts, Motion +7
 Mtn Read OptionRead Option, Motion, Run Play
 Mtn RPO Alert ScreenScreen Pass, RPO, Motion +3
 Mtn RPO Buck AlertRPO, Motion, Pass Play +2
 Mtn TE Lead Read OptRead Option, Motion, Run Play
- Orbit Counter BashRun Play
- Orbit Outside ZoneRun Play
- Orbit PA Verts HB SeamSeam, Deep Cross, Crosser +10
 PA Bubble Y OverPlay Action, Pass Play, Bubble Screen +5
 PA DaggerPlay Action, Dagger, Pass Play +6
 PA Inverted VeerInverted Veer, Play Action, Pass Play +4
 Power ReadPower, Run Play, Power Run
 QB WrapDesigned Qb Run, Run Play
 Read OptionRead Option, Run Play
- RPO Buck Sweep PeekSweep, RPO, Run Play +3
 RPO Glance PostRPO, Post, Pass Play +1
 RPO Peek Buck SlantRPO, Slant, Pass Play +1
 RPO Peek PostRPO, Post, Pass Play +1
 RPO Peek SlantRPO, Slant, Pass Play +1
 RPO Power Alert BubbleRPO, Pass Play, Run Play +1
- RPO Power Alert GlanceRPO, Pass Play, Run Play +2
- RPO Power PeekRPO, Pass Play, Run Play +2
 RPO Power Peek SlantRPO, Slant, Pass Play +1
 RPO Read BubbleRPO, Pass Play, Run Play
 RPO Sweep Alert BubbleSweep, RPO, Run Play +2
 RPO Zone Alert BubbleRPO, Pass Play, Run Play +1
- RPO Zone PeekRPO, Pass Play, Run Play +2
- RPO Zone Read BubbleRPO, Pass Play, Run Play +1
- RPO Zone Slant PeekRPO, Slant, Pass Play +2
 Slant StickSlant, Stick, Stick Concept +2
 SmashSmash, Pass Play, Cover 2 Beater +5
 Speed OptionSpeed Option, Run Play
 TE Lead Read OptRead Option, Run Play