Playbooks

At a Glance
In 14 playbooks
Overview
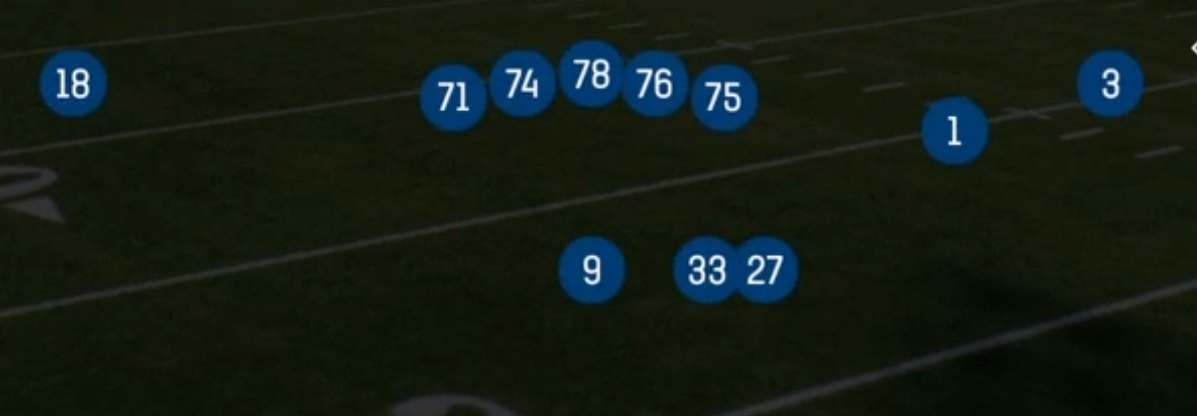
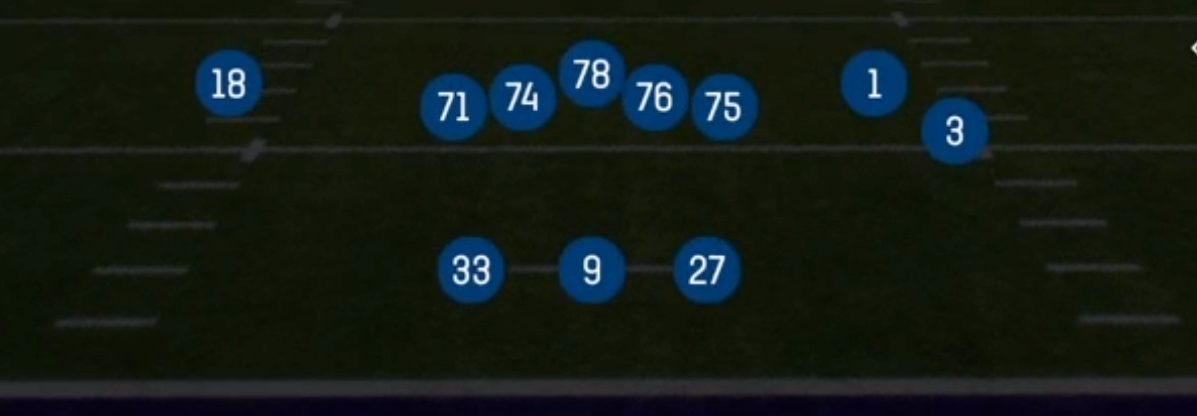
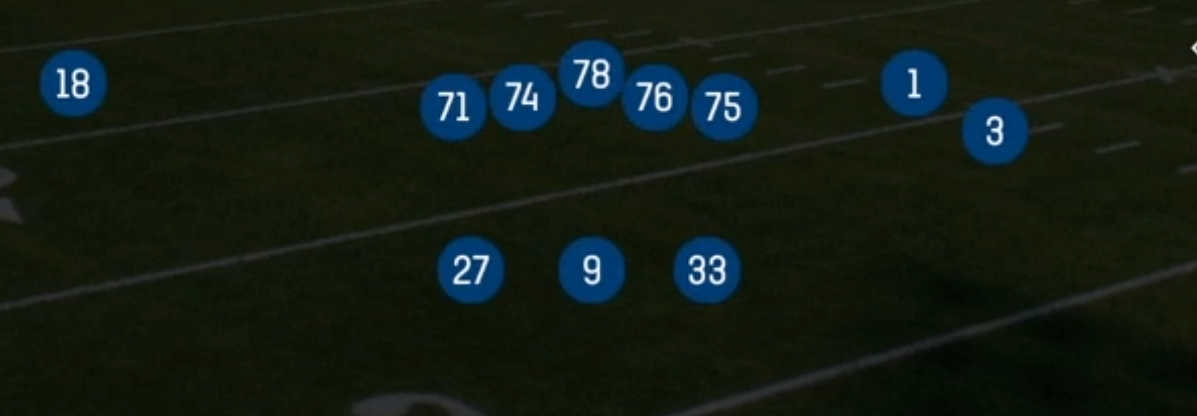
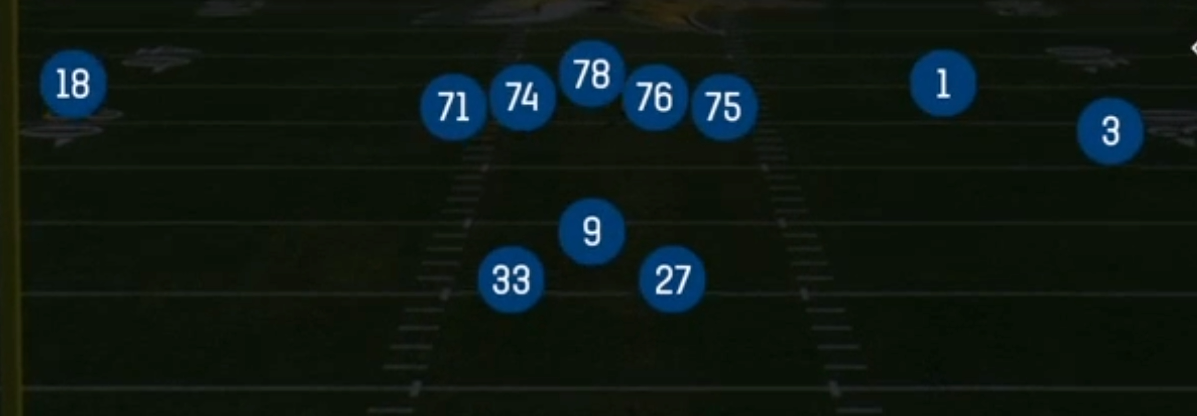
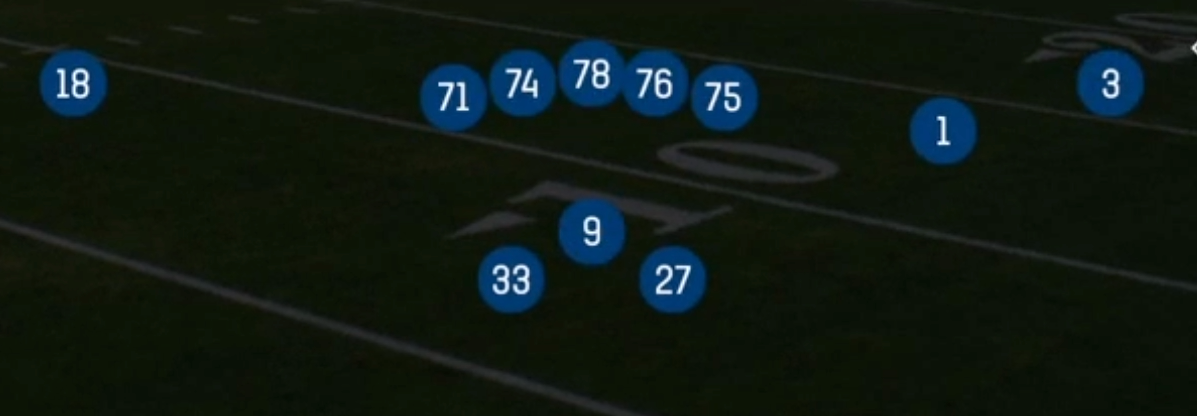
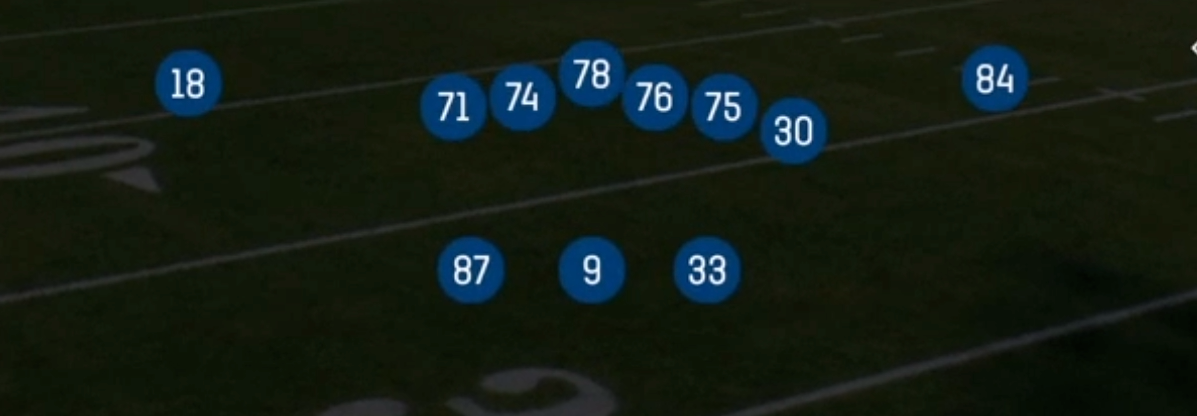
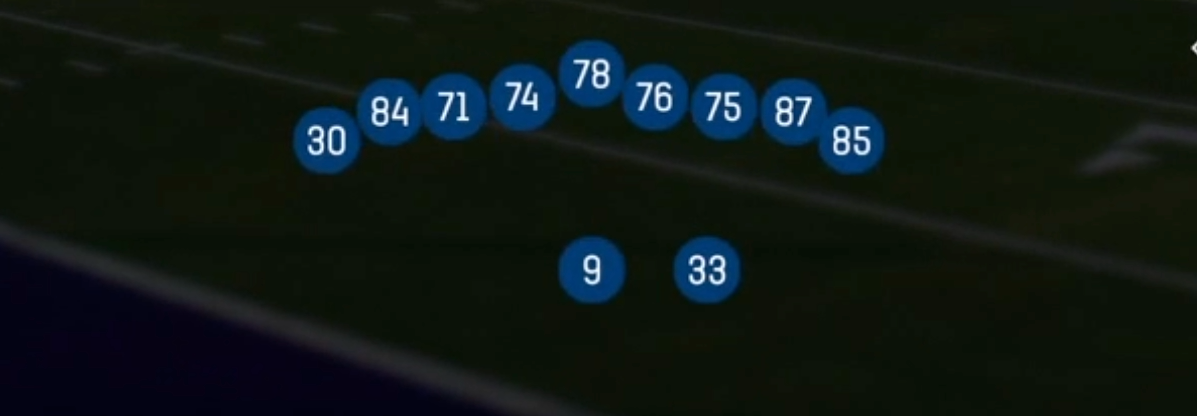
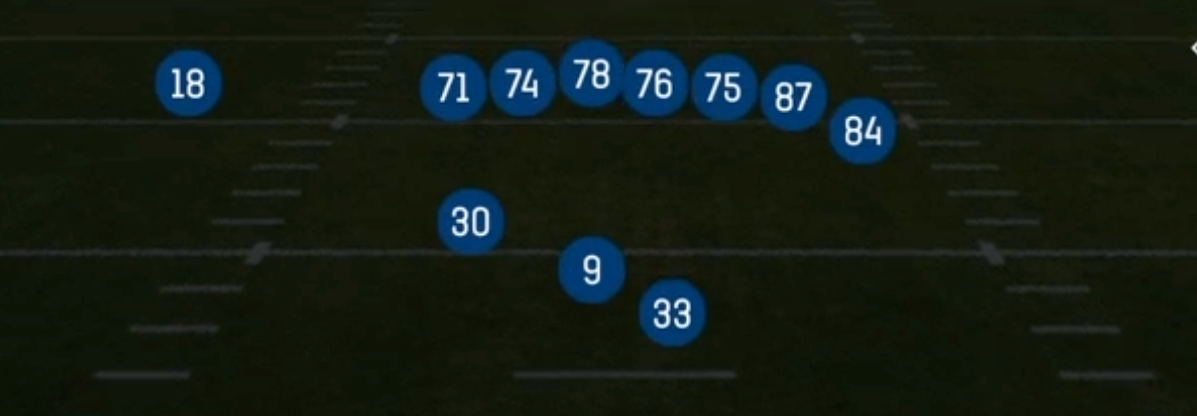
Split Slot Open is a 20 personnel look out of the Shotgun formation: two backs, no tight end, and three wide receivers. The backs sit split on either side of the quarterback, while the receivers align with a slot and outside receiver to one side and a single receiver to the other. Most Shotgun sets pick either a single back with extra receivers or a tight end for protection and run fits. This set does neither. It keeps a two back backfield inside a spread alignment, so the defense has to account for a lead blocker, a second pass catcher out of the backfield, and three vertical threats on the same snap.
The split backs are what separate this set from Gun Doubles, Trey Open, or Empty looks. With a back on each side, the quarterback can run Triple Option Lt, Shovel Option, Power Read, and Inside Zone Split with a real second blocker or pitch man. The same alignment also feeds Backs Cross, PA HB Wheel, Mtn RPO Peek Swing, and the Shuffle series (Shuffle Double Spot, Shuffle Snag N Go, Shuffle Levels) straight from the backfield. The motion package (Mtn Flood, Mtn Y Cross, Mtn Z Spot, Mtn HB Mid Screen) lets you shift a back or receiver pre snap to reveal man or zone and build overloads on the fly.
The matchup edge comes from forcing base or nickel defenses to cover two running backs as receivers. When the defense matches 20 personnel with extra linebackers, you get a third down back or slot receiver isolated on a slower defender on option routes, wheels, and slip screens. When they go nickel or dime to handle the three receivers, the run game gets lighter boxes, and the lead blocker produces clean hats on hats for Power O and FB Inside. That run/pass conflict is exactly what the Gadget, 3DRB, and SLWR tags point to. This set rewards a versatile back and a quick slot receiver more than raw size.
Strengths
- Split backs create true dual threat conflict: Triple Option Lt, Shovel Option, and Power Read force the end man on the line and a linebacker to guess, and a user who commits early gives up a free keeper or pitch.
- The backfield becomes an extra receiving corps against man coverage. Backs Cross, PA HB Wheel, and Mtn RPO Peek Swing put running backs on linebackers, and hot routing the backside back to a wheel or angle is a reliable man beater against Cover 1 and Cover 0 looks.
- Strong zone beaters are built in: Flood, PA Flood, Mtn Flood, Y Cross, and Curl Combo high/low the flat and curl defenders, while Mesh and Mesh Post Wheel shred underneath zone and man alike with natural rubs off the slot.
- RPO Peek Slant, RPO Zone Peek, and Mtn RPO Alert QB Counter punish heavy boxes and aggressive linebackers. You can read a single defender post snap and take the slant or peek throw without calling a pure pass.
- The Shuffle series and HB Slip Screen give you quick answers to pressure and nano blitzes. The ball gets out in under two seconds to a back running behind pulling linemen.
Weaknesses
- With no tight end, edge pressure is a real problem. Overload blitzes and nano blitzes off the edge can beat the running back chips, especially on longer developing concepts like Deep Curls, Corner Strike, and Slot Post Angle.
- A disciplined user playing the QB or the pitch on option plays, combined with a contain setting on the defensive end, can neutralize Triple Option Lt and Shovel Option. The offense then has to lean on its pass game.
- The set tips its hand if you favor the run from two backs. Smart opponents will spin into a Cover 3 or Cover 1 robber with a user in the middle and take away Y Cross, Mesh, and slants.
- If your backs are slow or have low route running, defenses can play base personnel and cover them with linebackers without penalty. That removes the matchup edge this set is built around.
- Outside run plays like HB Sweep Wk and RB Sweep lack a tight end to seal the edge. Fast defensive ends and outside linebackers set hard edges and string them out for losses.
Usage Tips
Before the snap, check the box count and the safety shell. If you see six or fewer defenders in the box against nickel or dime, lean on HB Power O, FB Inside, and Inside Zone Split. If you see seven or more with a single high safety, go to RPO Peek Slant, Mesh Post Wheel, or PA HB Wheel.
Use the Mtn plays as a read tool. If a defender follows the motion across the formation, it is man coverage, so throw to the isolated backfield route or the Mesh crossers. If defenders bump and pass off, attack zone with Mtn Flood or Mtn Y Cross and target the void between flat and hook defenders.
On third and short or in the red zone, pair Shuffle Snag N Go or Shovel Option with a quick audible to HB Slip Screen when you spot a blitz. Hot routing the playside back to a flat or slant also gives you an instant pressure outlet.
Set your audibles to one option run, one RPO, one quick man beater (Dbl Slant or Mesh), and one zone beater (Flood or Curl Combo). That lets you flip the call after reading the defense without leaving the formation and losing the 20 personnel mismatch.
Against a user who spies or plays the middle, streak or fade the slot and run the back on a wheel or angle. This stretches the user vertically and horizontally and opens the flat and deep sideline throws.
Plays (50)
 46 Y CrossY Cross, Pass Play, Crosser +5
 689 HookPass Play, Curl, Go +8
 Backs CrossCrosser, Pass Play, Comeback +3
 Corner StrikeCorner, Pass Play, Flat +1
 Curl ComboCurl, Pass Play, Flat
 DBL InsIn, Pass Play, Block and Release
 Dbl SlantSlant, Pass Play, Flat
 Deep CurlsCurl, Pass Play, Angle +2
 FB InsideDive, Run Play
 FloodFlood, Pass Play, Cover 3 Beater +5
 HB DrawDraw, Run Play
 HB GutDive, Run Play
 HB Off TackleOff Tackle, Run Play
 HB Power OPower, Run Play, Power Run
 HB Slip ScreenScreen Pass, Hb Screen, Pass Play +4
 HB Sweep WkSweep, Run Play
 HorizontalPass Play, Quick Pass, Flood +10
 Inside Zone SplitInside Zone, Run Play, Zone Run
 MeshMesh, Pass Play, Man Beater +4
 Mesh Post WheelPost, Wheel, Mesh +3
- Mtn FloodBlock and Release, Corner, Post +3
- Mtn FloodBlock and Release, Dig, Post +3
- Mtn HB Mid ScreenScreen Pass, Deep Cross, Crosser +5
- Mtn HB Slip ScreenScreen Pass, Corner, Post +3
- Mtn RPO Alert QB CounterOption Route, Swing, Run Play +1
- Mtn RPO Peek SwingSwing, Option Route, Pass Play +1
- Mtn Spot HB ChoiceOption Route, Corner, Curl +2
- Mtn Y CrossCrosser, Deep Cross, Fade +3
- Mtn Z SpotCorner, In, Swing +1
 PA FloodPlay Action, Flood, Pass Play +6
 PA F SlidePlay Action, Slide, Pass Play +5
 PA HB WheelPlay Action, Wheel, Pass Play +5
 PA Tulsa PopPlay Action, Pass Play, Post +3
 PA Wheel SwitchPlay Action, Wheel, Pass Play +2
- PA Y CrossCrosser, Deep Cross, Fade +5
 Power ReadPower, Run Play, Power Run
- RB SweepRun Play
 RPO Peek SlantRPO, Slant, Pass Play +1
- RPO Zone PeekRPO, Pass Play, Run Play +2
- ShakesCorner, Post, Flat +1
 Shovel OptionRun Play, Trick Play, Speed Option +2
- Shuffle Double SpotFlat, Slant, Pass Play
- Shuffle LevelsDig, Post, Flat +2
- Shuffle Snag N GoGo, Snag, Corner +4
- Slants HB FlatFlat, Slant, Streak +1
 Slot Post AnglePost, Angle, Pass Play +3
 Triple Option LtTriple Option, Run Play
 WR ScreenScreen Pass, Wr Screen, Pass Play +3
 Y CrossY Cross, Pass Play, Crosser +5
- Y CrossCrosser, Deep Cross, Fade +3