Playbooks

At a Glance
In 14 playbooks
Overview
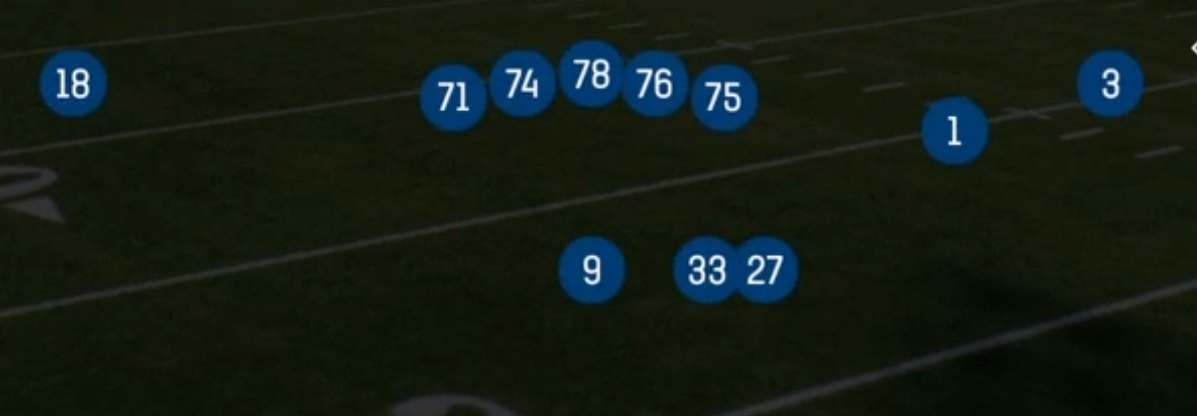
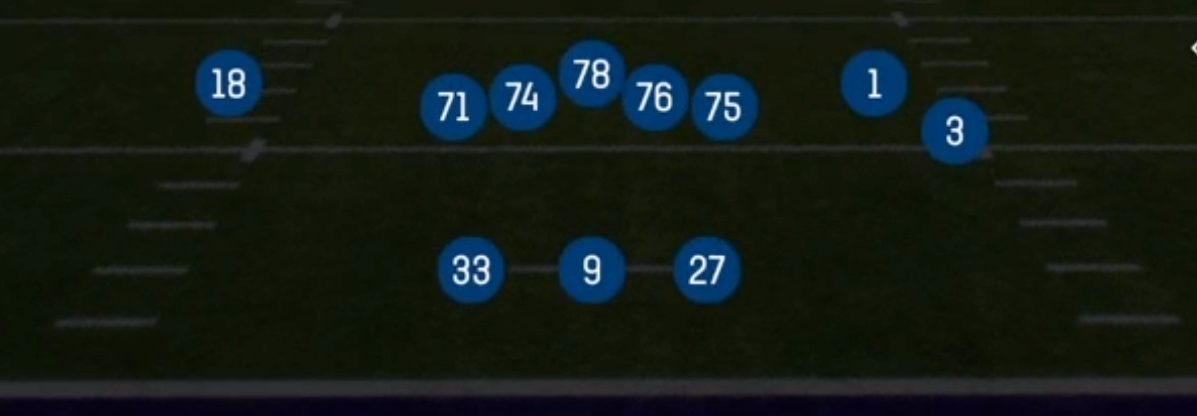
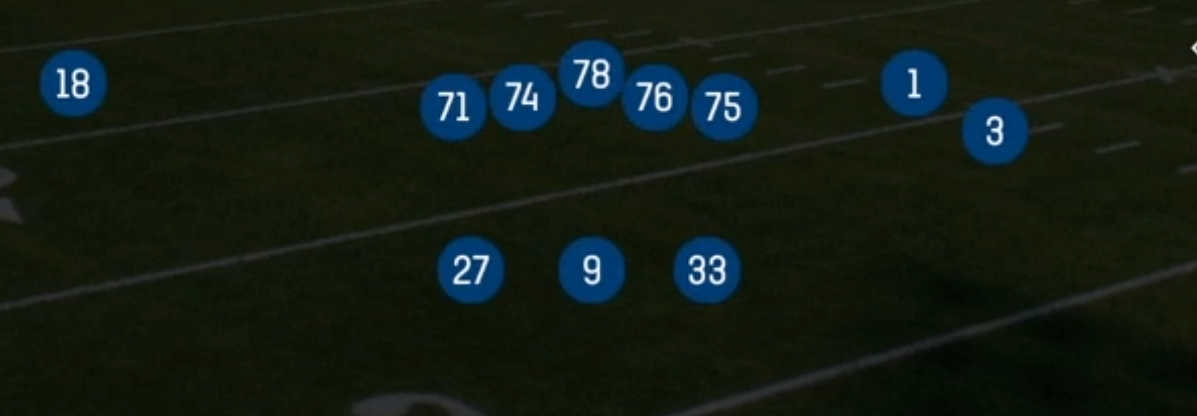
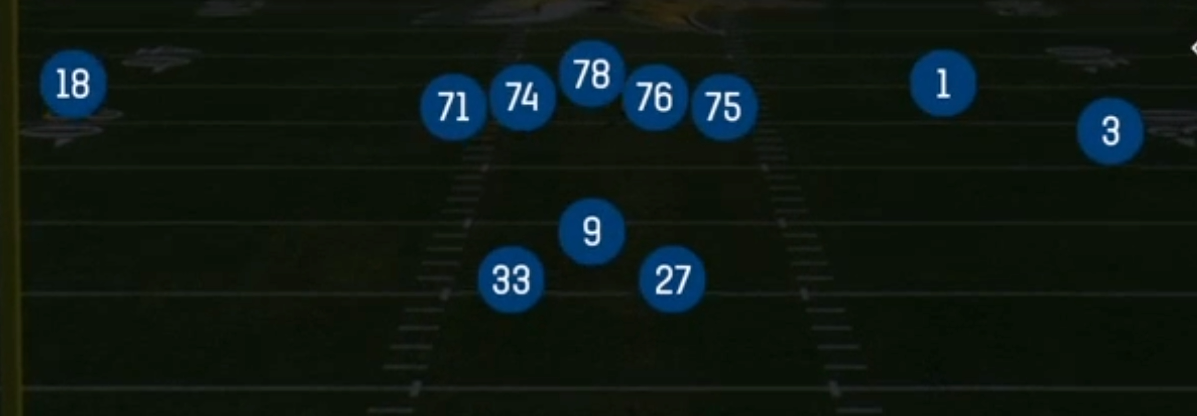
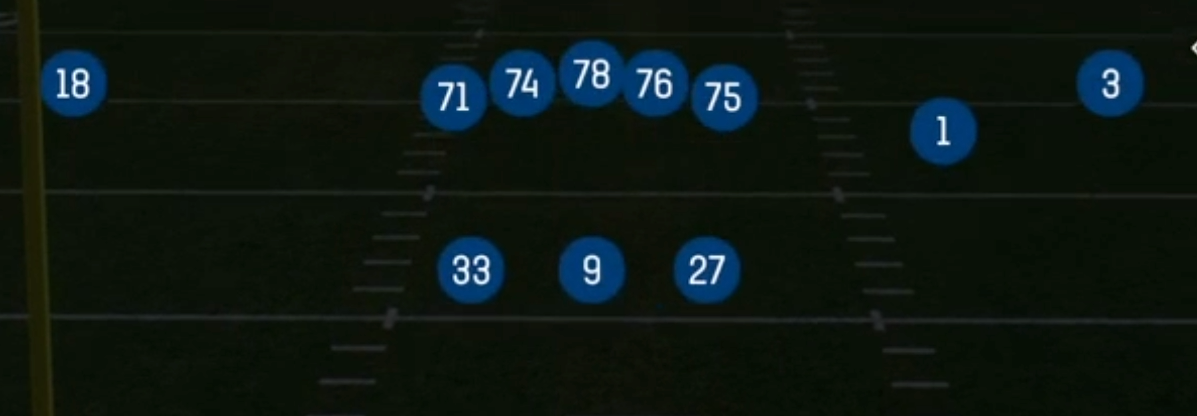
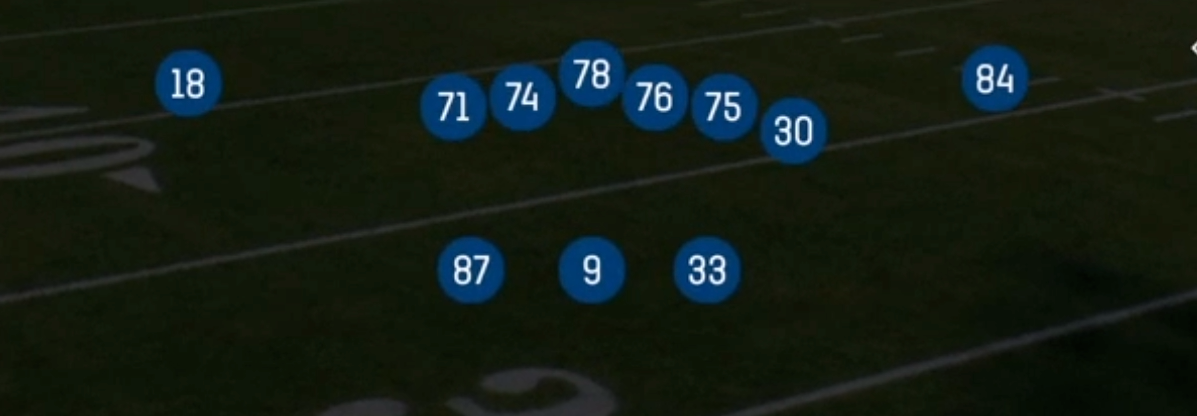
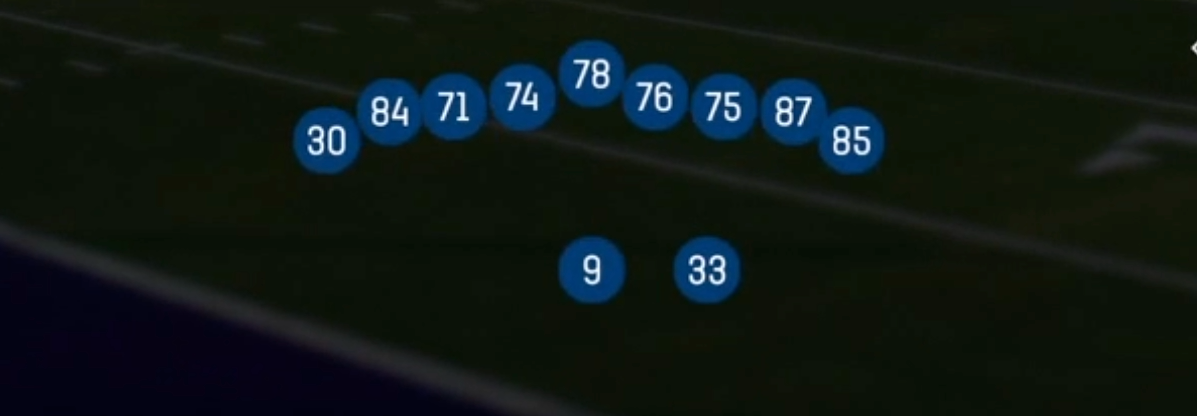
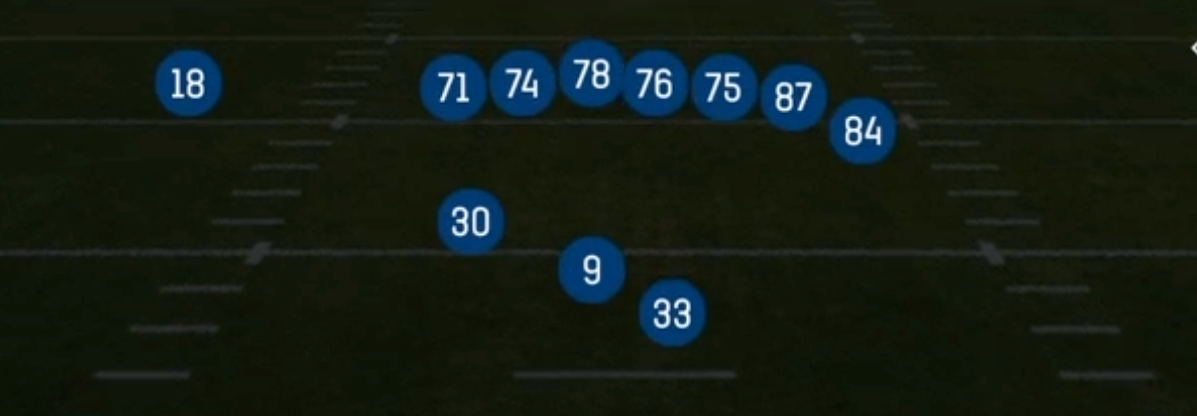
Split Slot Offset is one of the most option-heavy looks in the Shotgun formation. It uses 20 personnel: two running backs and three wide receivers, with no tight end on the field. Most Shotgun sets carry a single back and use a tight end or fourth receiver for width. This set puts two backs in the backfield with the QB in the gun and splits them to create a split-back look with one back offset. A slot receiver aligns inside, so the defense has to respect run and pass to both sides of the formation before the snap. The result is a spread passing surface paired with a genuine two-back run game, which is rare in Shotgun.
The second back unlocks the concepts that define this set. Triple Option Lt, Mtn Triple Option Rt and Speed Option put a pitch player on the edge. RPO Read Cntr, RPO Counter Read and RPO Zone Bubble let you read a conflict defender after the snap. Mtn FB Cross Screen and HB Cross Screen use the backfield as a screen weapon. The Mtn prefix plays add play-action shots off those same looks: Mtn PA Stutter Go, Mtn PA Double Posts and Mtn PA Y Cross all sell run with two backs before attacking deep.
Without a tight end, the defense usually counters with nickel or dime to match the three receivers. That leaves lighter bodies in the box against a two-back run game. If they stay in base to stop the run, the slot receiver (the Y in the Mtn Y Cross and Mtn Y Stick concepts) gets isolated on a linebacker or safety. The Gadget and SLWR tags reflect this: the set is built to stress defenders with misdirection, option pitch keys and a featured slot receiver who works the middle of the field.
Strengths
- True option game from Shotgun: Triple Option Lt, Mtn Triple Option Rt and Speed Option give you a dive, keep and pitch read, and they punish users who crash the mesh or sit on the QB.
- Deep RPO menu: RPO Read Cntr, RPO Counter Read, RPO Zone Bubble and the Mtn RPO Peek series (Peek Stick, Peek Swing) let you read the overhang defender post-snap. That makes the set lethal against Cover 3 Buzz and single-high looks that try to fit the run with a nickel.
- The slot receiver creates mismatches: Mtn Y Cross, Mtn PA Y Cross and Mtn Y Stick feature the SLWR against linebackers in man. The crosser is also an elite zone beater, working behind the hook defenders in Cover 3 and Cover 4.
- Play-action shots off a real run threat: Mtn PA Stutter Go and Mtn PA Double Posts pull the safeties down after you establish Inside Zone Split and Mtn Inside Zone, which creates big plays against Cover 1 and Cover 3 Sky.
- The screen game neutralizes pressure: HB Slip Screen, HB Slip Screen Str, Mtn FB Cross Screen and RPO Split Alert Screen give you built-in answers to nano blitzes and heavy zero pressure without leaving the set.
Weaknesses
- No tight end means weaker edge protection. Overload blitzes and edge pressure off the boundary can beat the backs in pass pro, especially on the longer-developing Mtn PA Double Posts and PA Deep Cross.
- Option reads depend on the user. A skilled user who scrapes over the top as the pitch key, or who controls the QB defender, can blow up Triple Option Lt and Speed Option for negative yardage.
- Snap tendencies are readable. The two-back alignment screams run or RPO, so opponents can sell out with a Cover 0 or a Cover 1 Robber and a user defender sitting in the RPO throwing lane.
- Both backs are in the backfield, which limits your spread-out options. Against dime with press man, you only have three true receivers to win routes. That thins out man beaters compared to empty or 10 personnel sets.
- The run game can struggle against heavy boxes. A defense that stays in base or goes Bear front with safeties rotated down can take away Inside Zone Lt and HB Off Tackle, because the set has no tight end to create extra gap control.
Usage Tips
Pre-snap, count the box against your blockers. If there are six or fewer defenders in the box against 20 personnel, give it on Inside Zone Split or Mtn Inside Zone. If a safety rotates down, check to Mtn PA Stutter Go or Mtn PA Double Posts to attack the vacated deep middle.
Use RPO Zone Bubble and RPO Read Cntr on early downs against nickel and Cover 3. Read the flat defender: throw the bubble if he squeezes the run, and hand off if he widens with the slot.
On 3rd and medium against man, call Mtn Y Stick or Mtn RPO Peek Stick. Hot route the backside back to a quick out or block if you see an edge blitz, and target the slot on the stick route against a linebacker.
Against heavy blitz or nano pressure, audible to HB Slip Screen Str or RPO Split Alert Screen. Both punish zero coverage and keep defenders honest when they bring six or more.
In the red zone, pair Triple Option Lt or Speed Option with PA Sneak Corner. Once the defense commits defenders to the pitch man, the corner route opens up against Cover 2 and quarters as defenders collapse on the run.
Plays (47)
 FL DragDrag, Pass Play, Crosser +3
 FloodFlood, Pass Play, Cover 3 Beater +5
 HB Cross BuckRun Play
 HB Cross ScreenScreen Pass, Hb Screen, Pass Play +3
 HB DrawDraw, Run Play
 HB Off TackleOff Tackle, Run Play
 HB Slip ScreenScreen Pass, Hb Screen, Pass Play +4
- HB Slip Screen StrScreen Pass, Deep Cross, Crosser +3
 HB SweepSweep, Run Play
 Inside Zone LtInside Zone, Run Play, Zone Run
- Inside Zone SplitRun Play
 Lions UnderPass Play, Corner, Go +9
 Mtn Double PassMotion, Trick Play, Streak +2
 Mtn FB Cross ScreenScreen Pass, Motion, Pass Play +1
- Mtn FB Cross Screen 1Screen Pass, Crosser, Motion +3
 Mtn Inside ZoneInside Zone, Motion, Run Play +1
 Mtn PA CounterPlay Action, Motion, Pass Play +6
 Mtn PA Double PostsPlay Action, Motion, Pass Play +5
 Mtn PA HB SwingPlay Action, Swing, Motion +1
 Mtn PA Stutter GoPlay Action, Go, Motion +1
 Mtn PA Y CrossPlay Action, Y Cross, Motion +6
- Mtn PA Y Cross(1)Play Action, Crosser, Y Cross +6
 Mtn RPO Peek StickRPO, Stick, Stick Concept +3
- Mtn RPO Peek Stick (standardspacing)RPO, Stick, Stick Concept +7
 Mtn RPO Peek SwingRPO, Swing, Motion +2
 Mtn RPO Peek Swing WkRPO, Swing, Motion +2
- Mtn RPO Read SwingSwing, Option Route, Pass Play +1
- Mtn RPO Read Swing WkSwing, Bubble Screen, Pass Play +1
 Mtn RPO Swing QB DrawDraw, Qb Draw, Designed Qb Run +6
 Mtn SpotSpot, Motion, Pass Play +4
- Mtn Stick WheelWheel, Stick, Hitch +4
- Mtn Stutter GoGo, Motion, Pass Play +5
 Mtn Triple Option RtTriple Option, Motion, Run Play
 Mtn Y CrossY Cross, Motion, Pass Play +5
 Mtn Y StickStick, Stick Concept, Motion +5
 Mtn Zone WKMotion, Inside Zone, Run Play +1
 PA Deep CrossPlay Action, Deep Cross, Pass Play +5
 PA Sneak CornerPlay Action, Corner, Pass Play +3
- RB Sweep RtSweep, Run Play
- RPO Counter ReadCounter, RPO, Run Play +4
 RPO Read CntrRPO, Pass Play, Run Play
- RPO Split Alert ScreenScreen Pass, Bubble Screen, Option Route +2
- RPO Zone BubbleRPO, Pass Play, Run Play +2
 ShakesPass Play, Quick Pass, Flat +5
 Slants MiddleSlant, Pass Play, Flat
 Speed OptionSpeed Option, Run Play
 Triple Option LtTriple Option, Run Play