Playbooks

At a Glance
Overview
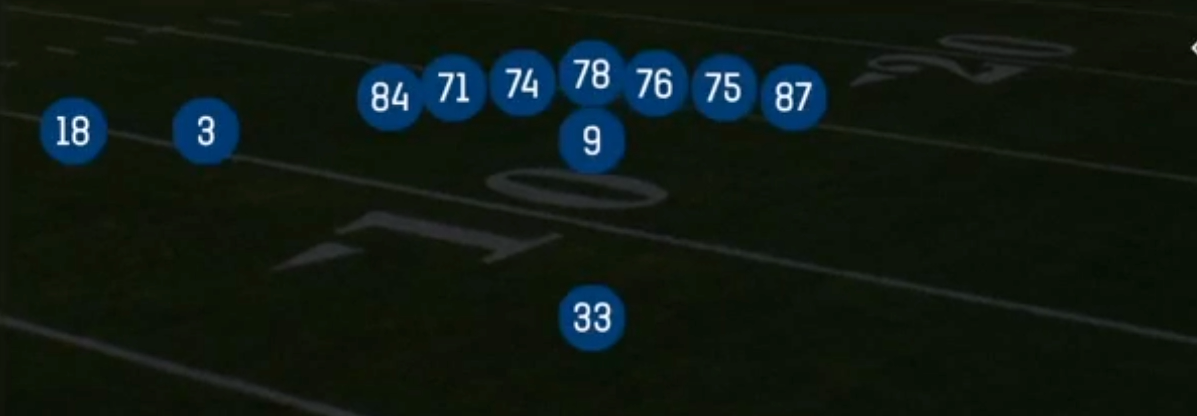
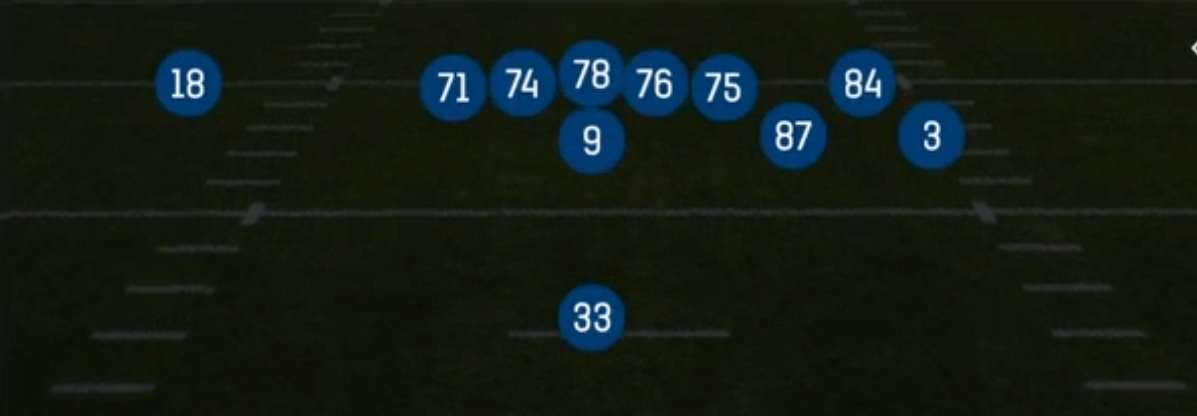
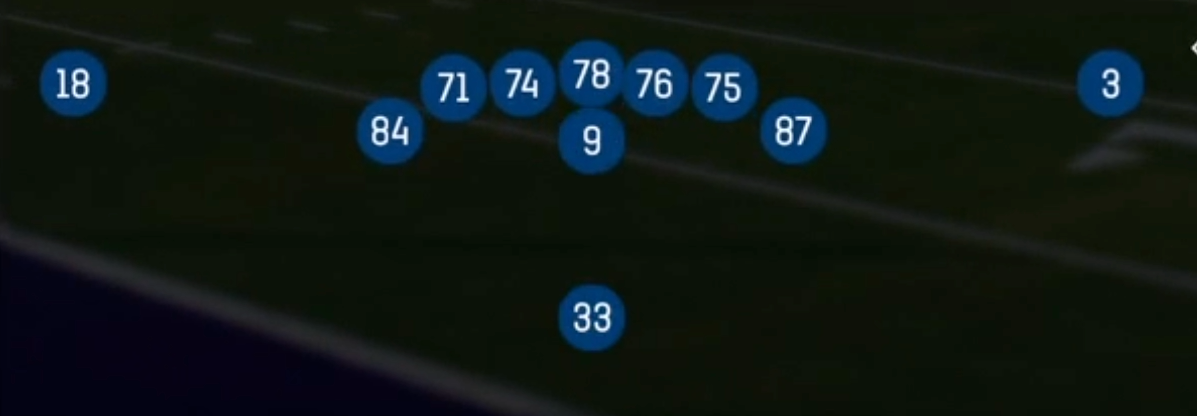
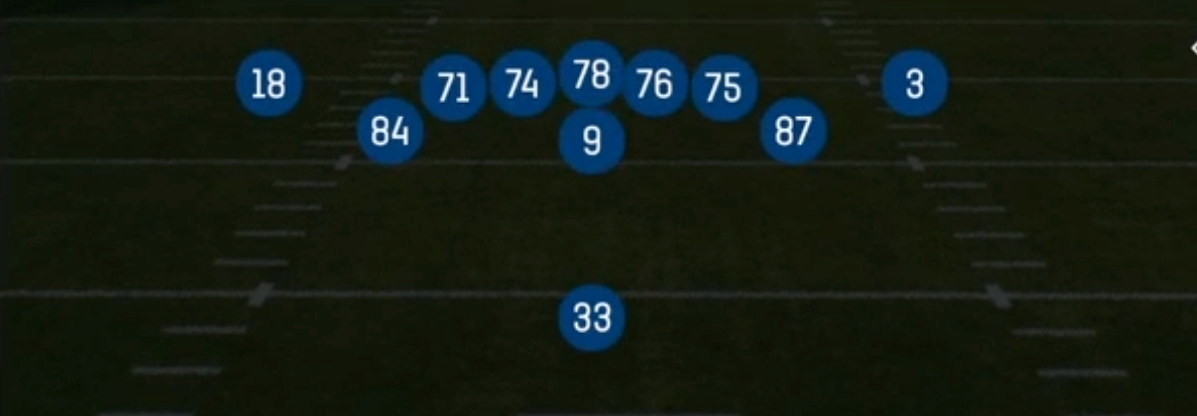
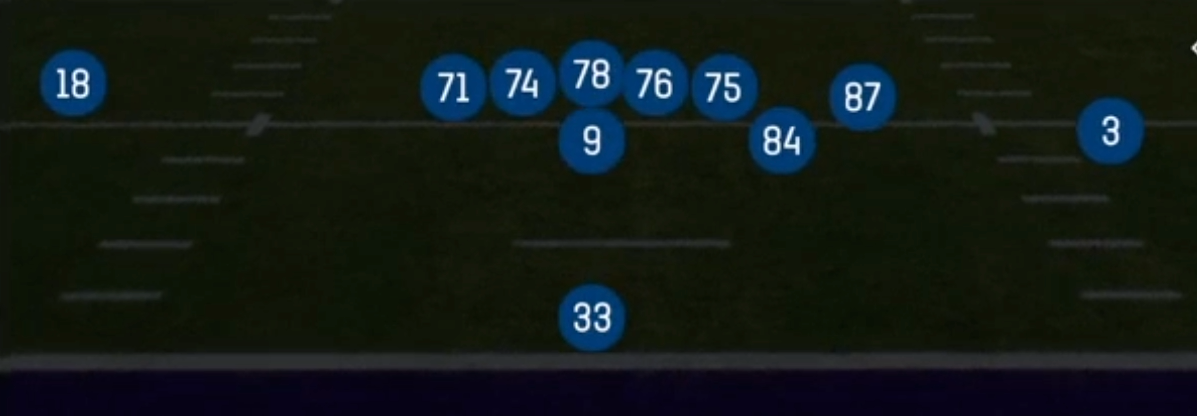
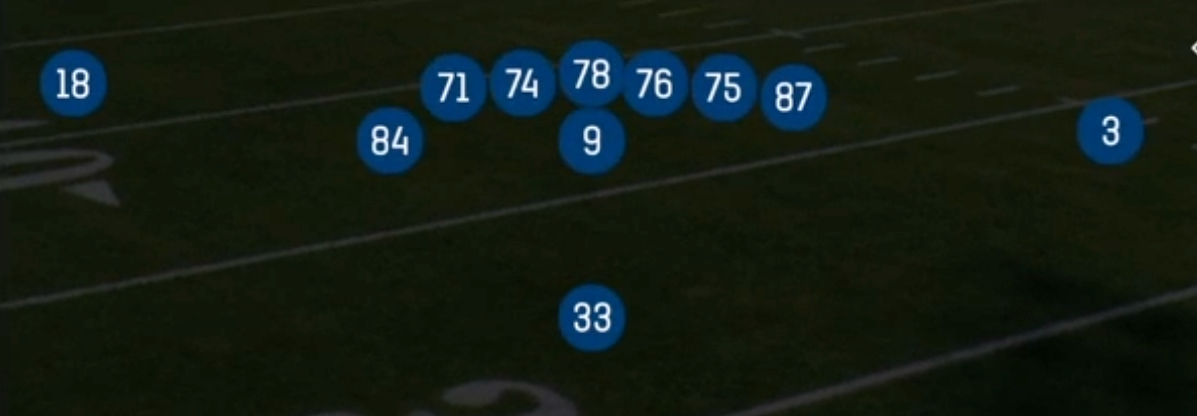
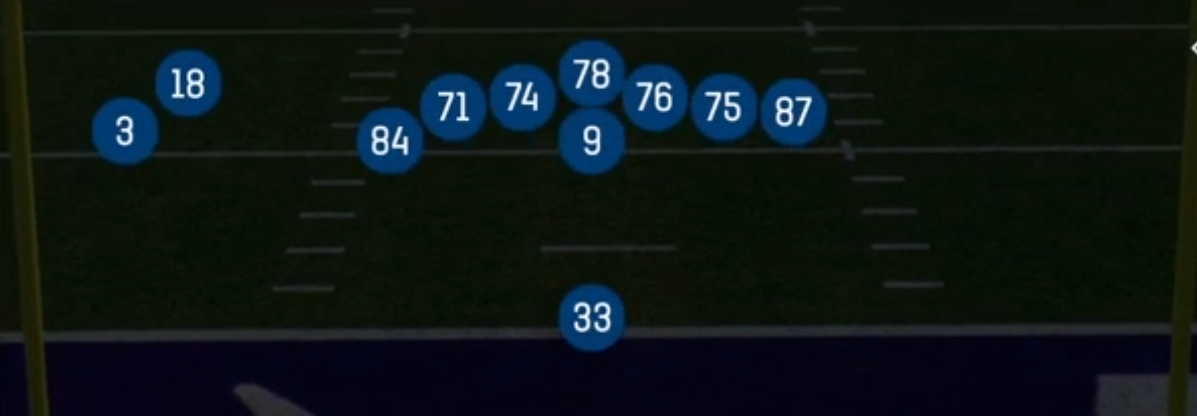
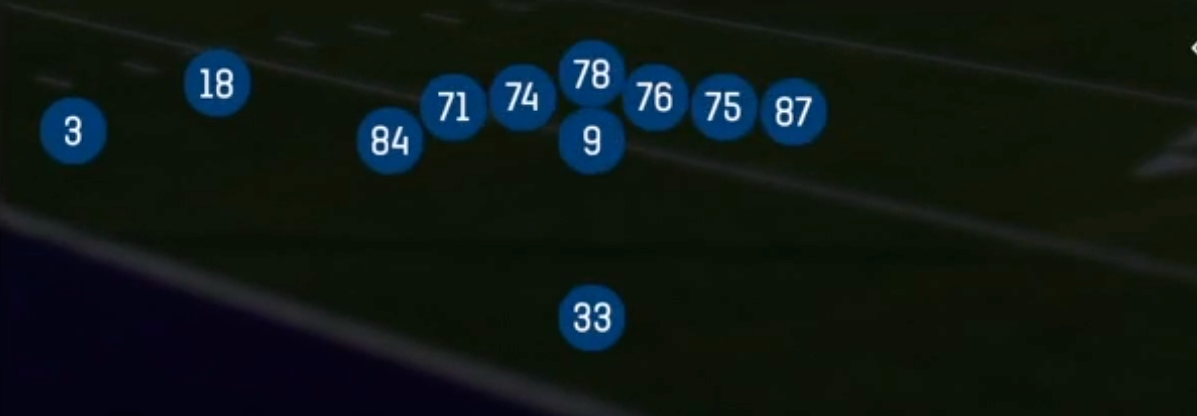
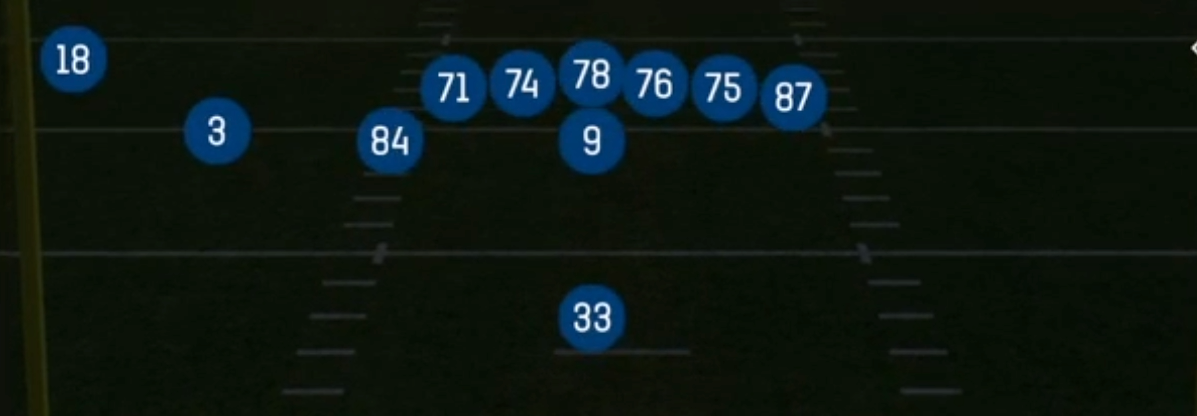
Wing Stack is the Singleback set that turns 12 personnel into a gadget and misdirection package. Instead of lining both tight ends in-line like Singleback Tight or spreading one out as a flexed receiver, Wing Stack pairs an in-line Y with a wing tight end off the edge, then stacks the two wide receivers to create release leverage and natural pick potential against man coverage. The result is a condensed, heavy-looking front that still carries real passing threats, forcing defenses to choose between base personnel to stop the run or nickel to handle the stacked receivers.
The set's identity comes from motion. Jet Sweep, PA Jet Sweep, Zone Fake Jet, and both PA Jet Sweep variants use the stacked receiver on fast jet motion, which pulls linebackers and flips safety rotation before the snap. Once the defense starts flowing with jet action, you counter with HB Belly Weak, HB Power O, and HB Duo downhill, or pull the ball on PA Fork and PA Power O to hit the wing tight end leaking into space behind aggressive second-level defenders. The wing alignment also gives you a sixth gap on the strong side, which is why HB Stretch and HB Zone Wk hit edges that a standard Singleback look cannot.
Through the air, the stack alignment isolates the point receiver against off coverage and lets the second receiver work underneath or behind a natural rub. KC Smash, Levels, Y Stick, and Flanker Spot provide quick zone beaters, while Double Corner, Fade Out, and Four Verticals push the ball vertically once safeties creep down to fit the run. Because linebackers must respect two tight ends and a live jet threat, the tight ends routinely draw linebacker matchups in the seams and flats, which is the core advantage of running this set out of 12 personnel.
Strengths
- Jet motion from the stack forces pre-snap defensive shifts, letting you read man versus zone before the snap based on whether a defender travels with the motion man
- The stacked receiver release creates natural rubs against Cover 1 and Cover 0, making KC Smash, Levels, and Double Corner reliable man beaters without extra hot routes
- The wing tight end adds a gap on the strong side, so HB Power O, HB Duo, and HB Stretch outnumber base fronts and punish defenses that sit in nickel against 12 personnel
- Play-action from jet and power looks (PA Jet Sweep, PA Fork, PA Dig, PA Double In Shot) freezes linebackers and opens intermediate windows against Cover 3 and Cover 4 hook defenders
- Four Verticals, Fade Out, and Double Corner stress single high safeties once the run game pulls the strong safety into the box, giving you explosive shot plays from a heavy look
Weaknesses
- Only two true wide receivers are on the field, so defenses can bracket the stack with Cover 2 Man or trail technique and take away the point receiver on quick concepts
- The condensed alignment brings extra defenders near the box, making interior and edge blitzes like Nickel 3-3-5 overloads harder to identify and pick up on play-action with long developing drops
- A user-controlled linebacker or safety sitting in the middle hook can undercut PA Dig, Curl Post Drag, and Y Stick because the tight ends run predictable inside-breaking routes
- Jet sweep plays become a tendency quickly, and smart opponents will user the flat defender or spill with a contain player once they recognize the motion timing
- The wing tight end often has a block assignment on run plays, so an outside rusher who crashes can blow up Stretch and Jet Sweep if your pulling lineman or TE loses leverage
Usage Tips
On first and ten against base or nickel, open with HB Duo or HB Power O to establish the downhill run, then call Zone Fake Jet or PA Fork off the same look once linebackers start triggering on the snap
Use jet motion as a pre-snap read: if a defender runs with the motion receiver, audible to KC Smash or Double Corner to exploit man coverage; if the defense bumps without following, check to Levels or Flanker Spot against zone
In third and short, Y Stick and HB Belly Weak are your best calls, and you can hot route the wing tight end to a quick out to create a two-way option against flat defenders
When you see single high safety with the strong safety rolled into the box, audible to Four Verticals or Fade Out and hot route the running back to a block to buy time for the shot
Alternate Jet Sweep and PA Jet Sweep (1) from identical pre-snap looks so opponents cannot key the motion, and mix in HB Dive to keep second-level defenders from flowing to the edge
Plays (22)
 Curl Post DragCurl, Post, Drag +4
 Double CornerCorner, Pass Play, Block and Release +3
 Fade OutOut, Pass Play, Block and Release +2
 Flanker SpotSpot, Pass Play, Cover 3 Beater +3
- Four VerticalsOption Route, Seam, Streak +2
 HB Belly WeakRun Play, Power Run, Power +2
 HB DiveDive, Run Play
- HB DuoRun Play
 HB Power OPower, Run Play, Power Run
 HB StretchOutside Zone, Run Play, Zone Run
 HB Zone WkInside Zone, Run Play, Zone Run
 Jet SweepSweep, Jet Sweep, Motion +1
 KC SmashSmash, Pass Play, Cover 2 Beater +4
 LevelsLevels, Pass Play, Cover 2 Beater +5
 PA DigPlay Action, Dig, Pass Play +4
 PA Double In ShotPlay Action, Pass Play, Deep Cross +3
 PA ForkPlay Action, Pass Play, Block and Release +3
 PA Jet SweepSweep, Jet Sweep, Play Action +2
- PA Jet Sweep (1)Sweep, Jet Sweep, Play Action +6
 PA Power OPlay Action, Pass Play, Corner +5
 Y StickStick, Stick Concept, Pass Play +2
 Zone Fake JetMotion, Run Play