Playbooks

At a Glance
Overview
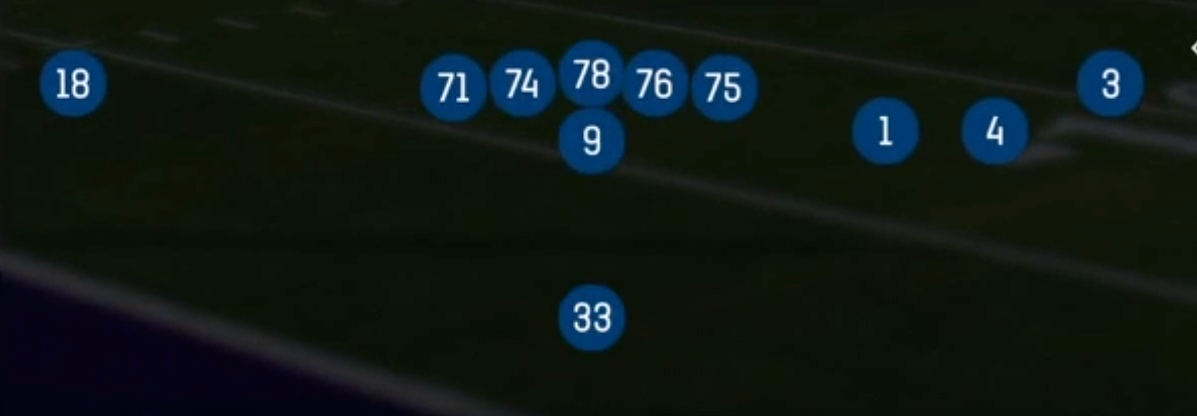
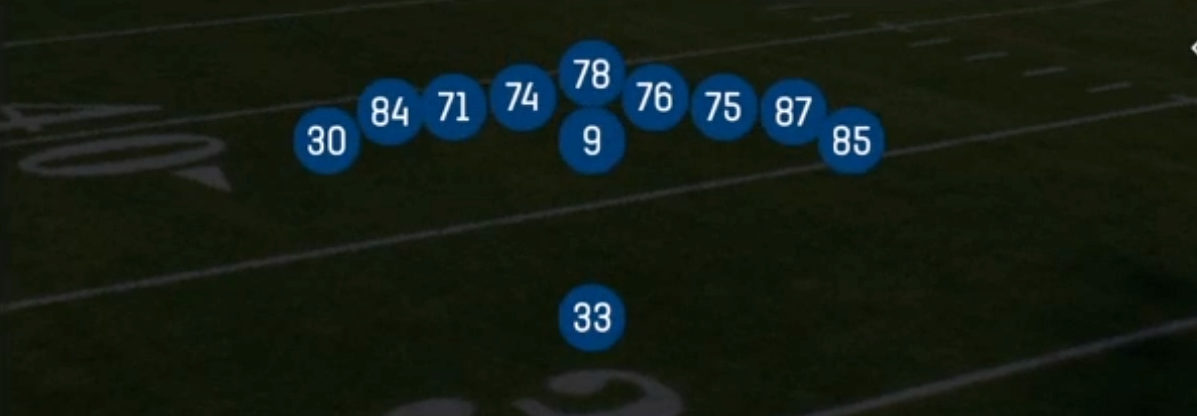
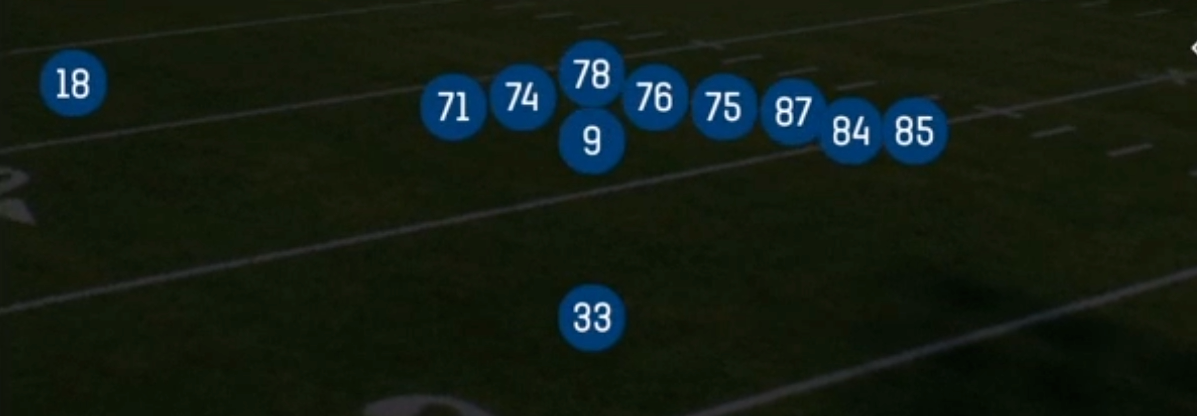
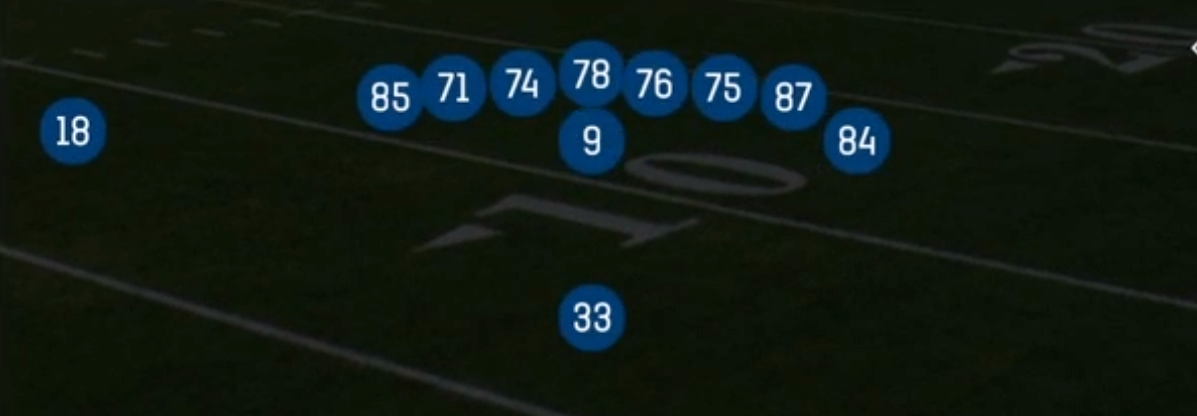
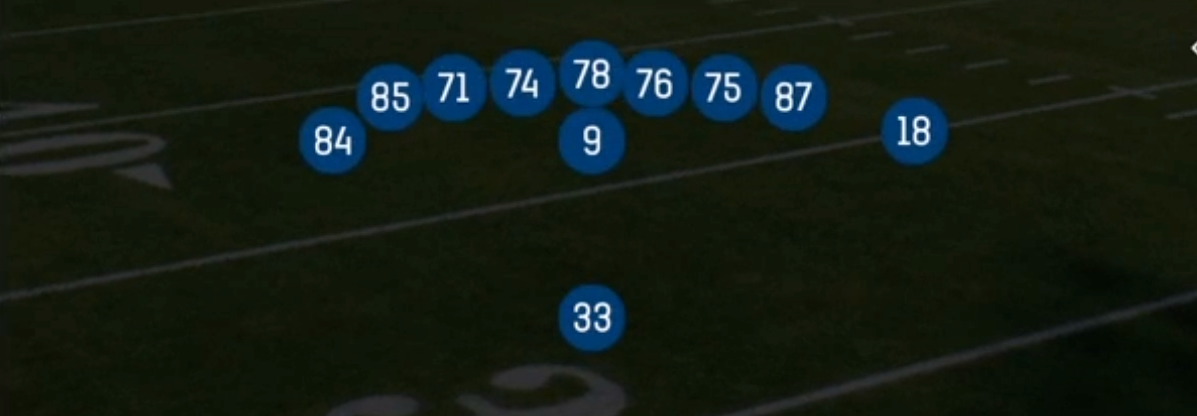
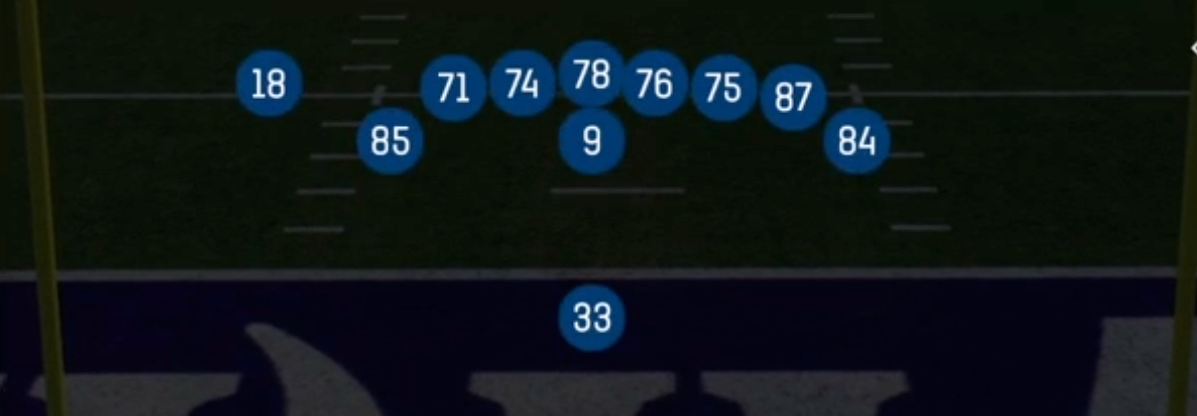
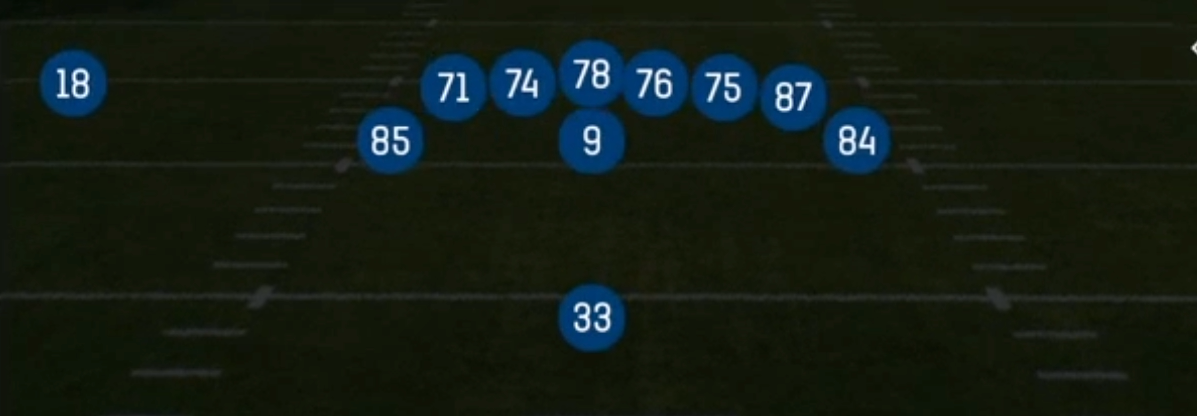
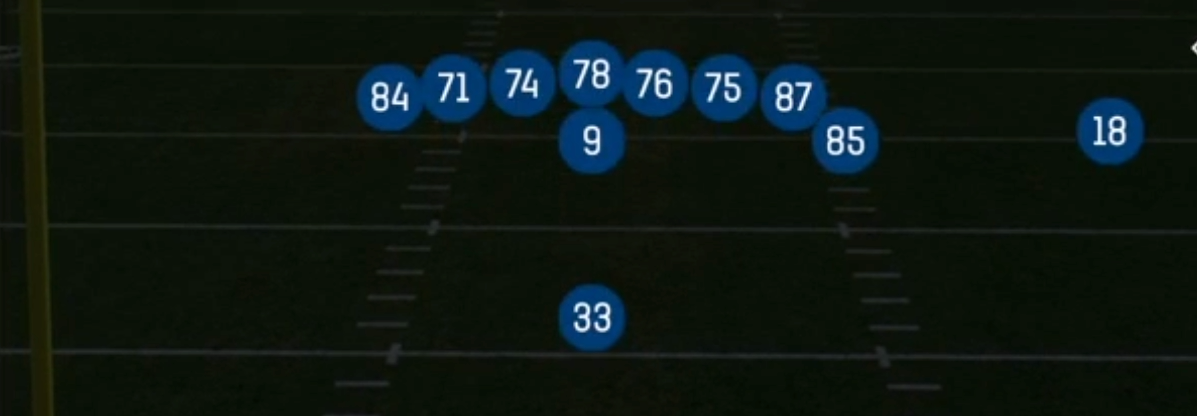
The Spread set in Singleback strips the formation down to 10 personnel: one running back, zero tight ends, and four wide receivers split into a balanced 2x2 look. Most Singleback sets keep at least one tight end attached to the line, which gives defenses a clear run strength and lets them play base or nickel personnel comfortably. Spread removes that anchor entirely. Every eligible receiver except the back is a true route runner, and the defense has to defend four vertical threats while still respecting a legitimate run game from the single back.
This alignment is built around slot receivers, which is why the SLWR tag matters here. With two slots aligned inside the numbers, you can attack linebackers and nickel defenders with Pivot Slants, Slot Options, Slot Pivot, and Seam Option, forcing the defense to either sub in dime personnel or live with a linebacker covering a fast inside receiver. The outside receivers are isolated on the boundary in true 1 on 1 situations on Comebacks, WR Deep Outs, and 60 Go, especially when the defense rolls a safety down to help inside. Four Verticals, 949 Yara, and Smash Posts stress Cover 2 and Cover 3 shells by putting two seam threats directly on top of the safeties.
What separates this Spread package from a pure pass set is its run and screen depth. HB Draw, Mtn HB Draw, HB Cutback, Wide Zone, Wide Zone Wk, 0 1 Trap, and HB Dive give you real ground options against light boxes, while HB Slip Screen, Bubble Screen, HB Draw Bubble, and HB Slash Alert Bubble punish aggressive pass rush and overloaded alignments. The 3DRB and Gadget tags reflect this: a third down back who can run routes, catch screens, and hit draw lanes turns this into one of the most versatile four receiver looks in Singleback.
Strengths
- Dime personnel forces a light box, so HB Draw, Mtn HB Draw, and 0 1 Trap consistently find 6 man fronts where the back gets to the second level untouched.
- The 2x2 alignment gives you mirrored man beaters like Pivot Slants, Slot Pivot, and Slot Options, where a slot receiver on a linebacker or slow nickel wins at the break every time.
- Four Verticals, 949 Yara, and Smash Posts put two seam runners on the safeties, which breaks Cover 3 and Cover 2 when you read the middle of the field defender and throw away from him.
- Bubble Screen, HB Draw Bubble, and HB Slash Alert Bubble act as built in answers to pressure and outside alignment, letting you take free yards when the defense shows a numbers advantage to one side.
- Deep sideline concepts like Comebacks, WR Deep Outs, Hitch Corners, and Switch Smash isolate your outside receivers against press man or Cover 4 corners with no underneath help.
Weaknesses
- With zero tight ends and one back, you only have six potential blockers, so a Cover 0 or overload nano blitz off the edge will beat your protection before deep concepts like Four Verticals or 60 Go can develop.
- Opponents who user the middle hook defender or a robber safety can sit on Slants Middle, Inside Cross, and Flanker Dig, turning your quick inside throws into turnovers.
- The run game depends heavily on the defense staying in dime; if an opponent stays in nickel with a heavy box or plugs an extra linebacker, draws and wide zone runs lose most of their effectiveness.
- Because every receiver is split wide, there is no in line tight end to chip or slide, so speed rushers off the edge against your weakest tackle can collapse the pocket on play action like PA Slot Crosses and PA HB Out.
- Smart defenses read the 2x2 split and play Cover 2 man or Cover 6, taking away the seams and sidelines while baiting you into forced throws into tight windows.
Usage Tips
Before the snap, count the box: if you see six or fewer defenders, audible to HB Draw or Mtn HB Draw, and if you see seven or more with two high safeties, check to Four Verticals or Smash Posts.
Against man coverage on third and short, run Pivot Slants or Slot Pivot and target the slot matched on a linebacker; hot route the back to a quick out if you suspect a blitz to give yourself a second fast read.
Versus pressure looks with defenders walked up over the slots, check to Bubble Screen or HB Slip Screen, or keep HB Slash Alert Bubble called and throw the bubble if the outside defender crashes.
Use Wide Zone and Wide Zone Wk on early downs to force the defense out of dime, then attack the resulting nickel or base personnel mismatch with Seam Option, Slot Options, or 949 Yara on the next snap.
In two minute drill situations, lean on Comebacks, WR Deep Outs, and Curl Flats to work the sideline, and hot route an inside receiver to a streak to hold the safety and open the boundary throw.
Plays (33)
 0 1 TrapTrap, Run Play, Power Run
 60 GoGo, Pass Play, Flat +3
 61 X ChoiceOption Route, Pass Play, Out +1
 949 YaraPass Play, Go, Flood +7
 Bubble ScreenScreen Pass, Bubble Screen, Pass Play
 ComebacksComeback, Pass Play, Curl
 Curl FlatsFlat, Curl, Pass Play +1
 Flanker DigDig, Pass Play, Flat +3
 Four VerticalsFour Verts, Pass Play, Cover 2 Beater +5
 HB CutbackRun Play, Inside Zone, Zone Run
 HB DiveDive, Run Play
 HB DrawDraw, Run Play
 HB Draw BubbleDraw, Run Play
 HB Slash Alert BubblePass Play, Quick Pass, Bubble Screen +3
 HB Slip ScreenScreen Pass, Hb Screen, Pass Play +3
 Hitch CornersHitch, Corner, Pass Play
 Inside CrossCrosser, Pass Play, Curl +4
 Mtn HB DrawDraw, Motion, Run Play
 PA HB OutPlay Action, Out, Pass Play +4
 PA Slot CrossesPlay Action, Crosser, Pass Play +3
- Pivot SlantsSlant, Pivot, Pass Play +1
 Seam OptionSeam, Option Route, Pass Play +4
 Slant FlatsFlat, Slant, Pass Play
 Slants MiddleSlant, Pass Play
 Slot OptionsPass Play, Option Route, Quick Pass +6
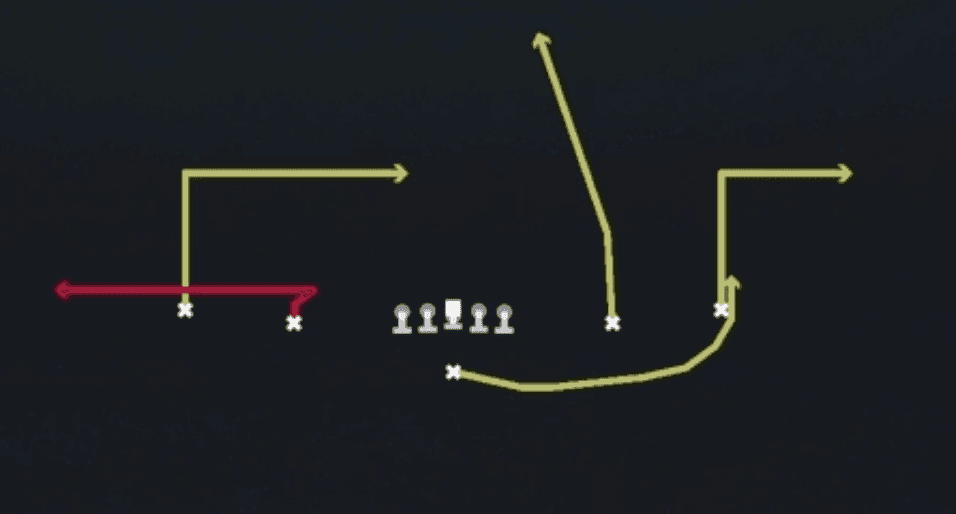 Slot PivotPivot, Pass Play, In +4
 Smash CornersCorner, Smash, Pass Play +3
 Smash PostsPost, Smash, Pass Play +2
 Switch SmashSmash, Pass Play, Cover 2 Beater +4
 Wide ZoneOutside Zone, Run Play, Zone Run
 Wide Zone WkOutside Zone, Run Play, Zone Run
 WR Deep OutsOut, Pass Play, Deep Cross +3
- WR Short PostsPost, Pass Play, Hitch