Playbooks

At a Glance
In 2 playbooks
Overview
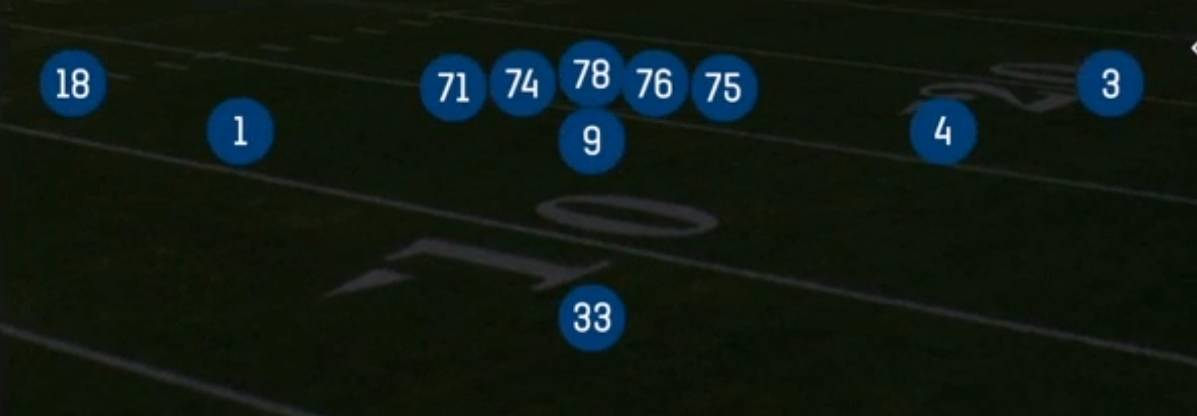
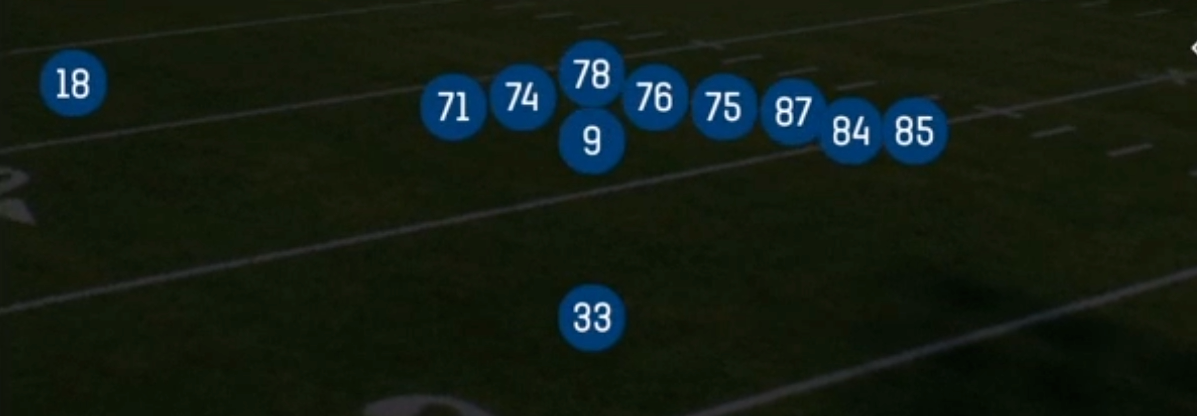
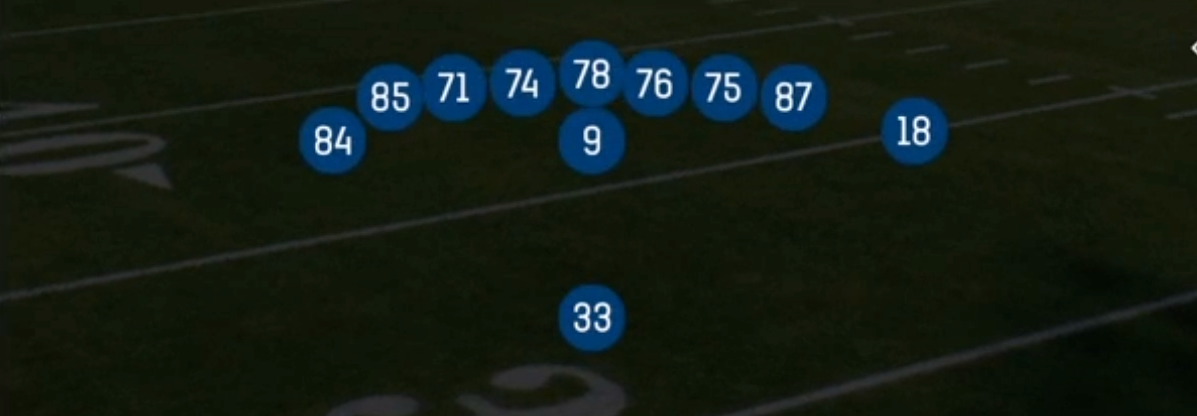
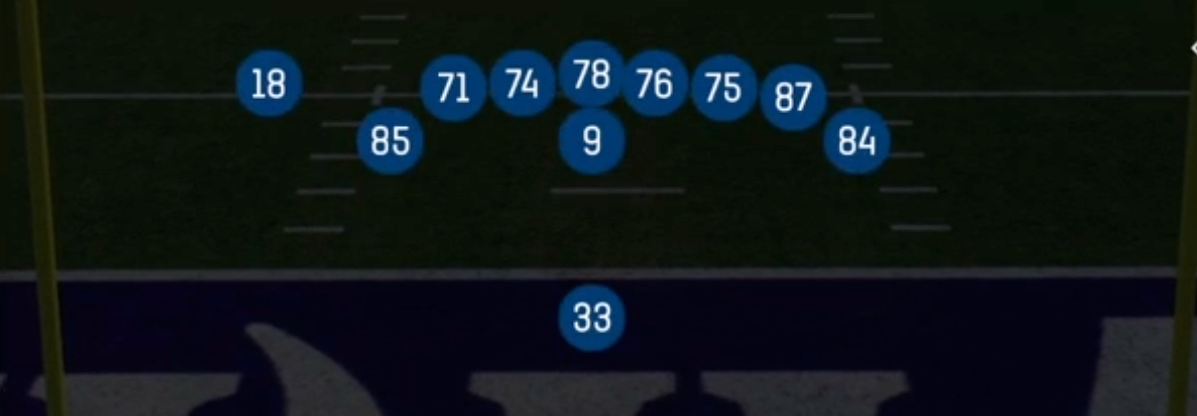
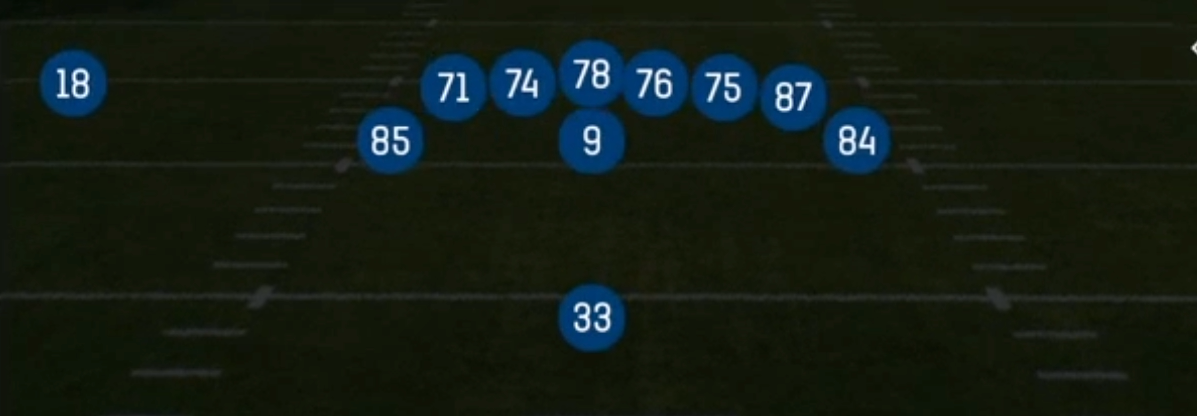
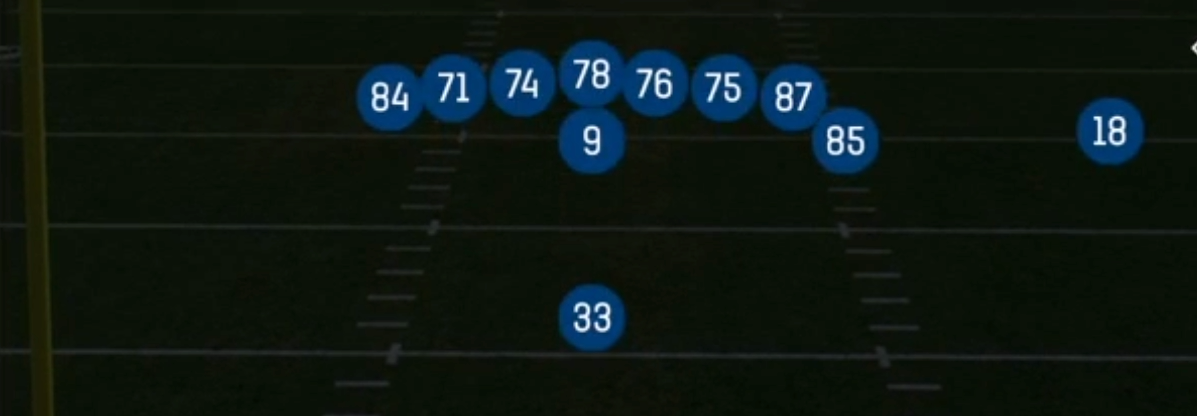
Trips Open in Singleback is a 10 personnel look (1 RB, 0 TE, 4 WR) that stacks three receivers to one side and leaves a lone X receiver isolated on the backside, with the halfback aligned directly behind the quarterback. Unlike Singleback sets built around tight ends, such as Ace or Doubles, Trips Open removes every inline blocker and puts four true receivers on the field. That forces the defense to declare its answer pre-snap: match with nickel or dime and lose run fits, or stay in base and concede speed and route running mismatches against linebackers covering slots. The Open tag means the trips receivers are spread wide rather than bunched, which creates horizontal spacing that stretches flat and curl defenders to their limits.
The personnel alignment isolates the backside X in a true one on one situation. If the defense rotates coverage toward the trips side, the X gets a single high safety or no help at all, and concepts like 61 X Choice and WR Post Corner are designed to punish that. On the strong side, the three receiver surface lets you run layered triangle and flood reads such as Levels, Curl Flat Corner, Strong Flood, and Stick, stressing zone defenders at three depths. The SLWR tag highlights how valuable a quick slot receiver is here, since the number 3 receiver often draws a linebacker or a slow nickel back.
The set also keeps a legitimate run game alive despite the empty tight end slots. Wide Zone, HB Trap, 0 1 Trap, HB Draw, and HB Slam all benefit from light boxes, because defenses that match four wide are usually playing six or fewer defenders in the box. The 3DRB and Gadget tags reflect how a pass catching back can use HB Slip Screen and the check release options to attack defenses that overcommit to the trips side, making Trips Open a complete spread package rather than a pure passing look.
Strengths
- Four wide personnel forces nickel or dime packages, creating light boxes that make Wide Zone, HB Draw, and 0 1 Trap efficient runs against six man fronts.
- The isolated backside X in 61 X Choice and WR Post Corner wins against Cover 3 and Cover 1 when the safety rotates toward trips, giving you a reliable man beater on a pre-snap read.
- Levels, Curl Flat Corner, and Strong Flood create three level high low reads on the trips side that shred Cover 3 and Cover 4 Match, especially when the flat defender is forced to choose between two routes.
- Spacing, Stick, and Slot Middle provide quick game answers against zone blitzes, letting you get the ball out within three steps and punish nano blitz pressure.
- Four Verticals and 60 Go stretch single high safeties vertically, and hot routing the backside X to a comeback or the slot to a seam gives you a built in answer against Cover 2 and Cover 1 Robber.
Weaknesses
- With no tight end and only five offensive linemen plus a back, protection is thin, so overload and nano blitzes off the edge can get home before deeper concepts like PA Streak or Four Verticals develop.
- Defenses that use a user controlled middle linebacker or robber can sit in the throwing lanes of Middle Slant, Slot Middle, and the Stick option routes, turning your quick game into interception opportunities.
- The trips tendency is easy to read, and opponents can shade coverage with Cover 3 Buzz or Cover 4 Palms toward the strength while bracketing the X, taking away both primary reads in one call.
- Running from 10 personnel lacks a lead blocker or edge seal, so disciplined defenses with fast linebackers and spy assignments can fill cutback lanes on Wide Zone Wk and HB Slam.
- Play action out of Trips Open, like PA FL Stretch, is less convincing than under center PA, and aggressive defenders rarely bite, leaving the long developing routes exposed to sacks.
Usage Tips
Read the safety rotation pre-snap: if the free safety rotates toward trips, immediately look backside to the X on 61 X Choice or WR Post Corner, and if the safeties stay balanced, work the trips side flood and levels concepts.
Count the box before every snap and audible to HB Draw, 0 1 Trap, or Wide Zone when you see six or fewer defenders, especially on 2nd and medium where defenses expect pass from four wide.
Against heavy blitz looks, hot route the running back to a quick out or slant, or check into Bubble Screen, Spacing, or Stick to get the ball out quickly and make the defense pay for pressure.
On 3rd and short to medium, use Stick or Levels with a slot receiver running the key route, and slide protection toward the pressure side to buy an extra half second.
Motion the number 3 receiver across the formation before the snap to identify man versus zone; if a defender follows, attack with Middle Slant or Curl Flat Wheel as man beaters, and if no one follows, stay with zone beaters like Curl Flat Corner and Strong Flood.
Plays (24)
 0 1 TrapTrap, Run Play, Power Run
 60 GoGo, Pass Play, Flat +3
 60 SlideSlide, Pass Play, Bubble Screen +1
 61 X ChoiceOption Route, Pass Play, In +1
 Bubble ScreenScreen Pass, Bubble Screen, Pass Play +1
 Curl Flat CornerFlat, Curl, Corner +6
 Curl Flat WheelFlat, Curl, Wheel +5
 Four VerticalsFour Verts, Pass Play, Cover 2 Beater +7
- HB DiveDive, Run Play
 HB DrawDraw, Run Play
 HB SlamDive, Run Play
 HB Slip ScreenScreen Pass, Hb Screen, Pass Play +5
- HB TrapTrap, Run Play, Power Run
 LevelsLevels, Pass Play, Cover 2 Beater +2
 Middle SlantSlant, Pass Play, Corner +4
 PA FL StretchPlay Action, Pass Play, Deep Cross +5
- PA StreakPlay Action, Streak, Pass Play +4
- Slot MiddleCurl, Hook, Post +2
- SpacingSpacing, Pass Play, Cover 3 Beater +2
 StickStick, Stick Concept, Pass Play +3
 Strong FloodFlood, Pass Play, Cover 3 Beater +5
 Wide ZoneOutside Zone, Run Play, Zone Run
 Wide Zone WkOutside Zone, Run Play, Zone Run
- WR Post CornerCorner, Post, Post Corner +6