Playbooks
At a Glance
In 1 playbook
Overview
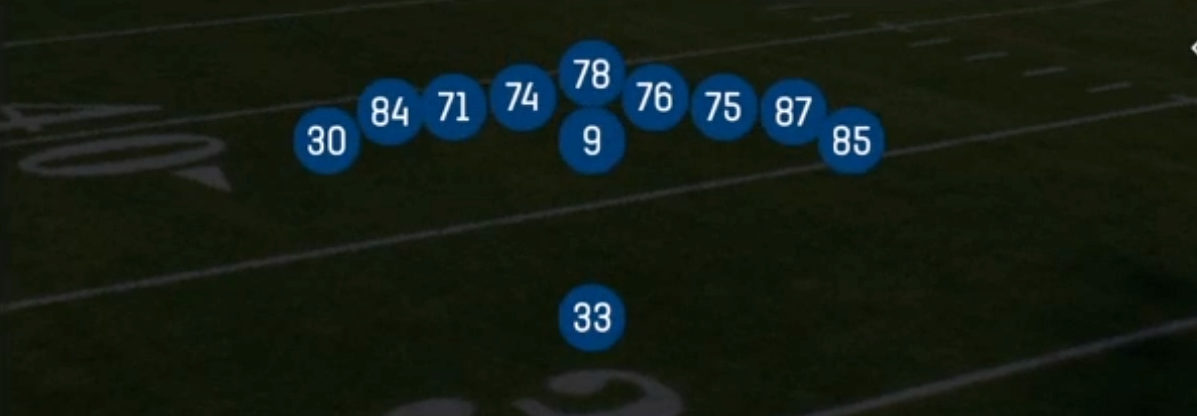
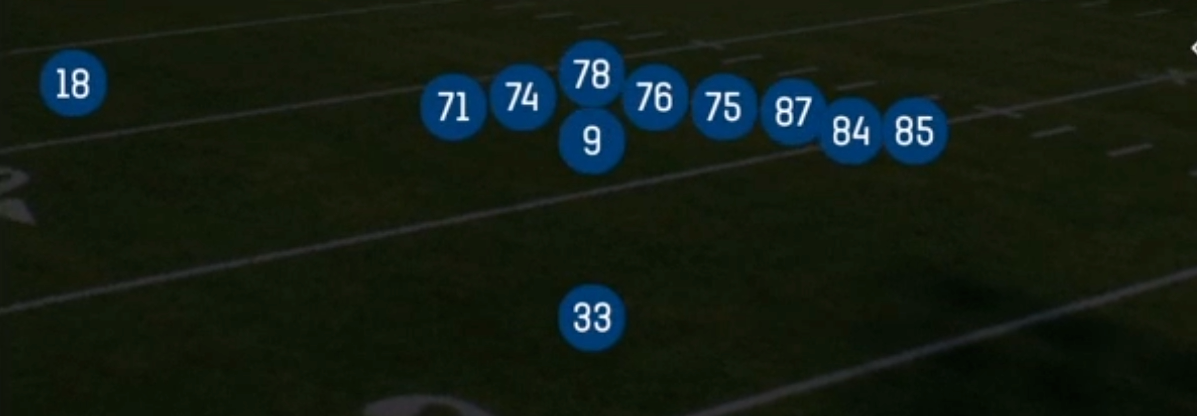
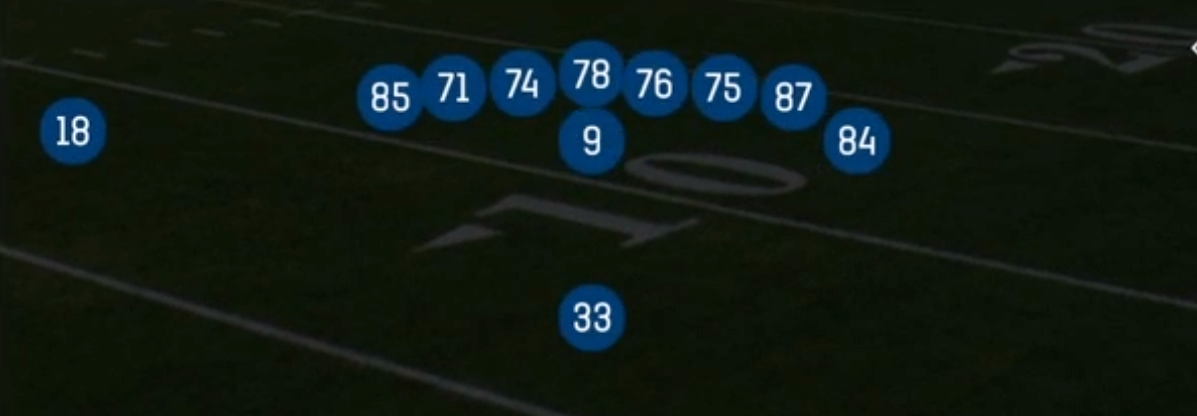
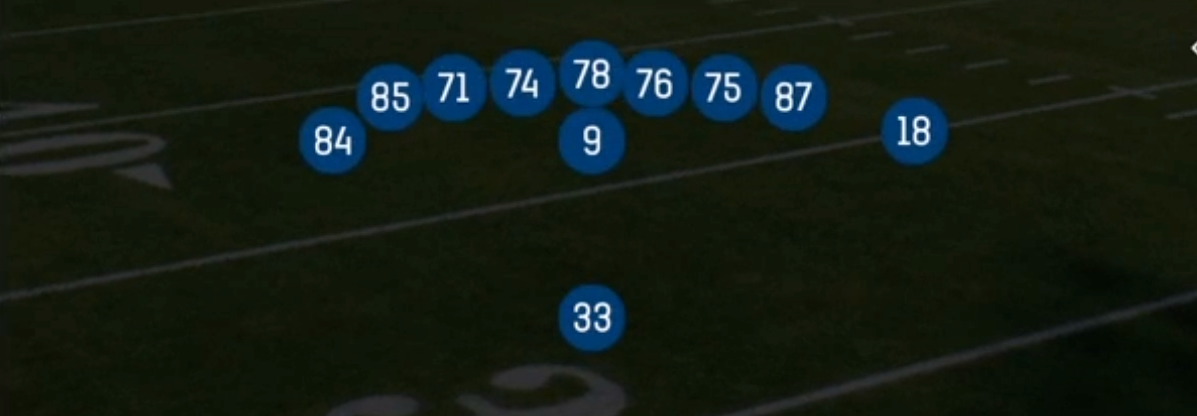
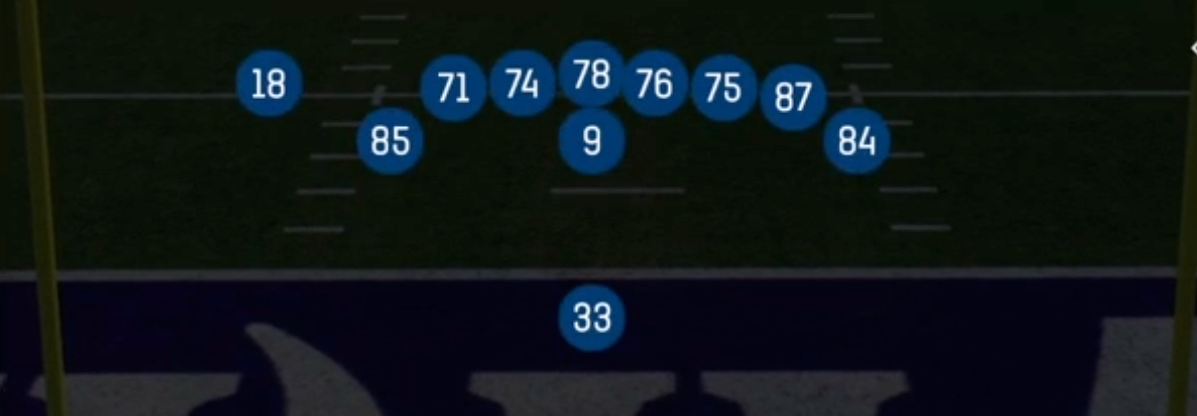
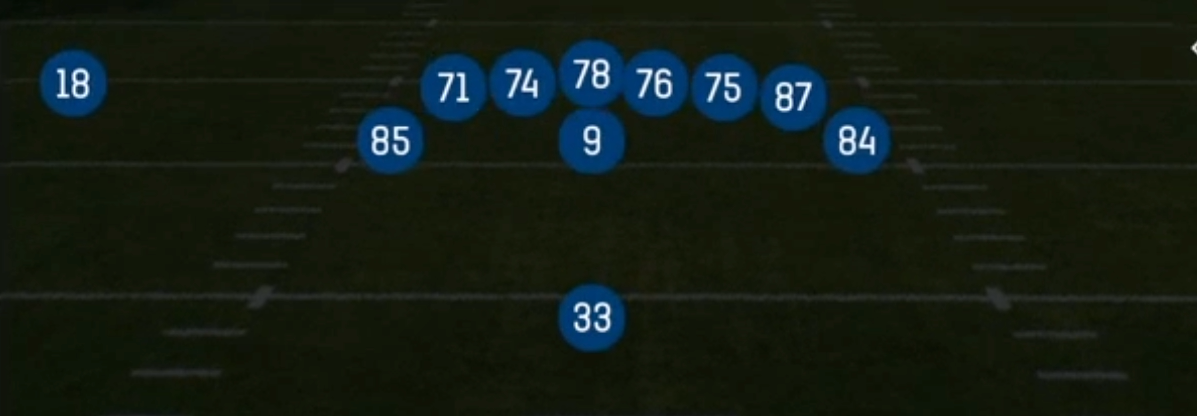
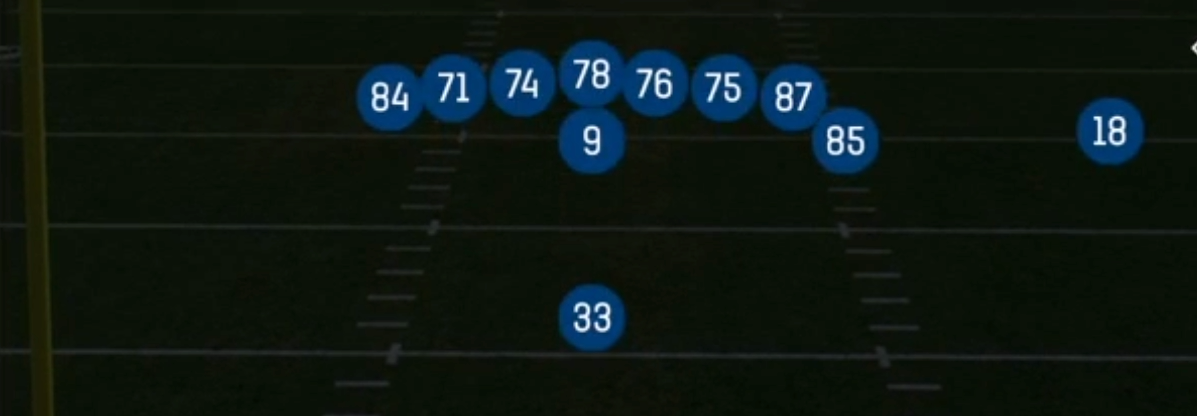
Singleback Bunch Base is a gadget set that uses 21 personnel (2 RB, 1 TE) in a one back shell. Instead of a traditional I or offset alignment, the second back (the H) is moved out of the backfield and into a tight three man bunch with the TE and the Z receiver, while the X stays isolated on the backside. The defense sees a compressed trips surface, but that surface contains a running back rather than a true third receiver. This is what separates it from Singleback Bunch or Trey looks built on 11 or 12 personnel. The H can carry the ball on jet style handoffs and tosses, block at the point of attack, or release into the flat as a legitimate route runner.
Because the bunch is stacked tight to the formation, every defender on the strong side has to declare. Man defenses get picks and rubs from the stacked releases, and zone defenses get flooded at multiple levels from one spot. The playbook leans hard into misdirection: H Zone WK, H Zone Str, H Misdirection Str and H Power Toss get your second back on the perimeter, End Around Lead and PA End Around use the Z on reverse action, and HB Counter pulls blockers against flow. Once the defense starts overpursuing, PA Misdirection, PA Ctr Waggle and PA Verticals punish eyes that are glued to the backfield.
The matchup value comes from the H. Most defenses answer 21 personnel with base or heavier packages, so a linebacker or safety usually ends up responsible for the H inside the bunch. That is a speed mismatch on toss and flat routes. Meanwhile the lone X on the backside gets single coverage because the bunch pulls the safety rotation strong. Spacing, Z Spot and Seattle give you quick pass answers to the same look, so you can stay in one formation and switch between run, gadget and pass without changing personnel.
Strengths
- The H back inside the bunch forces base defenses to cover a running back with a linebacker, creating speed mismatches on H Power Toss and flat releases
- Stacked bunch releases produce natural rubs and picks against Cover 1 and Cover 0, making Z Spot and Spacing reliable man beaters without extra hot routes
- Spacing and Z Spot flood the flat and hook zones at multiple levels, attacking Cover 3 and Cover 4 underneath defenders who cannot carry the H, TE and Z at once
- Deep misdirection package (End Around Lead, H Misdirection Str, HB Counter) punishes defenders who overpursue, especially users crashing to the bunch side
- PA Verticals and PA Ctr Waggle build off the run game, and the isolated X often gets one on one coverage because safeties rotate toward the bunch
Weaknesses
- Only two true wide receivers are on the field, so dime and nickel packages can match up with speed while you are stuck with slower H and TE routes
- The compressed bunch shrinks the field, allowing a single user controlled safety or robber to sit in the middle and jump Spacing hooks and Z Spot curls
- Gadget runs like End Around Lead and PA End Around are high risk against contain setups and edge blitzes, leading to big losses when a backside defender stays home
- PA Verticals and PA Misdirection require long drops, making them vulnerable to nano blitzes and overload pressure from the weak side away from the bunch
- The formation tips tendencies when overused, and opponents can shade their line and set outside contain to the bunch side, taking away the toss and reverse game
Usage Tips
Check the defensive personnel pre snap: if the defense stays in base against your 21 look, attack the linebacker on the H with H Power Toss or an H flat route; if they go nickel or dime, lean on HB Counter and H Zone Str to run at lighter bodies
On first and 10, establish H Zone WK and H Zone Str early, then call PA Misdirection or PA Verticals on the following early down once the defense starts crashing the bunch side
Against press man or Cover 1, go with Z Spot or Spacing and let the bunch releases generate the rub; hot route the H to a slant or drag if the defender is playing inside leverage
Watch the backside end and outside linebacker before calling End Around Lead or PA End Around; if the backside defender has contain or you see a user hovering over the edge, audible to HB Counter instead
Use Seattle and PA Ctr Waggle on third and medium, keep the TE in to block if the defense shows pressure, and read the isolated X first when the safety rotates toward the bunch