Playbooks
At a Glance
In 1 playbook
Overview
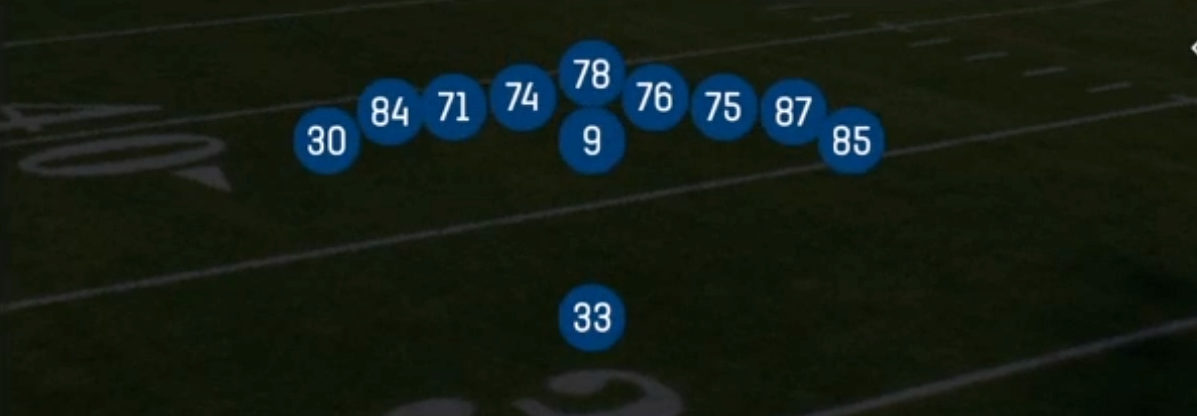
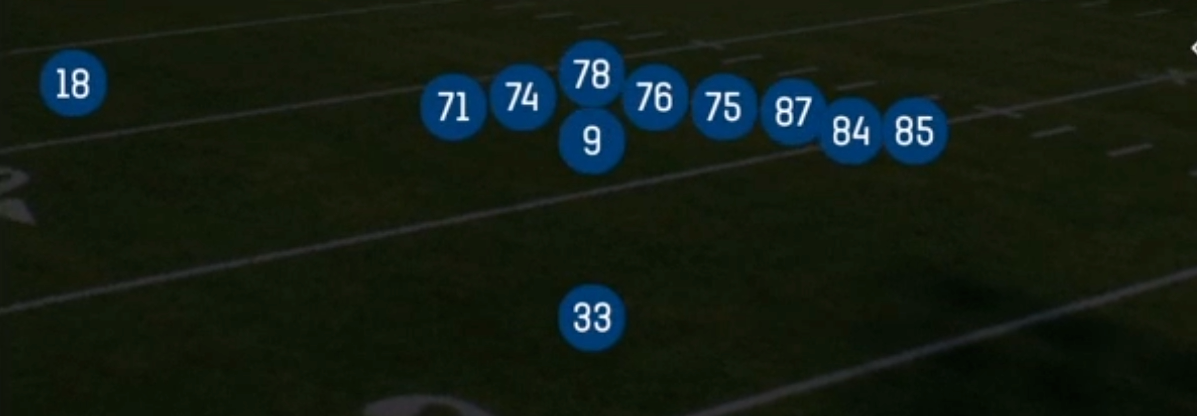
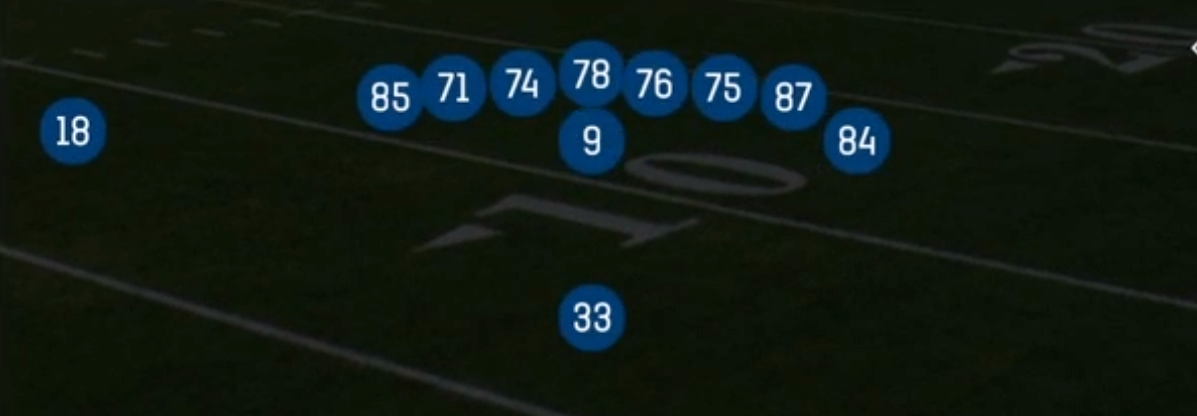
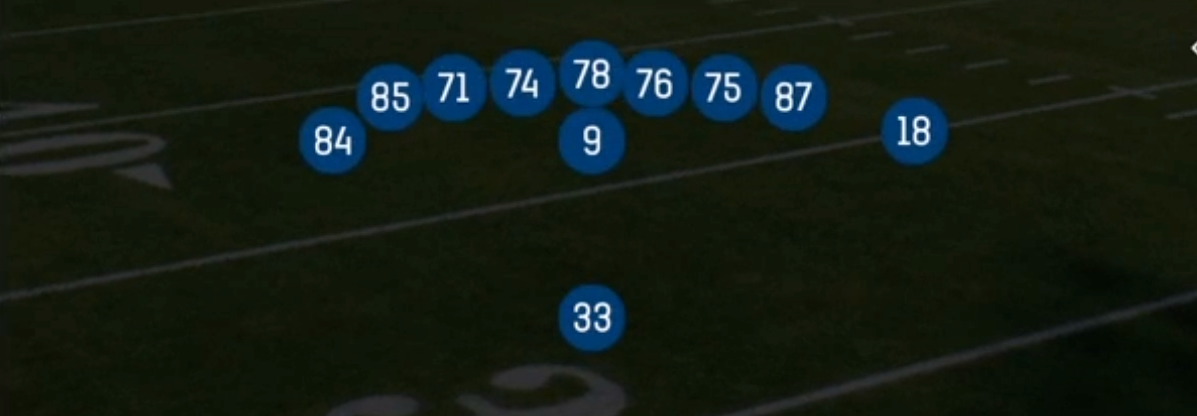
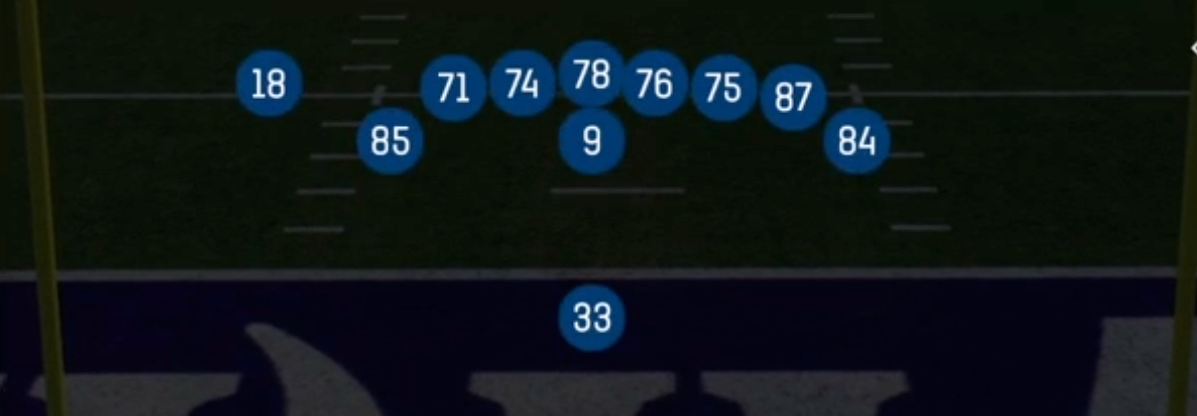
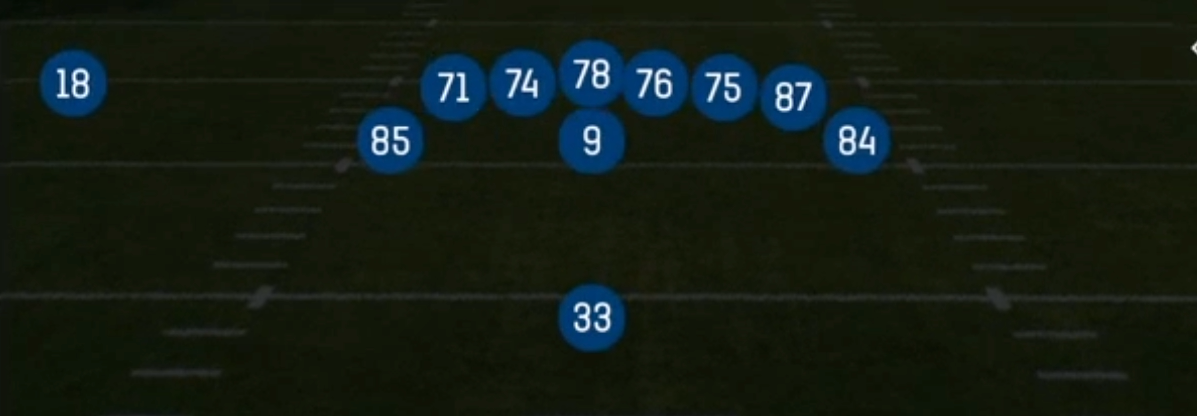
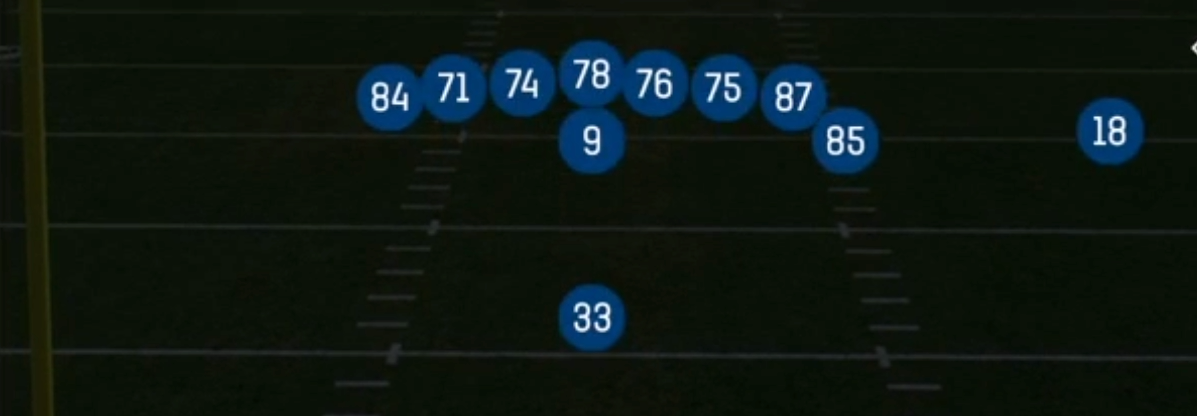
F Wing Slot is the 21 personnel gadget wrinkle inside Singleback, and it plays nothing like the base Singleback looks most opponents prepare for. You get a single back aligned in the gun-style depth of Singleback, a fullback (the F) set as a wing off the tight end side, and a slot receiver stacked to the opposite side. That wing alignment is the whole point: the F is a lead blocker on the edge for gap runs, a screen shield on Bubble Screen, and a flat/seam threat on the pass concepts. Defenses that check into single-high looks against 21 personnel are surrendering the perimeter numbers you need on H Power Toss and HB Stretch.
The run tree here is unusually deep for a Singleback set. HB Power O and PA Power O give you the same downhill gap scheme from a look that shows no lead back in the box, HB Dive and PA Fl Dive punish crowded fronts with quick interior hits, and HB Draw plus HB Slip Screen keep aggressive edge rushers honest. H Misdirection Str, PA Counter Str, and H Power Toss add the misdirection layer that makes user-controlled linebackers guess wrong, which is where this set earns its Gadget tag. Every one of those looks shares the same wing alignment and initial backfield movement, so committed opponents cannot key the run direction pre-snap.
Passing out of F Wing Slot leans on isolation. The slot receiver away from the wing gets a wide-open half of the field, so X Curl and Y Stick turn into simple one-read throws when the defense rotates strength toward the two-man surface. TE Spot floods the wing side with a spot/flat/corner triangle that shreds Cover 3 and Cover 4 sink, and PA Boot Lt gets you off the spot with the run action already established. Because the personnel reads as run-heavy, nickel and dime checks are rare, meaning your slot is regularly matched on a linebacker or a strong safety with no help underneath.
Strengths
- TE Spot creates a natural spot/flat/corner triangle to the wing side that beats Cover 3 buzz and Cover 4 sink without needing a hot route, and the corner route is the money throw against any zone that widens for the flat.
- The 21 personnel look invites base defense, so hot routing the slot receiver to a slant or drag on X Curl and Y Stick isolates him on a linebacker or box safety in man coverage with zero underneath help.
- H Misdirection Str, PA Counter Str, and H Power Toss share nearly identical initial backfield action, which freezes user-controlled linebackers and makes second-level fits late on all three.
- HB Slip Screen and Bubble Screen are built-in answers to edge pressure, and the F wing already aligns as a lead blocker, so the screen shield sets up faster than in typical Singleback screen sets.
- PA Boot Lt and PA Power O sell the same power run action, so committed run defenders get pulled inside while the boot side flat and comeback open behind them.
Weaknesses
- Only three receiving threats release on most concepts, so a five-man zone shell with two deep safeties covers everything without needing to blitz, and progressions stall quickly.
- Interior nano blitzes and A-gap overload pressure get home fast because the single back is often the only free blocker and the F wing is committed to the edge or a route.
- Play action calls (PA Counter Str, PA Fl Dive, PA Power O, PA Boot Lt) hold the quarterback long enough that a single unblocked rusher ends the play, which makes them nearly unusable against pressure-heavy users.
- The set has no true vertical stretch, so opponents can play squat coverage and jump the underneath curls, sticks, and spot routes with a user defender.
- Defenses that recognize the wing alignment can set the front strength to the two-man surface and remove HB Power O, PA Power O, and H Power Toss before the snap.
Usage Tips
Check the safety alignment first: if you see single high with the front shifted to the wing, run H Power Toss or HB Stretch away from the strength for easy perimeter numbers.
Against two-high shells, drop the run game and go to Y Stick or X Curl with the slot hot routed to a drag or slant, then read whether the flat defender squats or carries.
Use TE Spot as your primary third down call versus zone, and target the corner route as soon as the flat defender widens for the spot.
Establish HB Power O and HB Dive early so PA Power O, PA Counter Str, and PA Boot Lt actually pull second level defenders, then attack the vacated area behind them.
If your opponent is running pressure, call HB Slip Screen or Bubble Screen and block the free rusher with a pass protect hot route on the single back before the snap.