Playbooks
At a Glance
Overview
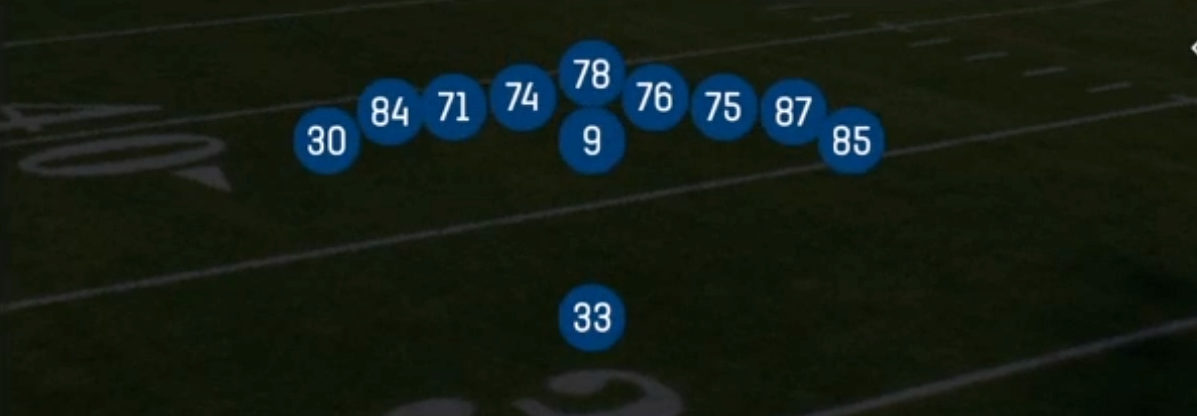
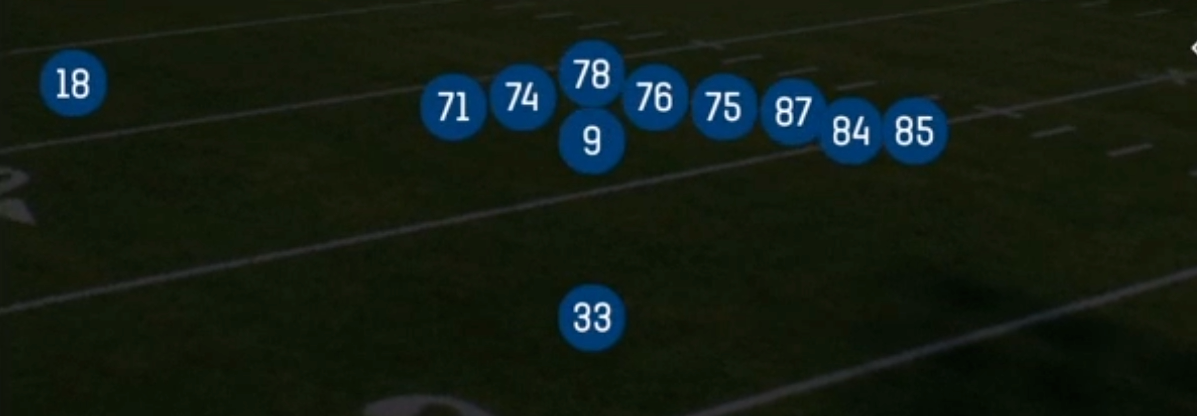
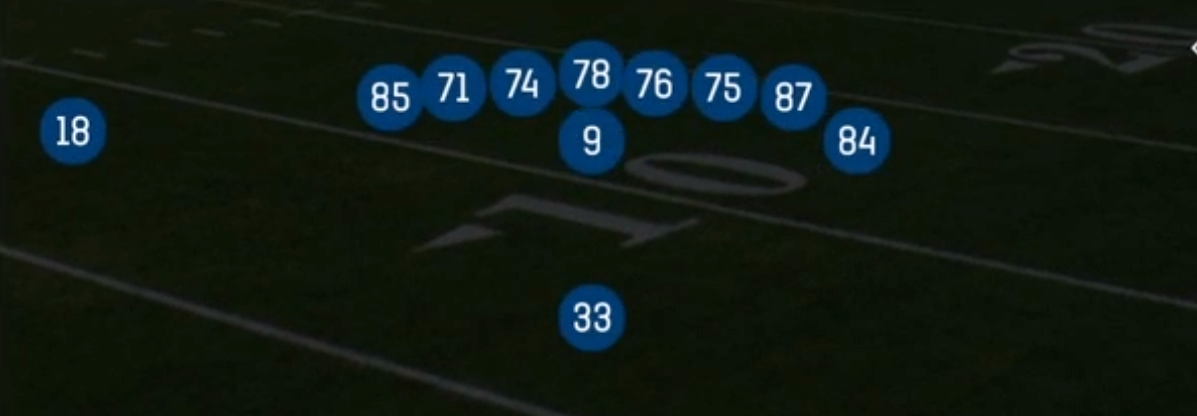
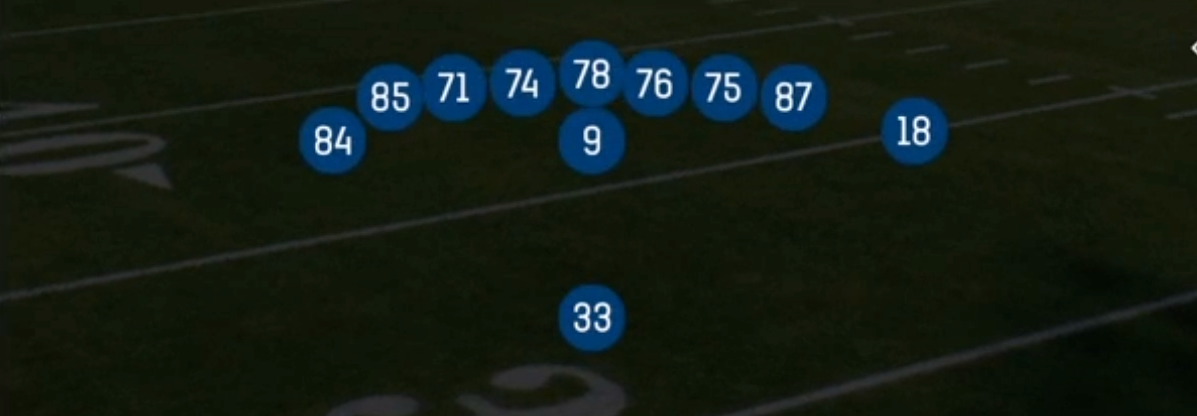
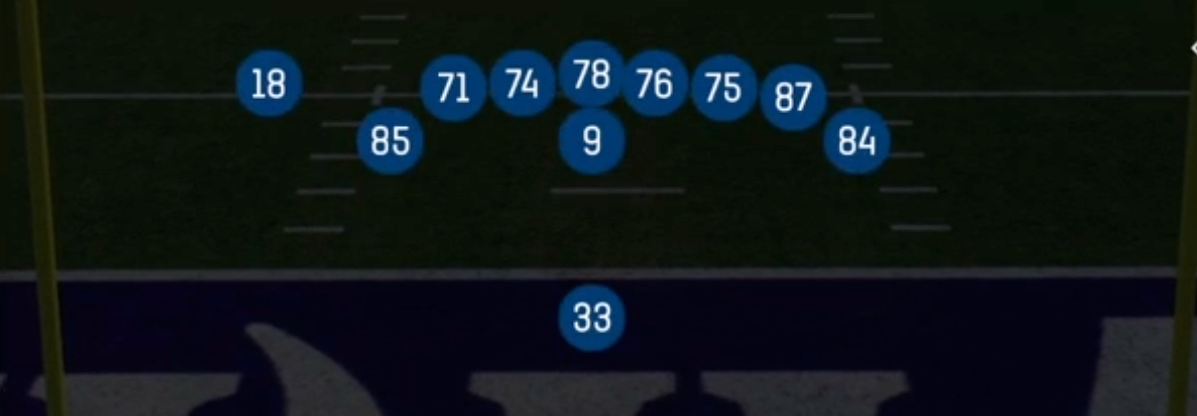
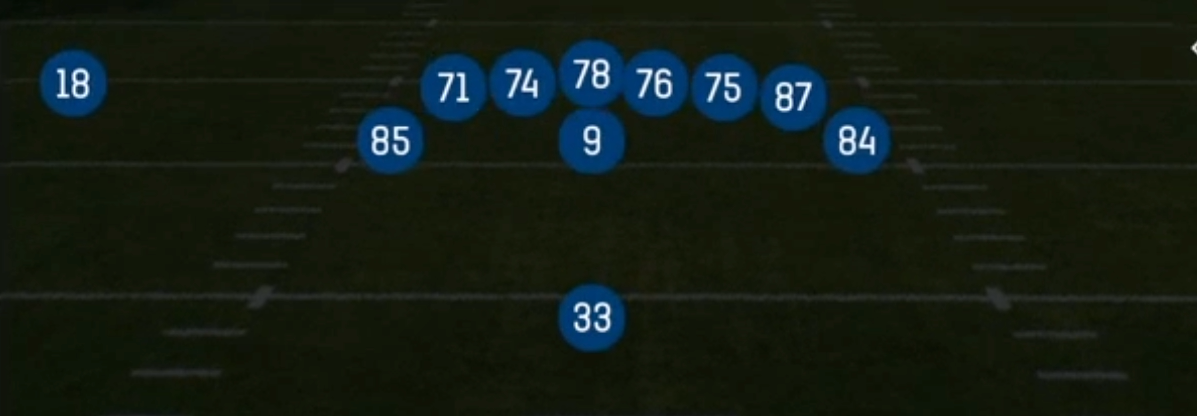
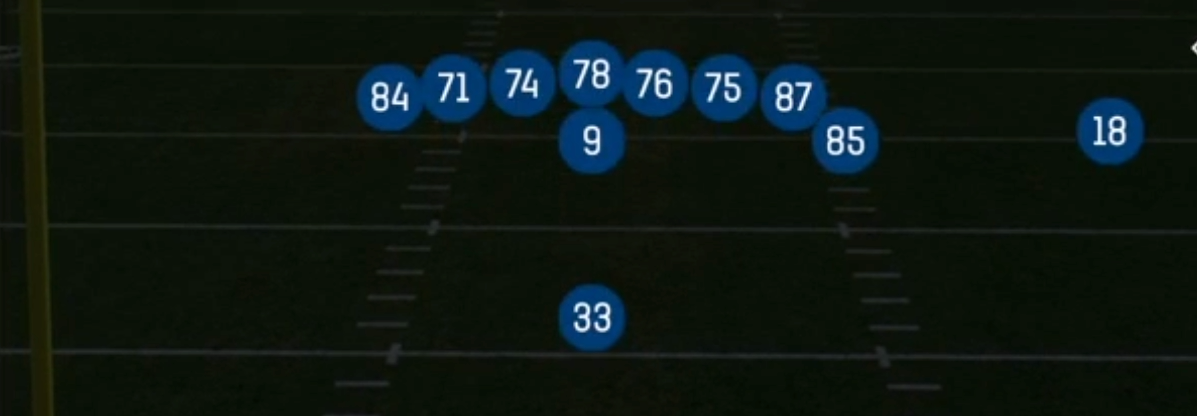
Deuce Close Tilt is a gadget-flavored Singleback set that packs 21 personnel (2 RB, 1 TE, 2 WR) into a compressed look. Unlike standard Singleback sets that stack one back behind the quarterback and spread the eligibles outward, this set brings the second back into a tilted, close alignment near the tight end. That creates a condensed surface with extra blockers and threats sitting inside the numbers. The receivers align tighter to the core, which shrinks the field for the defense and forces defenders to declare their run fits before the snap.
The defining feature of this set is its motion package. Most of the playbook is built on Mtn tags: jet sweeps, jet fakes, misdirection, and zone toss all use pre-snap motion to shift the strength of the formation. Defenses that play spot-drop zone or lean on a single user defender have trouble when the second back or a receiver comes across the formation on jet motion. Linebackers flow with the motion, and cutback lanes, backside boots, and misdirection counters open up behind them.
From a matchup standpoint, 21 personnel usually pulls base or heavy defensive packages onto the field. That puts slower linebackers in coverage against your second back and tight end. Plays like Mtn Crossers HB Choice, PA Sprint HB Flat, and PA Boot Slide are built to isolate a running back against a linebacker in space. Mtn PA Flood and PA Deep Read then punish safeties who creep down to fill against the zone run game. The set works as a gadget run-first package, and its play-action carries real vertical threat.
Strengths
- The deep motion package (Mtn Jet Sweep, Mtn Zone Fake Jet, Mtn PA Misdirection) uses jet motion to pull linebackers and user defenders out of their run fits, which opens cutback lanes and backside space
- 21 personnel forces base defense onto the field, so Mtn Crossers HB Choice and PA Sprint HB Flat get a running back isolated on a linebacker, a strong man beater, especially against Cover 1 and Cover 0
- The run game has a zone scheme (HB Zone Wk, Mtn Zone Split, HB Stretch) and a perimeter attack (Mtn Zone Toss, Jet Sweep), so the offense can stretch the defense horizontally and hit the edge against overloaded boxes
- Mtn PA Flood and PA Boot Slide give a layered three-level flood off play-action, a premier Cover 3 and Cover 4 beater once safeties start triggering downhill on the run fakes
- The compressed, close alignment gives receivers free releases and natural rub opportunities on Stick, Spacing Switch, and crossers, which lets you punish press man without hot routing
Weaknesses
- The condensed alignment puts extra defenders near the box, so defenses can bring overload and nano blitzes off the edge without leaving obvious voids, which is a problem for the long-developing PA Deep Read and Mtn PA Flood
- With only two true wideouts and tight splits, the set lacks vertical spread, and a user-controlled safety or robber can sit in the middle hole and jump crossers and Stick concepts
- The heavy motion reliance creates a readable tendency: good opponents key the jet motion and shift linebackers, or hard flat the motion side, which kills Jet Sweep and Zone Toss before they develop
- Cover 2 man with a spy or a user linebacker mirroring the back can smother the HB-centric passing game, and the quarterback is left with few isolated outside options
- Against Dime or Nickel looks the matchup advantage flips, because speed defenders chase down the perimeter runs and the offense can be forced into predictable run-heavy play calling
Usage Tips
Before the snap, count the box against your blockers: if the defense stacks seven or more, go to Mtn Zone Toss or Mtn Jet Sweep to attack the edge, and if it plays light, hammer HB Zone Wk or HB Dive downhill
Watch how the defense reacts to the jet motion on early downs. If linebackers shift hard with it, come back later with Mtn HB Misdirection Lt or Mtn PA Misdirection to hit the vacated backside
On 3rd and short to medium, call Stick or Spacing Switch and hot route the running back to a flat or angle route, giving yourself a quick man and zone beater against a linebacker in space
Once the run game has safeties rotating down, check to PA Boot Slide or Mtn PA Flood and roll out. Read the flat, then the intermediate out, then the deep corner, and throw on the move to beat edge pressure
In the red zone, use Mtn Crossers HB Choice against Cover 1 or Cover 0, because the compressed alignment creates natural rubs and the HB option route wins leverage on a linebacker near the goal line