Playbooks

At a Glance
Overview
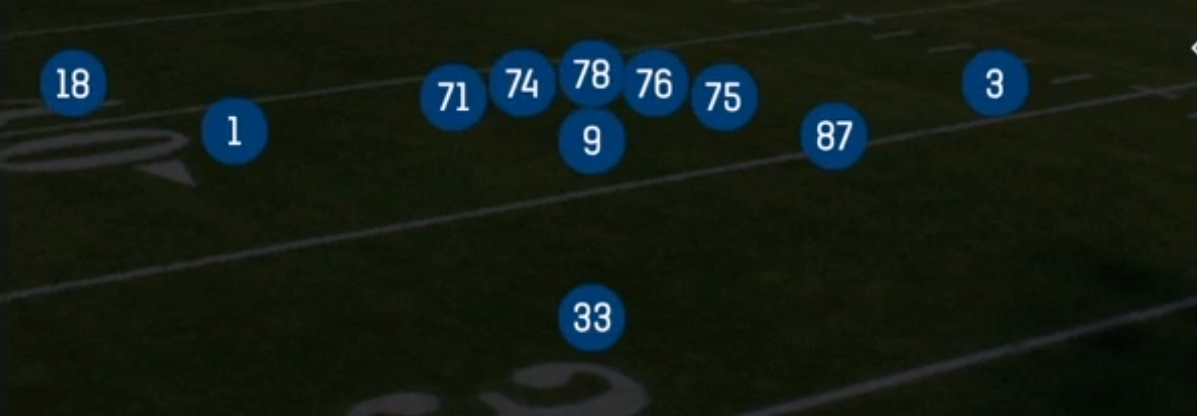
Doubles Y Off is a 2x2 Singleback look out of 11 personnel (1 RB, 1 TE, 3 WR). The tight end is detached from the core and aligned off the ball as a wing or flexed H, paired with an outside receiver on one side, while a slot WR and an outside WR balance the other side. Moving the Y off the line changes both the run fits and the coverage rules. The defense cannot set its front off a fixed strength, and the TE becomes a movable blocker who can pull, kick out, or insert on Counter Y, HB Ace Power, and HB Power O. Standard Doubles and Ace sets keep the TE attached, so they cannot create this angle.
The Gadget and SLWR tags define the set. The slot receiver is the engine of the jet package: Jet Sweep, Jet HB Trap, Jet PA Boot, Jet PA Y Screen, PA Jet Sweep X Out, and PA Jet Sweep Scissors all start from the same pre-snap motion. Every play looks identical at the snap and splits into a perimeter run, an interior trap, a bootleg, or a deep shot. WR Option adds a true trick play that punishes defenders who crash on jet action.
The matchup value comes from what the formation forces. Nickel defenses have to decide whether the Y off gets a linebacker or a safety. A linebacker gets beaten on Y Option and Y Screen, and a safety leaves light boxes for Power O and Counter. In 2x2 spacing, Four Verticals and Swing Slant stress both hashes. That often isolates the outside X against single coverage, while the slot and Y occupy the overhang defenders.
Strengths
- Jet motion eye candy is built into the formation: Jet Sweep, Jet HB Trap, and PA Jet Sweep X Out share identical pre-snap looks, so user-controlled linebackers who chase the motion get gashed by the trap or beaten over the top.
- The off-ball Y creates gap-scheme angles that most Singleback sets lack. Counter Y and HB Power O let the TE kick out or lead through the hole, which is devastating against light nickel and dime boxes.
- Y Option is an elite man beater from this alignment because the TE gets a free release off the ball against a linebacker or strong safety, with the option route breaking away from leverage.
- Four Verticals from 2x2 spacing attacks Cover 3 and Cover 1 seams, and the SLWR can be hot routed to a slot fade or drag to control the middle hook defender.
- The gadget layer (WR Option, PA Jet Sweep Scissors, Jet PA Y Screen) punishes aggressive defenses that sell out against the jet run and creates chunk plays on predictable run downs.
Weaknesses
- With the Y detached, protection is thin: only five linemen and the RB block on most dropbacks, so edge pressure and nano blitzes off the Y-off side can reach the QB before PA and boot concepts develop.
- Jet motion tips the play to experienced opponents. A user who reads the motion and shades a safety or user linebacker to the flow side can blow up Jet Sweep and Scissors timing.
- Screens like HB Slip Screen and Jet PA Y Screen die against zone blitzes and simulated pressure that drop a lineman or linebacker directly into the screen window.
- Cover 2 man and Cover 4 quarters cap Four Verticals and WR Deep Hook. Bracketed seams and deep halves erase the shot plays, and the formation lacks a true isolation backside X route to escape the brackets.
- Power concepts rely on the TE pulling or kicking out. Opponents who crash the edge with a spill technique or bring a slot blitz off the Y-off side can blow up the pull before the hole forms.
Usage Tips
Open drives with Jet Sweep and Jet HB Trap to establish the motion tendency, then hit PA Jet Sweep X Out or PA Jet Sweep Scissors once the safety starts driving on the flow.
Pre-snap, identify whether a linebacker or safety aligns over the Y off. Audible to Y Option against a linebacker in man, and to HB Power O or Counter Y when a safety walks down and leaves a nickel or dime box.
On 3rd and short against aggressive run blitzes, check to HB Ace Power or Counter Y. The pulling Y creates an extra gap the defense is not accounting for.
Against Cover 3 on 2nd and long, run Four Verticals and hot route the SLWR to a drag to hold the hook defender, then throw the seam behind him.
Save WR Option and Jet PA Boot for red zone and plus territory when the opponent is heavy on run fits, and slide protection toward the boot side to buy the QB time on the rollout.
Plays (20)
 Counter YCounter, Run Play, Power Run
- Four VerticalsFour Verts, Pass Play, Cover 2 Beater +5
- HB Ace PowerPower, Run Play, Power Run
 HB DiveDive, Run Play
- HB DrawDraw, Run Play
- HB Power OPower, Run Play, Power Run
 HB Slip ScreenScreen Pass, Hb Screen, Pass Play +2
- Ins LeftDeep Cross, Crosser, Stop And Go +3
 Jet HB TrapTrap, Motion, Run Play +1
 Jet PA BootPlay Action, Motion, Pass Play +5
 Jet PA Y ScreenPlay Action, Screen Pass, Motion +6
 Jet SweepSweep, Jet Sweep, Motion +1
 PA Jet Sweep ScissorsSweep, Jet Sweep, Play Action +10
 PA Jet Sweep X OutSweep, Jet Sweep, Play Action +6
- PA Power OPlay Action, Pass Play, Deep Cross +4
- PA WR OutPlay Action, Out, Pass Play +3
- Swing SlantSlant, Pass Play, Block and Release +3
- WR Deep HookCorner, Post, Hook +2
- WR OptionOption Route, Pass Play
- Y OptionOption Route, Pass Play, Corner +2