Playbooks

At a Glance
Overview
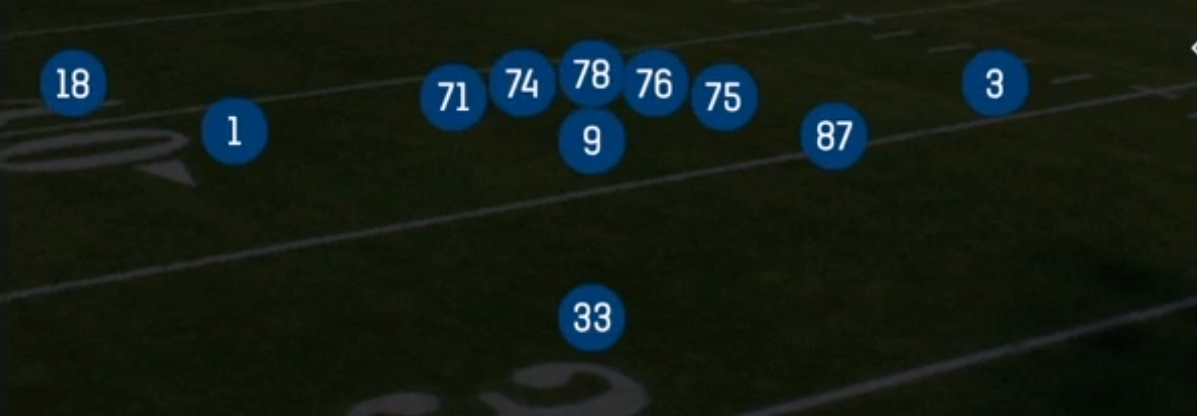
Doubles North is a balanced 2x2 look in the Singleback formation built from 11 personnel (1 RB, 1 TE, 3 WR). The tight end and a slot receiver pair up on one side while two receivers stack the other, so the defense cannot declare a strength based on alignment alone. What separates Doubles North from standard Singleback Ace or Doubles sets is its slot alignment. The inside receiver lines up in a position built for jet motion, which fuels a full menu of Jet Sweep, Zone Fake Jet, and PA Jet Sweep calls that the vanilla Doubles set does not offer with the same eye candy.
The set is tagged Gadget for good reason. WR Option and Bench Switch give you trick looks off the same presnap picture as your base runs, and the jet package forces linebackers and safeties to respect horizontal speed before the ball is even snapped. Pair that with a downhill run game of HB Ace Power, HB Dive, HB Toss, and HB Stretch, and you have a set that makes defenders guess on every snap. Box counts become a real read: six in the box means run the Power or Dive, and a light box with rolled safeties means you can take the Stretch or Toss to the edge.
The passing game leans on quick, rhythm concepts like Stick, Curl Drag, and Drag In, plus shot plays such as Slot Corner, WR Corner, PA Rollout, and PA Cross. The slot receiver is the matchup piece. Put your fastest WR there to isolate him on a nickel corner or a linebacker, especially once jet motion drags a defender across the formation and opens space on the vacated side.
Strengths
- Jet motion from the slot creates real eye candy. Zone Fake Jet and PA Jet Sweep punish linebackers and flat defenders who flow with the motion, opening throwing lanes behind them.
- The 2x2 balance hides your strength side, which makes it hard for opponents to shade coverage or set a nano blitz before they see where you are going.
- Stick and Curl Drag are reliable zone beaters against Cover 3 and Cover 4. They attack the flat defender and hook zones with a quick high low read that is on time.
- Slot Corner and WR Corner stress Cover 2 and Cover 4 corners. Hot routing the opposite outside WR to a streak holds the safety and isolates the corner route in the hole.
- A versatile run menu of HB Ace Power, HB Dive, HB Toss, and HB Stretch gives you downhill and outside zone answers from the same look. That pairs with the Gadget calls like WR Option to punish over aggressive run fits.
Weaknesses
- With only five linemen and one TE in protection, zero blitz and six man pressure off the edge can beat play action. PA Rollout and PA Cross take time to develop, and those deep drops leave you exposed.
- A user controlled linebacker or safety sitting in the middle hook zone can erase Drag In, Curl Drag, and PA Cross crossers. This hurts most when the user reads the jet motion and drops instead of chasing.
- The jet package becomes predictable if you motion on every snap. Smart opponents will key the motion and send a contain defender or blitz off the motion side to blow up Jet Sweep.
- The outside run game lacks a second tight end or fullback. HB Toss and HB Stretch struggle against defenses that crash the edge with a user or play 4 man fronts with wide 9 techniques.
- Gadget plays like WR Option and Bench Switch are high risk. If the defense stays in man coverage with a spy or a deep safety, a busted trick play can turn into a turnover or a big loss.
Usage Tips
Count the box presnap. Against six or fewer defenders, check to HB Ace Power or HB Dive, and against a loaded box with a single high safety, audible to Stick or Slot Corner to attack the soft perimeter.
Establish Jet Sweep early in the game, then use Zone Fake Jet and PA Jet Sweep on second and short. Linebackers who bite on the motion leave the middle open for play action shots.
On third and medium, Stick and Curl Drag are your go to calls. Hot route the running back to a block or a quick flat if you see a nano blitz look from the edge, and read the flat defender first.
Against Cover 2 or Cover 4, audible to WR Corner and put your best route runner on the corner. Streak the inside slot to hold the safety, then throw with a lead pass to the sideline.
Save WR Option and Bench Switch for after you have shown the same presnap look with runs and jet motion several times. Call them in the red zone or plus territory when the defense is flowing hard to the ball.
Plays (16)
 Bench SwitchBench, Pass Play, Block and Release +4
 Curl DragCurl, Drag, Pass Play +3
- Drag InDrag, Pass Play, Corner +3
 HB Ace PowerPower, Run Play, Power Run
- HB DiveDive, Run Play
- HB StretchRun Play
 HB TossToss, Run Play
 Jet SweepSweep, Jet Sweep, Motion +1
- PA CrossPlay Action, Crosser, Pass Play +2
 PA Jet SweepSweep, Jet Sweep, Play Action +7
 PA RolloutPlay Action, Pass Play, Block and Release +4
 Slot CornerCorner, Pass Play, Drag +4
 StickStick, Stick Concept, Pass Play +3
 WR CornerCorner, Pass Play, Block and Release +1
 WR OptionOption Route, Pass Play, Curl +1
 Zone Fake JetMotion, Run Play