Playbooks

At a Glance
In 1 playbook
Overview
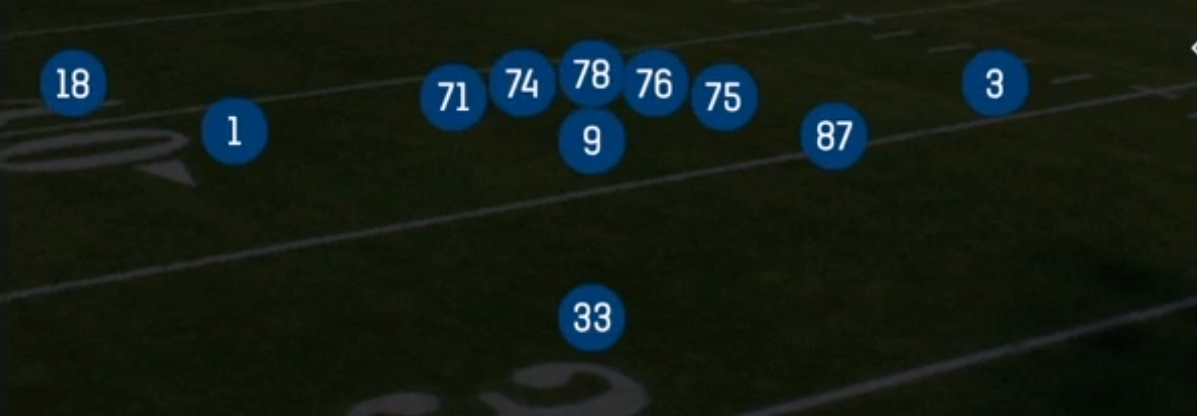
Doubles Y Open is a 2x2 Singleback set built from 11 personnel (1 RB, 1 TE, 3 WR) where the tight end detaches from the core and aligns as the inside receiver on one side, mirroring the slot receiver on the opposite side. Unlike Singleback Ace or Y Trips looks that keep the TE attached for gap control, this set pulls the Y off the line. That creates two balanced receiver pairs, spreads the box to five or six defenders, and forces the defense to declare its coverage intentions before the snap.
The detached alignment is where the matchup value lives. If the defense stays in base personnel, the Y usually draws a linebacker or strong safety in space, a mismatch you can attack on Mtn Y Stick, Y Cross Flood, and Inside Cross. If the defense counters with nickel or dime, the slot corner often ends up on the tight end, and you gain a size advantage on option routes and seam work. The opposite slot (the SLWR tag) becomes the primary target on Bubble Screen and PA Slot Crosses. This lets you isolate your quickest slot against a lagging nickel defender.
The play list covers the full menu of 11 personnel concepts: interior runs (HB Dive, HB Draw, QB Draw), quick game (Slants, Mtn Stick N Nod, Mtn Y Stick), vertical stress (Four Verticals), horizontal flood and crossers (Y Cross Flood, Inside Cross, PA Slot Crosses), and a screen game (Bubble Screen, HB Slip Screen). The Gadget tag reflects the draw and screen packages. Those plays punish aggressive pass rushes and light boxes, so the set works as a complete base package rather than a situational look.
Strengths
- Balanced 2x2 split forces the defense to show its shell pre-snap: a rotating safety or a spinning Cover 3 is easy to read from the slot alignments before you pick your concept
- Four Verticals from Doubles puts both inside receivers on seams, splitting Cover 2 and Cover 4 safeties, and the Y seam wins against a linebacker carrying vertically in Cover 3
- Mtn Y Stick and Mtn Stick N Nod give a quick-game answer to both coverage families: the stick route sits in zone windows while the nod and flat routes punish man leverage and aggressive flat defenders
- Y Cross Flood and PA Slot Crosses are premier zone beaters, layering deep, intermediate, and flat routes to one side while the play-action freezes linebackers and opens the crosser behind them
- Draw and screen package (HB Draw, QB Draw, Bubble Screen, HB Slip Screen) punishes nickel and dime defenses that empty the box or bring heavy pressure, turning the light box created by the detached TE into free yardage
Weaknesses
- With the TE detached, you only have five linemen and the RB in protection, so zero blitzes and overload pressure off the edge can get home before deeper developing concepts like Four Verticals or Y Cross Flood finish
- The interior run game (HB Dive, HB Draw) lacks a lead blocker or an attached TE, so defenses that walk a safety into the box or run a 4-3 front with a user-controlled middle linebacker can stuff runs without committing extra defenders
- A user-controlled defender sitting in the middle hook zone can take away Inside Cross, Y Cross Flood, and the stick routes, because many of the set's best concepts target the same intermediate middle area
- Press man with a single-high safety challenges the timing of Slants and the Mtn Stick concepts, especially if your slot receivers lack release ratings
- The set tips its tendencies: opponents who notice the Y running stick or crosser routes on most passing downs will bracket or cloud the tight end and force you to beat them with the outside receivers
Usage Tips
Read the safeties pre-snap: against two-high shells, check to Four Verticals or Mtn Y Stick to attack the seams and the underneath void, and against single-high, go with Slants or Inside Cross to beat man leverage
If the defense shows a light box against the spread alignment (six or fewer defenders), audible to HB Draw or QB Draw. If it stacks the box with base personnel, hot route the Y to a slant or streak to exploit the linebacker matchup
On 3rd and short, run Mtn Stick N Nod or Mtn Y Stick with the RB blocking. Hot route the RB to a pass block assignment if you see a nano blitz look off the edge to buy the extra half second
Against heavy blitz teams, call Bubble Screen or HB Slip Screen early in drives to slow the rush. Consider motioning the slot across the formation to identify man coverage before throwing quick game
Use PA Slot Crosses on early downs after establishing HB Dive, and slide protection toward the pressure side so the play-action has time to pull the linebackers and open the crossing lane
Plays (12)
 Bubble ScreenScreen Pass, Bubble Screen, Pass Play +1
 Four VerticalsFour Verts, Pass Play, Cover 2 Beater +4
 HB DiveDive, Run Play
 HB DrawDraw, Run Play
 HB Slip ScreenScreen Pass, Hb Screen, Pass Play +5
 Inside CrossCrosser, Pass Play, Comeback +4
 Mtn Stick N NodStick, Stick Concept, Motion +5
 Mtn Y StickStick, Stick Concept, Motion +5
 PA Slot CrossesPlay Action, Crosser, Pass Play +3
 QB DrawDraw, Qb Draw, Designed Qb Run +1
 SlantsSlant, Pass Play, Flat
 Y Cross FloodCrosser, Flood, Y Cross +7