Playbooks

At a Glance
Overview
The Normal Y Off set in the Shotgun formation puts 11 personnel (1 RB, 1 TE) into a balanced 2x2 shell, with the tight end aligned off the ball in a wing or H-back position instead of attached to the line. That one alignment detail separates it from standard Gun sets. Because the Y is a step off the line, he can motion across the formation, arc block on zone reads, kick out on split zone, or release cleanly into routes without fighting a jam at the line. The slot receiver keeps the other side honest, so defenses cannot simply overload the TE side without leaving a two-receiver side open to quick game.
The playbook built around this set leans heavily on motion and misdirection, which is why it carries the Gadget tag. Mtn, Orbit, Exit, Return, and Shuffle variants let you move the Y or a receiver before the snap to reveal man or zone, shift leverage, and create stacks or bunch looks on the fly. Jet looks like Fake Jet Pass Power, Jet Touch Pass, PA Jet Sweep, and Zone Fake Jet stress flow defenders horizontally. Meanwhile RPO Peek Slant, RPO Zone Peek, Orbit RPO Alert Swing, and Exit RPO Alert Screen tie the run game to quick throws.
The matchup value comes from the off-ball Y. Linebackers must respect him as a lead blocker on Mtn Split Zone, Counter Y, and Read Counter Bash, which opens seams and shallow windows for Y Shallow Cross, Fake Jet HB Seam, and Seam F Angle. When a defense plays nickel to match the slot, you can run at the lighter box. When it plays base to stop the run, the Y and slot get linebackers and safeties in space on DBL Dig Smash, Corner Strike, and Stick Slot Option.
Strengths
- Motion packages (Mtn, Orbit, Exit, Return, Shuffle) give instant man or zone reads before the snap: if a defender travels with the motion, check to man beaters like Slant Flat, Double Slants, or Mtn Scissors.
- Deep zone beaters are built in: DBL Dig Smash and Corner Strike attack Cover 2 and Cover 4 flat and corner leverage, while Four Verticals and Mtn PA Verticals flood Cover 3 seams with the slot and Y.
- The off-ball Y serves as a true H-back for Mtn Split Zone, Counter Y, Read Counter Bash, and Mtn Y Lead Read Option, so you get a physical run game without leaving a spread shell.
- A deep RPO menu (RPO Peek Slant, RPO Zone Peek, RPO Read FL Screen, Orbit RPO Alert Swing) punishes defenses that commit linebackers to the run or leave soft corners over the slot.
- Screen and gadget variety (HB Slip Screen, Mtn Y Screen, Shuffle TE Mid Screen, Jet Touch Pass, PA Jet Sweep) counters heavy blitz and aggressive user pass rushers, keeping your opponent from sitting in pressure every snap.
Weaknesses
- With the Y off the line and the RB often releasing on swings and wheels, protection is thin; nano blitzes and overload pressure from the boundary side can get home before motion concepts develop.
- Motion plays need time to set, so opponents who show blitz early or press the snap timing can disrupt Return and Shuffle concepts and force rushed decisions.
- A user-controlled linebacker or safety sitting in the middle hook zone can take away Y Shallow Cross, DBL Dig Smash dig routes, and slant windows on RPO Peek Slant.
- Many quick game concepts rely on slants and flats, which Cover 2 man and press man with inside leverage can smother, especially against weaker slot receivers.
- Screens and jet plays become predictable if overused; opponents can spy the RB, set contain, or put a user on the flat to blow up Mtn Y Screen and Jet Touch Pass for losses.
Usage Tips
On early downs, run Mtn Split Zone or Counter Y against nickel and dime looks, then use the same motion to call Mtn PA Switch or PA Zone Cross once the linebackers start triggering downhill.
Against Cover 3 on second or third and medium, use Four Verticals or Mtn Scissors and hot route the RB to a flat or swing to hold the flat defender, then read the seam safety.
When you see Cover 2 or Cover 4 with a soft flat, call DBL Dig Smash or Corner Strike and throw the corner route over the flat defender before the deep safety widens.
If motion shows man coverage, audible to Slant Flat, Double Slants, or Stick Slot Option, and consider slide protecting toward the pressure side or blocking the RB to handle the extra rusher.
In the red zone, Redzone Scissors and Mtn Spot Wheel create natural rubs off the Y motion; mix in Midline Read Option or Read Option with a mobile QB to punish defenders who chase the motion.
Plays (64)
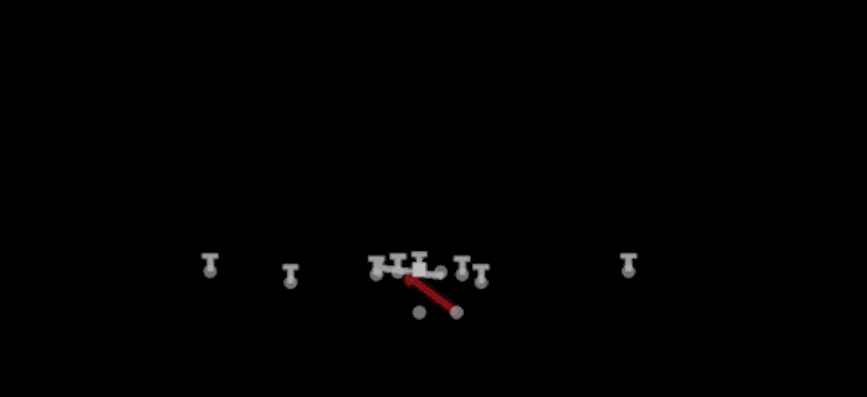 45 Quick BaseDive, Run Play
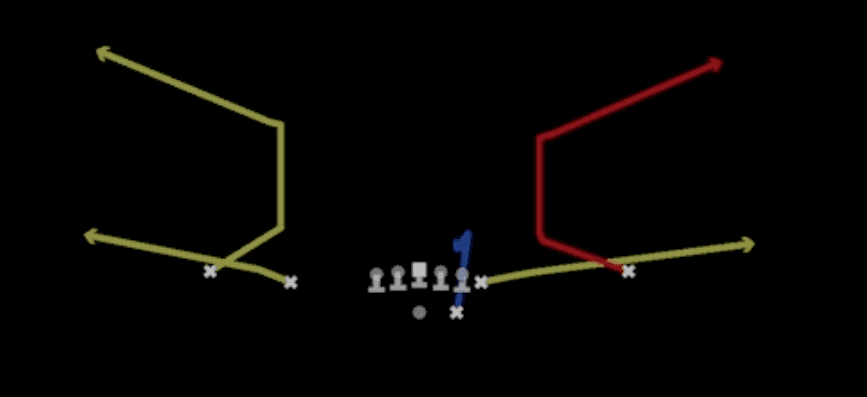 Corner StrikeCorner, Pass Play, Block and Release +1
- Counter YRun Play
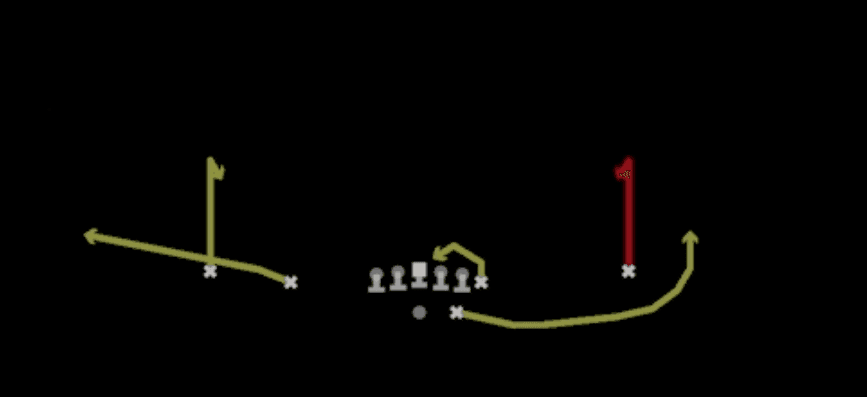 Curl ComboCurl, Pass Play, Flat +1
 Curl FlatsCurl, Pass Play, Flat +1
- Curls Lead SwingCurl, Swing, Pass Play +1
 DBL Dig SmashDig, Smash, Pass Play +5
 Double SlantsSlant, Pass Play, Flat
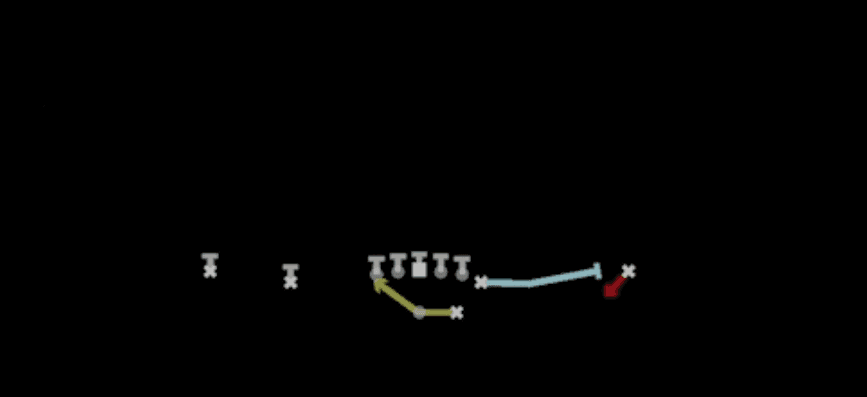 Exit RPO Alert ScreenScreen Pass, RPO, Motion +3
 Exit Slot OptionOption Route, Motion, Pass Play +4
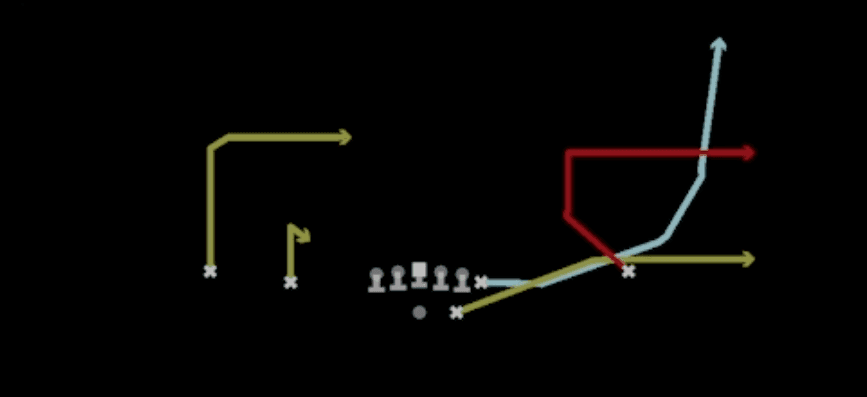 Exit Switch OutOut, Motion, Pass Play +4
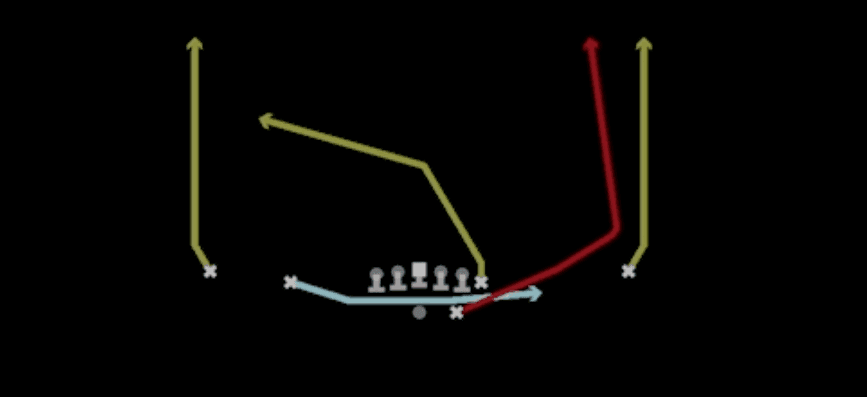 Fake Jet HB SeamPlay Action, Seam, Motion +7
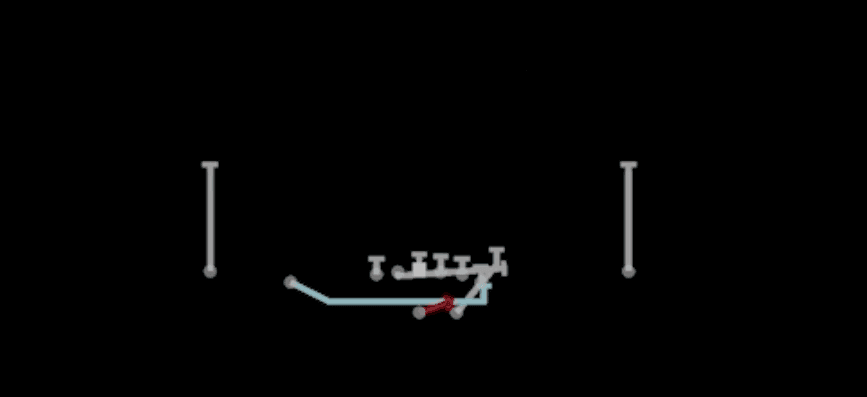 Fake Jet Pass PowerMotion, Run Play
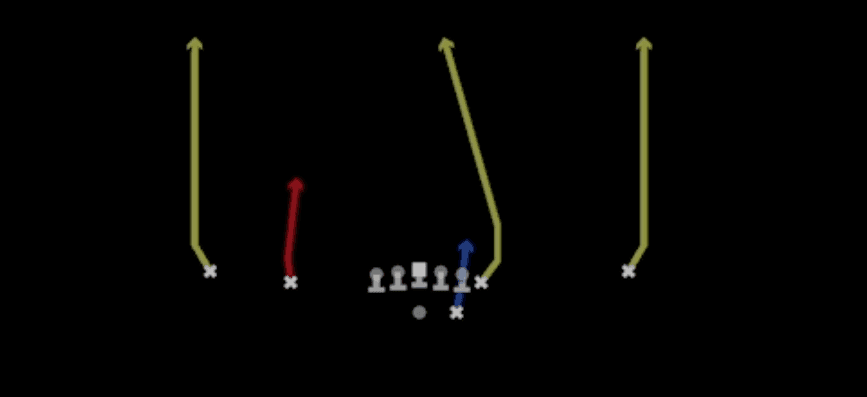 Four VerticalsFour Verts, Pass Play, Cover 2 Beater +5
- HB CounterCounter, Run Play, Power Run
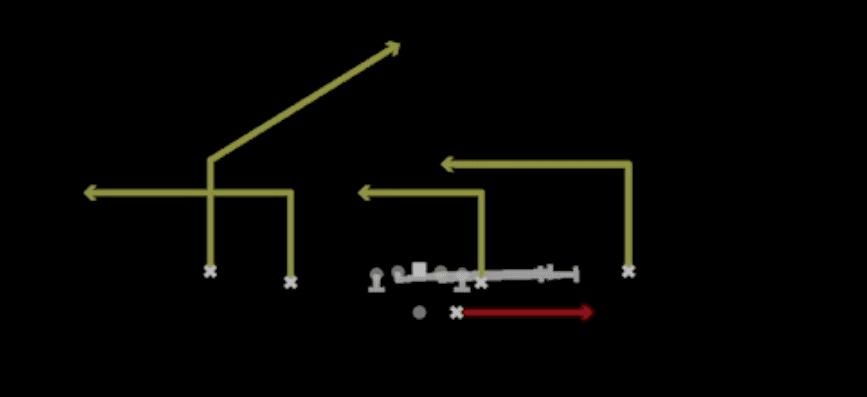 HB Slip ScreenScreen Pass, Hb Screen, Pass Play +3
- HB SwingSwing, Pass Play, Bubble Screen
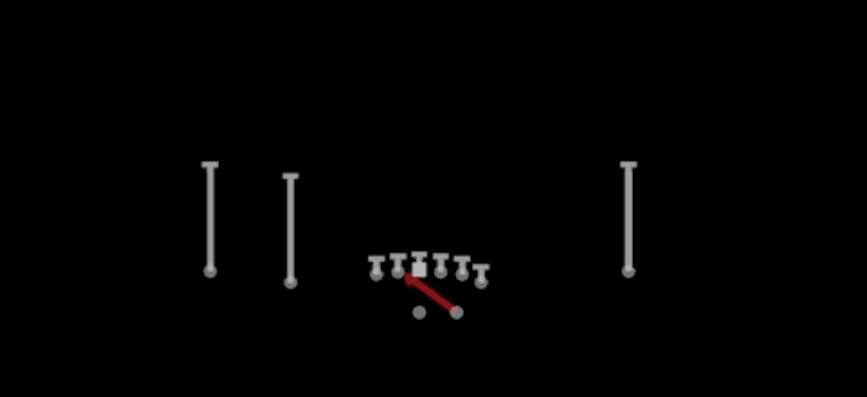 Inside ZoneInside Zone, Run Play, Zone Run
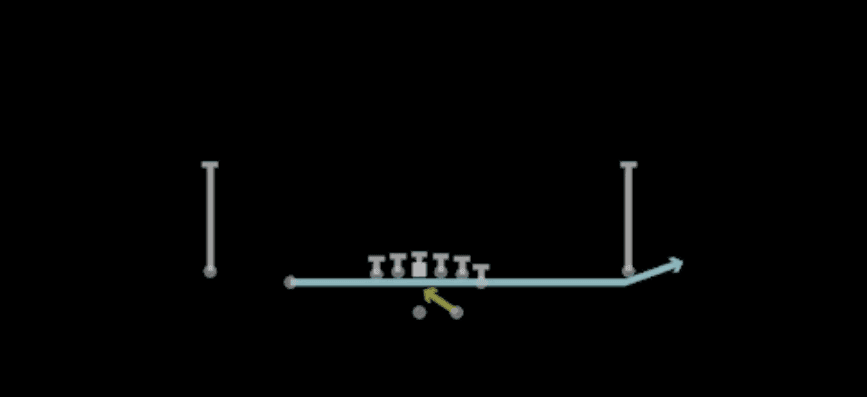 Jet Pass Fk ZoneMotion, Run Play
 Jet Touch PassMotion, Run Play
 Midline Read OptionRead Option, Run Play
- Mid ZoneRun Play
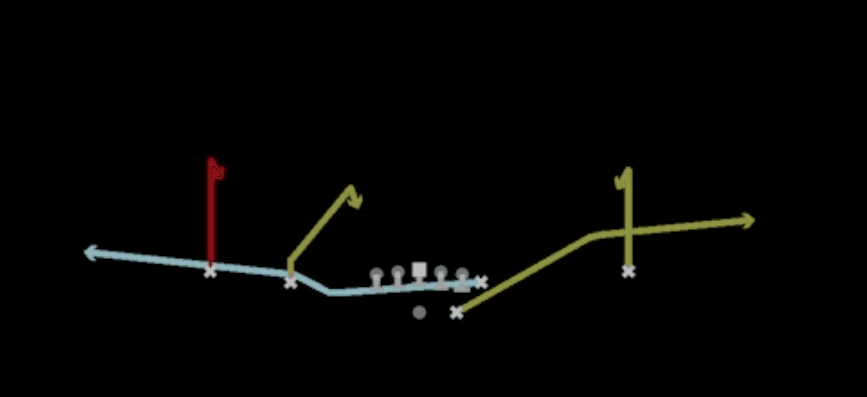 Mtn CurlsMotion, Curl, Pass Play +1
 Mtn HB Off TackleMotion, Off Tackle, Run Play
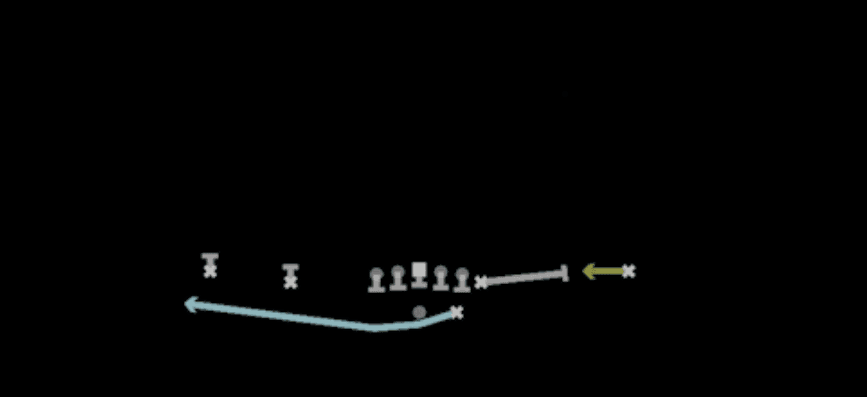 Mtn HB SwingSwing, Motion, Pass Play
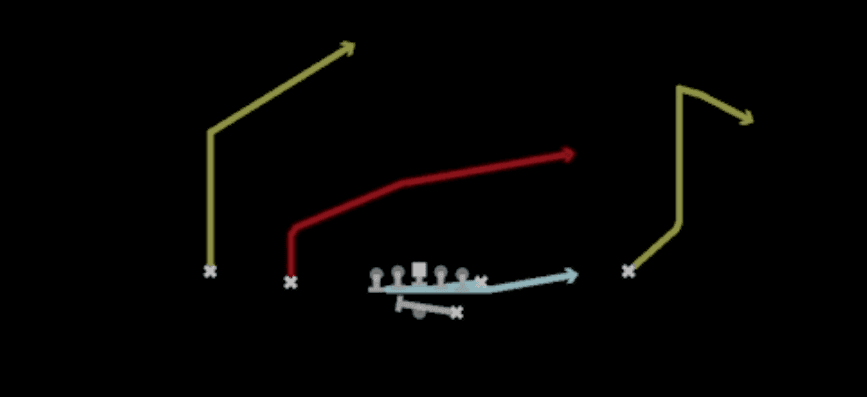 Mtn PA ReadPlay Action, Motion, Pass Play +5
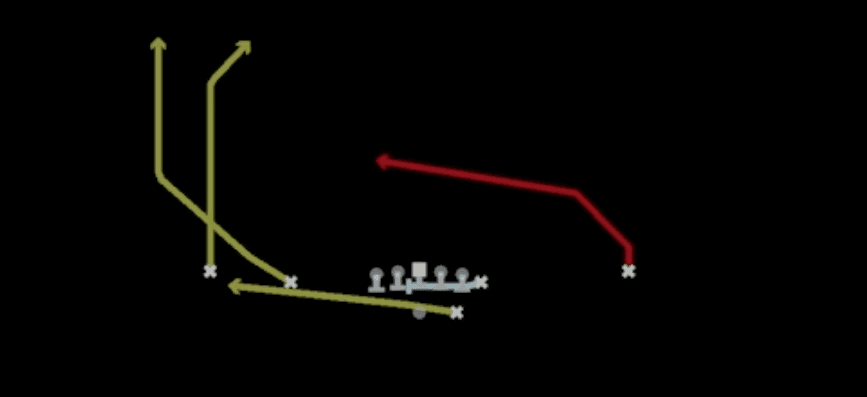 Mtn PA SwitchPlay Action, Motion, Pass Play +5
 Mtn PA VerticalsPlay Action, Four Verts, Motion +6
 Mtn ScissorsScissors, Motion, Pass Play +6
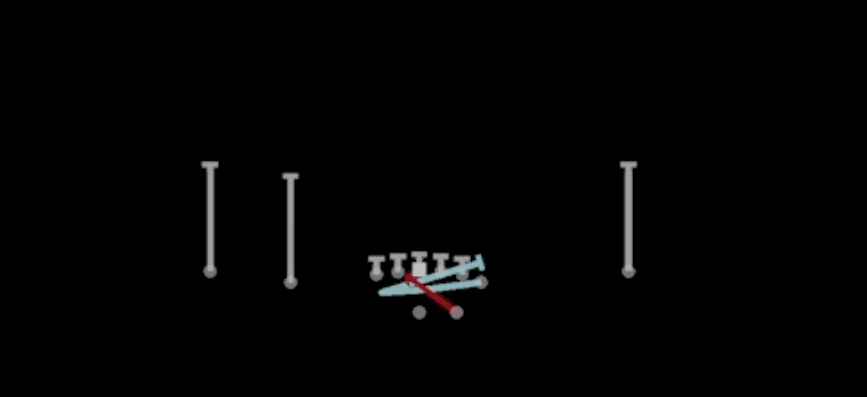 Mtn Split ZoneMotion, Inside Zone, Run Play +1
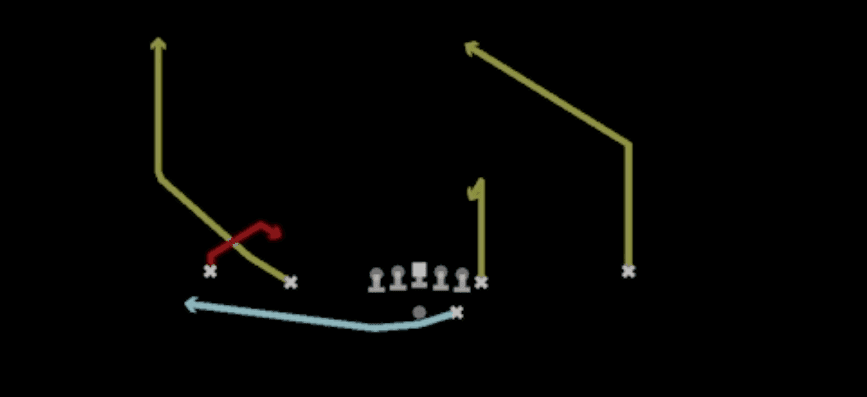 Mtn Spot WheelWheel, Spot, Motion +2
 Mtn Y Lead Read OptionRead Option, Motion, Run Play
 Mtn Y ScreenScreen Pass, Motion, Pass Play +3
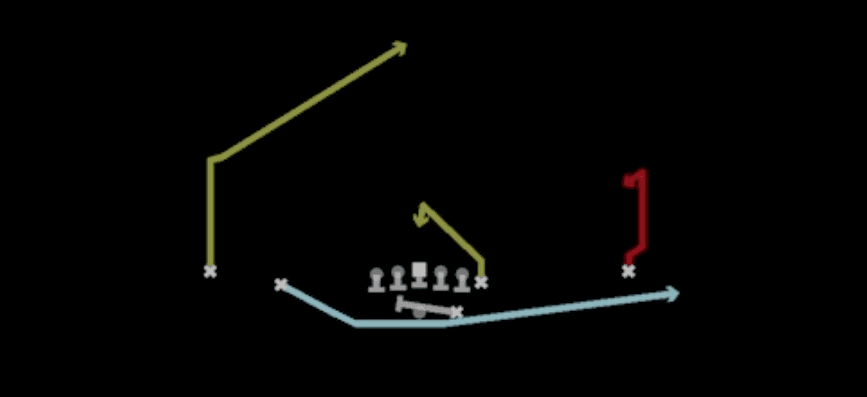 Orbit PA CurlsPlay Action, Motion, Pass Play +3
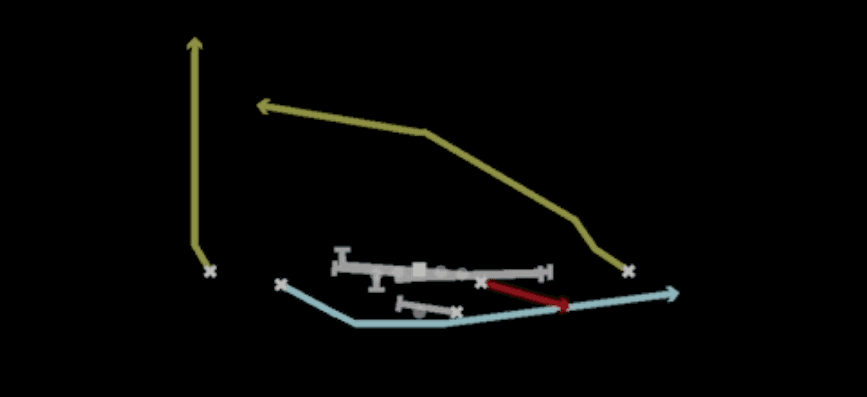 Orbit PA Y screenPlay Action, Screen Pass, Motion +6
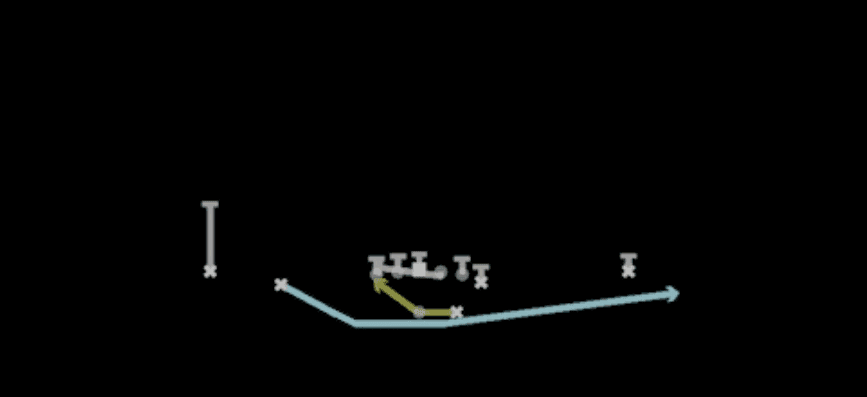 Orbit RPO Alert SwingRPO, Swing, Motion +2
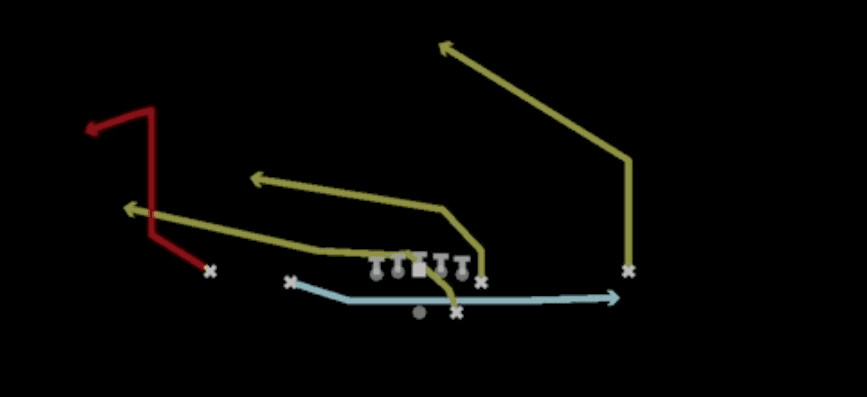 PA Jet SweepSweep, Jet Sweep, Play Action +8
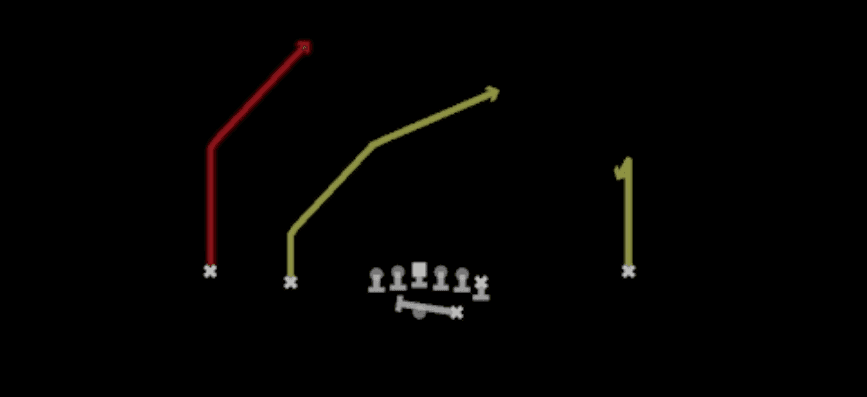 PA QB ChoicePlay Action, Option Route, Pass Play +4
- PA Same Side BootCorner, Drag, Crosser +4
- PA Zone CrossCrosser, Deep Cross, Drag +4
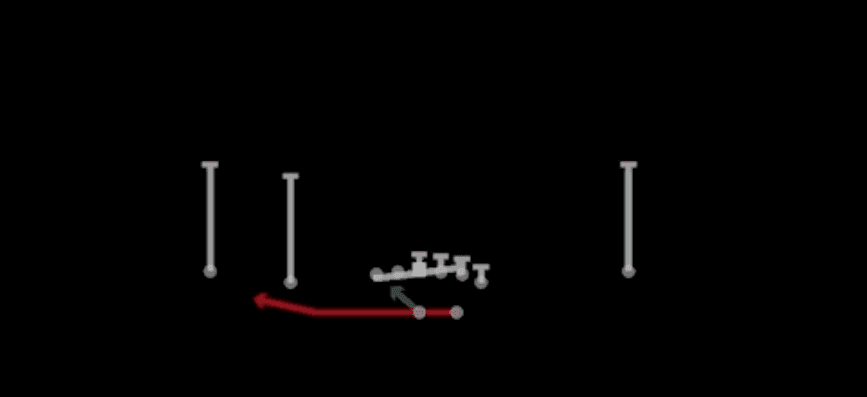 Read Counter BashCounter, Run Play, Power Run
 Read OptionRead Option, Run Play
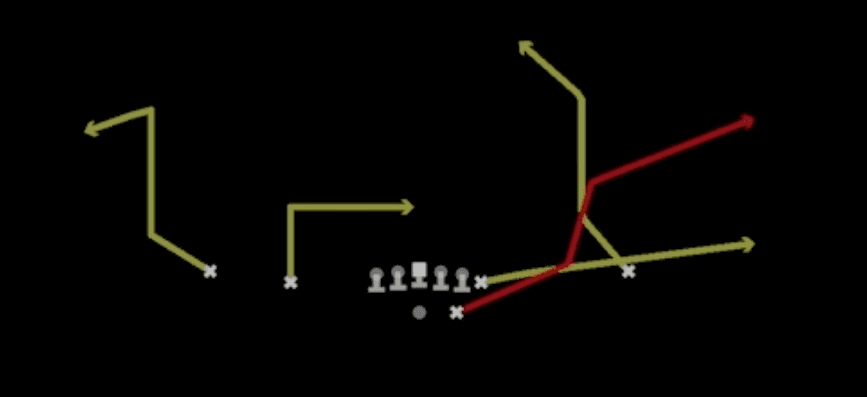 Redzone ScissorsScissors, Pass Play, Cover 2 Beater +6
- Return Double SlantsSlant, Flat, Pass Play
- Return HB ScissorsCorner, Post, Flat +3
- Return Inside Zone SplitRun Play
- Return PA SlideCorner, Deep Cross, Crosser +6
- Return Same Side ZoneRun Play
- Return Whip Z DigWhip, Corner, Post +2
 RPO Peek SlantRPO, Slant, Pass Play +1
 RPO Read FL ScreenScreen Pass, Wr Screen, RPO +3
- RPO Zone PeekRPO, Pass Play, Run Play +2
- Same Side ZoneRun Play
- Seam F AngleSeam, Angle, Pass Play +3
- Shuffle Strong FloodCorner, Flat, Hitch +3
- Shuffle TE Mid ScreenScreen Pass, Corner, Flat +4
- Shuffle Z Short CrossCrosser, Corner, Curl +4
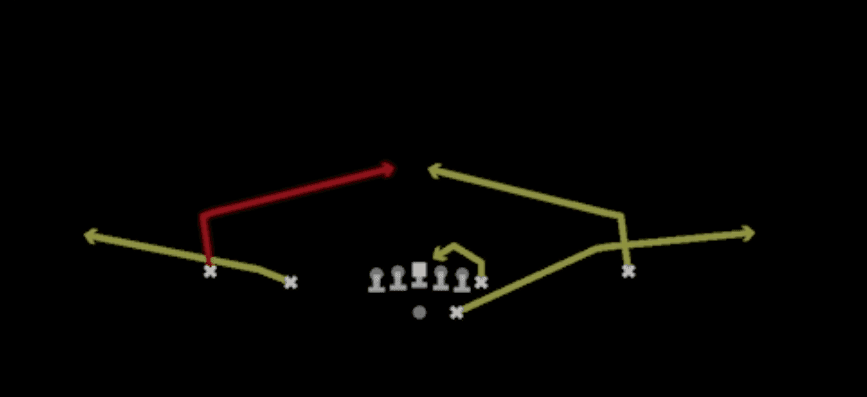 Slant FlatFlat, Slant, Slant Flat +3
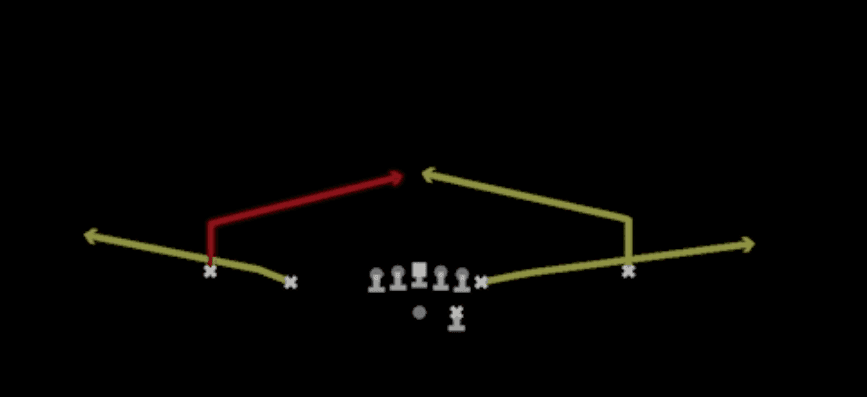 SlantsSlant, Pass Play, Flat
- Spot WheelWheel, Spot, Pass Play +4
 Stick Slot OptionOption Route, Stick, Stick Concept +4
 Strong FloodFlood, Pass Play, Cover 3 Beater +4
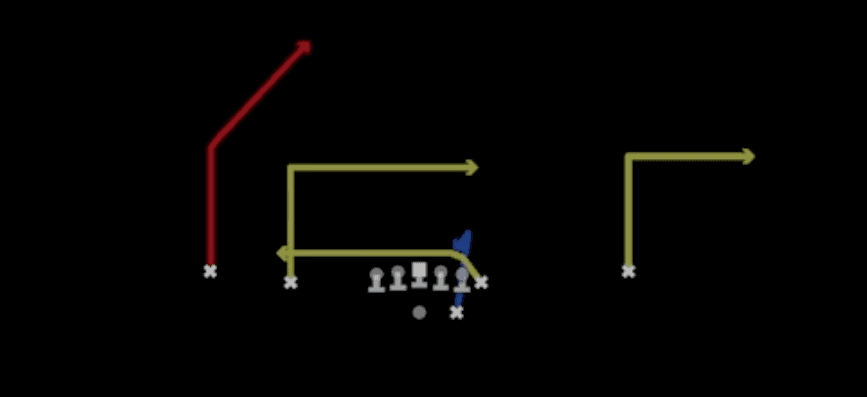 Y Shallow CrossShallow Cross, Pass Play, Crosser +5
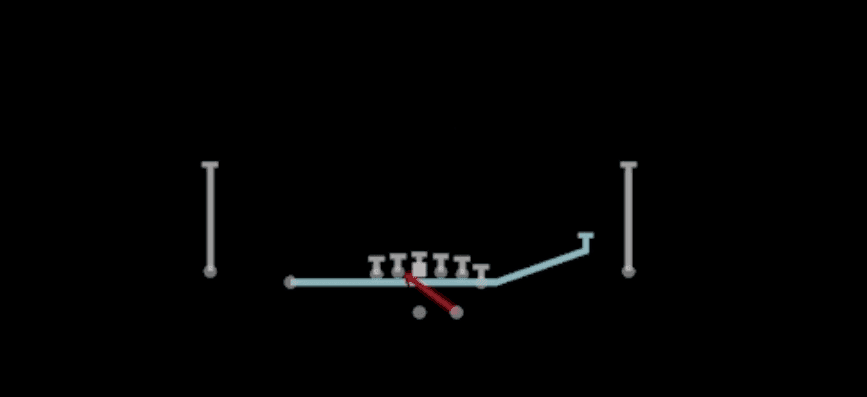 Zone Fake JetMotion, Run Play









