Playbooks
Mesh Spot

Quick Reference
Receiver routes
Depth-chart slots are shown as they line up in the base package for this set.
| Player | Side | Route |
|---|---|---|
| HB1 | Left | Wheel |
| SLWR | Right | Option Route |
| WR1 | Left | Drag |
| WR2 | Right | Curl |
| TE1 | Right | Wheel |
Read progression
- HB1 left, Wheel
- WR1 left, Drag
- SLWR right, Option Route
- WR2 right, Curl
- TE1 right, Wheel
Breakdown
Mesh Spot out of Shotgun Bunch X Nasty lines up the bunch trio with two crossing routes underneath (the mesh) while the third bunch receiver runs a spot route to the flat, sitting right at the sticks. The backside X runs a solo vertical go route up the numbers to hold the deep defender and open up the mesh crossers underneath. This is a classic man beater that also stresses zone defenders with natural traffic created by the two shallow crossers rubbing through the middle of the field.
Defensive Reads
Watch for a single high safety shell pre-snap since that usually signals man coverage underneath, which plays right into the mesh crossers rubbing off defenders. Identify if linebackers are sitting in shallow zone drops since that clogs the mesh lanes and forces you to check down to the spot route instead. Key on the flat defender's depth after the snap because a hard squat on the spot route means the mesh crossers likely have room to work against trailing coverage. Watch for a user-controlled defender lurking in the shallow middle zone, since a smart user can jump the mesh crossers and bait a turnover if the quarterback stares them down. This play struggles against Cover 3 with disciplined underneath zone drops or against a well-timed man blitz that beats the mesh before receivers cross paths.
Usage Tips
Read the flat defender first since the spot route sits down in the void and is your quick answer against zone coverage.
If you see press man or a single high safety pre-snap, work the mesh crossers immediately since the natural pick action creates instant separation against man defenders trailing across the formation.
Use the backside go route as a field-stretcher against Cover 3 or Cover 1 to hold the free safety and open up the intermediate crossers underneath.
Pair this play with Mesh Traffic or Mtn Mesh Cross from the same set to keep defenders guessing on whether the crossers will settle or continue running, forcing hesitation in man coverage.
Call this on third and short to medium since the spot route is designed to sit at the sticks for an easy conversion if the mesh is taken away.
Other Plays in Bunch X Nasty
 Choice Shallow DigDig, Shallow Cross, Option Route +3
 Corner Out DigOut, Dig, Corner +4
 Counter YCounter, Run Play, Power Run
 DBL Post HB CornerCorner, Post, Double Posts +5
 Deep FloodFlood, Pass Play, Cover 3 Beater +5
 Dig ReturnDig, Motion, Pass Play +4
 Double OutsOut, Pass Play, Block and Release +3
 Drive HB UnderDrive, Pass Play, Cover 4 Beater +4
 Drive Y CornerCorner, Drive, Pass Play +6
 Empty Spot WheelWheel, Spot, Pass Play +3
 Empty Stick Spacing SwitchStick, Spacing, Stick Concept +6
 Flanker DriveDrive, Pass Play, Cover 4 Beater +6
 HB BaseDive, Run Play
 Inside ZoneInside Zone, Run Play, Zone Run
 Mesh CornerCorner, Mesh, Pass Play +4
 Mesh HB SneakMesh, Pass Play, Man Beater +4
 Mesh HB Sneak DigDig, Mesh, Pass Play +5
 Mesh TrafficMesh, Pass Play, Man Beater +5
 Mtn China CrossMotion, Crosser, Pass Play +5
 Mtn Clear HB SeamSeam, Motion, Pass Play +5
 Mtn Corner UnderCorner, Motion, Pass Play +4
 Mtn Cross PostPost, Motion, Pass Play +5
 Mtn DaggerDagger, Motion, Pass Play +8
 Mtn DriveDrive, Motion, Pass Play +6
 Mtn HB ChoiceOption Route, Motion, Pass Play +4
 Mtn HB ShovelMotion, Drag, Crosser +4
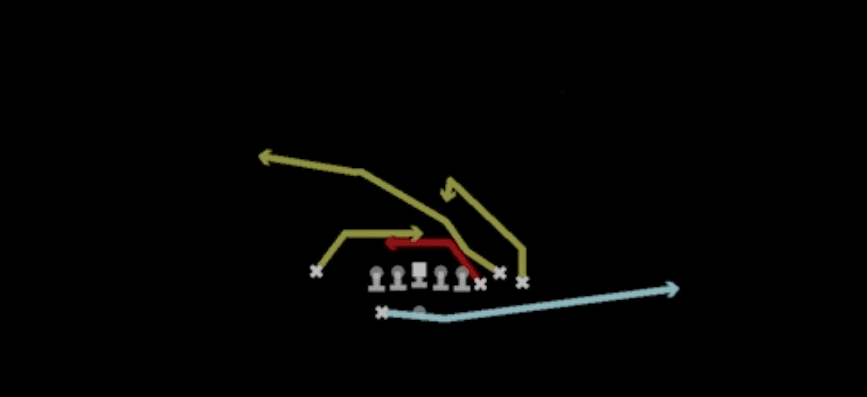 Mtn Mesh CrossMesh, Motion, Pass Play +6
 Mtn Mesh HB SneakMesh, Motion, Pass Play +5
 Mtn Outside ZoneOutside Zone, Motion, Run Play +1
 Mtn RPO Zone AlertRPO, Motion, Pass Play +4
 Mtn Slot MiddleMotion, Dig, Out +4
 Mtn Smash SluggoSluggo, Smash, Motion +7
 Mtn Speed Dig UnderDig, Motion, Pass Play +5
 Mtn Spot HB UnderSpot, Motion, Pass Play +4
 Mtn Y Corner UnderCorner, Motion, Pass Play +4
 Post Wheel ShallowPost, Wheel, Shallow Cross +4
 QB SweepSweep, Qb Sweep, Designed Qb Run +1
 Quick Empty Flats StickQuick Pass, Stick, Stick Concept +6
 Return Mesh SpotSpot, Mesh, Motion +6
 Return SpotSpot, Motion, Pass Play +5
 Return Whip SwitchWhip, Motion, Pass Play +6
 Return Whip TrailWhip, Motion, Pass Play +6
 Return Whip Trail CornerCorner, Whip, Motion +6
 RPO Zone AlertRPO, Pass Play, Run Play +2
 RZ PA X WhipPlay Action, Whip, Pass Play +4
 SFT Bounce Mesh DriveMesh, Drive, Motion +9
 SFT Bounce PA Double PostPlay Action, Post, Double Posts +7
 SFT Bounce Zone WkMotion, Inside Zone, Run Play +1
 Slot MiddlePass Play, Quick Pass, Out +9
 Smash ReturnSmash, Motion, Pass Play +6
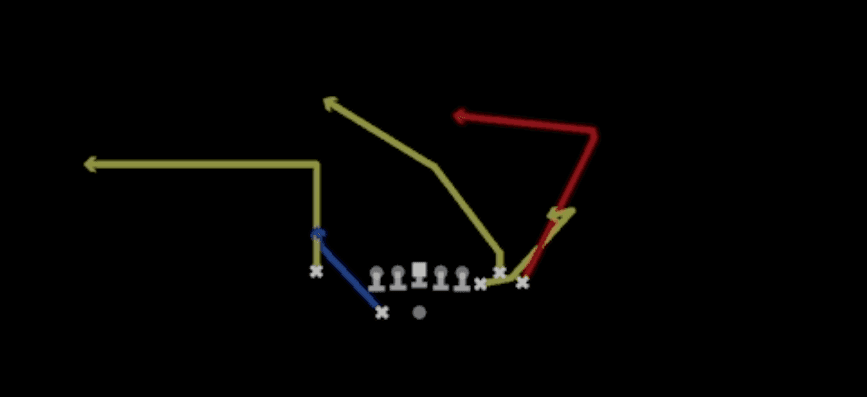 Speed DigDig, Pass Play, Curl +4
 Stick Spacing SwitchStick, Spacing, Stick Concept +6
 Whip Double SpotWhip, Spot, Pass Play +4
 X CrossCrosser, Pass Play, Deep Cross +3
 Y Corner PivotCorner, Pivot, Pass Play +3
 Y Flat GoallineFlat, Pass Play, Corner +2
 Y Option PivotOption Route, Pivot, Pass Play +3
 Z Mesh GoallineMesh, Pass Play, Man Beater +3
 Z SpotSpot, Pass Play, Cover 3 Beater +4
 Z Spot GoallineSpot, Pass Play, Cover 3 Beater +2