Playbooks

At a Glance
In 28 playbooks
Overview
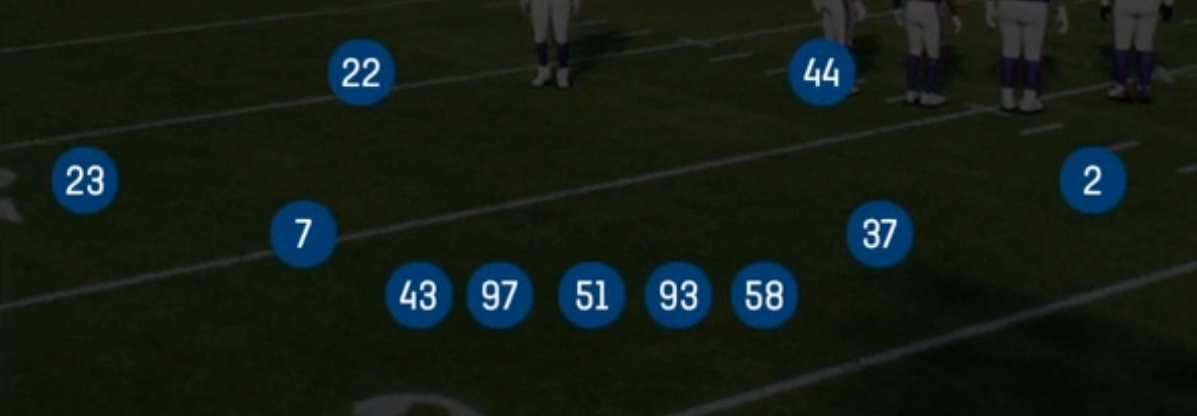
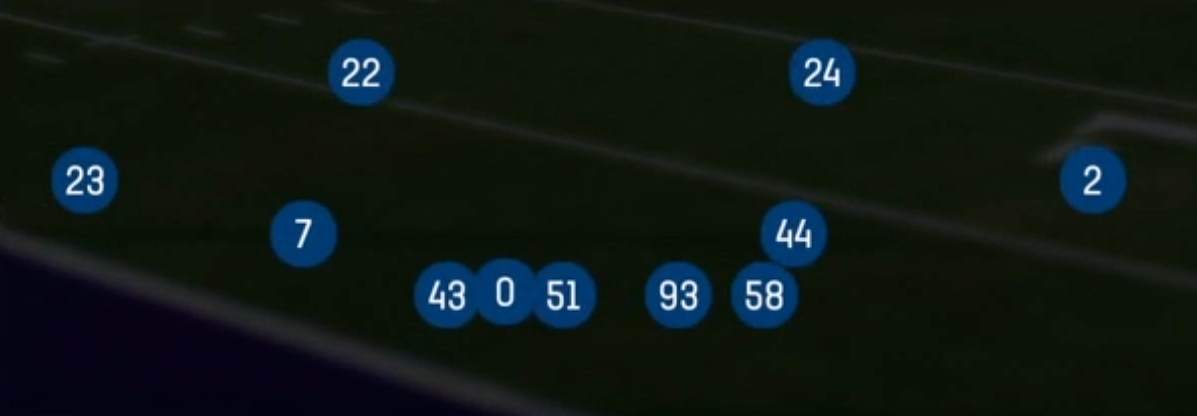
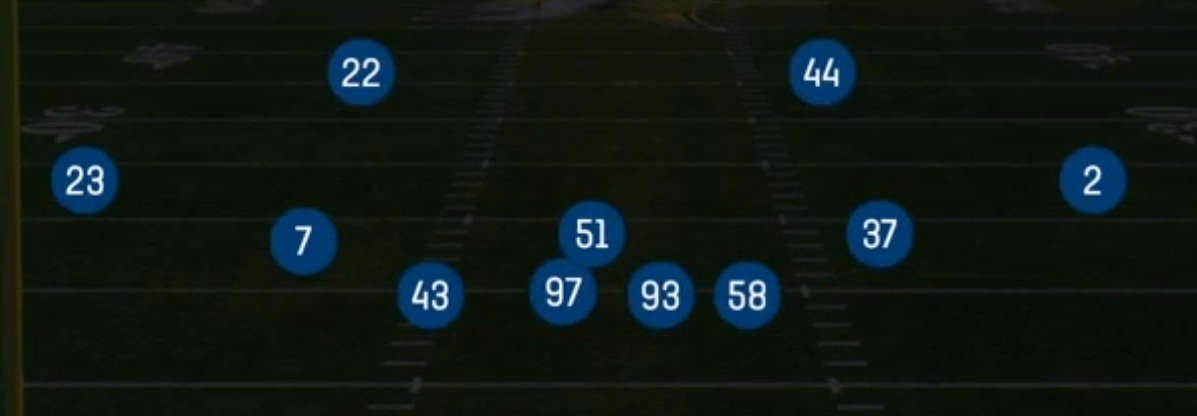
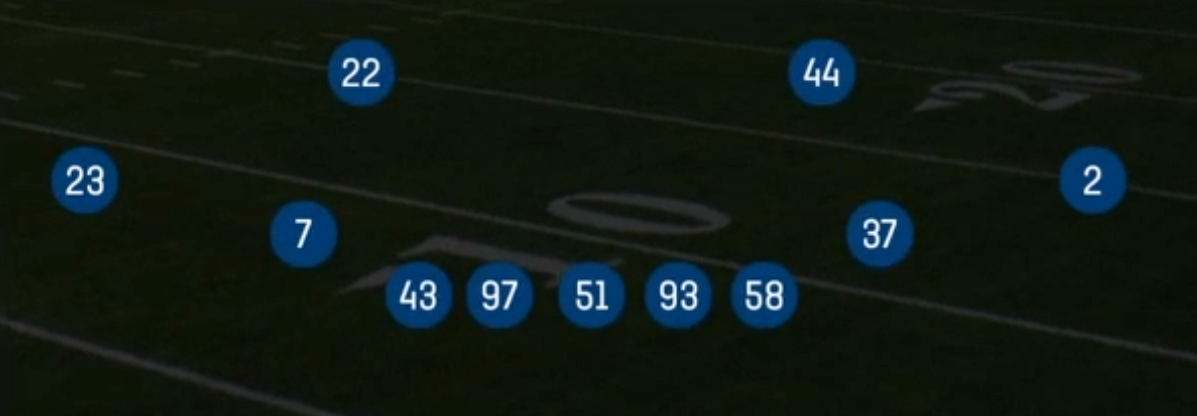
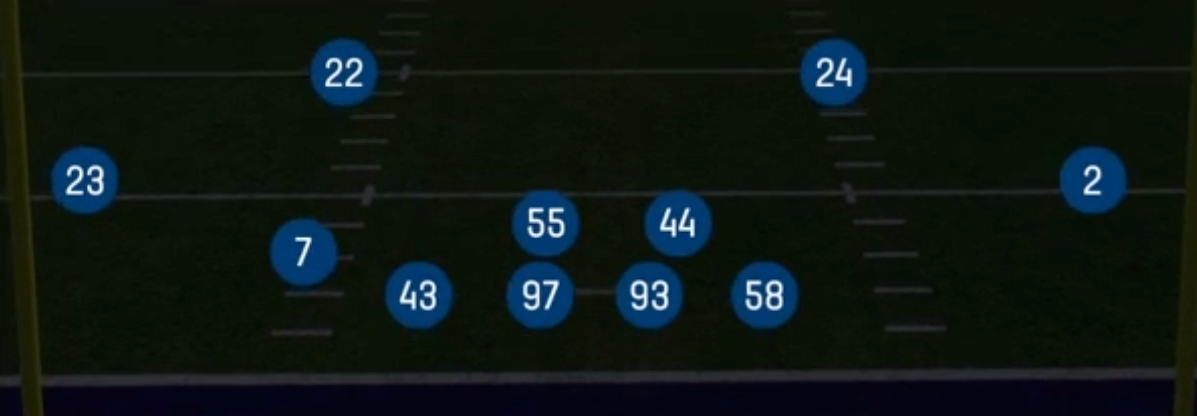
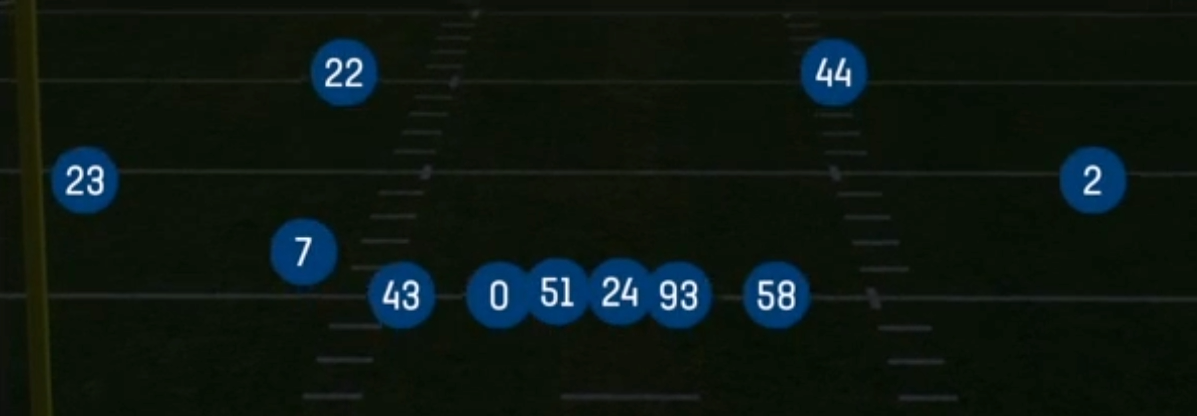
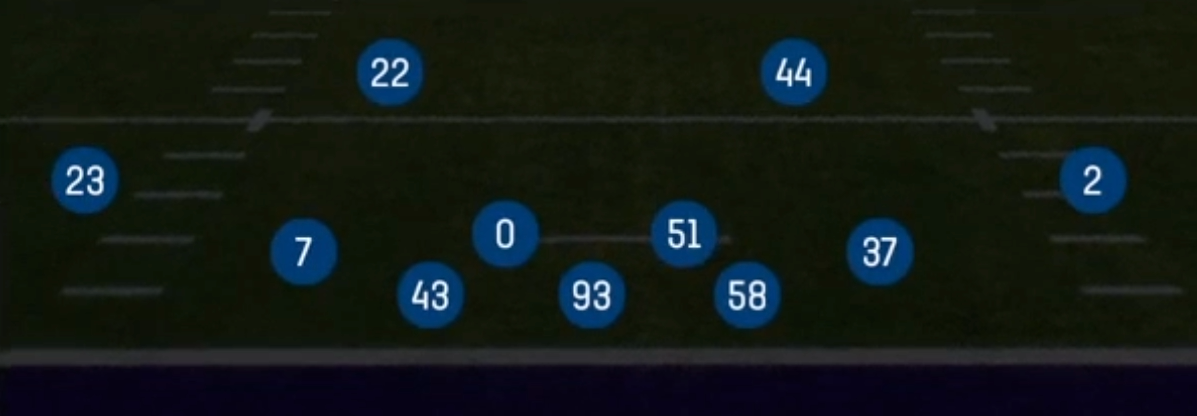
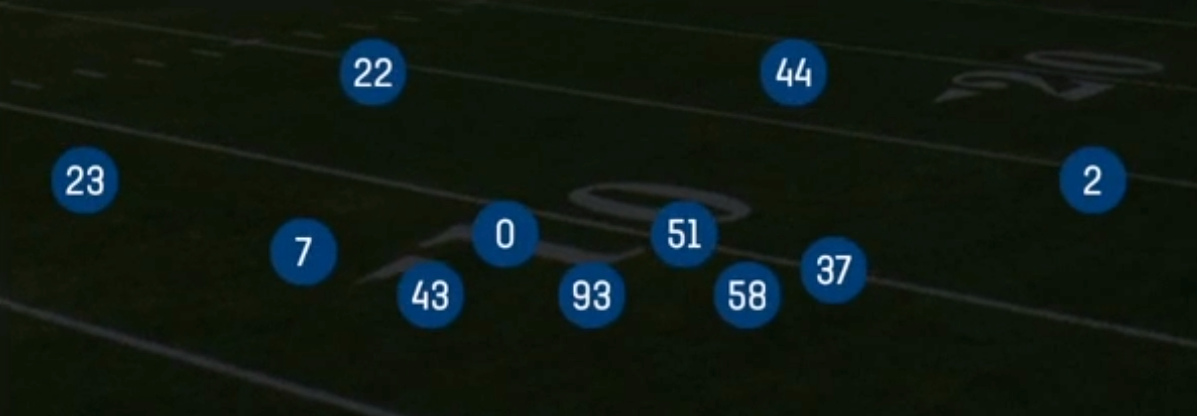
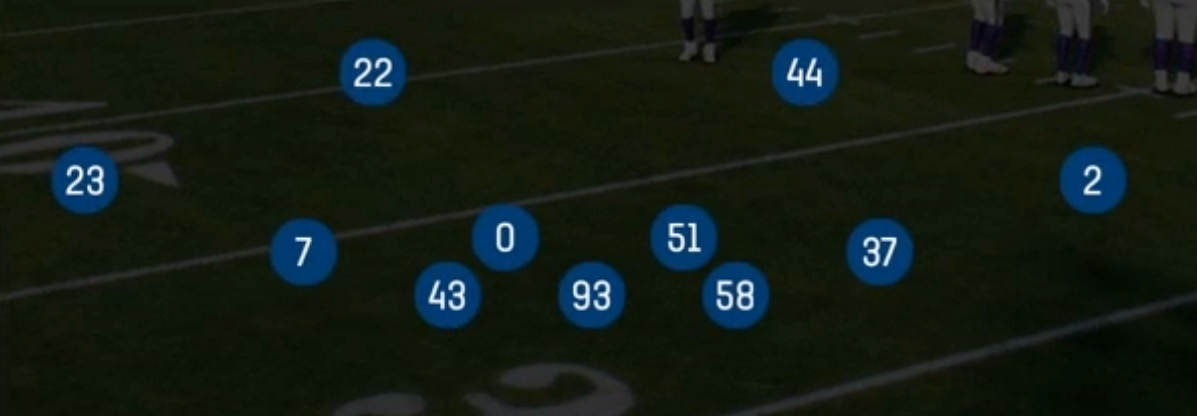
The Rush set in the Dime formation is a pass-first sub package built around a four man front with dedicated rush personnel at the edges. The RLE and RRE tags slot speed rushers onto the ends, while the RDT and NT hold the interior. A single SUBLB plays behind them, and the SLCB mans the slot inside a six defensive back shell. Standard Dime looks are balanced and still respect the run. Rush leans into pressure: the front is tuned to win one on one on passing downs, so you can get home with four and drop seven into coverage.
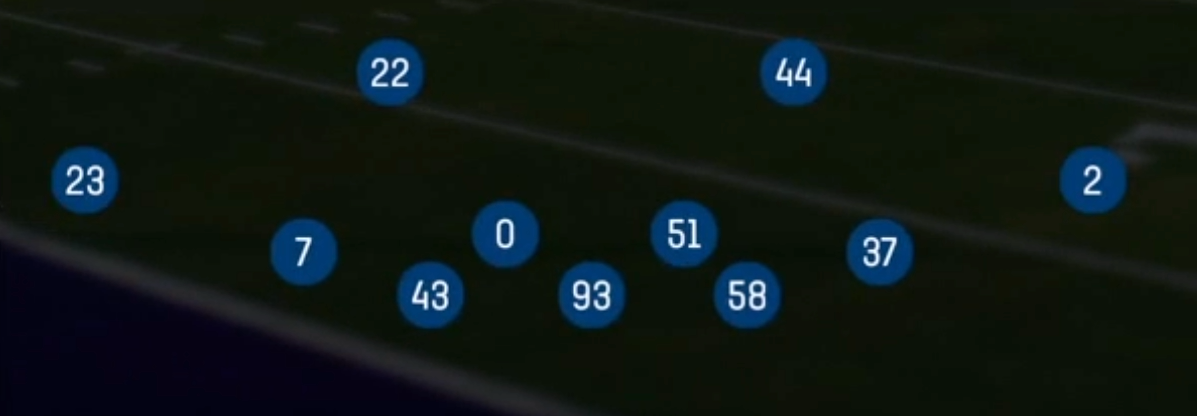
The playbook is where this set separates itself. You get a full coverage menu (Cover 1 Robber Press, Cover 3 Buzz Match, Cover 4 Palms, Cover 6, Tampa 2, Cover 3 Cloud) alongside a deep pressure package that includes SS Sim Pressure 3, Mug Sim Pressure, Fox Fire Zone Press, Mug Blitz Tex 3, and Mug Dt Loop 1. Because the Mug looks put the SUBLB and a safety in the A gaps before the snap, the offense sees the same picture on a true blitz as on a simulated pressure. That makes protection slides and hot route reads very hard to key.
From a matchup standpoint, six DBs let you match 10 and 11 personnel spread sets without conceding speed. The SLCB can travel with a shifty slot receiver in Cover 1 and Cover 2 Man, and the extra safety can bracket a mismatch tight end instead of leaving him on a linebacker. The tradeoff is size. With only one linebacker and a light box, this set is built to erase quick game, isolate the offense's best slot target, and force long developing reads while the edge rushers collapse the pocket.
Strengths
- Sim pressures like SS Sim Pressure 3 and Mug Sim Pressure bring a fifth rusher from an unexpected spot while dropping a lineman, so offenses that hot route a slant or quick out into the vacated hook zone throw straight into a defender
- Cover 4 Palms and Cover 4 Quarters shut down four verticals and smash, since the corners and safeties pattern match switch and fade routes, which makes this set a strong answer to Air Raid route combos
- The RLE and RRE rush personnel can win with four, so Cover 2 Hard Flat, Tampa 2, and Cover 6 get home without a blitz and take away quick out and flat routes that beat soft zone
- Cover 1 Robber Press and Cover 2 Man let the SLCB press the slot while a robber or two deep safeties sit on crossers and mesh, removing the most popular man beaters in the game
- Mug looks (Mug Blitz Tex 3, Mug Dt Loop 1) disguise pressure identically to coverage, confusing the offense's protection reads and producing free runners when the running back picks up the wrong gap
Weaknesses
- The light box with a single SUBLB gets gashed by inside zone, power, and draw from 11 or 12 personnel, especially when the NT is washed out by a double team
- Six DB alignment reveals a passing down read, so smart opponents will check to runs or RPOs when they see this set on 2nd and medium
- Zero and Cover 1 pressures like DB Blitz and Dbl Safety Blitz leave no deep help, so a quick hot route to a slant or a back shoulder fade against press can go the distance
- QB scrambles are dangerous when both edge rushers overpursue, and only Cover 1 Contain Spy and Cover 1 Contain truly account for a mobile quarterback
- A strong run blocking tight end can pull the SLCB or a safety into a mismatch in the run fit, and heavy formations force you out of the set entirely
Usage Tips
Deploy Rush on 3rd and 6 plus or in two minute drills when the offense is locked into 10 or 11 personnel and must throw past the sticks
Alternate Mug Sim Pressure with Cover 2 Man from the same Mug alignment so the opponent cannot tell pressure from coverage, then user the SUBLB in the middle hook to jump the hot route they check to
Against mobile quarterbacks, call Cover 1 Contain Spy and user the spy, or add a QB contain adjustment on the RLE and RRE to keep the pocket intact
If the offense motions a receiver across to stack or bunch, audible to Cover 4 Palms or Cover 3 Buzz Match so the defenders pass off routes instead of getting rubbed in man coverage
Mix Fox Fire Zone Press and FS Middle Blitz 3 on early passing downs to establish pressure, then sit in Cover 6 or Cover 3 Cloud later when the opponent starts hot routing to beat the blitz
Plays (22)
- Cover 1 ContainCover 1, Contain, Man Coverage
 Cover 1 Contain SpyCover 1, Spy, Contain +1
 Cover 1 Robber PressCover 1, Cover 1 Robber, Press Man +1
 Cover 2 Hard FlatCover 2, Zone Coverage
 Cover 2 ManCover 2 Man, Man To Man, Man Coverage
 Cover 2 RollCover 2, Zone Coverage
 Cover 3 Buzz MatchCover 3, Cover 3 Buzz, Cover 3 Match +1
 Cover 3 CloudCover 3, Cover 3 Cloud, Zone Coverage
 Cover 4 PalmsCover 4, Cover 4 Palms, Zone Coverage
 Cover 4 QuartersCover 4, Quarters, Zone Coverage
 Cover 6Cover 6, Zone Coverage
 DB BlitzBlitz, DB Blitz
 Dbl Safety BlitzBlitz, Safety Blitz
 Dime Blitz 2Cover 2, Blitz, DB Blitz +1
 Fox Fire Zone PressZone, Blitz, Fire Zone +2
 FS Middle Blitz 3Cover 3, Blitz, Safety Blitz +1
 Mug Blitz Tex 3Cover 3, Blitz, Zone Coverage
 Mug Dt Loop 1Cover 1, Line Stunt, Man Coverage
 Mug Sim PressureSimulated Pressure, Blitz
 SS Overload 3Cover 3, Overload Blitz, Zone Coverage +1
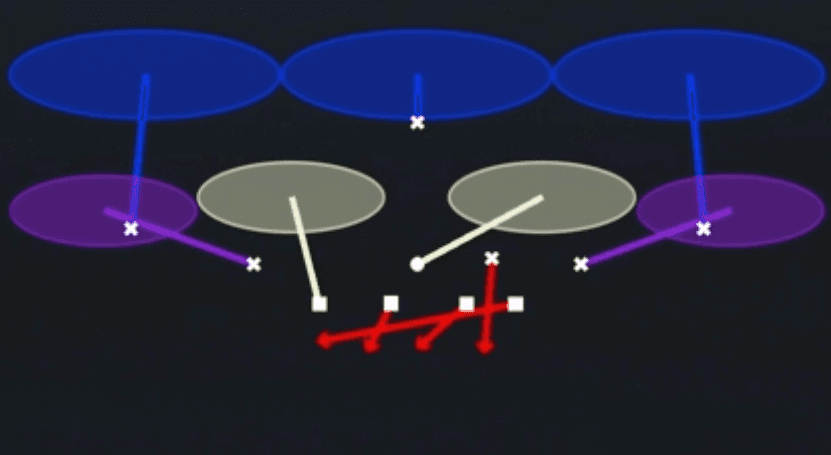 SS Sim Pressure 3Cover 3, Simulated Pressure, Zone Coverage +1
 Tampa 2Cover 2, Tampa 2, Zone Coverage