Playbooks

At a Glance
Overview
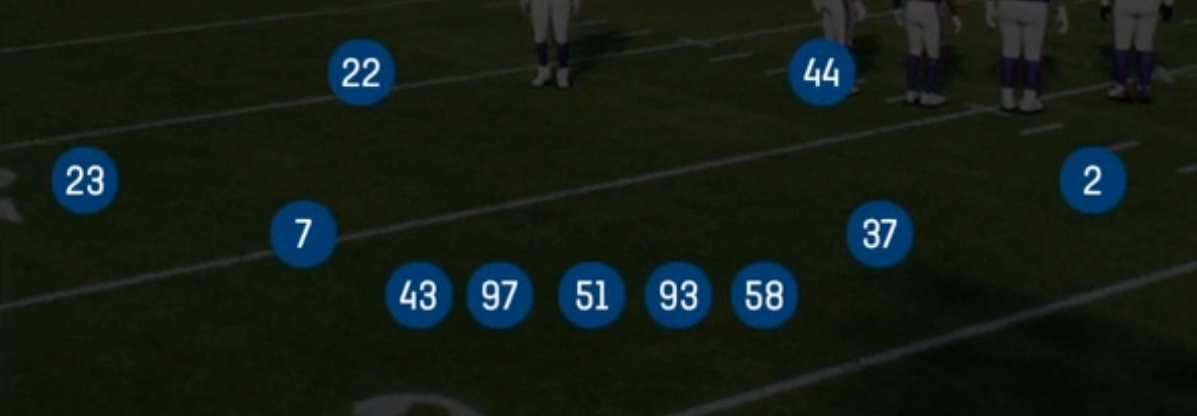
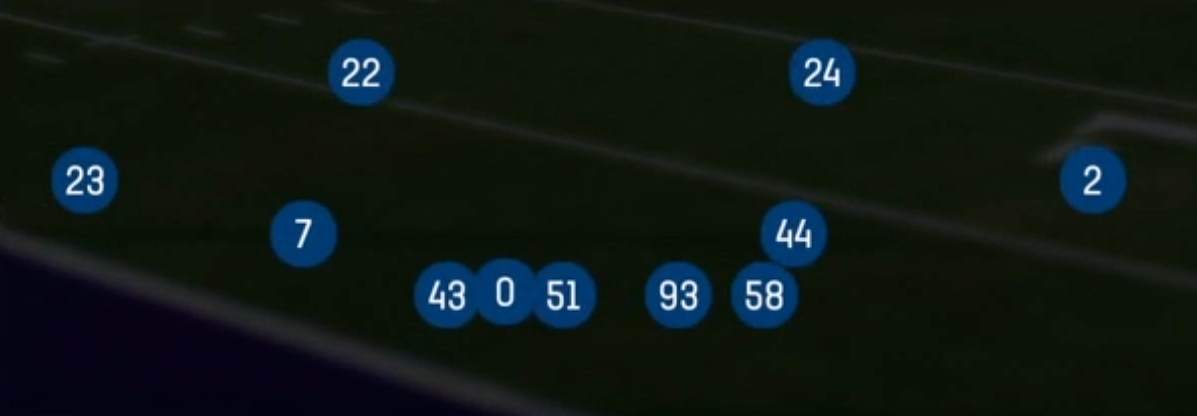
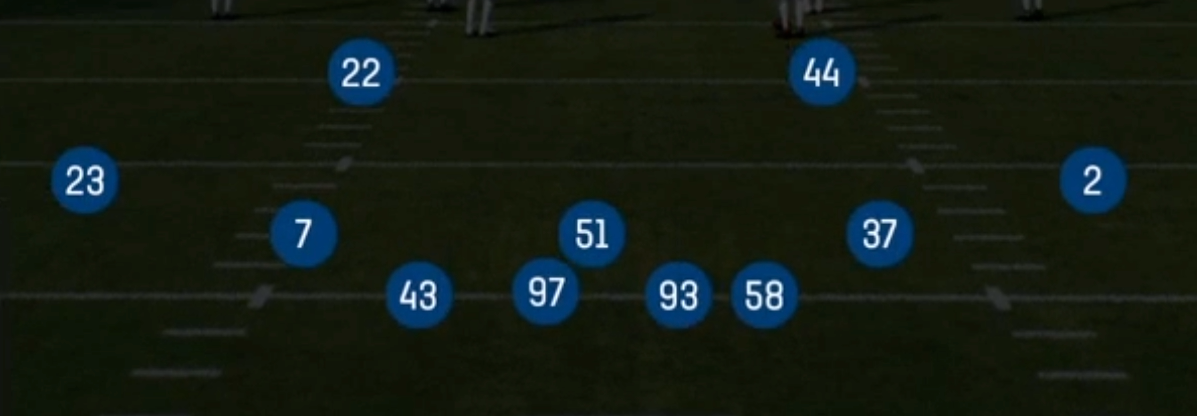
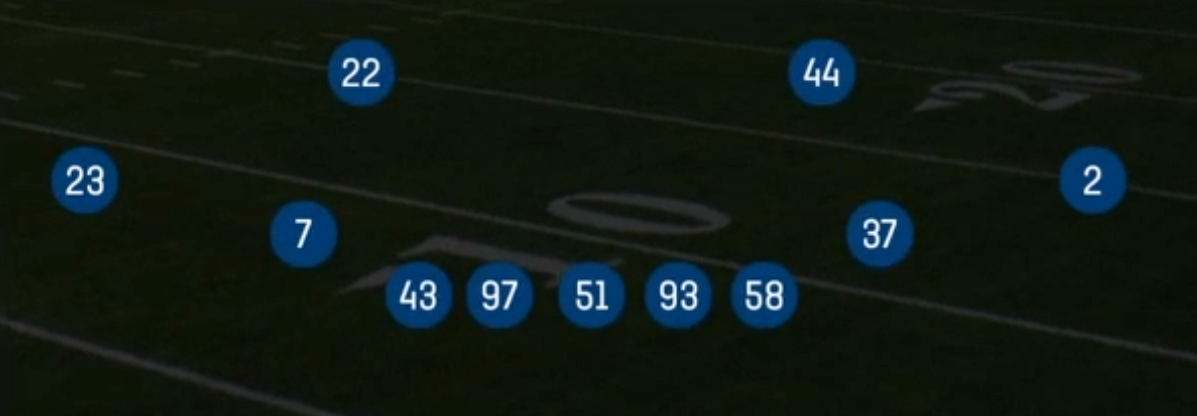
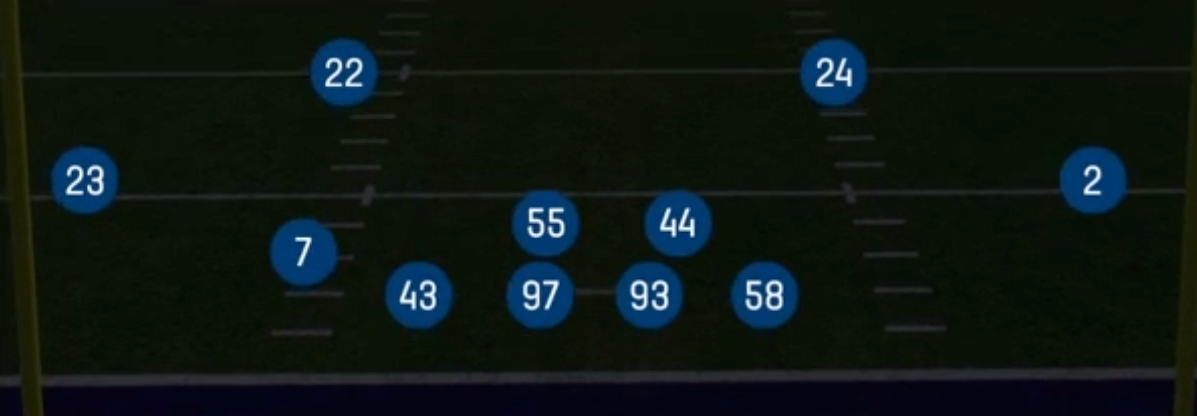
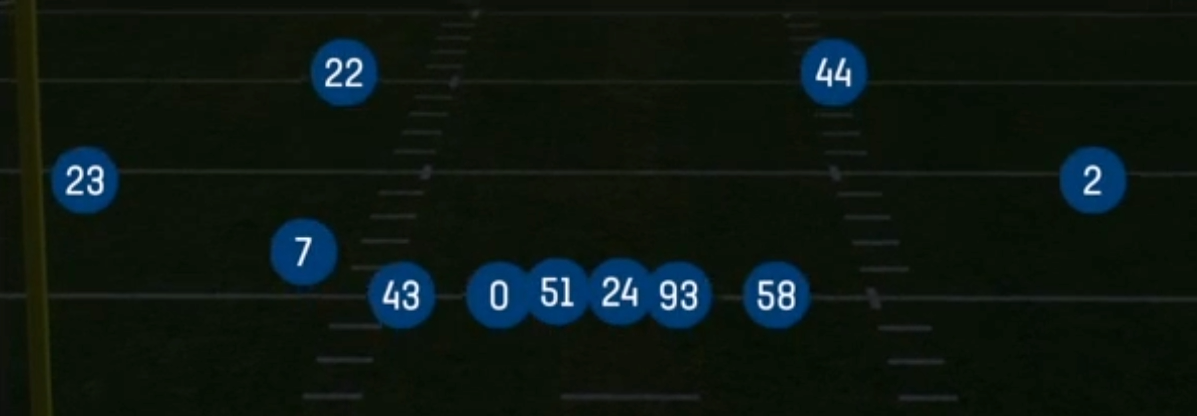
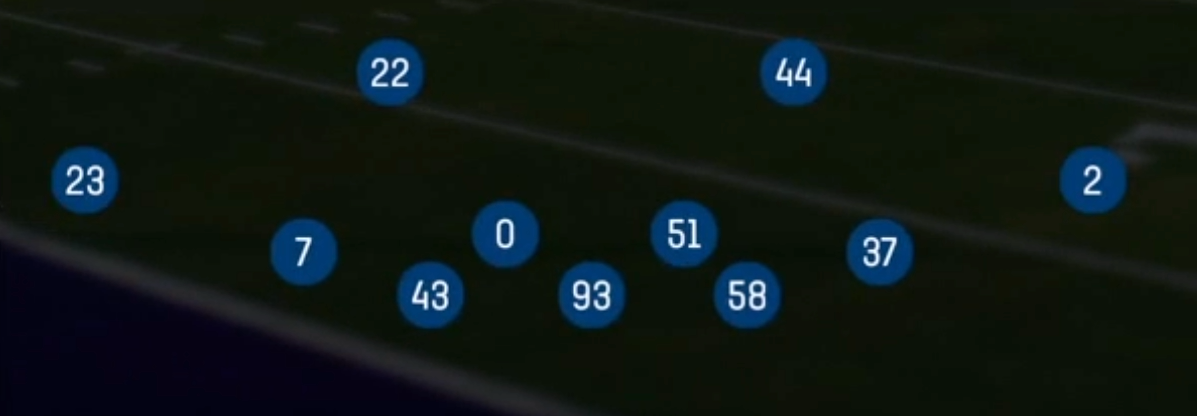
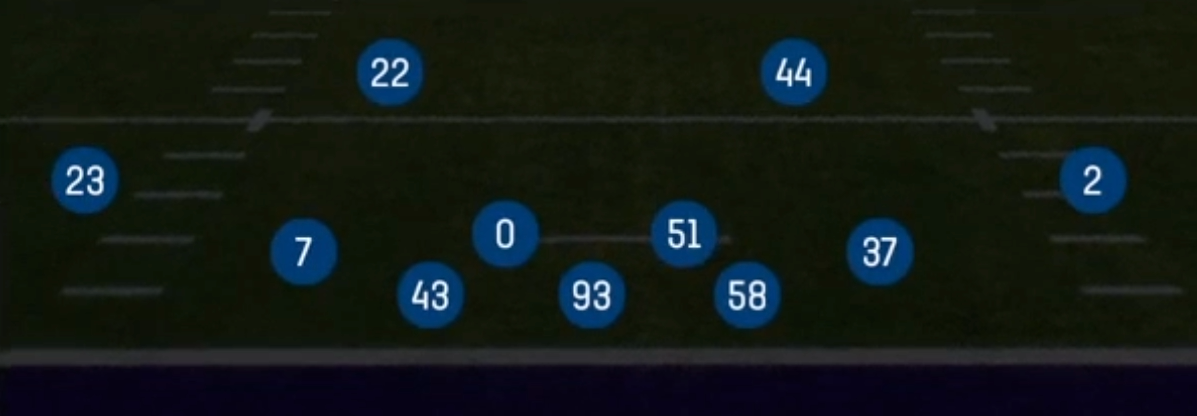
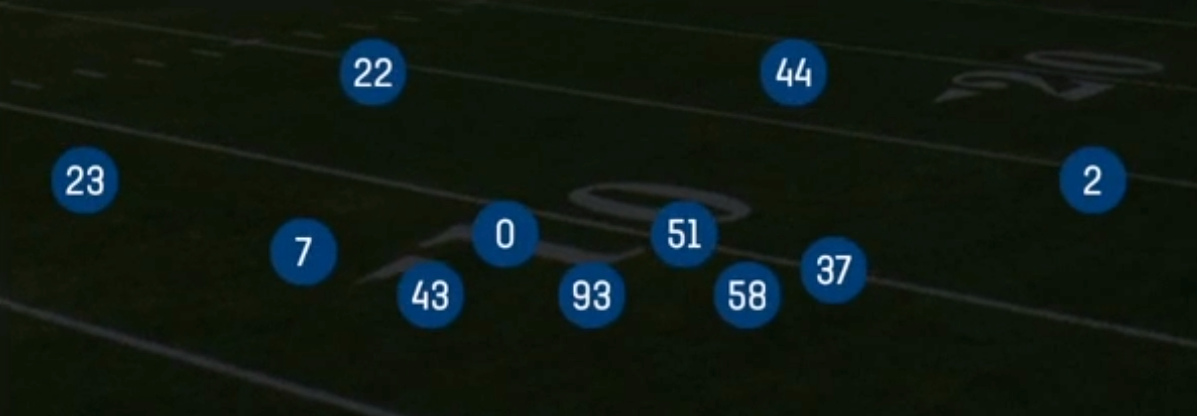
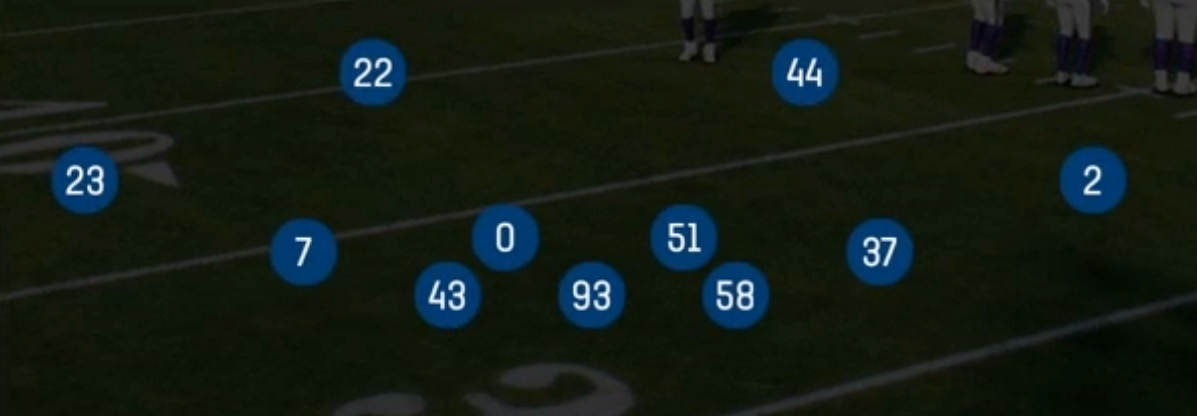
The Normal set in the Dime formation is Madden's go-to sub package for obvious passing downs, lining up a four man front (RLE, RRE, RDT, and NT) with a single SUBLB in the middle and six defensive backs, including the SLCB matched over the slot. Unlike Nickel looks that keep two linebackers on the field, Dime Normal trades run fit integrity for pure coverage speed. You can match 11, 10, and empty personnel man for man without leaving a linebacker stranded on a slot receiver or a flexed tight end.
The real value of this set is its playbook depth. It carries a full menu of shells: Cover 2 Man, Cover 2 Man KO, Tampa 2, Cover 3 Buzz Match, Cover 3 Cloud, Cover 4 Quarters, Cover 4 Palms, and Cover 6. It pairs those with pressure calls like DB Blitz 0, Dbl Safety Blitz, SS Blitz 3, Dime Blitz 3, and the disguised Overload 3 Show 2. Every call comes from the same alignment, so opponents cannot read coverage off personnel or pre-snap spacing. That makes post-snap rotation your main weapon against sight adjusting quarterbacks.
Compared to heavier Dime sets, Normal keeps a balanced front with the NT anchored over the center. This gives you a legitimate four man rush without forcing you to blitz to generate pressure. The SLCB stays in the slot to erase option routes, and the extra DBs let you bracket a top X receiver with Cover 2 Man or Cover 1 Robber Press. The result is a set built to shut down spread passing concepts, deep crossers, and third and long mesh looks.
Strengths
- Six defensive backs let you match speed with speed against 10 and 11 personnel, so the SLCB and dime back can carry slot receivers on option, whip, and angle routes without the mismatches a linebacker would create
- The deep coverage menu (Cover 2 Man KO, Cover 1 Robber Press, Cover 4 Palms, Cover 6) disguises well from one alignment, so post-snap rotations punish quarterbacks who pre-read single high or two high shells
- Cover 3 Buzz Match and Cover 3 Cloud handle the popular zone beaters well: the buzz defender walls off the curl window while the match rules carry verticals, taking away flood and smash concepts on the sideline
- A real pressure package (DB Blitz 0, Dbl Safety Blitz, SS Blitz 3, Overload 3 Show 2) comes from coverage personnel, so blitzers arrive with speed and the offense cannot ID the fifth rusher based on who is on the field
- Tampa 2 and Cover 2 Hard Flat give you a strong call against RPO flats and quick outs, with the SUBLB carrying the middle hole and the flat defenders squatting on hitches and swing routes
Weaknesses
- Only one linebacker in the box leaves you thin against inside zone, power, and counter, and offenses that audible to a run out of shotgun can gash the light box for chunk yardage on third and medium
- Heavy personnel like 12, 21, or 13 creates immediate size mismatches, and pulling guards will wash out defensive backs forced to fill run lanes
- The SUBLB is often the only defender responsible for the middle hook zone, so drag and dig concepts that attack the low middle can stress Tampa 2 and Cover 4 Quarters unless you user that spot
- Zero and Cover 1 pressures like DB Blitz 0 leave no safety help, so max protect with a slant, corner, or back shoulder fade against the SLCB can turn a sack attempt into a touchdown
- Mobile quarterbacks can escape a four man rush and scramble into vacated man coverage lanes, especially in Cover 2 Man where every defender has his back to the line of scrimmage
Usage Tips
Sub into Dime Normal on third and 6 or longer, or whenever the offense shows 10 personnel or empty, and switch back to a Nickel or base look if they flip to 12 personnel or keep the fullback on the field
User the SUBLB or a buzz safety in Cover 3 Buzz Match and Cover 4 Palms to take away the middle hole, since that is the window most offenses target with dig and drag combos against this set
Show a two high look, then call Overload 3 Show 2 or Cover 3 Cloud to rotate post-snap, baiting quarterbacks who read Cover 2 into throwing the hole shot or the corner route right into a robber
Against a hot receiver or dominant slot, call Cover 2 Man KO or Cover 1 Robber Press and shade coverage underneath or over the top toward his side to force the ball elsewhere
After you blitz with DB Blitz 0 or SS Blitz 3 early in a drive, come back with Tampa 2 or Cover 6 on the next passing down, since opponents who hot route slants and quick outs to beat pressure will throw right into dropping flat defenders
Plays (20)
 3 Double BuzzCover 3, Cover 3 Buzz, Zone Coverage
 Cover 1 ContainCover 1, Contain, Man Coverage
 Cover 1 Robber PressCover 1, Cover 1 Robber, Press Man +1
 Cover 2 Hard FlatCover 2, Zone Coverage
 Cover 2 ManCover 2 Man, Man To Man, Man Coverage
- Cover 2 Man KOCover 2 Man, Man To Man, Man Coverage
 Cover 3 Buzz MatchCover 3, Cover 3 Buzz, Cover 3 Match +1
 Cover 3 Buzz PressCover 3, Cover 3 Buzz, Zone Coverage
 Cover 3 CloudCover 3, Cover 3 Cloud, Zone Coverage
 Cover 4 PalmsCover 4, Cover 4 Palms, Zone Coverage
 Cover 4 QuartersCover 4, Quarters, Zone Coverage
 Cover 6Cover 6, Zone Coverage
 DB Blitz 0Cover 0, Blitz, DB Blitz +2
 Dbl Safety BlitzBlitz, Safety Blitz
 Dime Blitz 3Cover 3, Blitz, DB Blitz +1
 LB Blitz 1Cover 1, Blitz, LB Blitz +1
 Overload 3 Show 2Cover 3, Overload Blitz, Zone Coverage +1
- Scene 44-2 DefenseRun Stop
 SS Blitz 3Cover 3, Blitz, Safety Blitz +1
 Tampa 2Cover 2, Tampa 2, Zone Coverage