Playbooks

At a Glance
In 23 playbooks
Overview
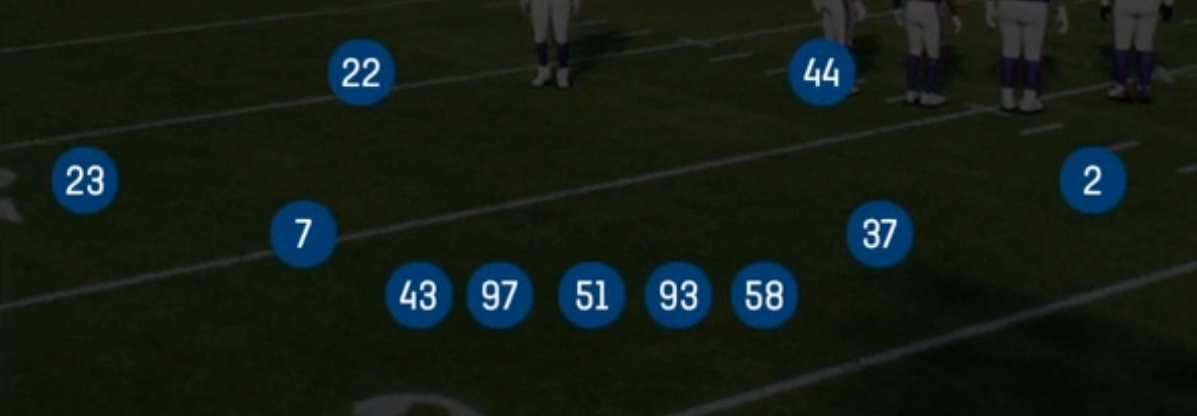
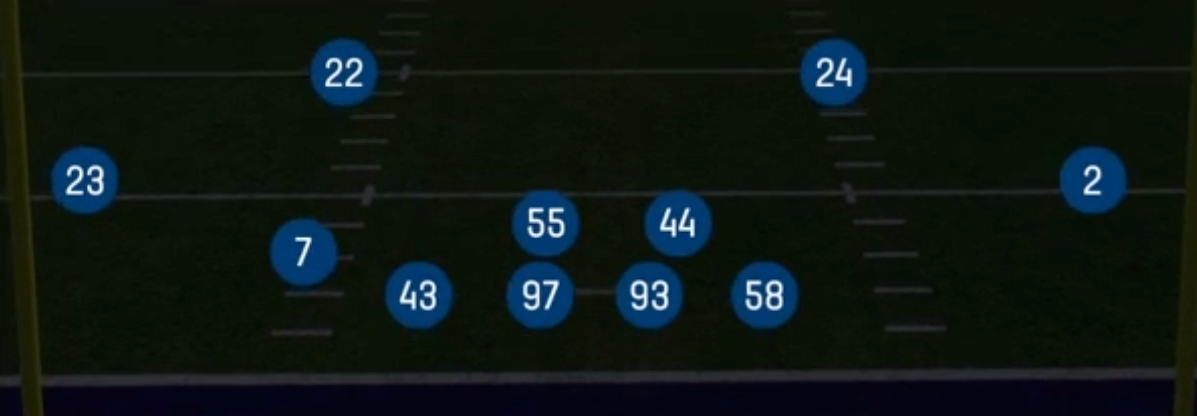
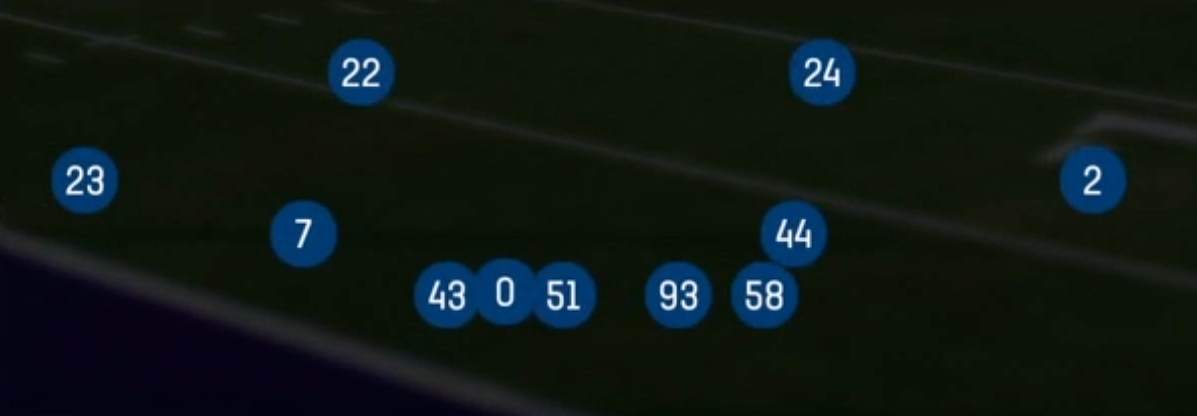
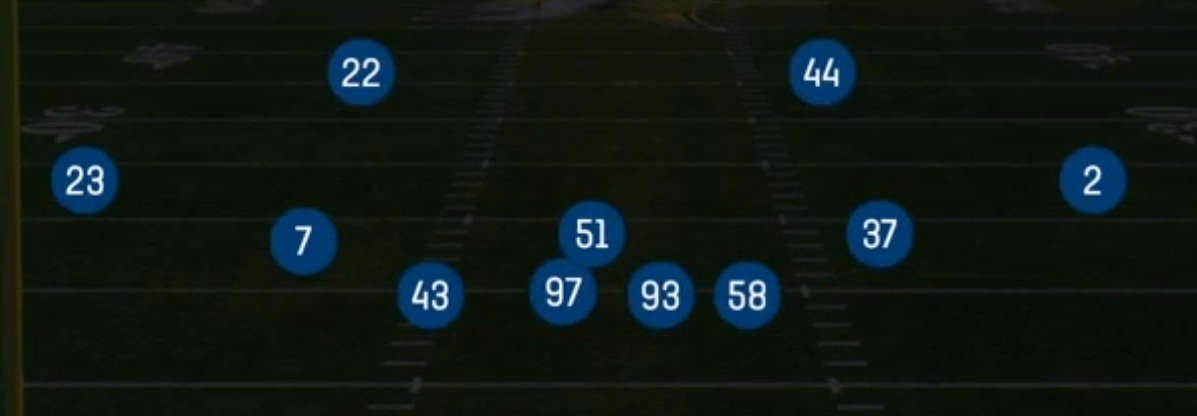
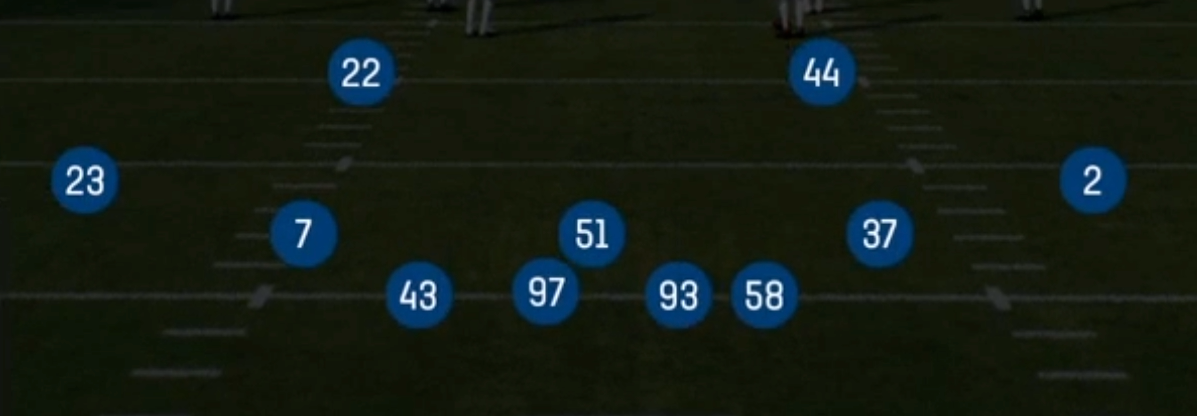
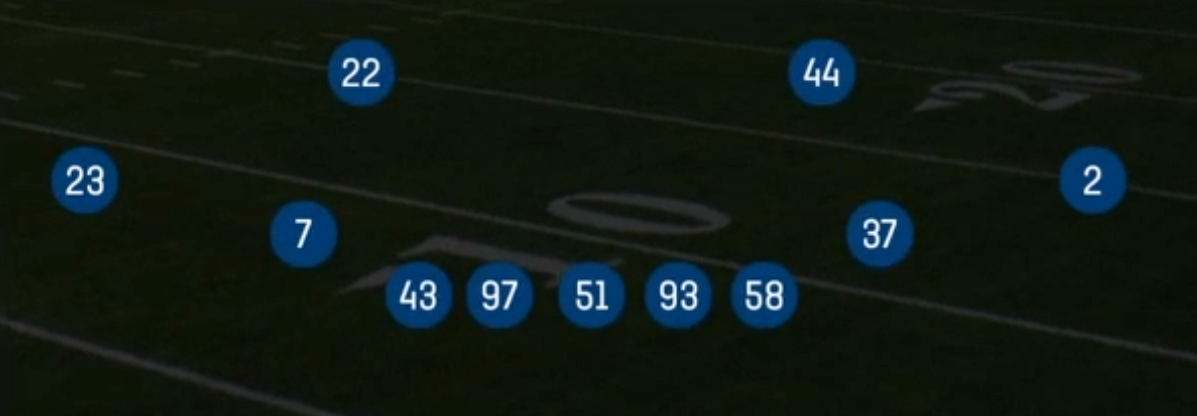
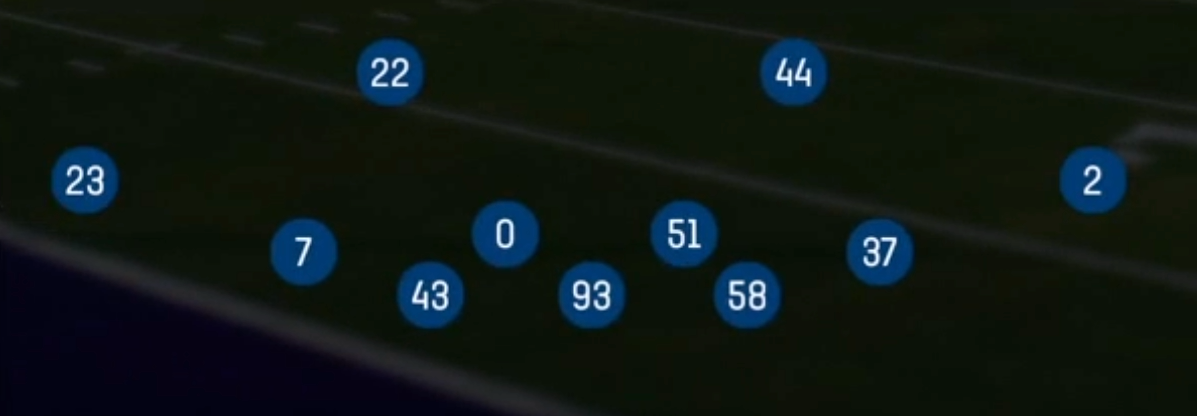
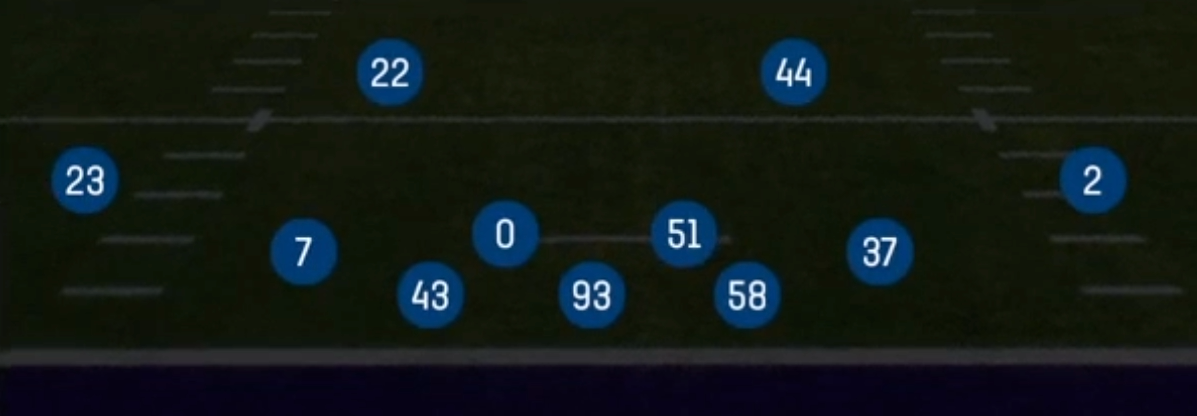
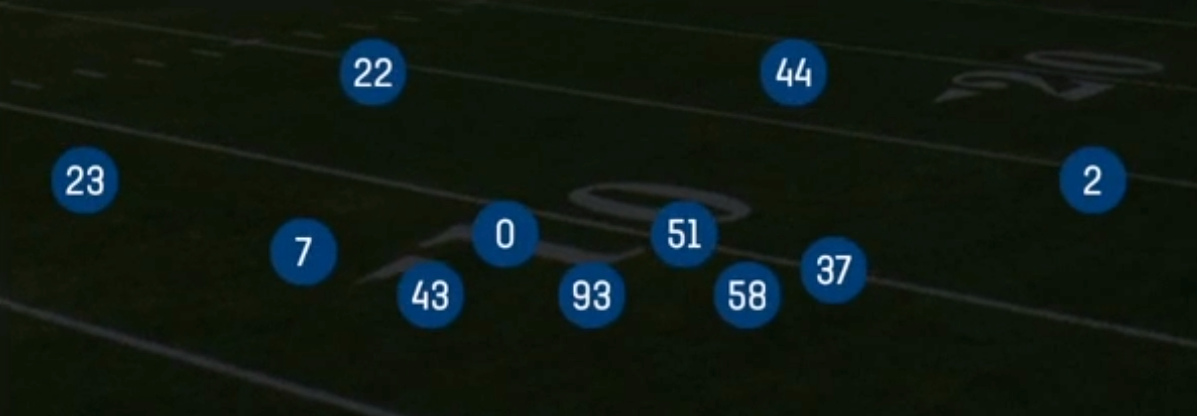
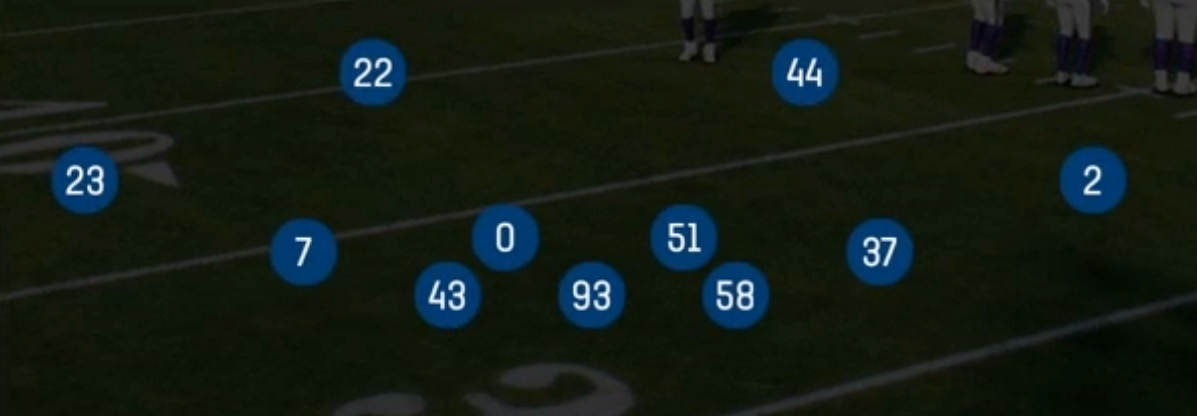
The 1-4 Dbl Mug set is the most aggressive pressure look in the Dime formation. It uses the Big Dime 3-2-6 personnel package with one true down lineman at DT, while the RLE and RRE stand up as edge rushers and two defenders mug both A gaps directly over the center. Most Dime sets reveal their intentions through a standard four man front. This one stacks five potential rushers at the line of scrimmage, so the offense cannot tell pre-snap who is coming and who is dropping. That ambiguity is the whole point: the protection has to account for every mugged defender before the snap.
With six defensive backs on the field, including the SLCB covering the slot and a SUBLB that brings DB speed to a linebacker spot, this package can match spread personnel man to man. Its rushers still generate interior pressure that normally requires base personnel. The double A gap mug overloads the center and guards, forcing slide protection calls and pulling the RB into pass pro instead of releasing into routes. That takes a checkdown option off the board and funnels throws toward the boundary, where your six DBs have the numbers.
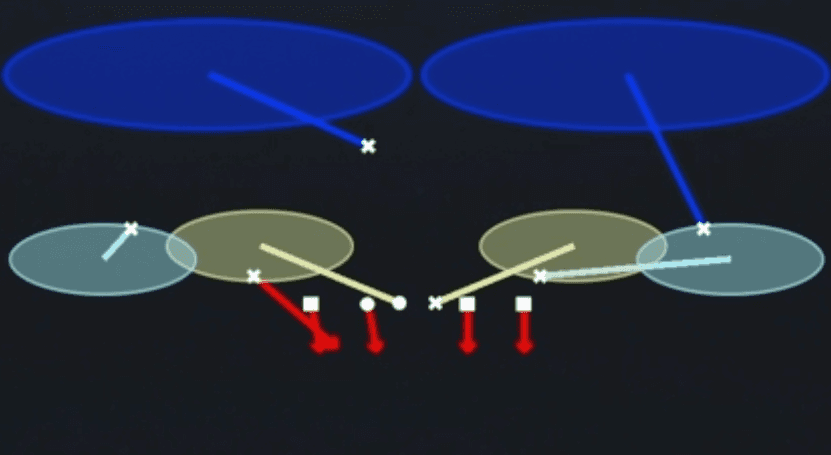
The play list mixes true blitzes (SS Mid Blitz 0, Mid Blitz, Nickel Overload 3, Hot Blitz 3) with simulated pressures (CB Tex Sim 2, SS Tex Sim 2, Buck Zone Blitz) and pure coverage drops (Cover 2 Invert, Cover 3 Match, Cover 1 Hole, Coffee House 3 Seam). Every call starts from the same mugged look, which disguises four man rushes as six man pressures and hides coverage rotations behind blitz alignments. That makes it one of the best pre-snap disguise sets in the game against quarterbacks who read the front instead of the shell.
Strengths
- The double A gap mug forces offenses into slide protection or max protect, which removes the RB as a checkdown and shrinks the route tree the QB can work against your coverage.
- Sim pressures like CB Tex Sim 2 and SS Tex Sim 2 rush four from a five man look, so QBs who hot route slants expecting a blitz throw directly into dropping mugged defenders sitting in the hook zones.
- Six DBs let you match 10 and 11 personnel spread sets in man, and the SLCB and SUBLB can run with slot receivers and RBs on option routes far better than a standard linebacker.
- Cover 3 Match and Coffee House 3 Seam handle four verticals and seam concepts because the match rules carry vertical threats, which neutralizes the most common Dime killer in competitive play.
- SS Mid Blitz 0 and Hot Blitz 3 create free runners through the A gaps faster than almost any other interior pressure, producing sacks before hot routes or quick drops can develop.
Weaknesses
- The run defense is extremely light with only one true down lineman and six DBs, so inside zone, power, and counter runs can gash the front when both mugged defenders rush upfield and vacate their gaps.
- QB draws and delayed handoffs punish the mugged rushers because they vacate the middle, leaving only DBs to tackle downhill.
- Zero coverage calls like SS Mid Blitz 0 are vulnerable to quick slants, drag routes, and mesh concepts that beat man coverage before pressure arrives, especially when the QB checks protection into a hot route.
- Screens and RB swings exploit the aggressive rush angles, and the lack of a second level linebacker means screen blockers can easily seal the lone pursuing defender.
- Smart opponents who read the safety shell instead of the front will identify Cover 2 Invert and Cover 3 Sky rotations by watching the post safety, which defeats the disguise.
Usage Tips
Deploy this set on 3rd and 6 plus when the offense is in shotgun spread personnel, since the threat of interior pressure is maximized and run concerns are minimized.
Alternate between SS Mid Blitz 3 and SS Tex Sim 2 from the identical look so opponents cannot hot route slants with confidence. The goal is to make every snap look like a six man pressure.
User the SUBLB or a mugged defender and drop him into the middle hook against quarterbacks who love quick slants and drags. That takes away the easy throw that beats most A gap blitzes.
If the offense motions an RB or TE into the backfield to max protect, audible to Cover 3 Match or Coffee House 3 Seam and drop seven or eight, because the free rushers are gone and coverage wins.
Avoid this set on early downs and in short yardage. When the offense shows under center or heavy personnel, get out of 1-4 Dbl Mug and into a base or nickel front with more run fits.
Plays (16)
 Buck Zone BlitzZone, Blitz, LB Blitz +2
- CB Tex Sim 2
- Coffee House 3 Seam
 Cover 1 HoleCover 1, Cover 1 Hole, Man Coverage
 Cover 2 InvertCover 2, Inverted Coverage, Zone Coverage
 Cover 3 MatchCover 3, Cover 3 Match, Zone Coverage
 Cover 3 SkyCover 3, Cover 3 Sky, Zone Coverage
 Hot Blitz 3Cover 3, Blitz, Zone Coverage
- Invert Hard Flat
 Mid BlitzBlitz
 Nickel 2 TrapCover 2, Trap Coverage, Zone Coverage
 Nickel Overload 3Cover 3, DB Blitz, Overload Blitz +2
- SS Dog 3
- SS Mid Blitz 0
- SS Mid Blitz 3
- SS Tex Sim 2