Playbooks
2-3-6 Sam

At a Glance
In 2 playbooks
Overview
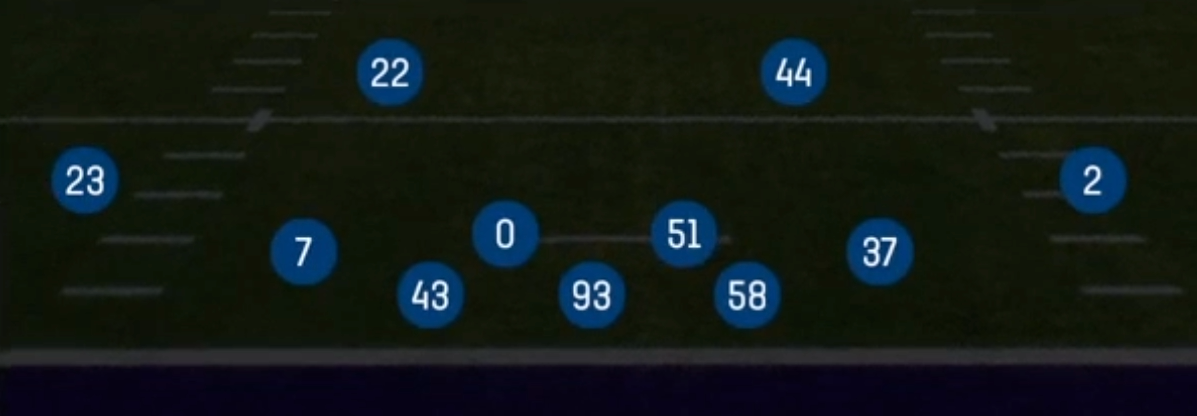
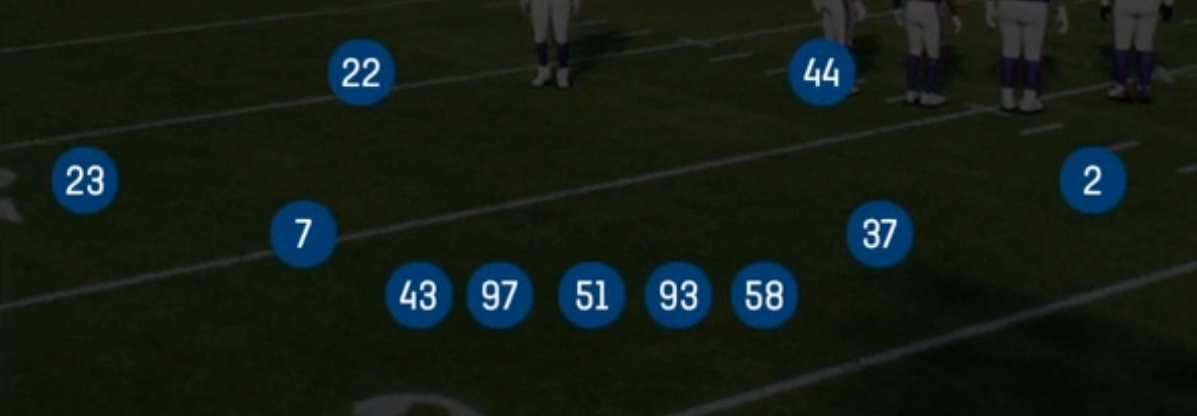
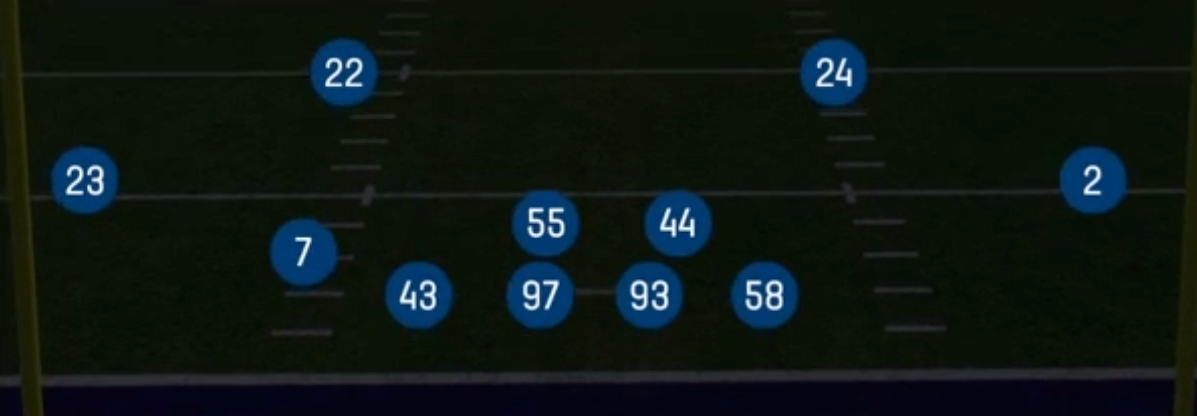
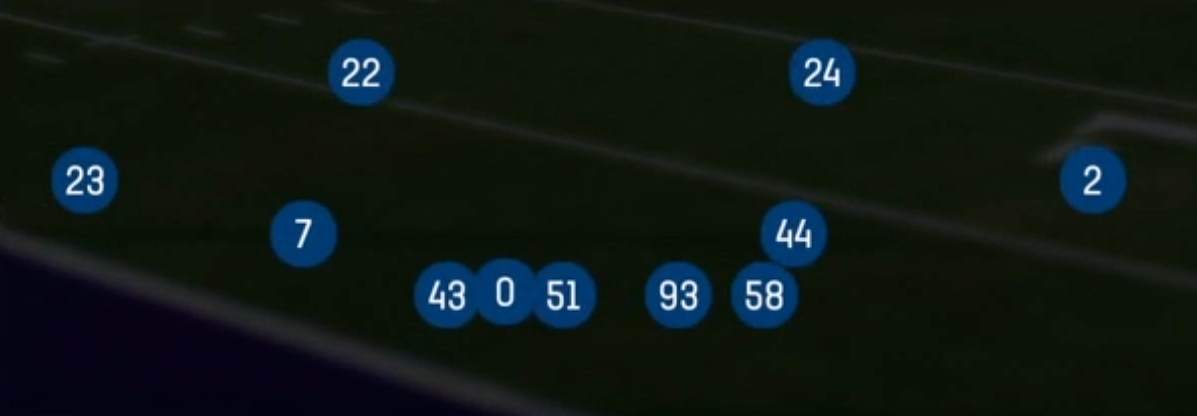
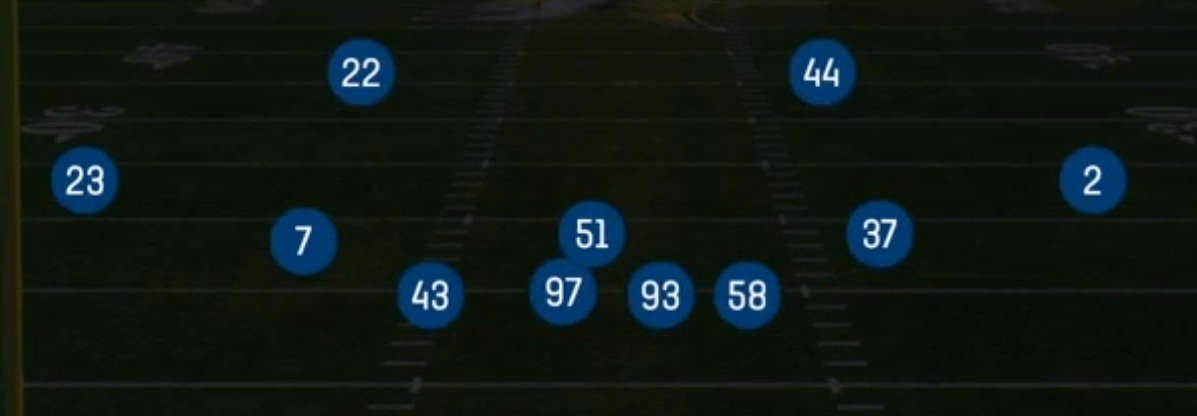
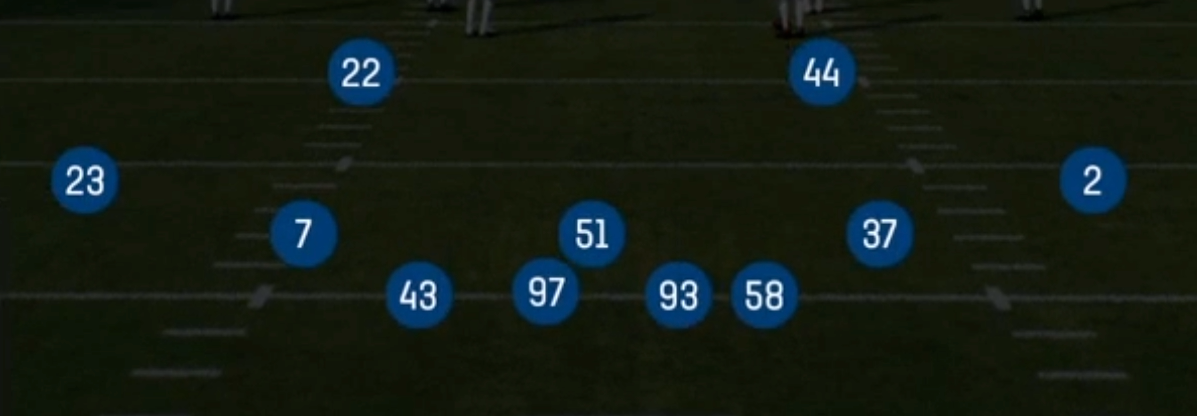
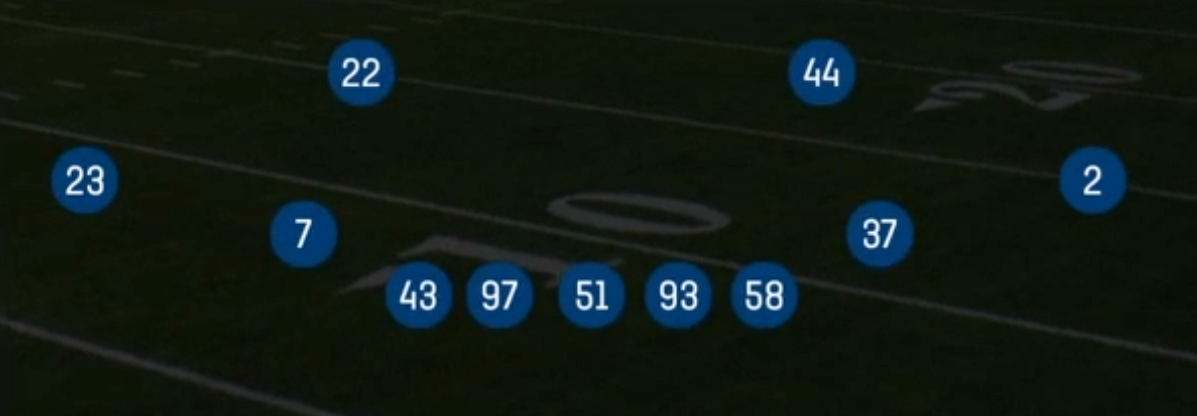
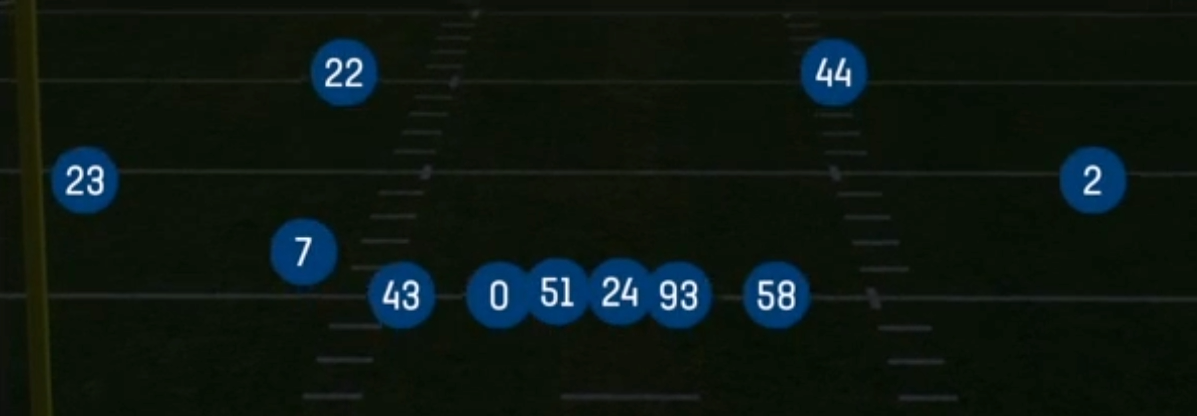
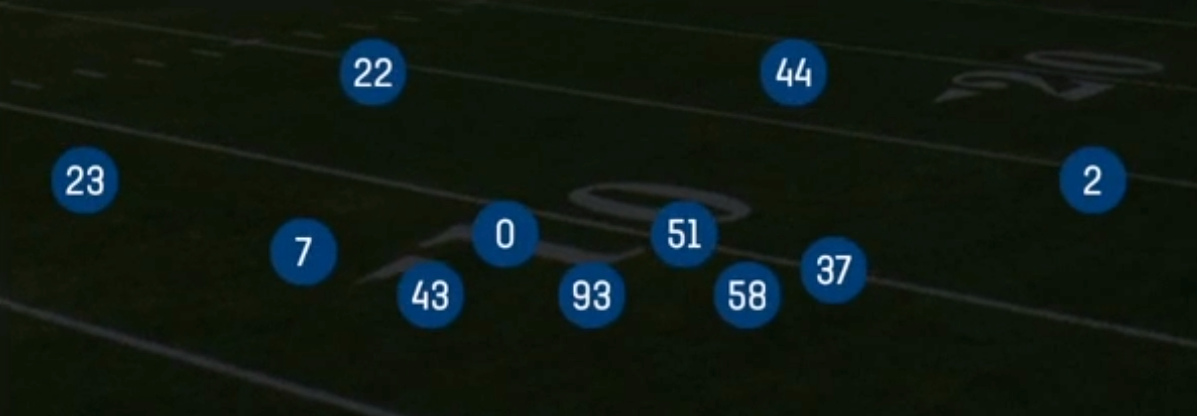
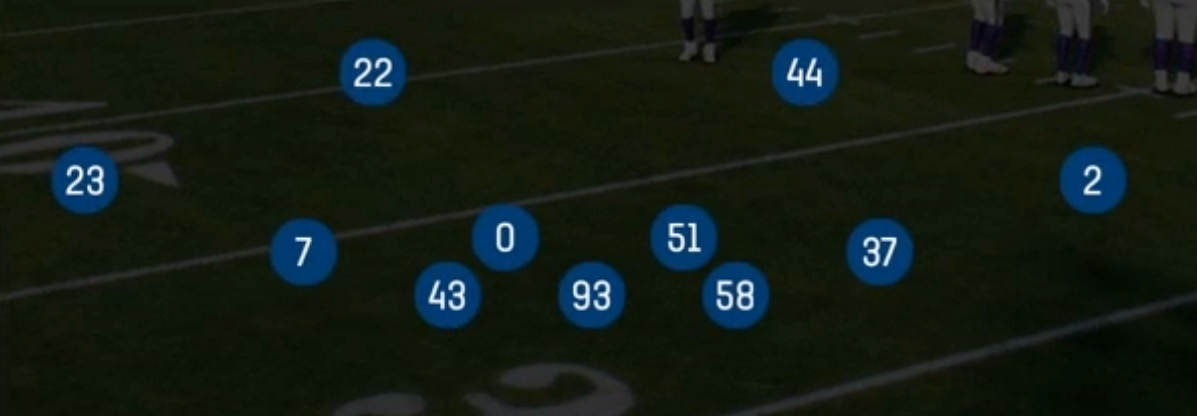
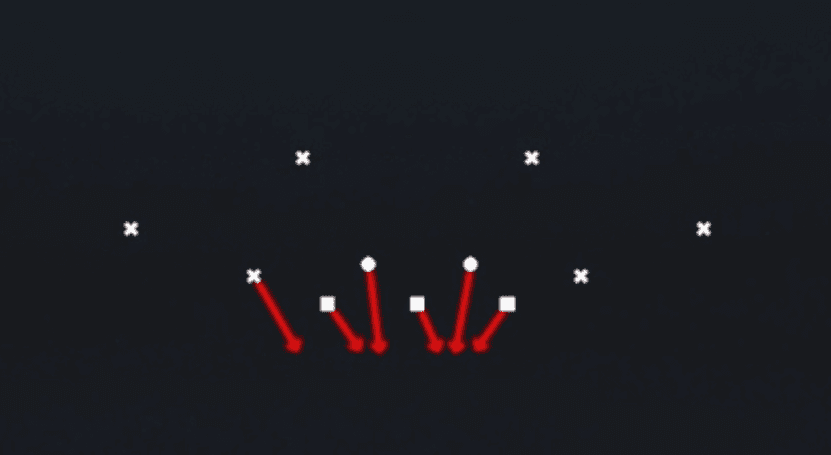
The 2-3-6 Sam is a Big Dime look inside the Dime formation that puts two down linemen in the trenches, three second-level defenders with the Sam standing up as a hybrid edge player, and six defensive backs on the field. Standard Dime sets play a traditional four-man front with a single linebacker. The 2-3-6 Sam gives up a down lineman to keep an extra stand-up rusher and a third safety. That third safety is the key to the package: he can rotate into the box, carry a slot receiver in man, or drop into a hook or robber zone, so the defense stays fast in space without playing a slow linebacker on a slot.
The front is deliberately ambiguous. With the Sam, Mike, and the extra box defender all standing, the offense cannot easily identify the fourth or fifth rusher pre-snap. Pressure calls like Edge Blitz 1, 2, and 3, Okie Eagle 3, Str Eagle Slant 3, and Overload 3 Seam Press all look nearly identical to drop calls like Cover 3 Match, Cover 4 Drop, and Tampa 2 Spy. This disguise is what separates the set from base Dime and from Quarter sets that tip their pressure more obviously.
This set is built to answer 11 and 10 personnel spread attacks, empty sets, and trips bunch looks that try to isolate a slot receiver on a linebacker. Six DBs let you match speed across the formation. The standing Sam can widen to take away quick outs and flats, or crash on a QB who likes to escape the pocket. The trade-off is a lighter box, so the set works best when you have already forced the offense into passing downs.
Strengths
- Six defensive backs, including a third safety, let you match up with slot receivers and pass-catching tight ends so offenses cannot hunt a linebacker in man on option routes, choice routes, or drag concepts.
- Pressure and coverage calls share nearly identical pre-snap alignments, so Edge Blitz, Okie Eagle 3, and Overload 3 Seam Press look like Cover 3 Match or Cover 4 Drop until the snap, which breaks up the QB's pre-snap hot route reads.
- The coverage menu is deep: Cover 1 Robber Press, Cover 3 Lock, Cover 3 Match, Cover 6 Press, and Tampa 2 Spy all come from one set, so you can rotate man and zone shells without changing personnel and tipping your hand.
- Tampa 2 Spy and Cover 1 Contain give you built-in answers to scrambling quarterbacks. You get a spy or contain rusher without burning a user adjustment, which helps against rollout play-action and scramble drills.
- Cover 3 Match and Cover 3 Hard Flat take away four verticals, flood, and smash-type zone beaters by pattern-matching the seams and sitting on the flats, the concepts spread offenses rely on most in this personnel matchup.
Weaknesses
- With only two true down linemen, the box is light against 12 or 21 personnel. Power, counter, and inside zone runs can gash the set, especially when the offense motions a tight end to create an extra gap.
- Most four-man pressures depend on stand-up rushers winning against tackles or backs. Against a strong pass protection scheme or a slide protection call, non-blitz calls can struggle to create pressure and give the QB time to hit deep crossers.
- Zero Blitz, DB Fire 2, and Dbl Safety Go leave no post safety. A QB who reads the rotation and hot routes his best receiver to a fade or slant can punish these calls for explosive gains.
- A user-controlled defender is required to cover the middle hole in several Cover 2 and Cover 3 calls. If you user the wrong player, dig and drive combos can pick apart the hook zones behind the light front.
- Offenses that go no-huddle can force you to stay in Big Dime after a first-down pass, then run hard at the light box before you can substitute into a heavier package.
Usage Tips
Call the 2-3-6 Sam primarily on 2nd and long, 3rd and medium or longer, and in two-minute drills where offenses spread out with 10 or 11 personnel. Sub out of it on early downs against heavy personnel.
Read the offensive formation before you pick a play. Against trips or bunch, favor Cover 3 Match or Cover 6 Press to take away the overload. Against empty, Okie Eagle 3 or Overload 3 Seam Press can force the ball out before routes develop.
User the third safety or the Mike in the middle of the field on Cover 3 and Cover 4 calls to sit on dig and dagger concepts. On Cover 1 Robber Press, user the robber and jump the in-breaking routes.
Mix Edge Blitz 1, 2, and 3 with Cover 2 Sink and Cover 4 Drop from the same pre-snap look so your opponent cannot key the pressure. Use a show blitz or show coverage adjustment to further disguise the rotation.
Against mobile QBs, run Tampa 2 Spy or Cover 1 Contain, or manually spy the Sam, so rollout play-action and scramble drills do not turn into first downs on money downs.
Plays (24)
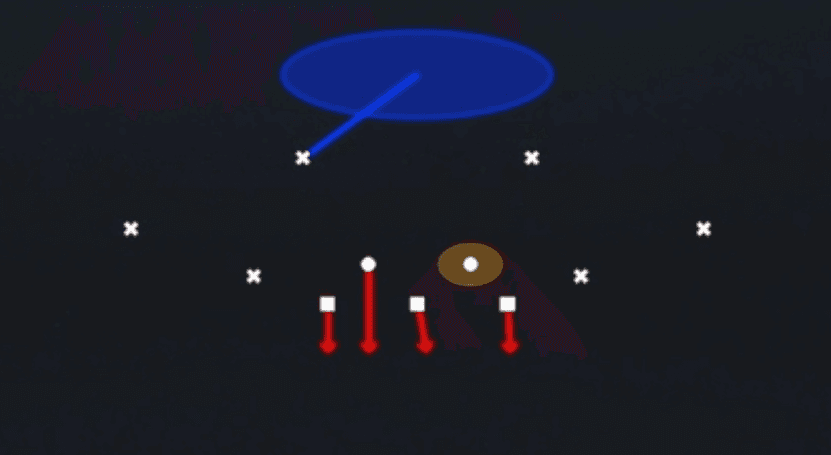 Cover 1 ContainCover 1, Contain, Man Coverage
 Cover 1 Robber PressCover 1, Cover 1 Robber, Press Man +1
 Cover 2 Hard FlatCover 2, Zone Coverage
 Cover 2 ManCover 2 Man, Man To Man, Man Coverage
 Cover 2 SinkCover 2, Zone Coverage
 Cover 3 Hard FlatCover 3, Zone Coverage
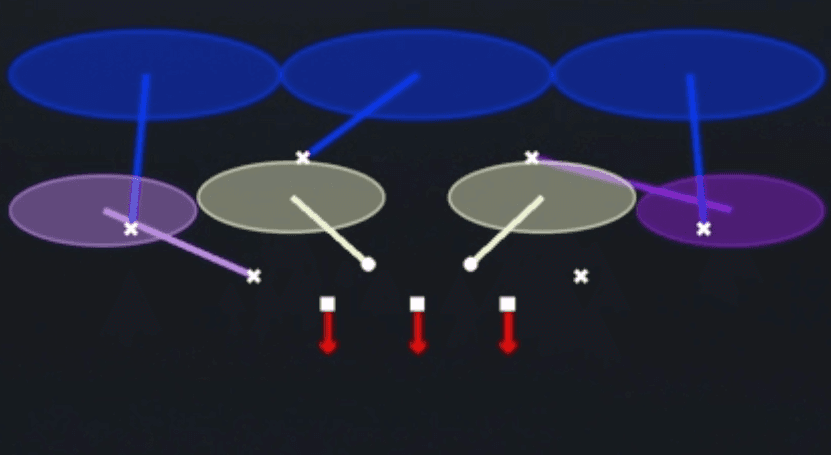 Cover 3 LockCover 3, Zone Coverage
 Cover 3 MatchCover 3, Cover 3 Match, Zone Coverage
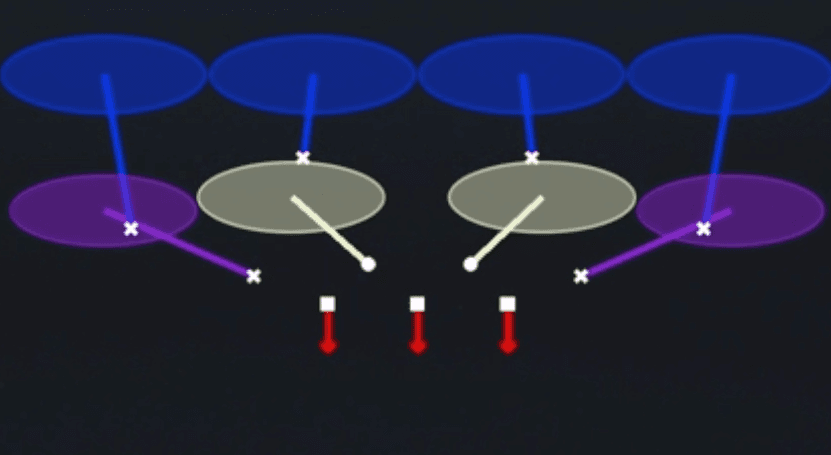 Cover 4 DropCover 4, Zone Coverage
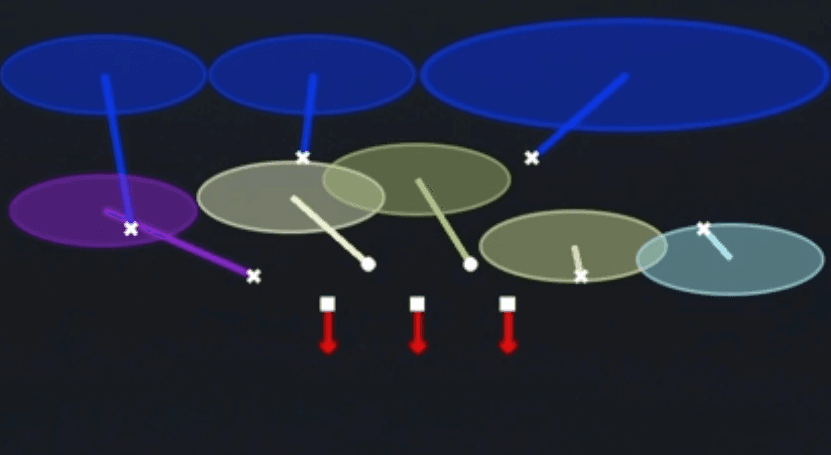 Cover 6 PressCover 6, Zone Coverage
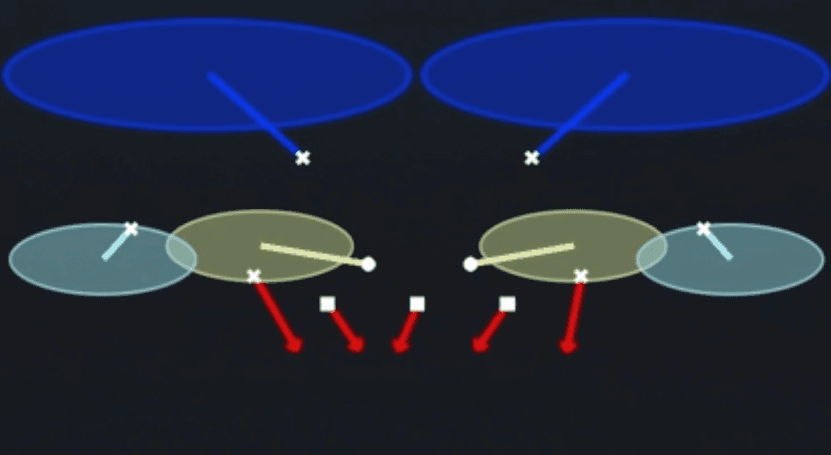 DB Fire 2Cover 2, Blitz, DB Blitz +1
 Dbl Safety GoSafety Blitz, Blitz
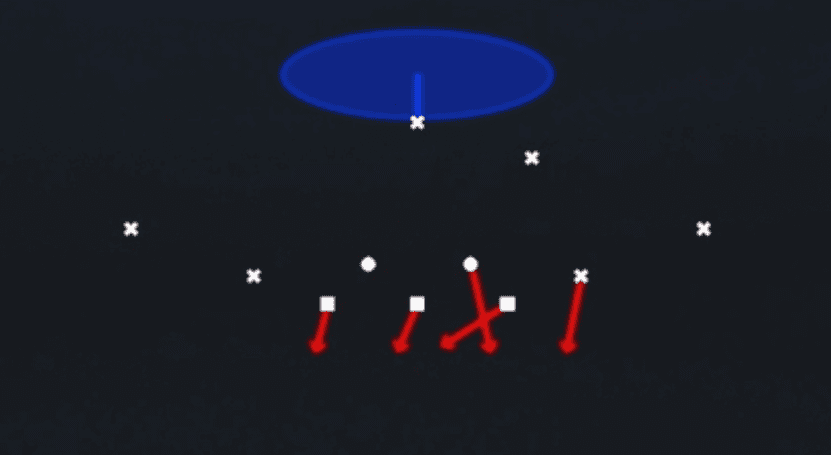 Edge Blitz 1Cover 1, Blitz, Edge Blitz +1
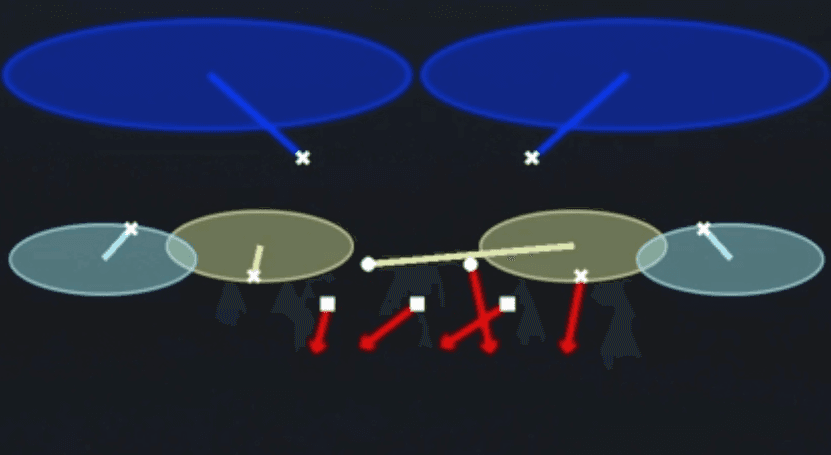 Edge Blitz 2Cover 2, Blitz, Edge Blitz +1
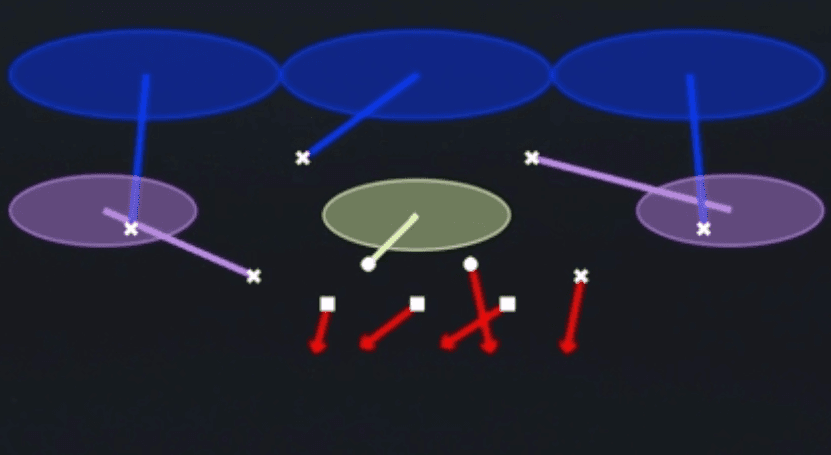 Edge Blitz 3Cover 3, Blitz, Edge Blitz +1
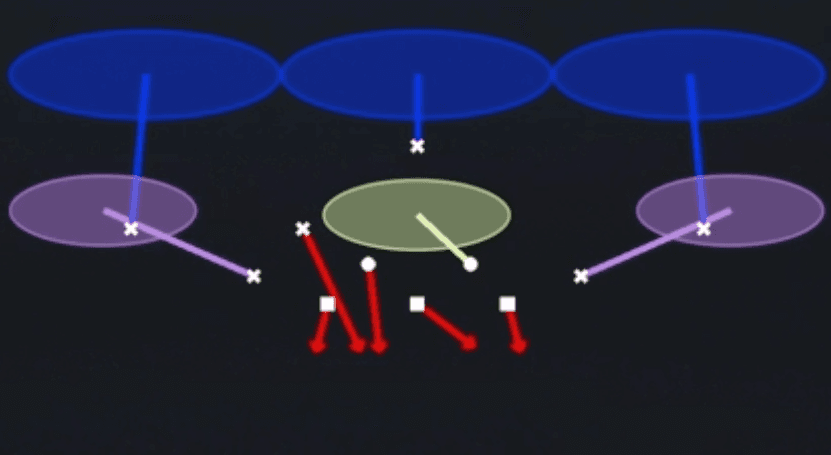 FS Zone BlitzZone, Blitz, Safety Blitz +2
 Okie Eagle 3Cover 3, Zone Coverage
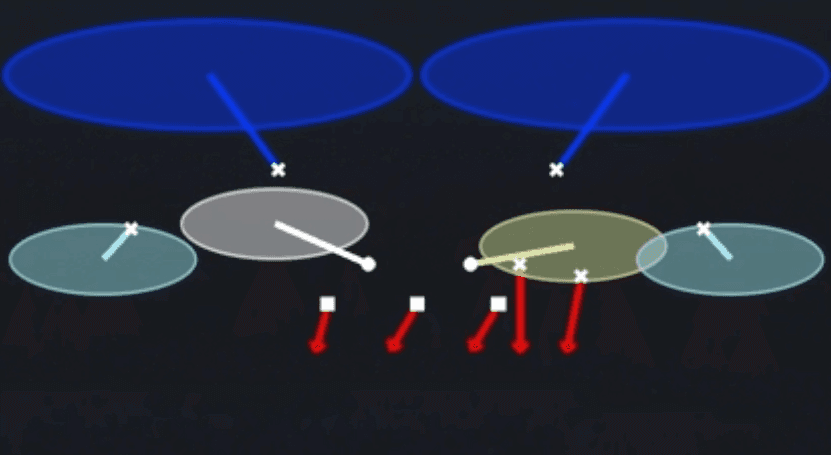 Okie Roll 2Cover 2, Zone Coverage
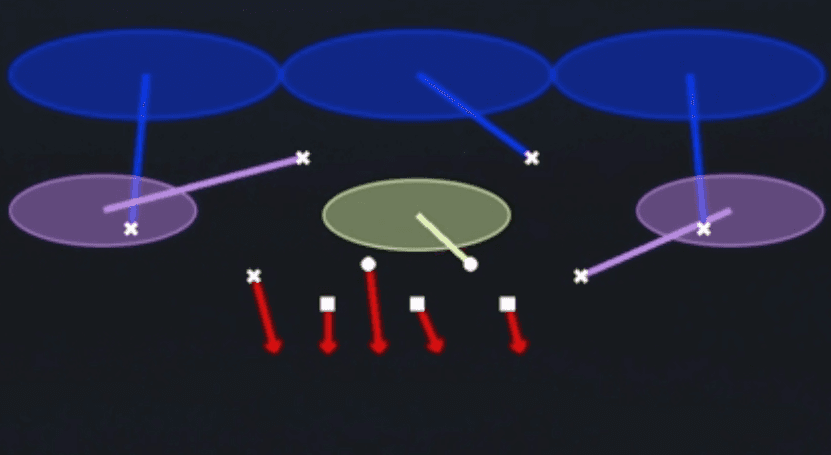 Overload 3 Seam PressCover 3, Overload Blitz, Zone Coverage +1
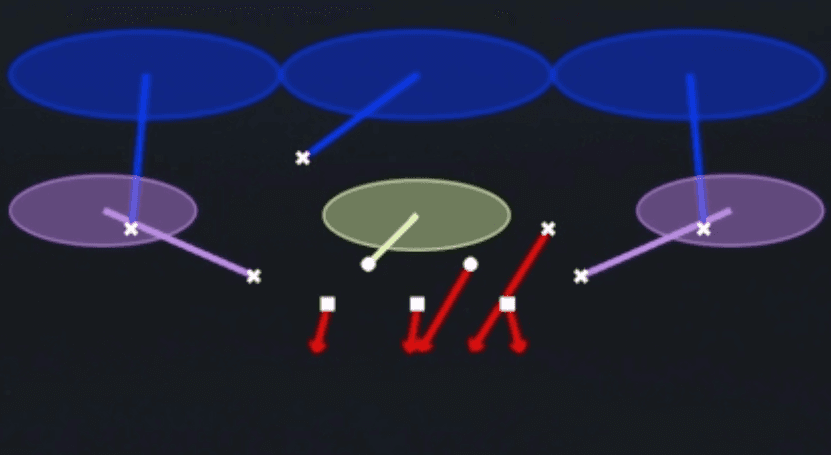 SS Zone BlitzZone, Blitz, Safety Blitz +2
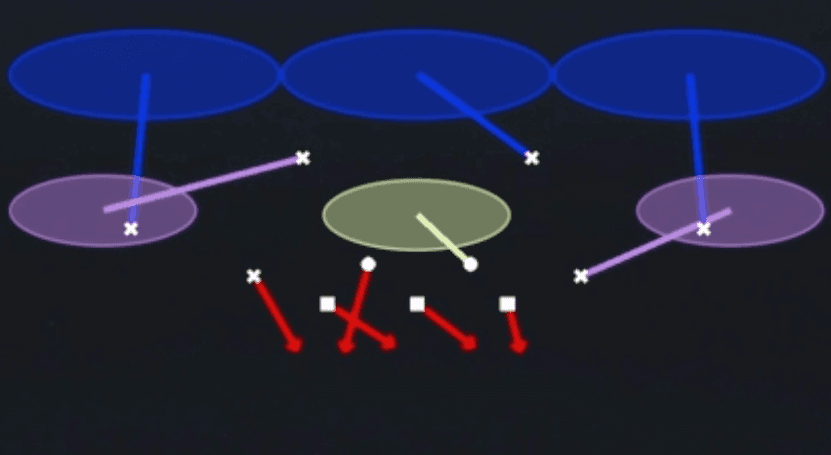 Str Eagle Slant 3Cover 3, Line Slant, Zone Coverage
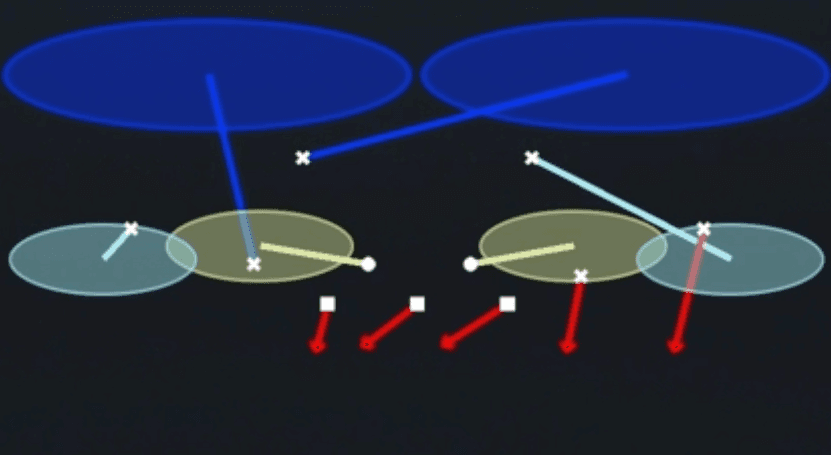 Strg Corner 2 FireCover 2, Blitz, Corner Blitz +1
 Tampa 2 SpyCover 2, Tampa 2, Spy +1
 Zero BlitzBlitz, Zero Blitz, Cover 0 +1