Playbooks
Load Weak

At a Glance
In 11 playbooks
Overview
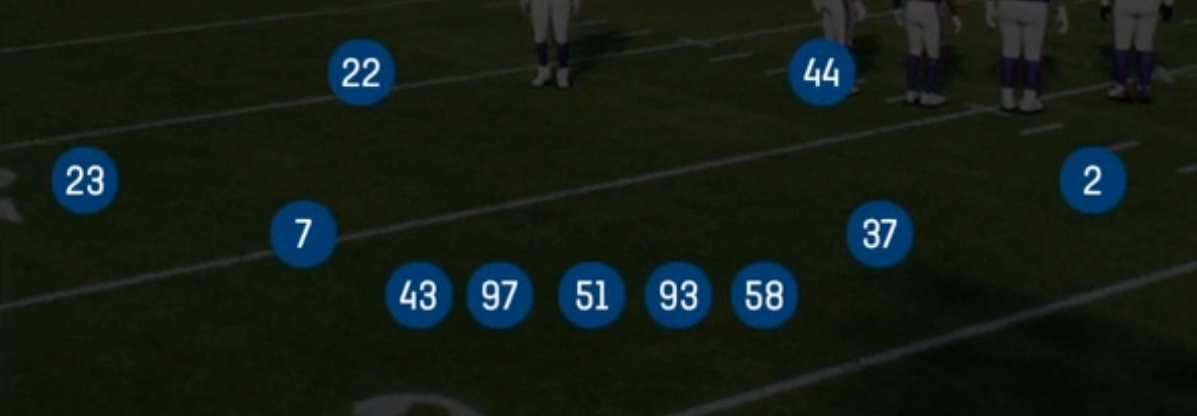
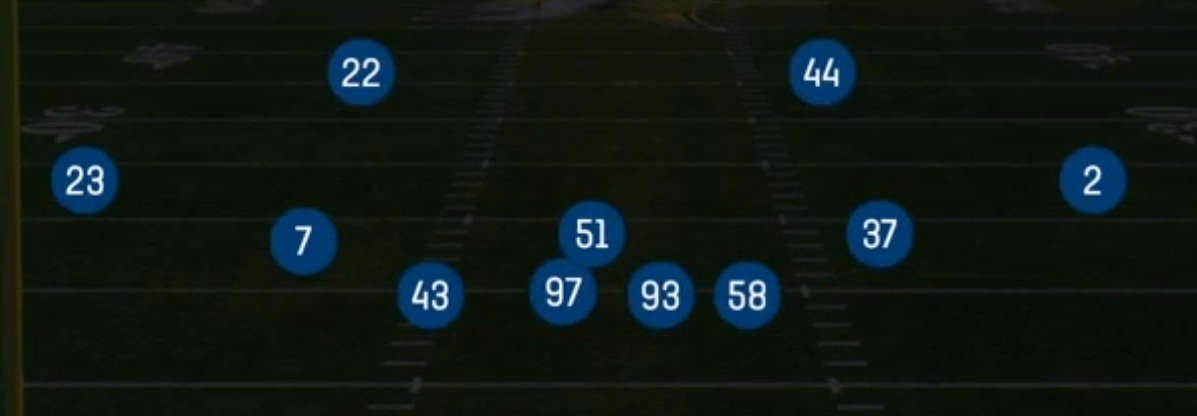
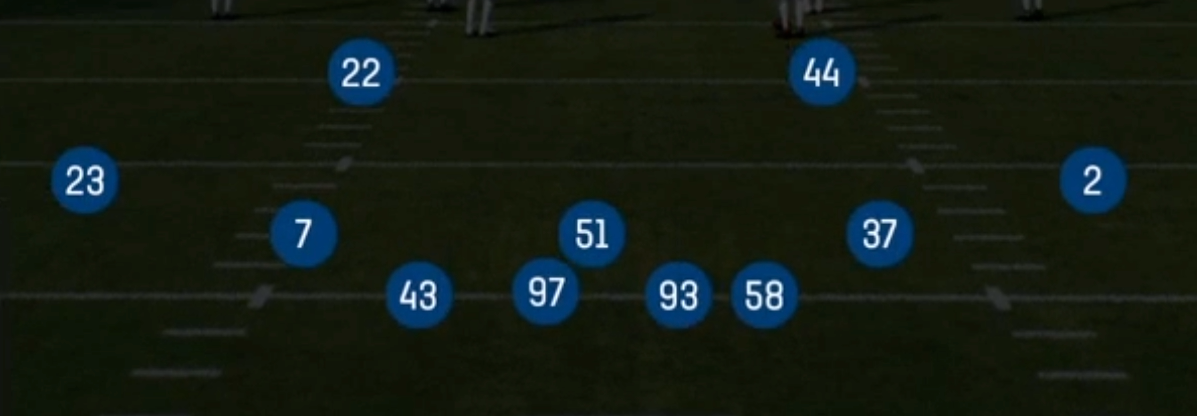
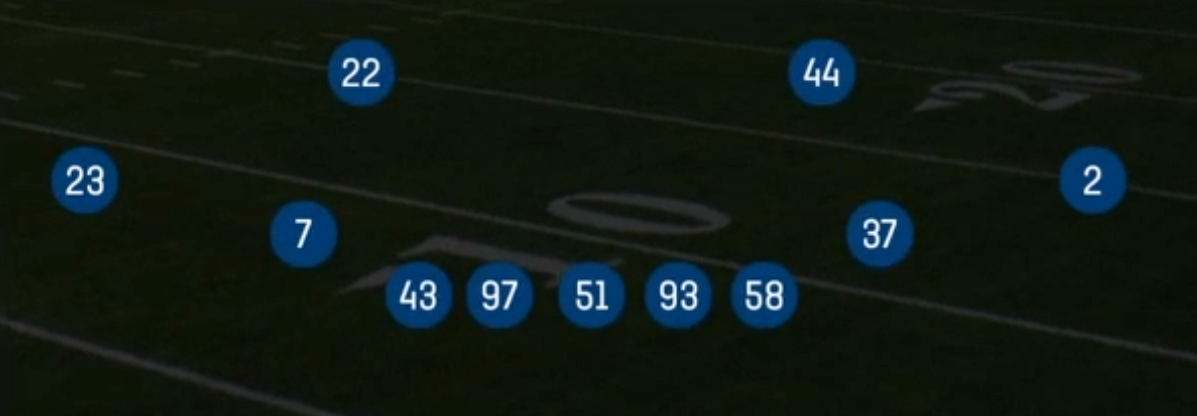
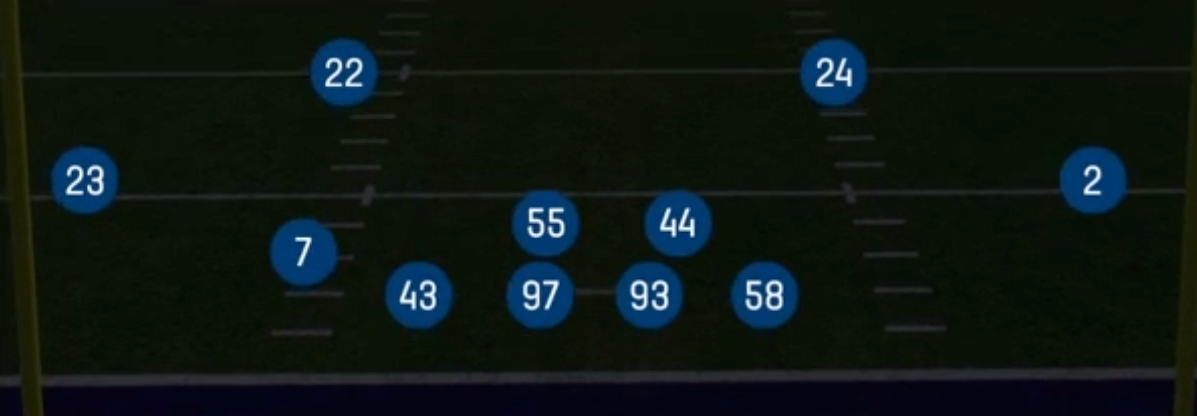
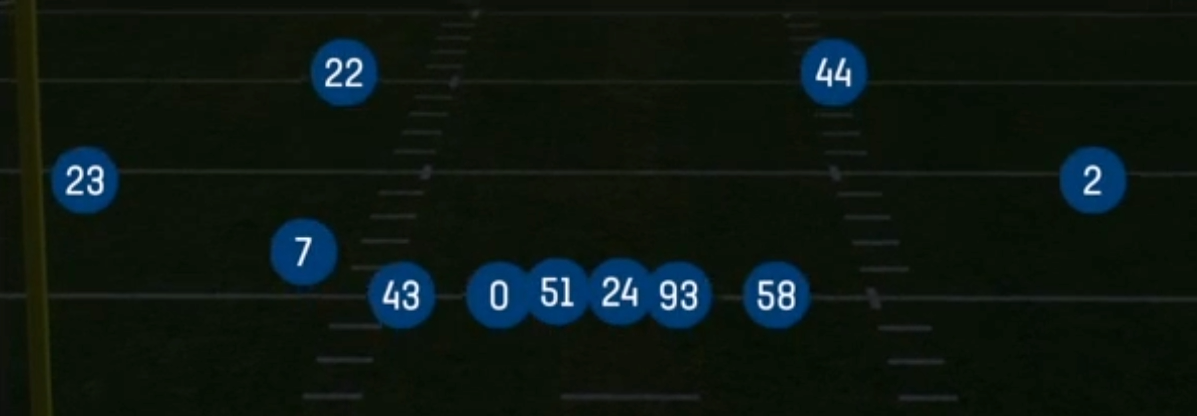
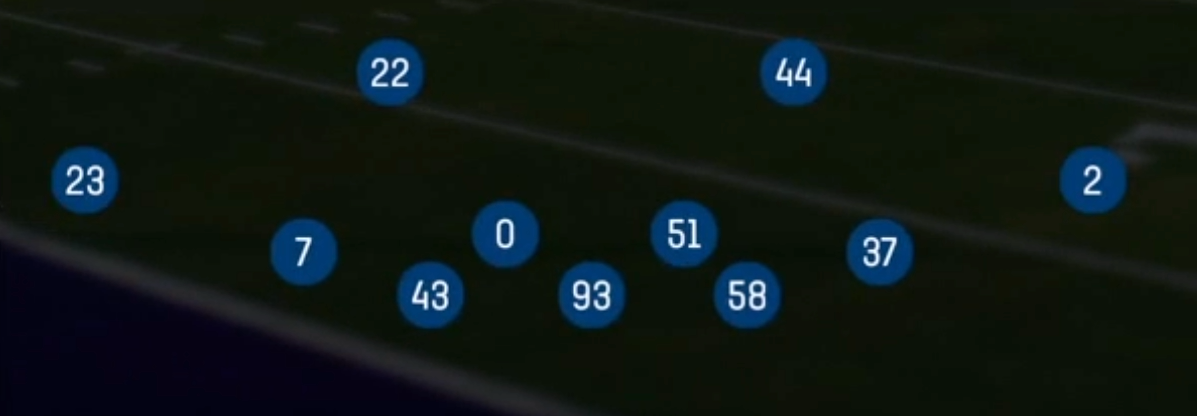
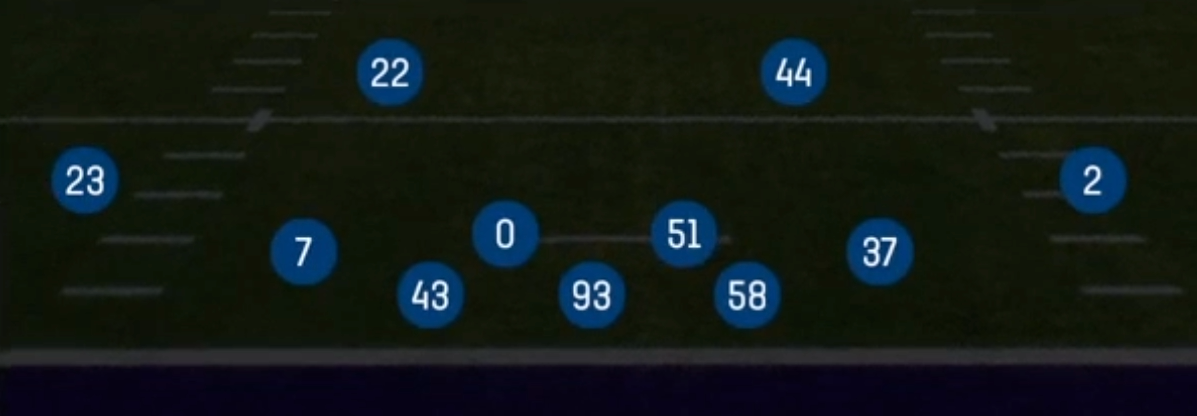
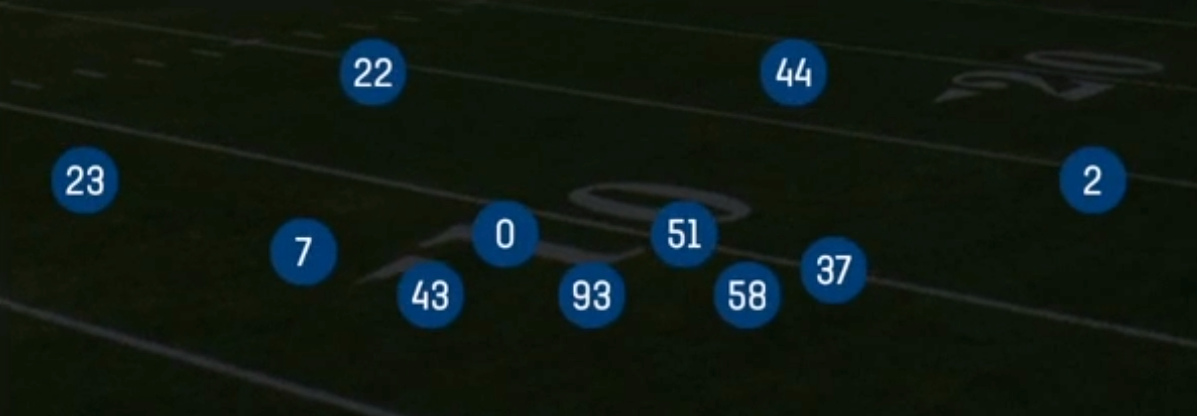
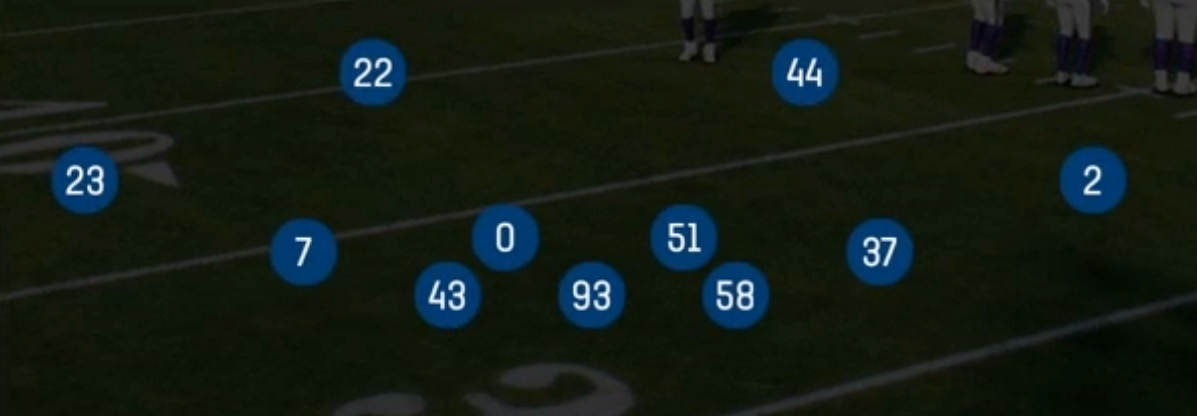
Load Weak is a pressure-oriented look out of the Dime formation that uses the Dime 4-1-6 personnel package: four down linemen, a lone MIKE linebacker, and six defensive backs. What separates it from the base Dime sets is where the extra DB lines up. Instead of spreading the secondary across the field, Load Weak walks a defensive back down toward the box on the weak side of the formation. That gives you a sixth DB who can function as a hybrid linebacker, an edge pressure threat, or a curl/flat defender, all from the same pre-snap picture. The offense sees extra bodies loaded to the weak side and has to decide whether that DB is coming or dropping.
This alignment is built to punish spread offenses that attack the weak side with quick game, RPO slants, and backside isolation routes. With a DB sitting near the weak box, quick outs, slants, and flat routes to the single receiver side run into a defender who is already in position to jump them. The play list backs this up: DB Blitz 1, DB Blitz 3, Pinch Blitz, and Pinch Blitz 3 bring heat off that loaded side, while Cover 3 Match, Cover 3 Sky, Cover 4 Quarters, Cover 4 Palms, Tampa 2, Cover 2 Drop, Cover 2 Man, and Cover 1 Robber Press let you show the same look and bail into coverage.
The matchup advantage comes from speed. Six DBs on the field means you can match slot receivers and pass catching backs with actual cover players instead of linebackers, and the weak side DB can carry a running back on a wheel or angle route without losing ground. The tradeoff is that the strong side and interior run fits are thinner, so Load Weak works best when the offense is in 11, 10, or empty personnel and the down and distance favors the pass.
Strengths
- Disguise value is elite: the same Load Weak alignment hosts DB Blitz 1, DB Blitz 3, Pinch Blitz, and Pinch Blitz 3 alongside eight coverage calls, so quarterbacks cannot read pressure from the pre-snap shell alone.
- The walked down weak side DB sits right on top of quick game to the single receiver side, clogging slants, quick outs, and RPO glance routes before they can develop.
- Cover 1 Robber Press out of this look jams receivers at the line and puts a robber in the middle hole, making it a strong man coverage answer to drive, mesh, and crossers on third and medium.
- Cover 4 Palms and Cover 3 Match give you pattern matching answers to four verticals and smash concepts, letting the corners and safeties pass off vertical stems without busting.
- Six DBs let you match every slot and pass catching back with a real cover defender, neutralizing mismatch hunting that targets linebackers in space on texas and angle routes.
Weaknesses
- With only one linebacker and the extra DB loaded weak, inside zone, power, and counter aimed at the strong side A and B gaps can gash this front, especially against 12 or 21 personnel.
- The loaded DB can tip pressure, and smart opponents will slide protection toward the weak side or keep the running back in to pick up DB Blitz 1 and DB Blitz 3.
- Pinch Blitz and Pinch Blitz 3 crash the edges inside, which leaves outside zone, stretch, and quick screens to the flat vulnerable when contain is lost.
- Motion to the weak side can force the loaded DB to widen or bump out, revealing whether you are in man or zone and giving the quarterback a clean pre-snap read.
- When you blitz the weak side DB, the vacated curl/flat area becomes an easy hot route target, so a quick slant or drag hot route beats the pressure before it arrives.
Usage Tips
Call Load Weak on third and five or longer against 11, 10, or empty personnel, where the lighter front is less of a liability and the pass is the likely call.
Alternate between DB Blitz 3 and Cover 3 Sky from the same look so the quarterback cannot key the weak side DB; show pressure early and bail late to bait hot routes into zone defenders.
If the offense motions a receiver or back to the weak side, audible to Cover 1 Robber Press or Cover 2 Man and user the robber or MIKE to take away crossers and the middle of the field.
Against trips or bunch sets with the back to the weak side, Pinch Blitz 3 forces a quick throw; pair it with a user in the middle hook to jump the hot slant or dig.
Avoid this set on short yardage and goal line downs against heavy personnel; if the offense subs in extra tight ends, check out to a Nickel or 4-3 look to protect the interior gaps.
Plays (12)
 Cover 1 Robber PressCover 1, Cover 1 Robber, Press Man +1
 Cover 2 DropCover 2, Zone Coverage
 Cover 2 ManCover 2 Man, Man To Man, Man Coverage
 Cover 3 MatchCover 3, Cover 3 Match, Zone Coverage
 Cover 3 SkyCover 3, Cover 3 Sky, Zone Coverage
 Cover 4 PalmsCover 4, Cover 4 Palms, Zone Coverage
 Cover 4 QuartersCover 4, Quarters, Zone Coverage
 DB Blitz 1Cover 1, Blitz, DB Blitz +1
 DB Blitz 3Cover 3, Blitz, DB Blitz +1
 Pinch BlitzBlitz, Pinch
 Pinch Blitz 3Cover 3, Blitz, Pinch +1
 Tampa 2Cover 2, Tampa 2, Zone Coverage