Playbooks
1-4-6

At a Glance
Overview
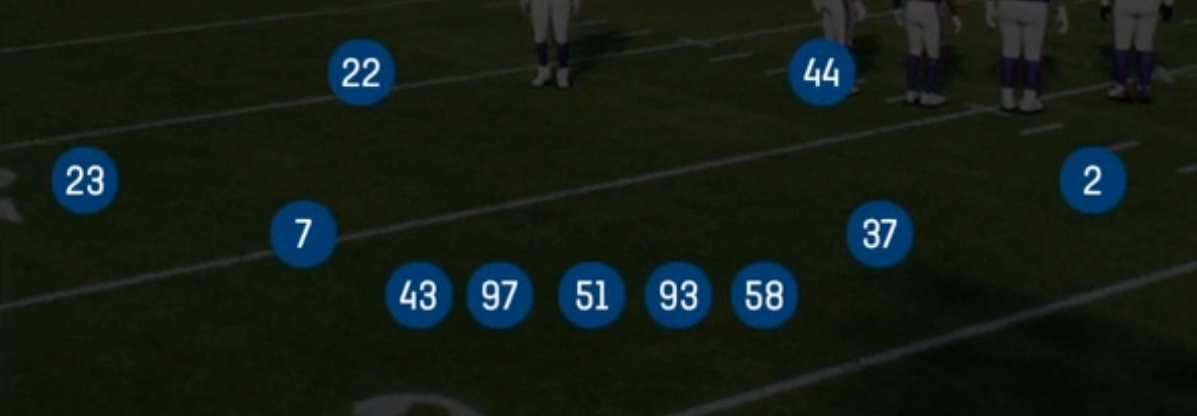
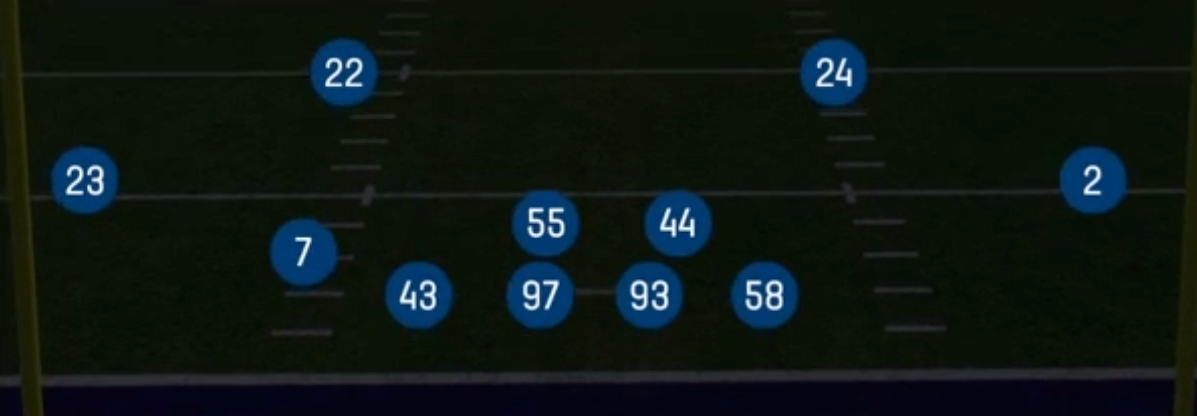
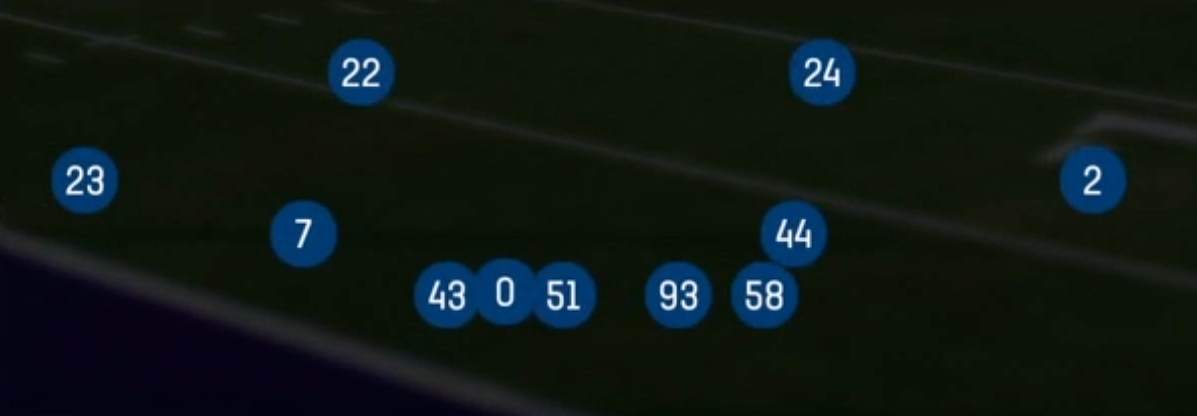
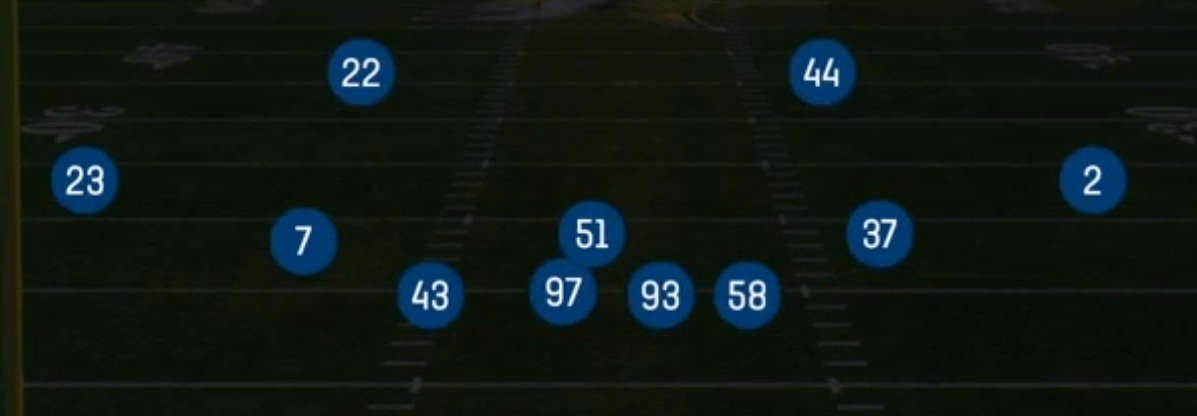
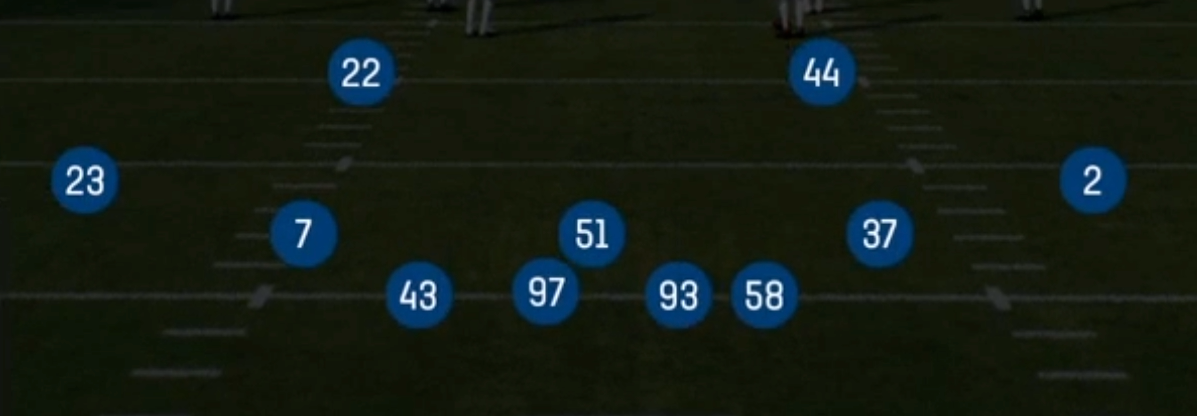
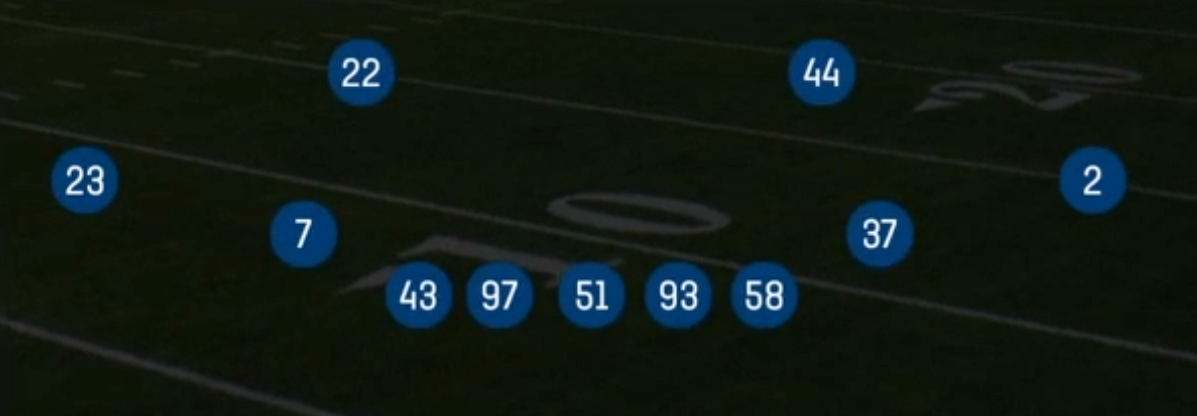
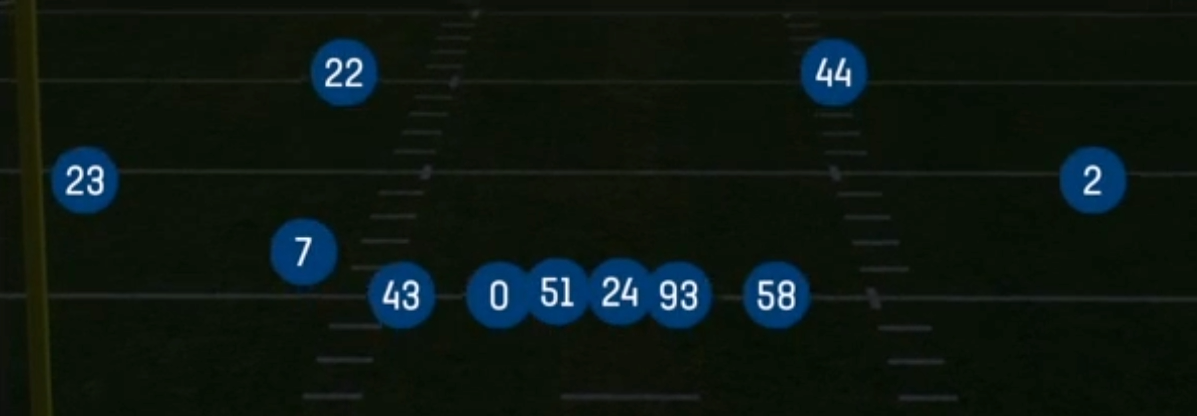
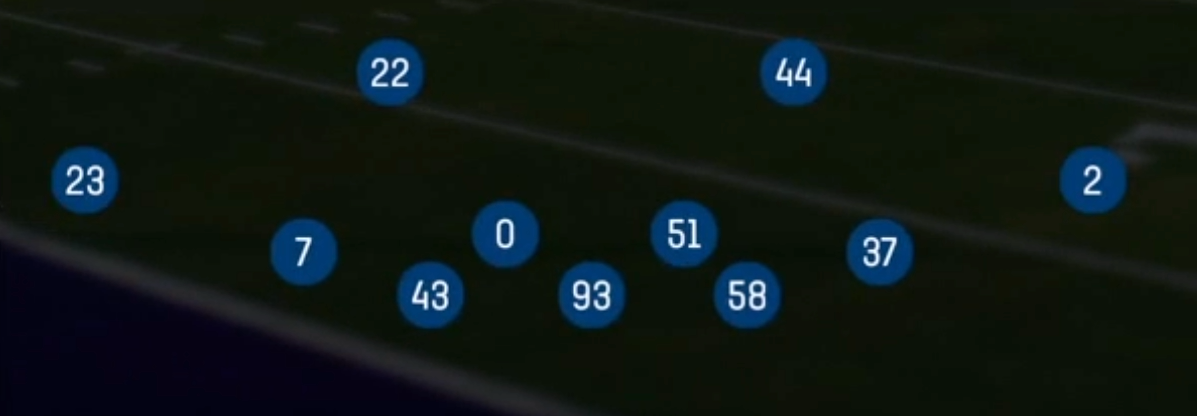
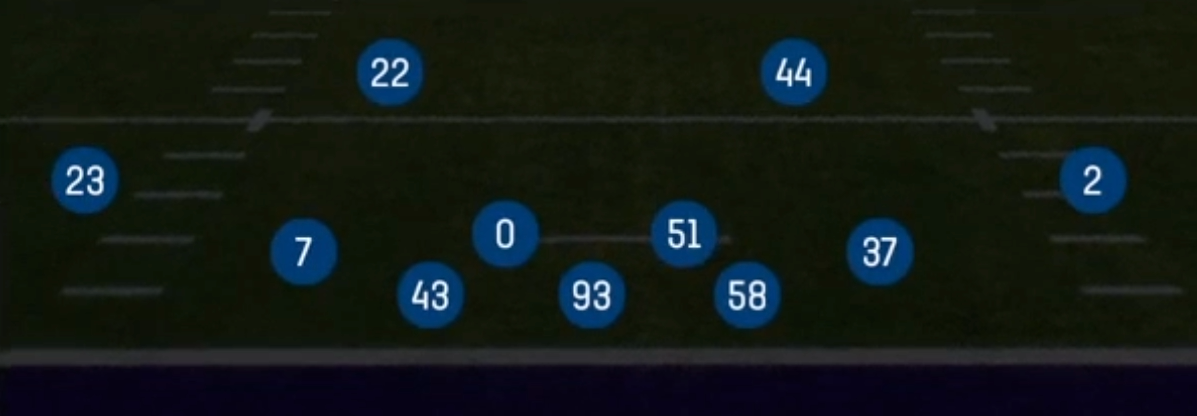
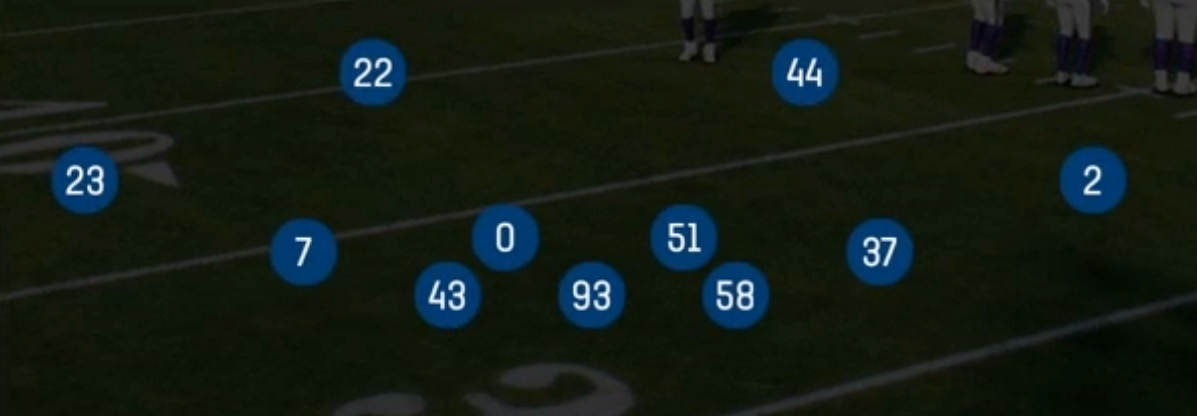
The 1-4-6 is the most pass-first, pressure-flexible look in the Dime formation. It uses Big Dime personnel with a single interior down lineman, four linebackers (typically two stand-up edge rushers flanking two off-ball backers), and six defensive backs. Standard Dime sets like 4-1-6 or 3-2-6 keep a traditional hand-in-dirt front. The 1-4-6 removes all but one lineman, so the offense's protection can't easily identify who is rushing and who is dropping. That ambiguity is the core identity of the set: every stand-up player is a potential rusher or coverage defender, and the offensive line has to guess before the snap.
The six-DB shell puts speed on the field against 10, 11, and empty personnel, which lets you match slot receivers and flexed tight ends with real cover players instead of linebackers. Because there are so many DBs, you can play true man coverage across the board (Cover 2 Man, Cover 1 Robber, Mike SS 1 Dog) without leaving a slow backer isolated on a quick slot. You can also rotate into two-high and quarters shells (Cover 4 Drop, Cover 6 Press) to take away four verticals, dagger, and seam-heavy air raid concepts.
The playbook is built around simulated pressure and creeper looks. Okie Eagle 3, Spinner Dog 3, Cross 3 Fire, Str Eagle Slant 3, and FS Zone Blitz bring four or five from unpredictable angles while dropping defenders into hot throw windows. DB Sting and Overload Blitz let you overload one side of the protection. Against spread offenses, RPO systems, and pass-heavy players who live on quick game, the 1-4-6 lets you muddy post-snap reads, force hot-route mistakes, and generate free rushers without committing to Cover 0.
Strengths
- The stand-up front disguises the rush, so Okie Eagle 3, Spinner Dog 3, and Cross 3 Fire can bring pressure from any gap while zone droppers sit in the quick slant and hot route windows, baiting interceptions against sight adjusts.
- Six defensive backs let you match speed on slots and flexed tight ends in man, making Cover 2 Man, Cover 1 Robber, and Mike SS 1 Dog excellent man-beater shutdowns against mesh, drive, and shallow cross concepts.
- Cover 4 Drop and Cover 6 Press give you two-high answers to four verticals, seams, and post-wheel combos, and the extra DBs mean the underneath zones are filled with cover players instead of slow linebackers.
- Overload Blitz, DB Sting, and Overload 3 Seam stack one side of the protection, forcing the offense to slide or keep a back in, which kills five-man route concepts and empty sets.
- Tampa 2 and Cover 2 Sink let you user the Mike in the deep middle hole while the stand-up edges drop to the flats, making it one of the best shells for baiting throws into user picks on 3rd and long.
Weaknesses
- With only one true down lineman, inside zone, duo, power, and HB draws can gash the box, especially against 11 or 12 personnel that can put a blocker on every stand-up defender.
- Stand-up edge rushers are often lower-rated block shedders than true defensive ends, so an offense that keeps a TE or RB in to chip can neutralize four-man pressure and give the QB time to hit deep over routes.
- Simulated pressures leave soft spots in the flats and behind the rotating hook defender, and savvy opponents will hot route the RB to a quick out or use screens to punish Okie and Spinner blitzes.
- Scrambling QBs can escape the wide rush lanes created by the light front, so without a QB spy or contain assignment you will give up easy yards on 3rd down scrambles.
- If you live in this set on every passing down, opponents will audible to heavy runs or quick-snap draws, and the lack of size makes goal line and short-yardage situations a liability.
Usage Tips
Deploy the 1-4-6 on 3rd and 6 or longer against 10, 11, or empty personnel, and immediately audible to a base 4-3 or Nickel look if the offense subs in a second TE or FB.
Show the same pre-snap look on every down by lining up in Okie Eagle 3 or Spinner Dog 3, then use coverage audibles to flip between Cover 1 Robber, Cover 4 Drop, and Tampa 2 so the QB can't read the blitz from alignment.
Against quick game, set the stand-up edges to hook or curl flat assignments on key plays so they sit under slant and stick routes, then put a QB spy on the Mike when facing a mobile quarterback.
User the Mike or robber safety in Tampa 2 and Cover 2 Sink to take away the deep middle and dig windows, and shade coverage toward the passing strength of the formation when the offense lines up trips.
Mix Overload Blitz and DB Sting with the Cover 6 Press and Cover 2 Man shells in the same drive, and add a flat zone or contain adjustment to the blitz side to take away the RB hot route and quick screens.
Plays (21)
 Cover 1 RobberCover 1, Cover 1 Robber, Man Coverage
 Cover 2 ManCover 2 Man, Man To Man, Man Coverage
 Cover 2 SinkCover 2, Zone Coverage
 Cover 3 SkyCover 3, Cover 3 Sky, Zone Coverage
 Cover 4 DropCover 4, Zone Coverage
 Cover 6 PressCover 6, Zone Coverage
 Cross 3 FireCover 3, Blitz, Line Stunt +1
 Dbl Safety GoSafety Blitz, Blitz
 DB StingDB Blitz, Line Stunt, Blitz
 DB Sting 2 BuzzCover 2, DB Blitz, Line Stunt +2
 FS Zone BlitzZone, Blitz, Safety Blitz +2
 Mike SS 1 DogCover 1, Blitz, LB Blitz +2
 Mike SS 3 SeamCover 3, Zone Coverage
 Okie Eagle 3Cover 3, Zone Coverage
 Okie Roll 2Cover 2, Zone Coverage
 Overload 3 SeamCover 3, Overload Blitz, Zone Coverage +1
 Overload BlitzBlitz, Overload Blitz
 Spinner Dog 3Cover 3, Blitz, LB Blitz +1
 Str Eagle Slant 3Cover 3, Line Slant, Zone Coverage
 Strg Corner 2 FireCover 2, Blitz, Corner Blitz +1
 Tampa 2Cover 2, Tampa 2, Zone Coverage