Playbooks

At a Glance
Overview
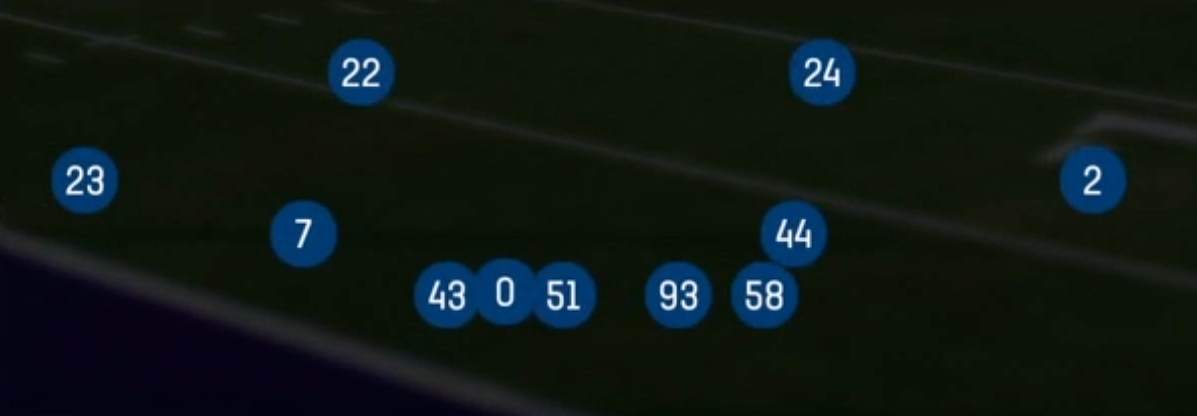
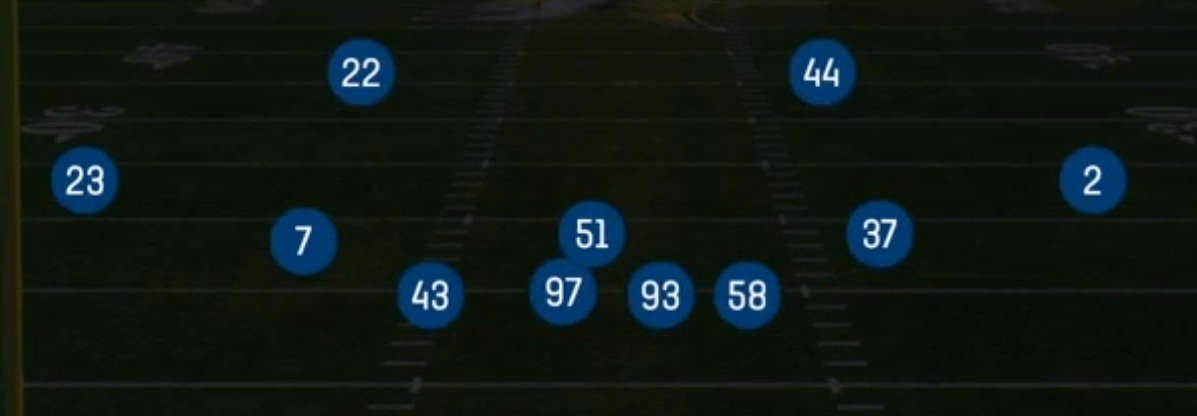
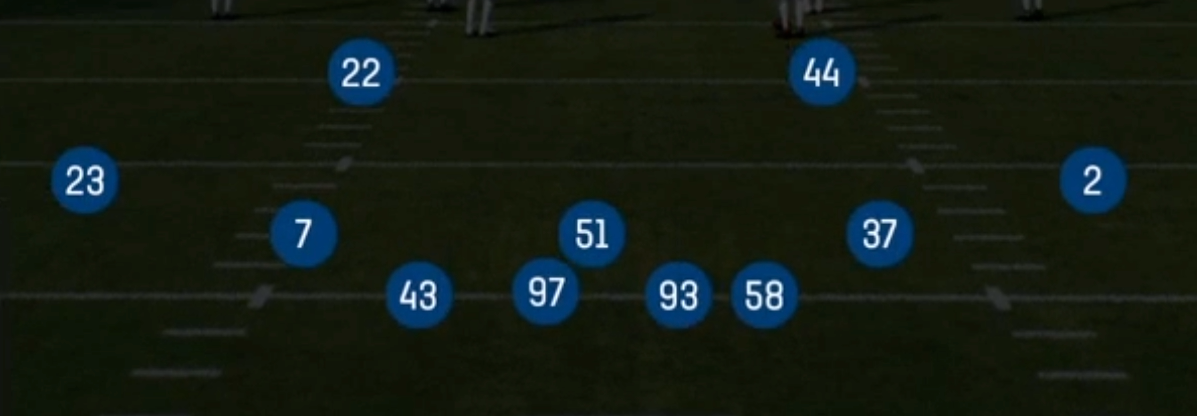
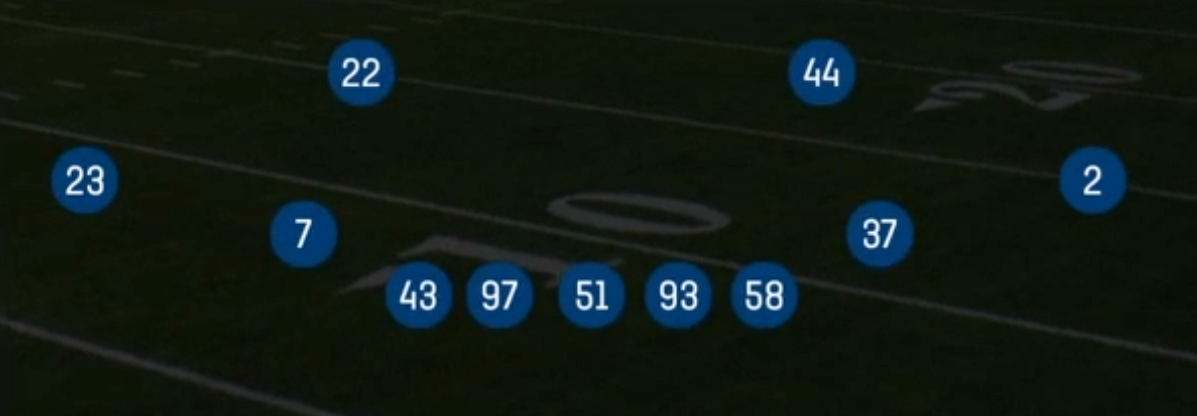
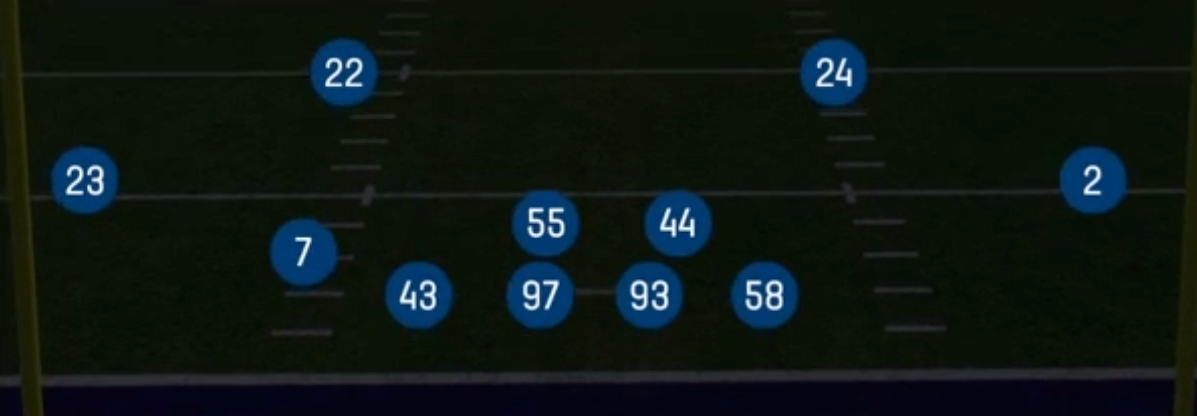
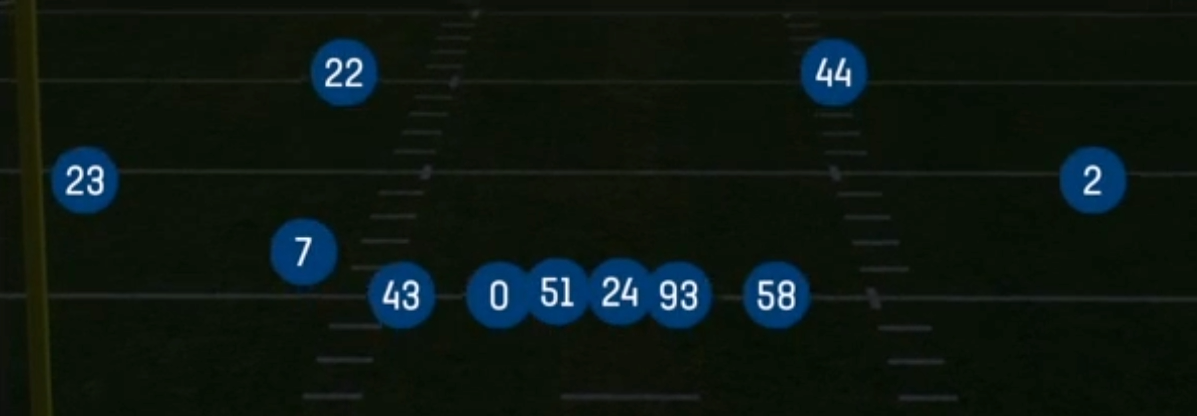
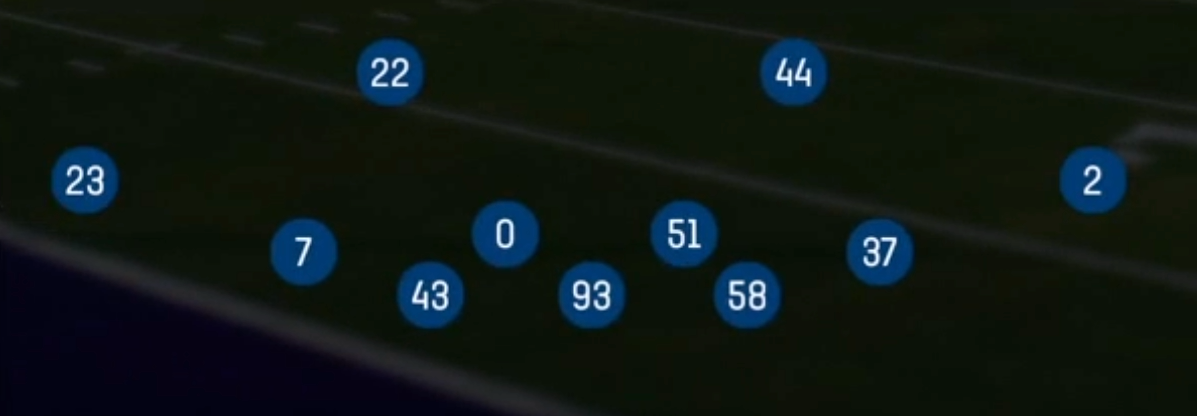
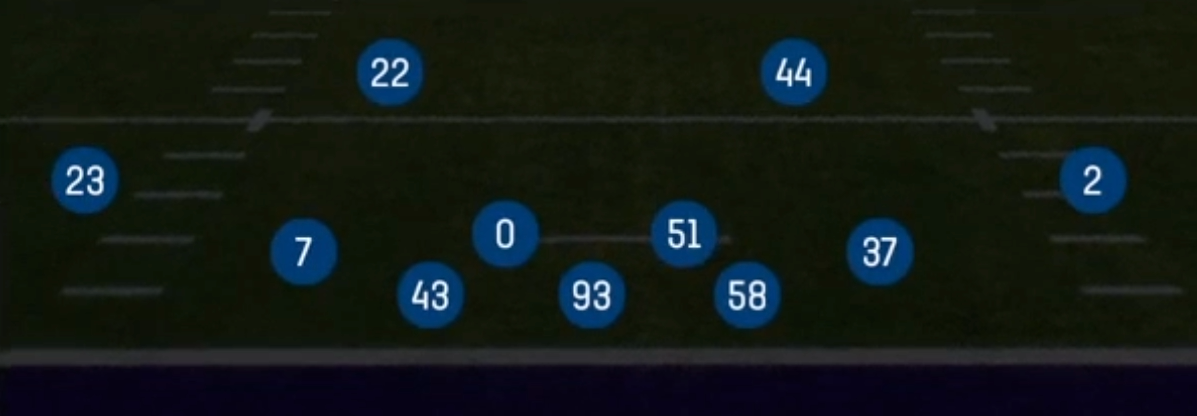
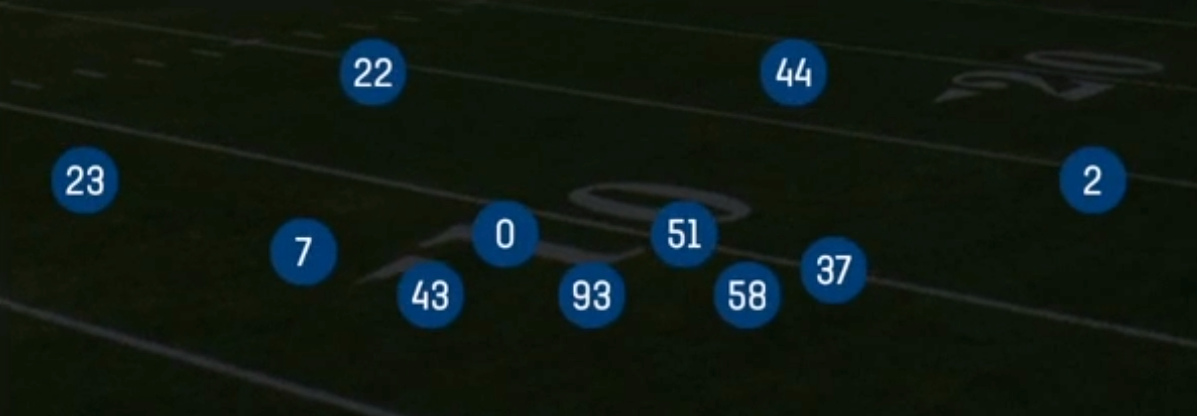
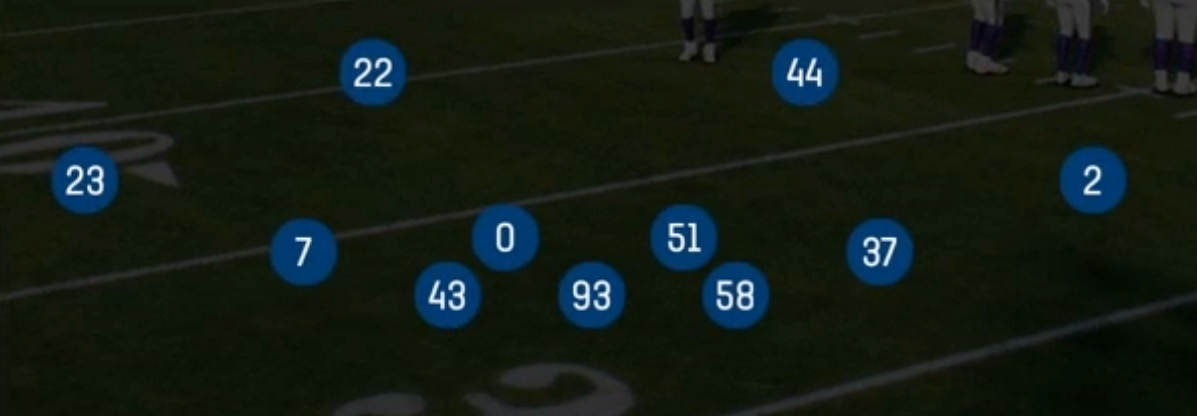
The 2-3 Single Mug is a pressure-disguise look within the Dime formation that uses a two-down-lineman front. The NT and RDT sit with their hands in the dirt, the RLE and RRE stand up on the edges, and a single linebacker mugs the A gap to threaten interior pressure on every snap. That mugged defender is what separates this set from the more traditional four-down Dime alignments. Instead of showing a clear four-man rush, it presents a five-man pressure picture pre-snap, which forces the offense to decide on protection before it knows who is actually coming. Behind the front, the 4-1-6 personnel puts six defensive backs on the field, with the SLCB matched to the slot and the SUBLB giving you a coverage-capable body in the second level.
Compared to other Dime sets, the 2-3 Single Mug trades run-fit integrity for disguise and athleticism. Standing up both edges lets them drop into flat or hook zones just as easily as they rush, so Tampa 2, Cover 4 Palms, and Cov 3 Buzz Show 1 all look identical to DB Blitz, Dbl Safety Blitz, and Dime Blitz 2 at the snap. The result is a set built to confuse protection reads, bait bad hot routes, and punish quarterbacks who try to identify the rusher and throw hot.
Against spread offenses, this set's six DBs handle 3x1 and 2x2 empty looks, while the SLCB and SUBLB can carry slot receivers and matchup tight ends up the seam. Bracket Switch Willie and Double Bracket let you double the offense's best weapon, whether that is an X receiver or a flexed tight end. The Cover 1 variations (Cover 1 Games, Cover 1 Robber Press, Cover 1 Hole) give you man-coverage answers that keep a robber or hole defender under crossers. This makes the set one of the best third-and-long and two-minute packages in the Dime formation.
Strengths
- The mugged A-gap linebacker forces the offense to slide protection or keep a back in pre-snap, which removes an eligible receiver even on plays where you drop eight into coverage like Tampa 2 or Cover 4 Palms.
- Identical pre-snap shells across Blitz Tex 3, DB Blitz Tex 3, Dime Blitz 2, and Cov 3 Buzz Show 1 disguise pressure versus coverage, baiting quarterbacks into bad hot routes and throws into robber zones.
- Bracket Switch Willie and Double Bracket let you take away a single elite receiver or flexed tight end, which shuts down offenses that rely on one go-to target on third down.
- Cover 1 Robber Press and Cover 1 Hole put a defender in the crossing lanes, killing popular man beaters like mesh, drive, and shallow cross combos that normally torch press man.
- Six DBs on the field means you can match 10 and 11 personnel spread looks, empty sets, and bunch formations without giving up a linebacker-on-receiver mismatch in space.
Weaknesses
- The two-down-lineman front is extremely light against the run. Inside zone, duo, and QB draws attack the gaps vacated when the mugged linebacker drops, and there is no second linebacker to fill.
- Smart offensive players will spot the single mugged defender and slide protection toward him or keep the back in to chip, neutralizing your five- and six-man pressures from DB Blitz and Dbl Safety Blitz.
- Dbl Safety Blitz and DB Blitz leave the deep middle or deep thirds vacated, so a quick post, seam, or wheel against the blitz look can go for a big play if the quarterback reads it pre-snap.
- Stand-up edges dropping into coverage in Tampa 2 or Cover 2 Wild are slow to recover against RPO and play-action rollouts that flood the flat and curl area.
- User-controlled mistakes in the middle of the field are costly because there is only one true linebacker. If you user the wrong defender, backs on angle routes or tight ends on option routes get free space underneath.
Usage Tips
Call this set on third and 6 or longer, and in two-minute situations when the offense is in 10 or 11 personnel with three or more wide receivers, since the light box is rarely punished when the offense must throw.
Mix Cover 1 Robber Press and Cover 1 Hole with Blitz Tex 3 from the same look. When the quarterback expects pressure and hot routes a slant, the robber sits underneath it, creating easy interceptions.
Use Bracket Switch Willie or Double Bracket against offenses that feed one receiver on option or corner routes. Shade the brackets toward the dominant target pre-snap and user the free safety over the middle.
If the offense motions a back out to empty, check to DB Blitz or Dime Blitz 2, because with no back to pick up the mugged linebacker, the pressure gets home before the hot read develops.
Against heavy run formations or an opponent repeatedly calling inside zone, audible out of this set entirely. If you must stay in it, pinch the defensive line and user the SUBLB near the line of scrimmage to plug the A gap.
Plays (16)
 1 LB DogCover 1, Blitz, LB Blitz +1
 Blitz Tex 3Cover 3, Blitz, Zone Coverage
 Bracket Switch WillieMan To Man, Man Coverage
 Cov 3 Buzz Show 1Cover 3, Cover 3 Buzz, Zone Coverage
 Cover 1 GamesCover 1, Line Stunt, Man Coverage
 Cover 1 HoleCover 1, Cover 1 Hole, Man Coverage
 Cover 1 Robber PressCover 1, Cover 1 Robber, Press Man +1
 Cover 2 ManCover 2 Man, Man To Man, Man Coverage
- Cover 2 WildCover 2, Zone Coverage
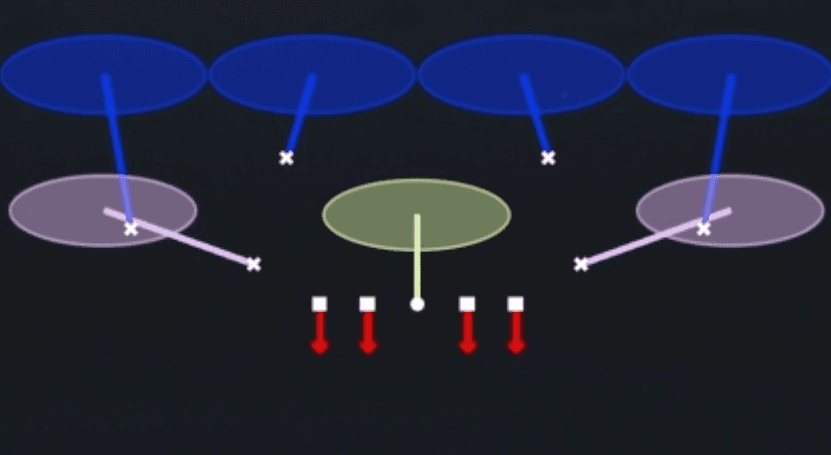 Cover 4 PalmsCover 4, Cover 4 Palms, Zone Coverage
 DB BlitzBlitz, DB Blitz
 DB Blitz Tex 3Cover 3, Blitz, DB Blitz +1
 Dbl Safety BlitzBlitz, Safety Blitz
 Dime Blitz 2Cover 2, Blitz, DB Blitz +1
 Double BracketMan To Man, Man Coverage
 Tampa 2Cover 2, Tampa 2, Zone Coverage