Playbooks
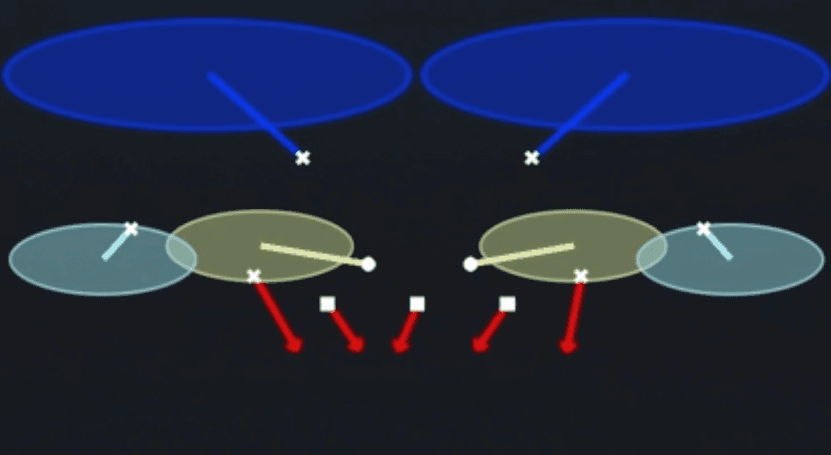
Breakdown
DB Fire 2 is a five man DB blitz out of the 2-3-6 Sam Dime front that brings both slot corners downhill off the edges while dropping the two deep safeties into a Cover 2 shell over the top. The three underneath defenders (the box squares) sink into shallow zone drops to wall off quick hitters and hooks while the outside corners run vertical man/zone routes to their landmarks. This is a zone-blitz beater against the pass, designed to disguise pressure while still keeping two high safeties deep, so the primary read progression for the offense facing it is to identify the blitzing DBs pre-snap and attack the vacated underneath area they leave behind with a quick hot route or check-down before the pressure arrives.
Defensive Reads
Pre-snap, check the depth of the slot corners lined up over the box, if they are crowding the line of scrimmage they are likely part of the DB Fire 2 blitz package. Watch the two deep safeties, their alignment stays consistent with a two-high shell even after the snap, which helps disguise the blitz from the quarterback. Post-snap, user the underdneath defender closest to the play call to squeeze the middle of the field and prevent quick option or stick routes from finding the soft spot left by the blitzing corners. This play beats teams that rely on max protect play-action or slow developing route combos, since the extra rushers get home before routes can breathe. Man to man beaters and quick screens can exploit this call if the offense recognizes the blitz pre-snap and adjusts protection, so avoid calling it into short yardage passing situations against a smart quarterback.
Usage Tips
Use DB Fire 2 on early downs or short yardage situations where you want to disguise pressure without fully committing your linebackers, since the DB blitz creates confusion for offensive linemen on identification.
Pre-snap, motion a receiver across the formation to see if the defense shifts, this will often expose whether the corners are truly blitzing or bailing into zone drops.
Combine this with Cover 2 Sink or Cover 2 Hard Flat from the same set to keep the offense guessing between a two-deep shell that blitzes and one that sits back, forcing incorrect protection calls.
If the offense starts hot routing into the void left by the blitzing DBs, mix in Cover 1 Contain or Zero Blitz to bring different pressure angles while showing a similar pre-snap look.
Because both safeties stay deep, this play is best called against teams that rely on quick game and slants rather than deep shots, since the two-deep shell limits explosive plays over the top.
Other Plays in 2-3-6 Sam
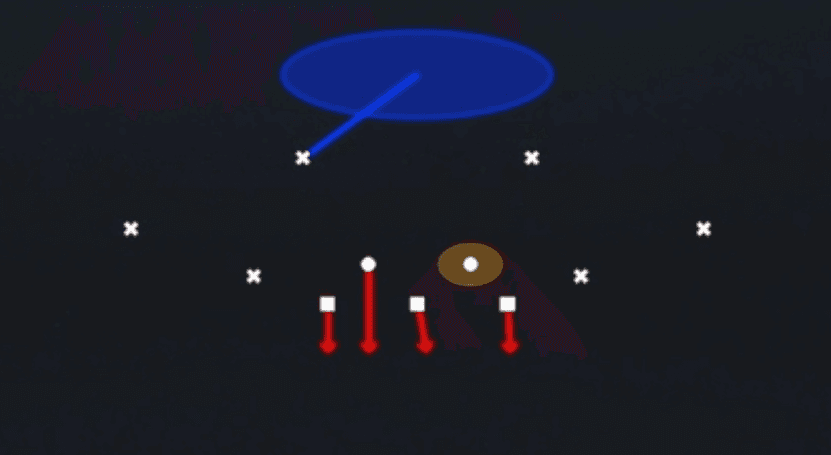 Cover 1 ContainCover 1, Contain, Man Coverage
 Cover 1 Robber PressCover 1, Cover 1 Robber, Press Man +1
 Cover 2 Hard FlatCover 2, Zone Coverage
 Cover 2 ManCover 2 Man, Man To Man, Man Coverage
 Cover 2 SinkCover 2, Zone Coverage
 Cover 3 Hard FlatCover 3, Zone Coverage
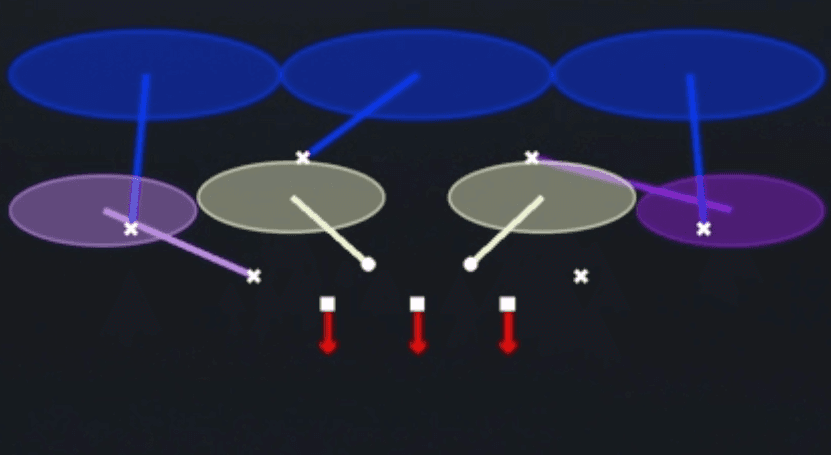 Cover 3 LockCover 3, Zone Coverage
 Cover 3 MatchCover 3, Cover 3 Match, Zone Coverage
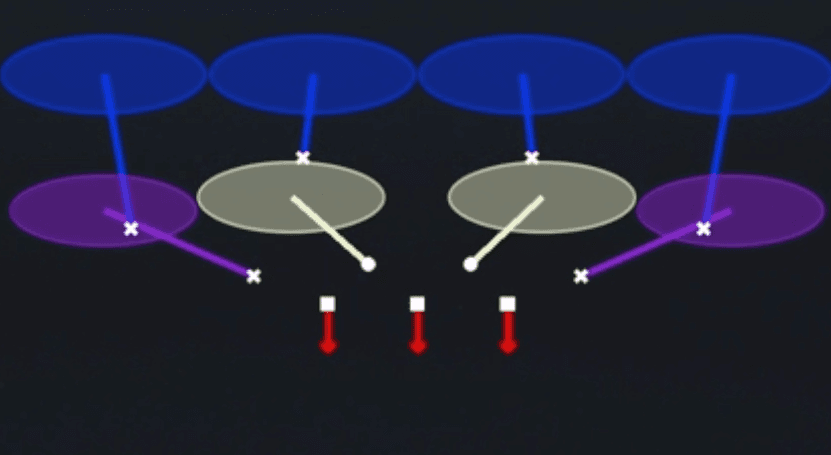 Cover 4 DropCover 4, Zone Coverage
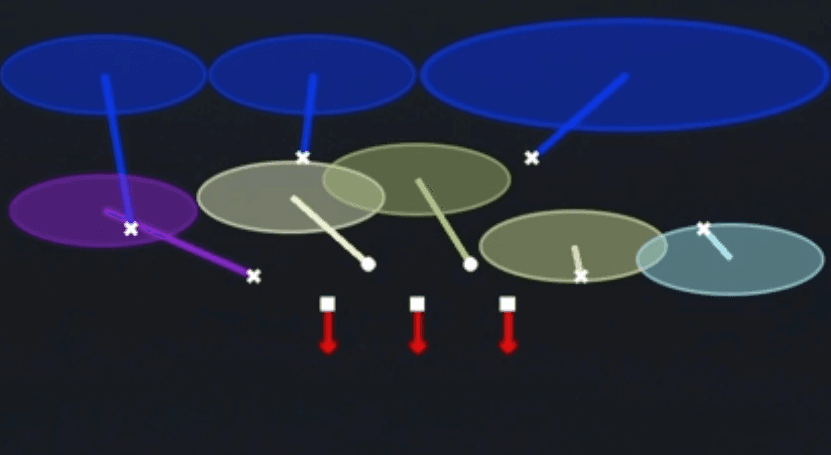 Cover 6 PressCover 6, Zone Coverage
 Dbl Safety GoSafety Blitz, Blitz
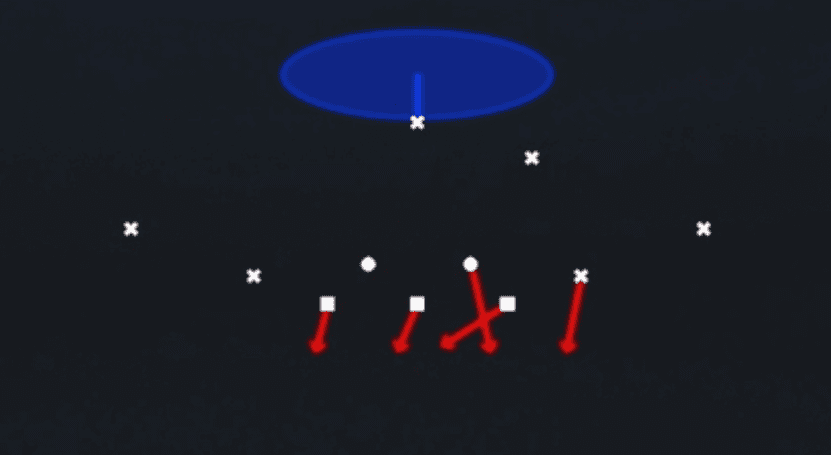 Edge Blitz 1Cover 1, Blitz, Edge Blitz +1
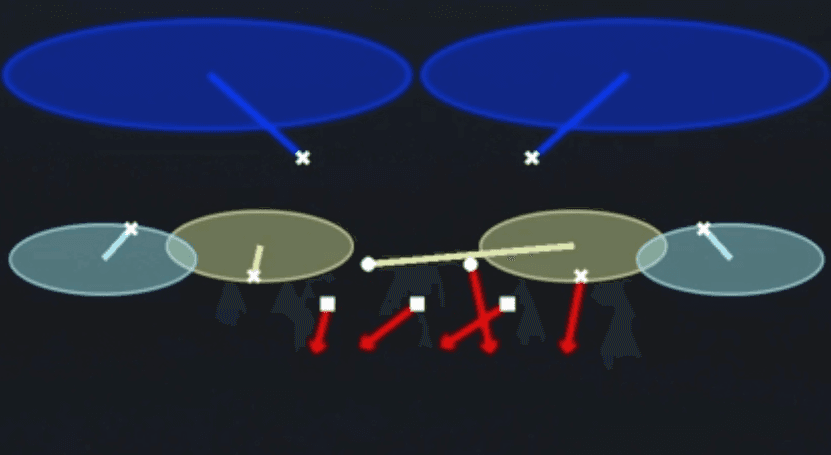 Edge Blitz 2Cover 2, Blitz, Edge Blitz +1
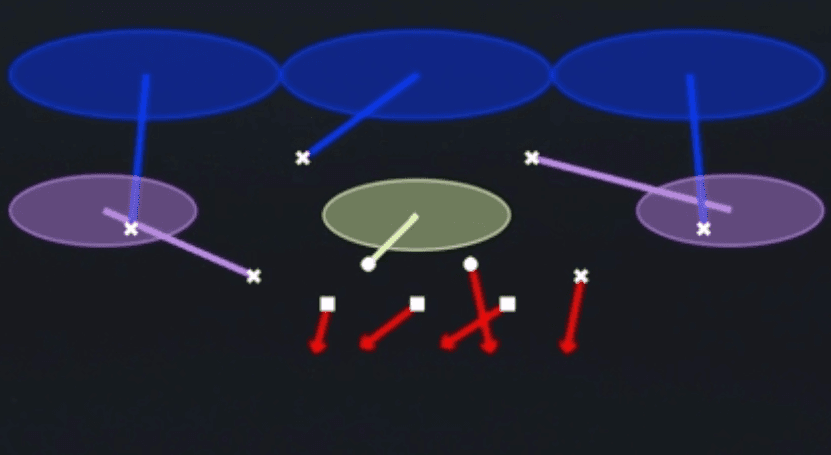 Edge Blitz 3Cover 3, Blitz, Edge Blitz +1
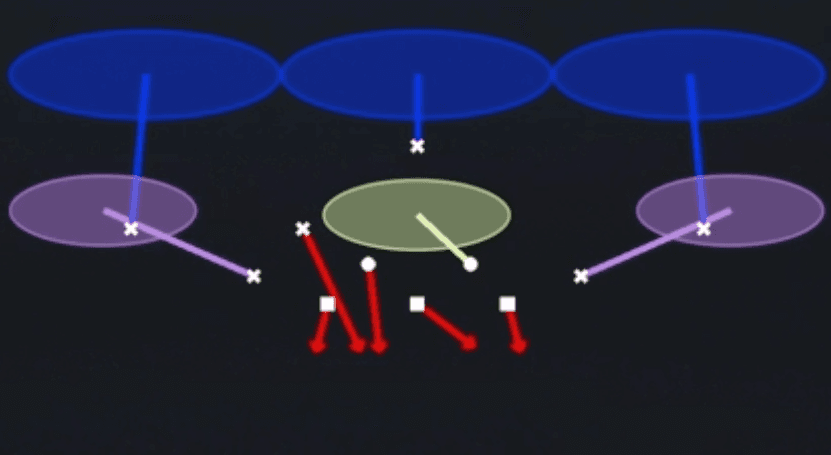 FS Zone BlitzZone, Blitz, Safety Blitz +2
 Okie Eagle 3Cover 3, Zone Coverage
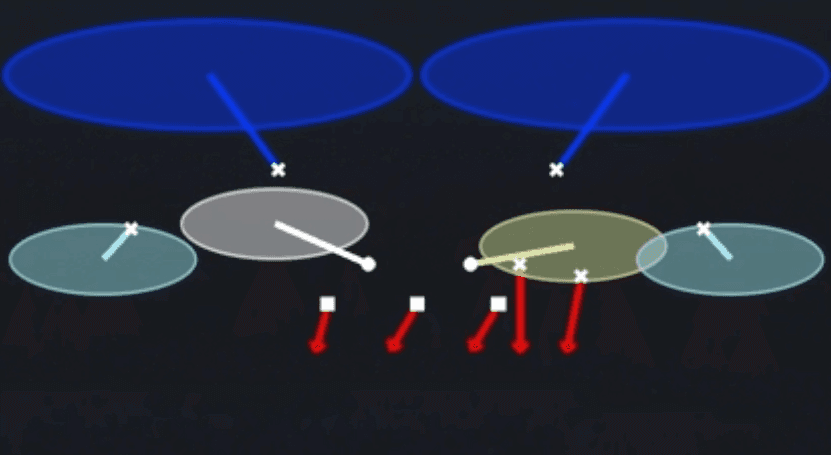 Okie Roll 2Cover 2, Zone Coverage
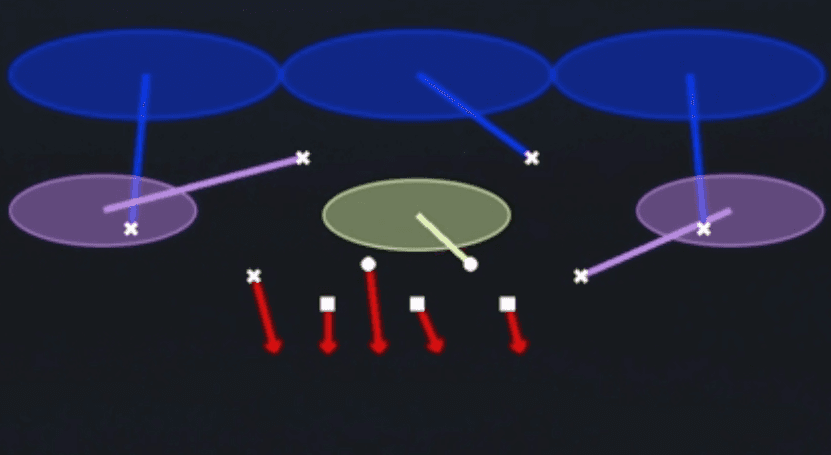 Overload 3 Seam PressCover 3, Overload Blitz, Zone Coverage +1
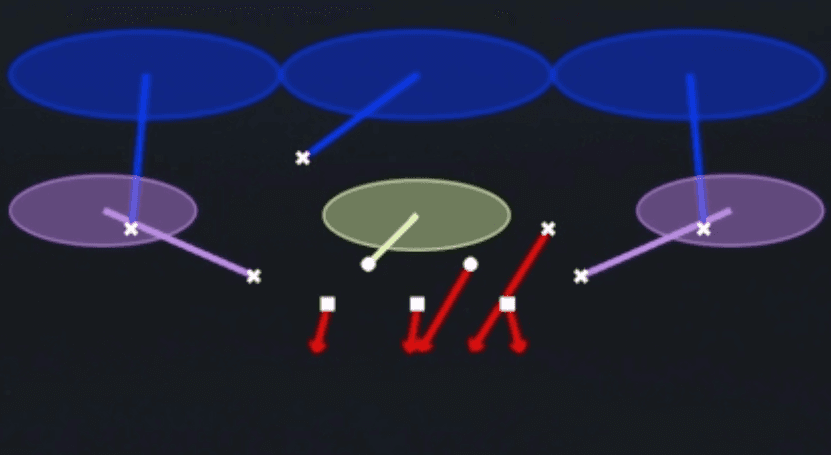 SS Zone BlitzZone, Blitz, Safety Blitz +2
 Str Eagle Slant 3Cover 3, Line Slant, Zone Coverage
 Strg Corner 2 FireCover 2, Blitz, Corner Blitz +1
 Tampa 2 SpyCover 2, Tampa 2, Spy +1
 Zero BlitzBlitz, Zero Blitz, Cover 0 +1