Playbooks
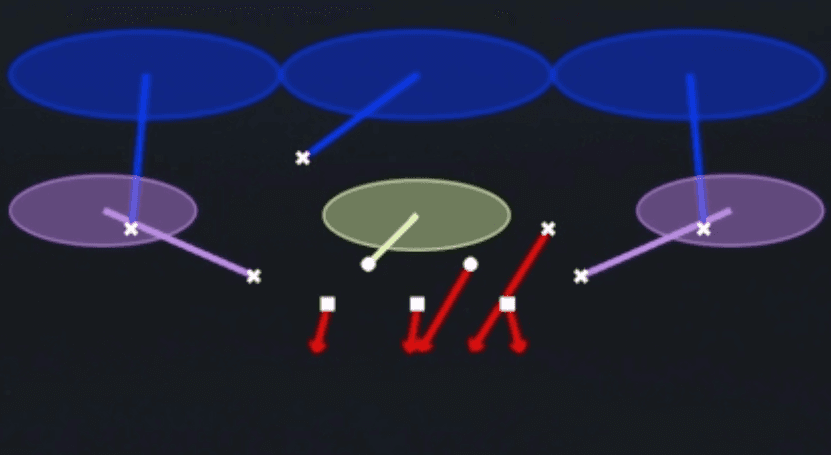
Breakdown
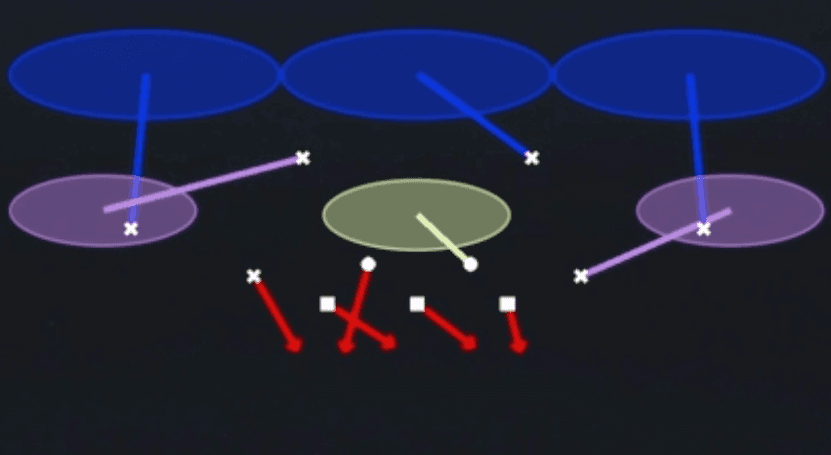
SS Zone Blitz out of the Dime 2-3-6 Sam set brings the strong safety off the edge as part of a four man pressure package while dropping the defensive line into a zone shell behind it. The diagram shows three underneath defenders (the two outside squares and the middle square) crashing downhill off the snap while both purple hook defenders sink to their zones and the two deep blue defenders bail to cover the deep thirds. The green low hole defender sits in the middle to rob any crossing routes underneath, making this a zone blitz that disguises pressure while still keeping three levels of coverage intact. The primary read progression is quarterback to the box first since the blitz timing dictates where the free rusher comes from, then check the underneath hook zones for hot throws if the protection holds.
Defensive Reads
Watch the offensive line protection slide pre-snap, if the offense is in max protect or has extra blockers set to the strong safety's side, this blitz can get picked up and leave your zone shallow. This play beats quick game man beater concepts and hot routes because the underneath zone defenders squeeze passing lanes while the blitz forces an early throw. Cover 3 or Cover 4 style verticals from the offense can stress the two deep defenders bailing to their thirds, so key the receivers releasing vertically on the outside and trust your deep help. Post-snap, if the quarterback is looking to the middle of the field immediately, that usually means he identified the blitz and is trying to hit the void before the low hole defender settles. Against RPO or run heavy sets, this play can be exposed if the safety blitz lane is read by the running back, so key the mesh point quickly and be ready to fold the blitz into a run fit if needed.
Usage Tips
Use this out of Dime personnel on third and medium to third and long situations where offenses expect a standard drop back look, since the disguised safety blitz punishes hesitation in the pocket.
Pre-snap, show a standard Dime shell alignment and delay any safety rotation until right before the snap so the quarterback cannot diagnose the blitz off the box count.
If the offense audibles to a hot route or empty formation, consider switching to Zero Blitz or FS Zone Blitz from this same set to keep the quarterback guessing between different pressure angles.
User the low hole green defender manually to jump any quick slants or drag routes crossing the middle, since the automated AI can be late getting to that throwing window.
Pair this call with Cover 3 Hard Flat or Okie Eagle 3 earlier in the series so the offense sees zone shells first, then hit them with this disguised pressure look when they settle into a rhythm.
Other Plays in 2-3-6 Sam
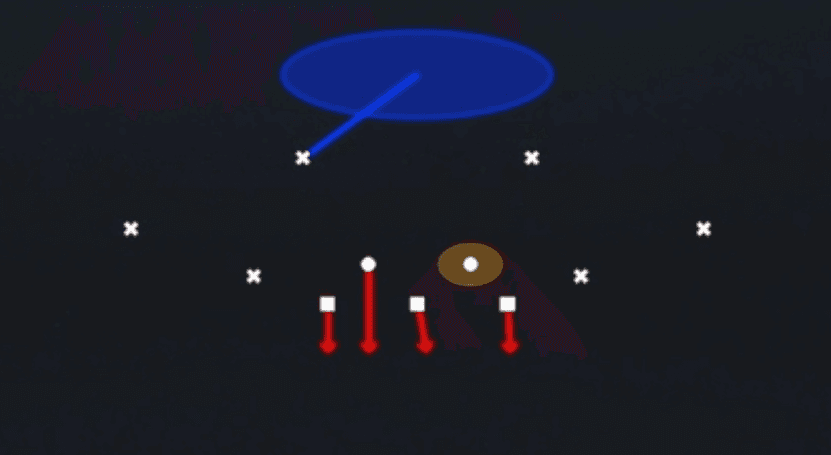 Cover 1 ContainCover 1, Contain, Man Coverage
 Cover 1 Robber PressCover 1, Cover 1 Robber, Press Man +1
 Cover 2 Hard FlatCover 2, Zone Coverage
 Cover 2 ManCover 2 Man, Man To Man, Man Coverage
 Cover 2 SinkCover 2, Zone Coverage
 Cover 3 Hard FlatCover 3, Zone Coverage
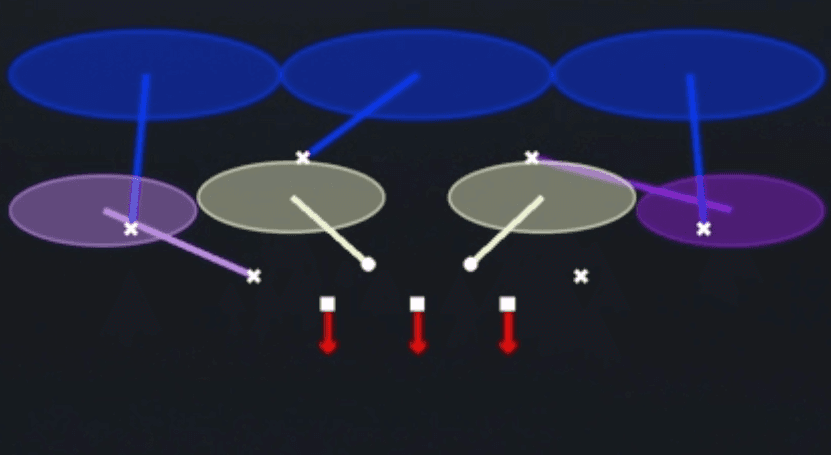 Cover 3 LockCover 3, Zone Coverage
 Cover 3 MatchCover 3, Cover 3 Match, Zone Coverage
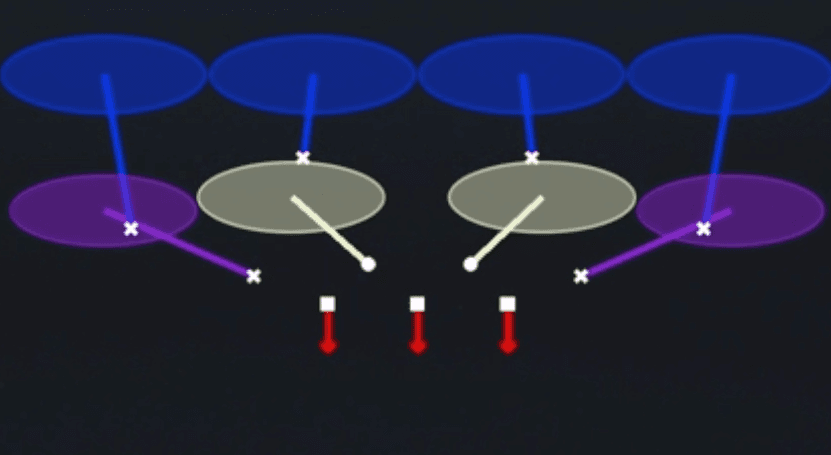 Cover 4 DropCover 4, Zone Coverage
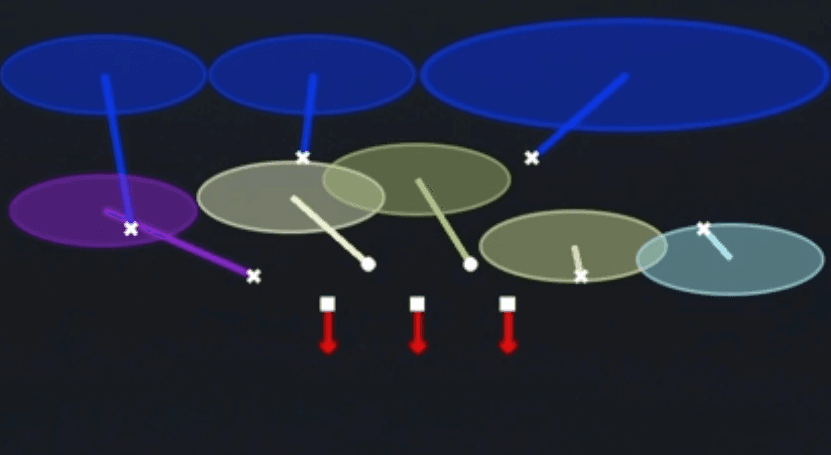 Cover 6 PressCover 6, Zone Coverage
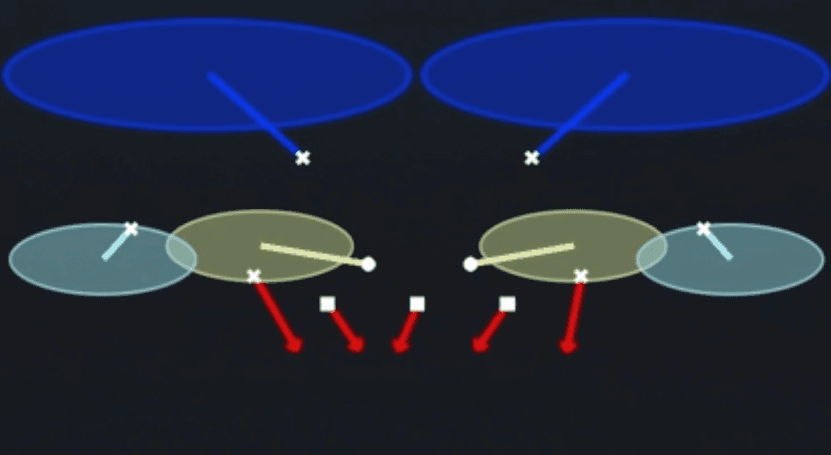 DB Fire 2Cover 2, Blitz, DB Blitz +1
 Dbl Safety GoSafety Blitz, Blitz
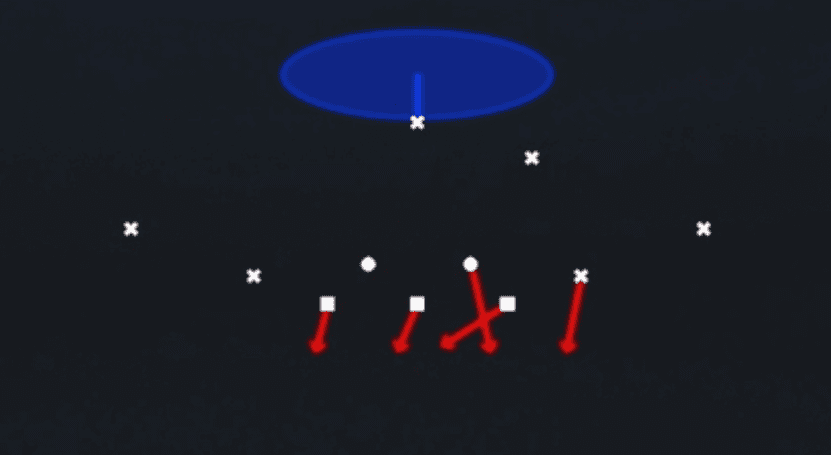 Edge Blitz 1Cover 1, Blitz, Edge Blitz +1
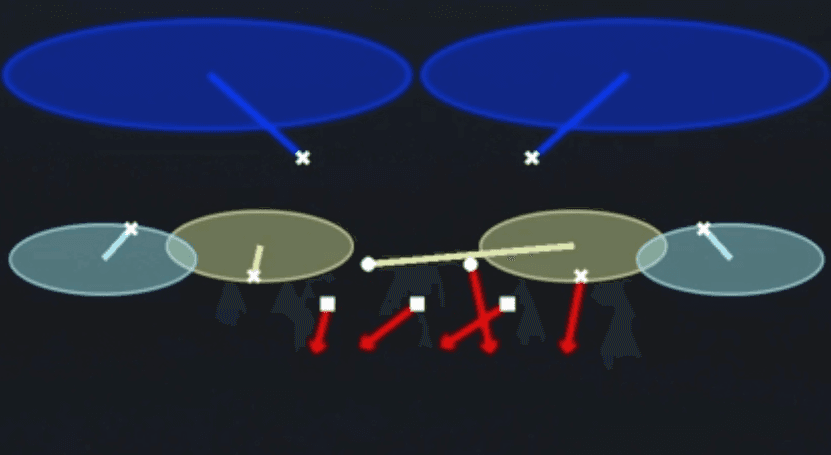 Edge Blitz 2Cover 2, Blitz, Edge Blitz +1
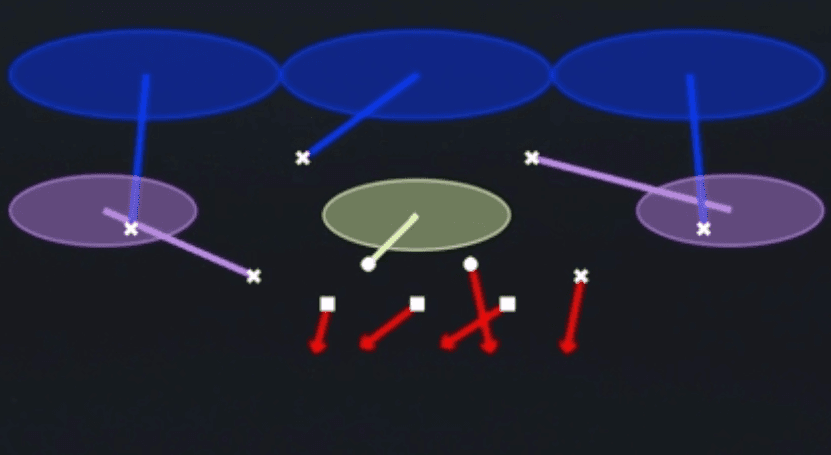 Edge Blitz 3Cover 3, Blitz, Edge Blitz +1
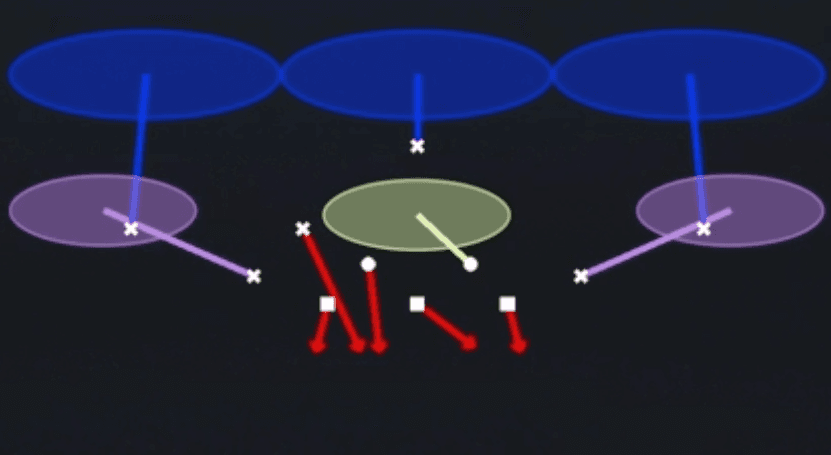 FS Zone BlitzZone, Blitz, Safety Blitz +2
 Okie Eagle 3Cover 3, Zone Coverage
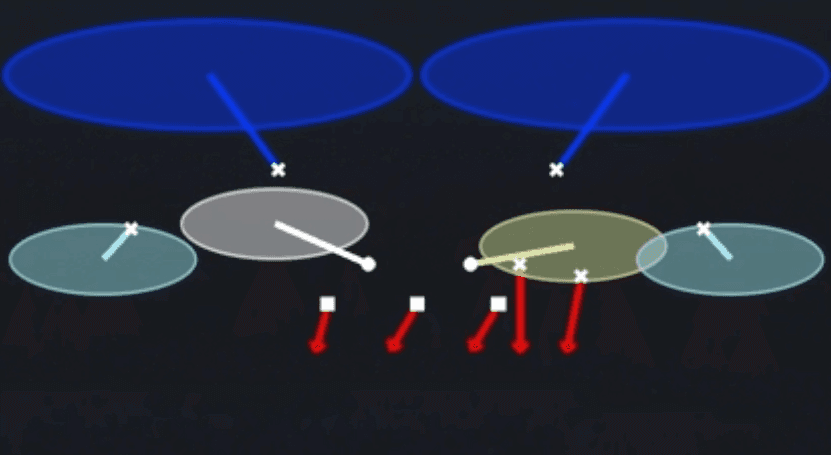 Okie Roll 2Cover 2, Zone Coverage
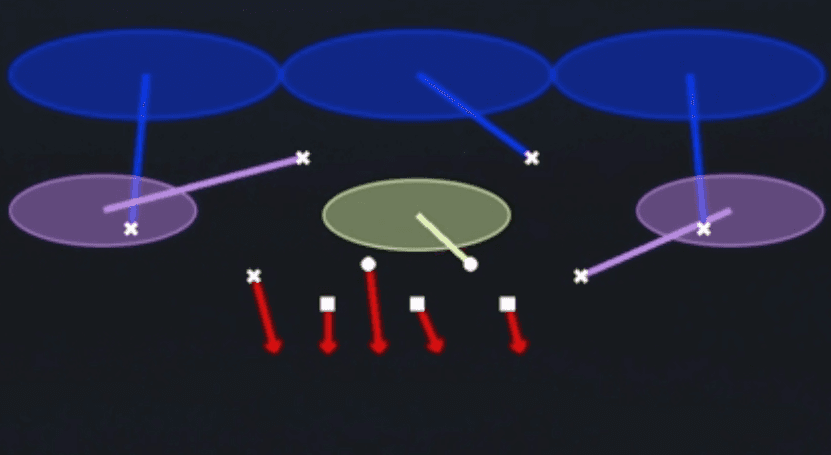 Overload 3 Seam PressCover 3, Overload Blitz, Zone Coverage +1
 Str Eagle Slant 3Cover 3, Line Slant, Zone Coverage
 Strg Corner 2 FireCover 2, Blitz, Corner Blitz +1
 Tampa 2 SpyCover 2, Tampa 2, Spy +1
 Zero BlitzBlitz, Zero Blitz, Cover 0 +1