Playbooks
Quick Reference
In 2 playbooks
Breakdown
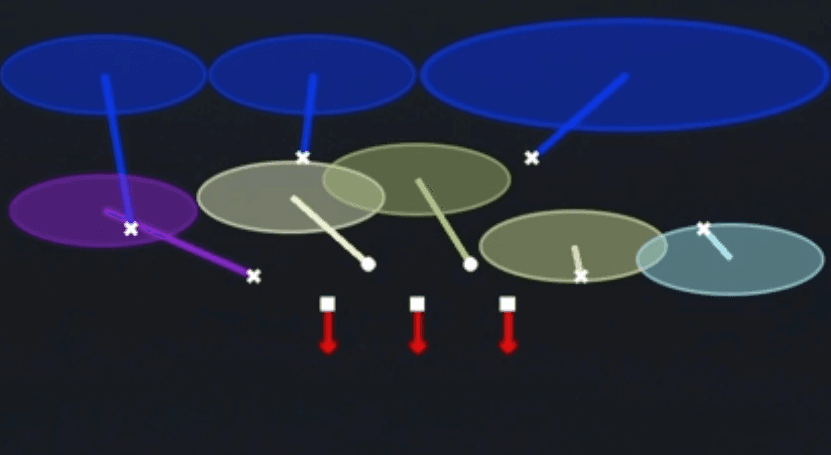
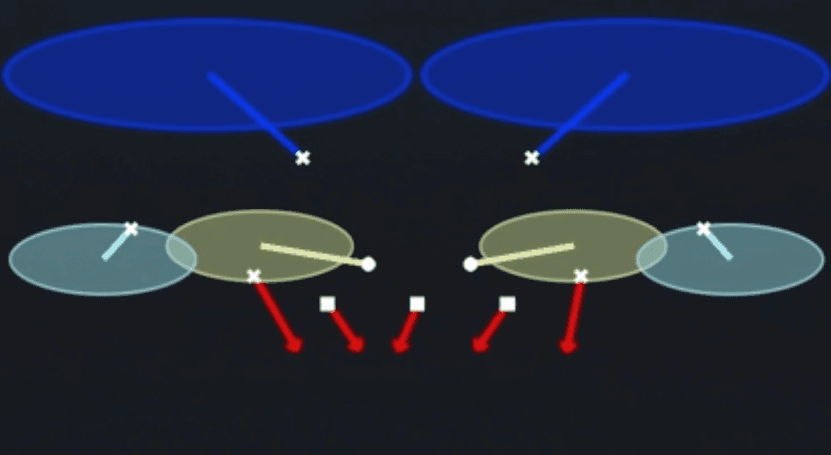
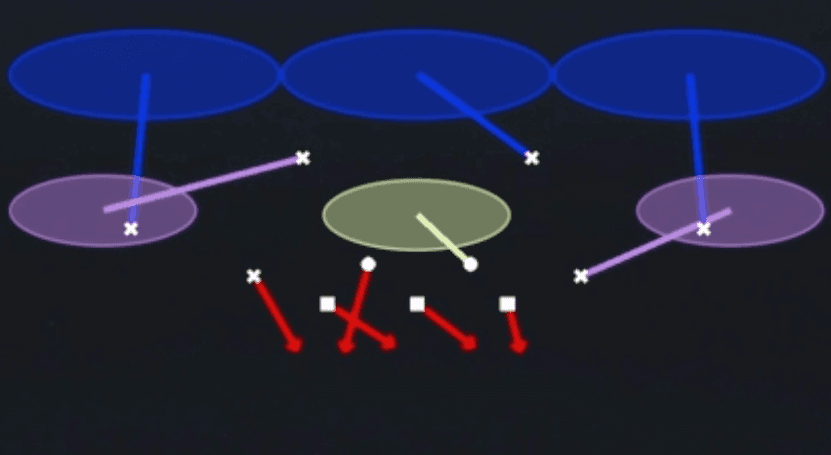
Cover 6 Press is a quarters style split field zone coverage out of the Dime 2-3-6 Sam set with press alignment on the outside corners. The diagram shows the three deep defenders (two corners and a safety) turning and running vertical zones while the underneath defenders (Sam, both slot corners, and the nickel) sink into short zones with the outside cushion defenders jumping flat routes near the numbers. This is a zone beater designed to defend both the boundary sideline (quarter quarter half look) and the field side two man concept, with the primary read progression starting at the deep half safety to determine which side is playing quarters and which side is playing two man under.
Defensive Reads
Watch the safety alignment before the snap, if both safeties are deep and off the line you are likely facing quarters concepts on the quarters side, which means four verticals and deep crossers are covered but shallow drag routes underneath can be open. On the two man side, key the corner's press technique, if he is jamming hard at the line the underneath flat defender is likely responsible for any quick hitters, so beware of double moves and stutter go routes against sticky press coverage. Post snap, identify the underneath zone drops from the Sam and slot defenders, since they will sink into passing lanes and can jump curl and flat combinations, making this vulnerable to good spacing concepts that stretch it horizontally. This coverage struggles against strong side overloads and bunch releases, since the two man side lacks true zone help and can be picked on by rub routes or natural picks. Look for user controlled lurk defenders sitting in the middle read zone, since aggressive quarterbacks throwing into the seam or deep dig routes can get picked off if the user reads your eyes.
Usage Tips
Use this on early downs or third and medium when you expect a balanced pass call and want split field versatility without giving up a true single high look.
Before the snap check the strength call, since Cover 6 rolls quarters to the stronger side and two man to the weaker side, so identify which side has extra defenders in the diagram to know where the seam is tighter.
Hot route the flat defender on the two man side into a shallow cushion if you are worried about quick outs, and widen the boundary corner's press alignment to prevent easy releases on option routes.
Pair this call with Cover 3 Hard Flat or Cover 2 Hard Flat from the same set to disguise your shell, since all three show similar pre-snap alignment but rotate differently after the snap.
Avoid calling this against heavy trips or bunch formations to the two man side, since it can get outnumbered in the flat if you do not shift personnel with a pre-snap adjustment.
Other Plays in 2-3-6 Sam
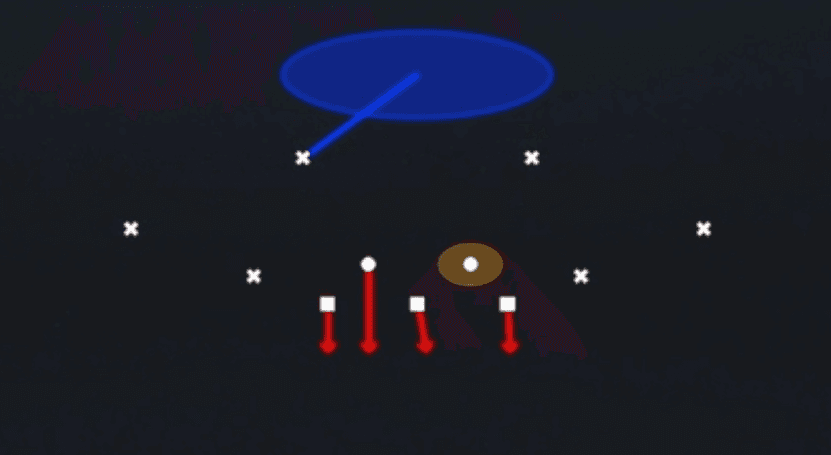 Cover 1 ContainCover 1, Contain, Man Coverage
 Cover 1 Robber PressCover 1, Cover 1 Robber, Press Man +1
 Cover 2 Hard FlatCover 2, Zone Coverage
 Cover 2 ManCover 2 Man, Man To Man, Man Coverage
 Cover 2 SinkCover 2, Zone Coverage
 Cover 3 Hard FlatCover 3, Zone Coverage
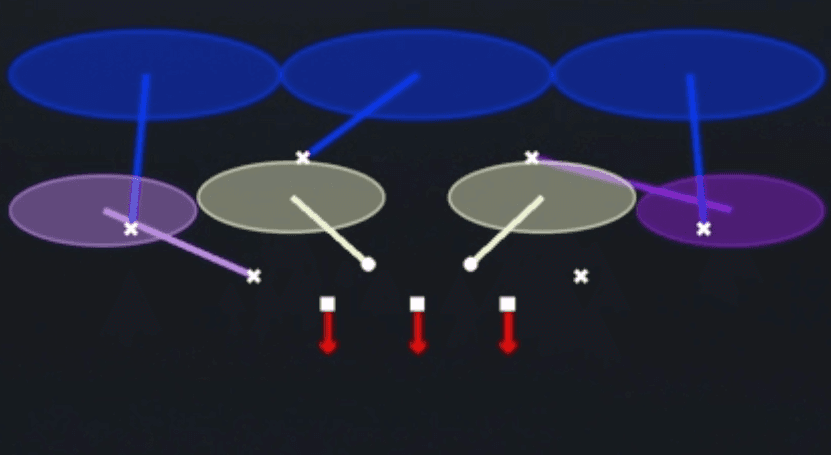 Cover 3 LockCover 3, Zone Coverage
 Cover 3 MatchCover 3, Cover 3 Match, Zone Coverage
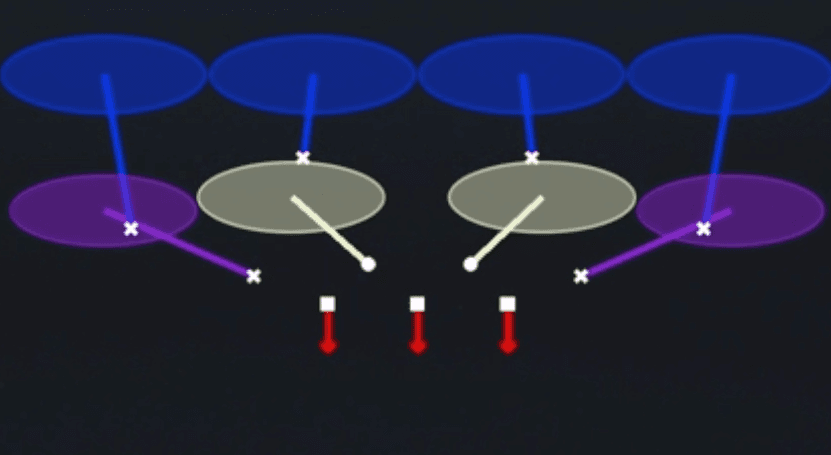 Cover 4 DropCover 4, Zone Coverage
 DB Fire 2Cover 2, Blitz, DB Blitz +1
 Dbl Safety GoSafety Blitz, Blitz
 Edge Blitz 1Cover 1, Blitz, Edge Blitz +1
 Edge Blitz 2Cover 2, Blitz, Edge Blitz +1
 Edge Blitz 3Cover 3, Blitz, Edge Blitz +1
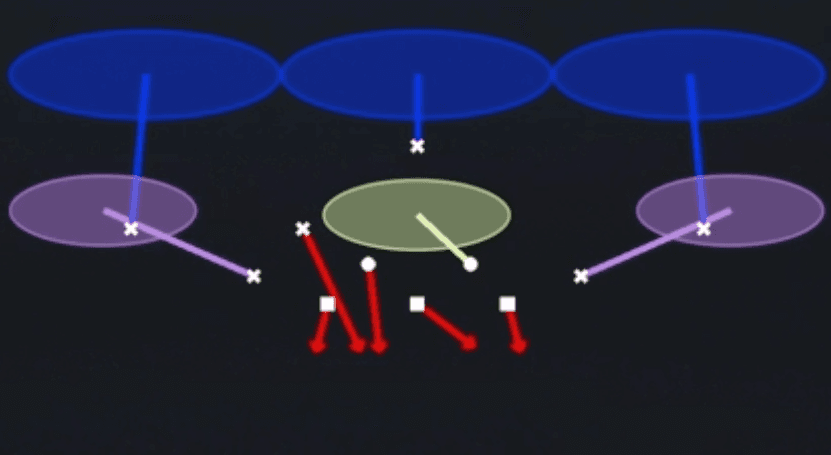 FS Zone BlitzZone, Blitz, Safety Blitz +2
 Okie Eagle 3Cover 3, Zone Coverage
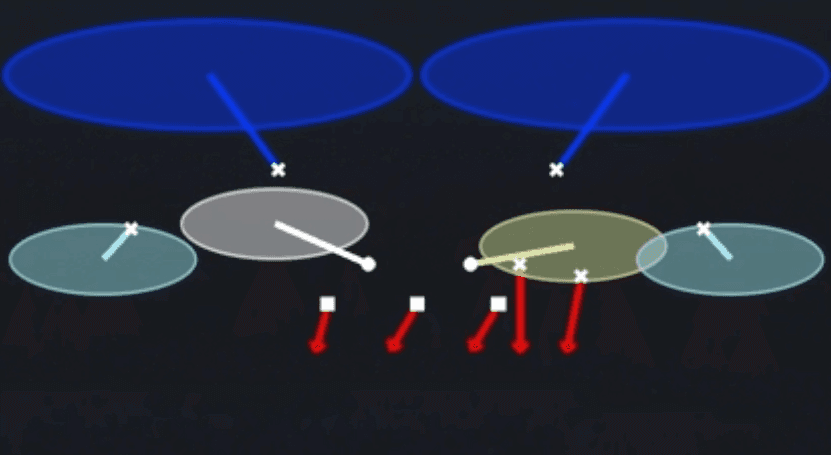 Okie Roll 2Cover 2, Zone Coverage
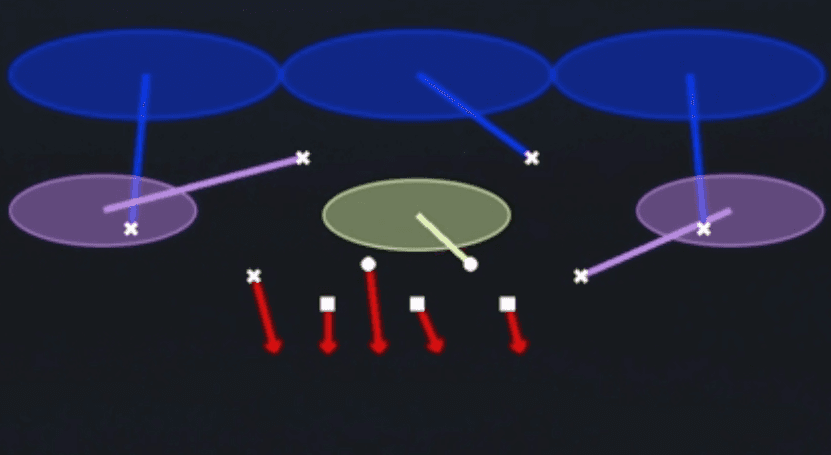 Overload 3 Seam PressCover 3, Overload Blitz, Zone Coverage +1
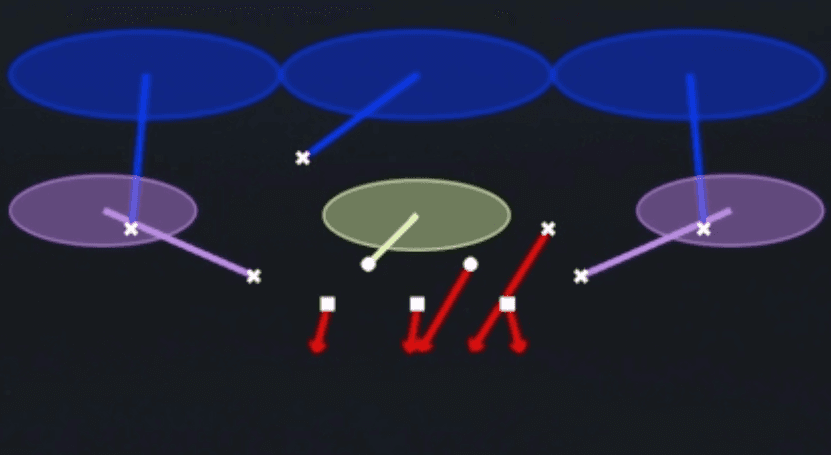 SS Zone BlitzZone, Blitz, Safety Blitz +2
 Str Eagle Slant 3Cover 3, Line Slant, Zone Coverage
 Strg Corner 2 FireCover 2, Blitz, Corner Blitz +1
 Tampa 2 SpyCover 2, Tampa 2, Spy +1
 Zero BlitzBlitz, Zero Blitz, Cover 0 +1