Playbooks

At a Glance
In 26 playbooks
Overview
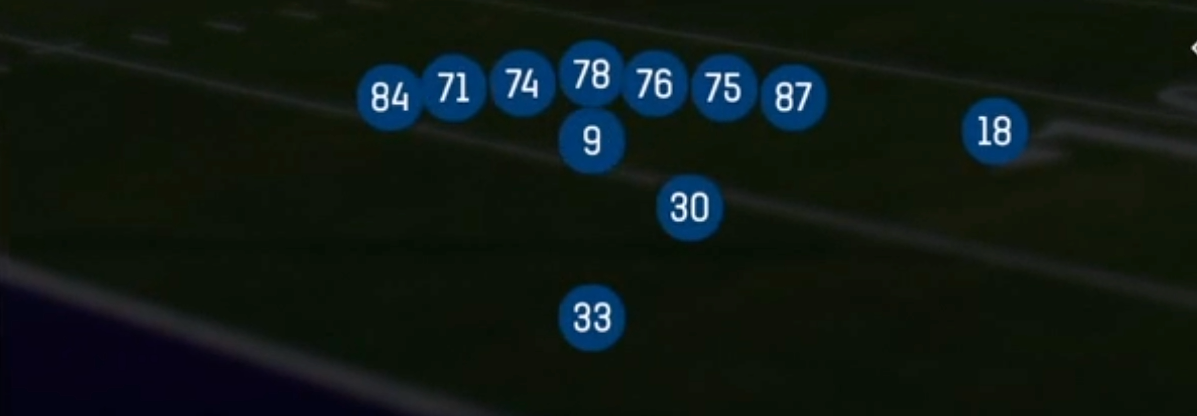
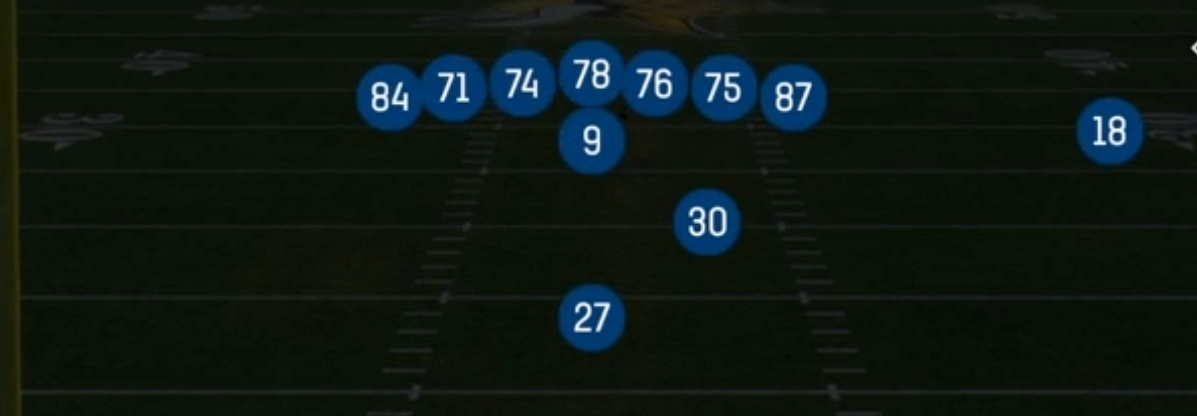
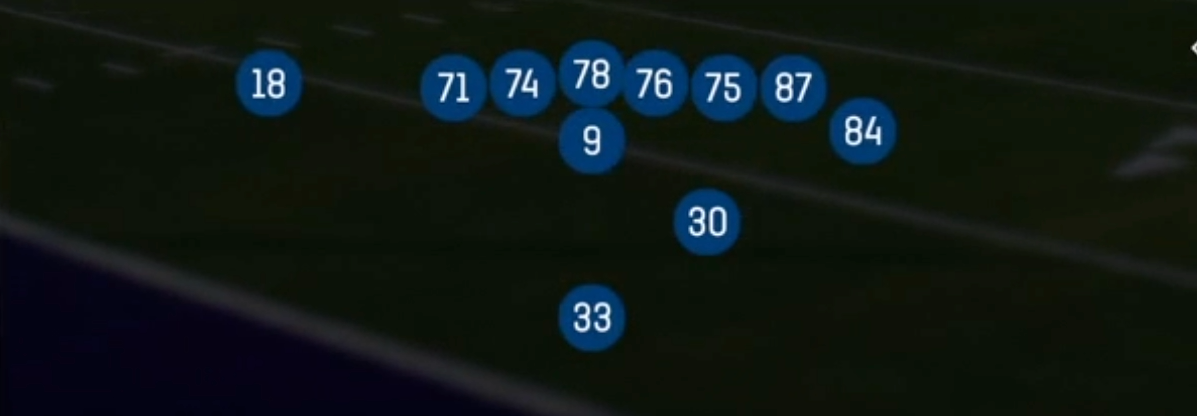
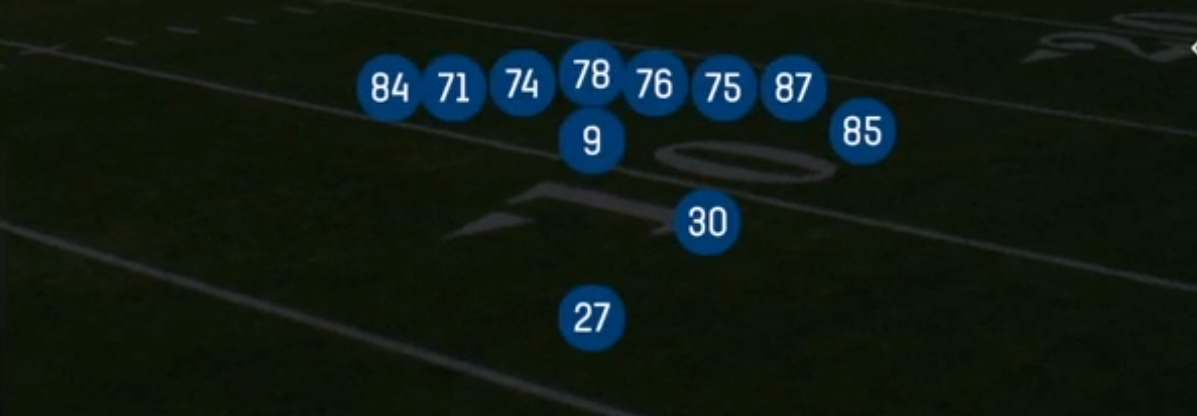
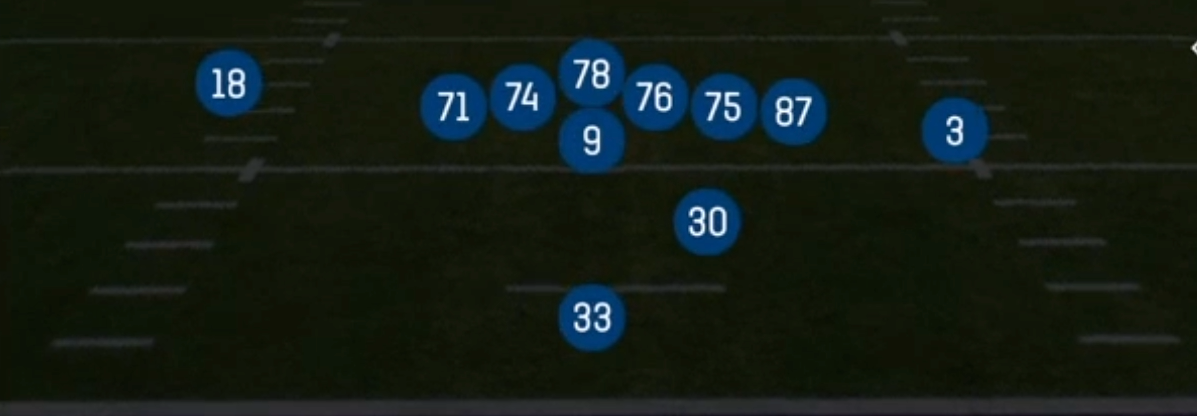
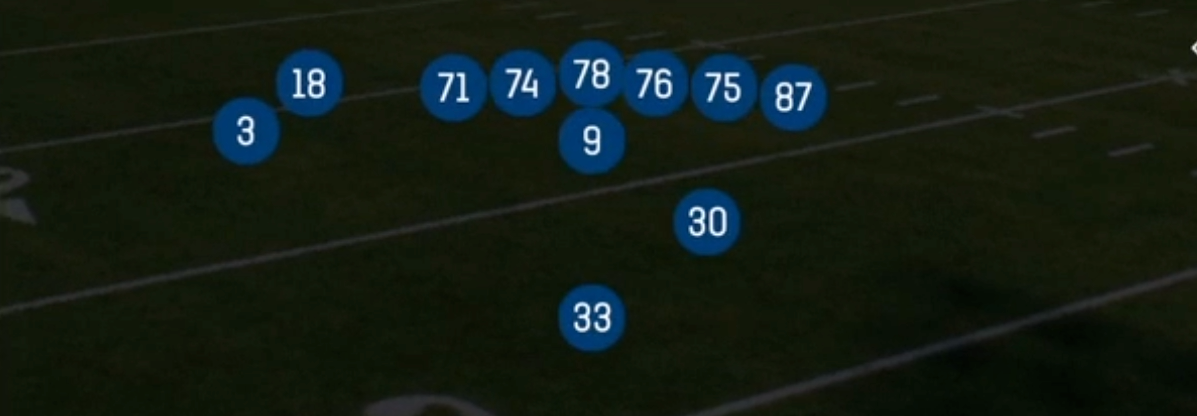
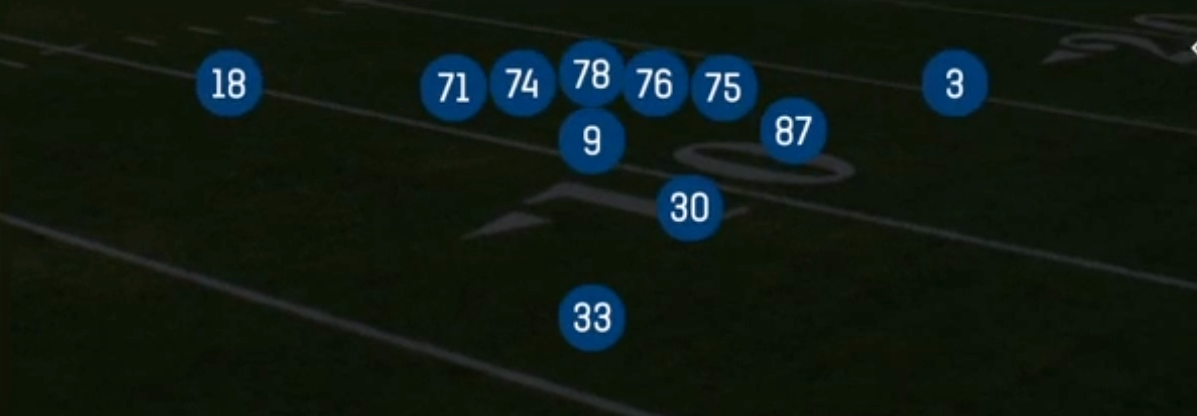
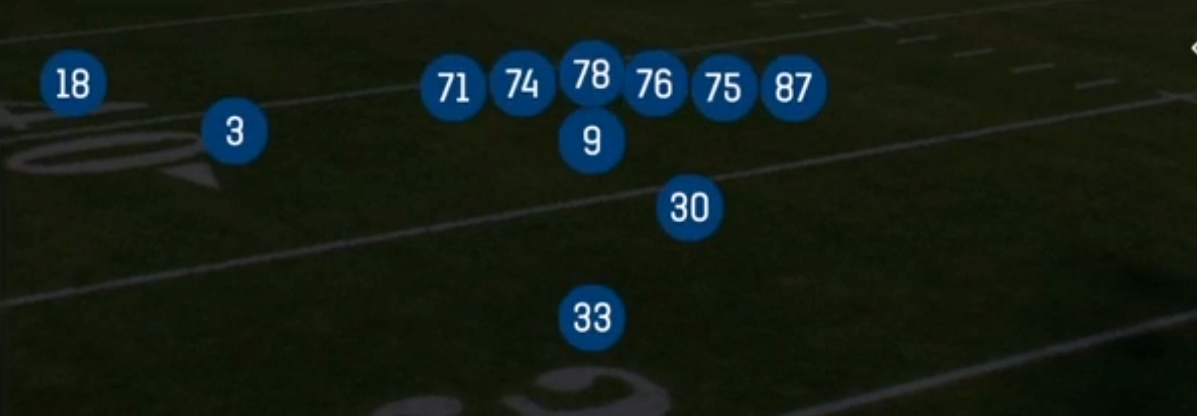
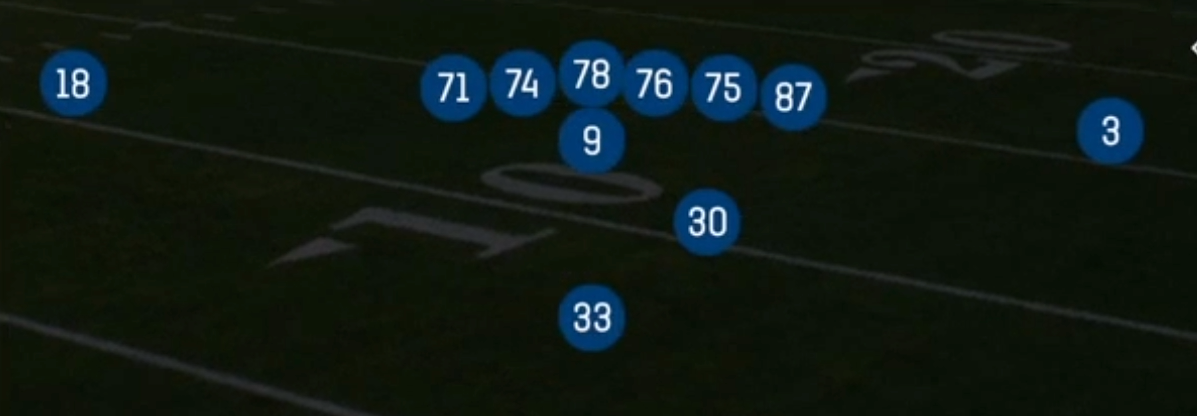
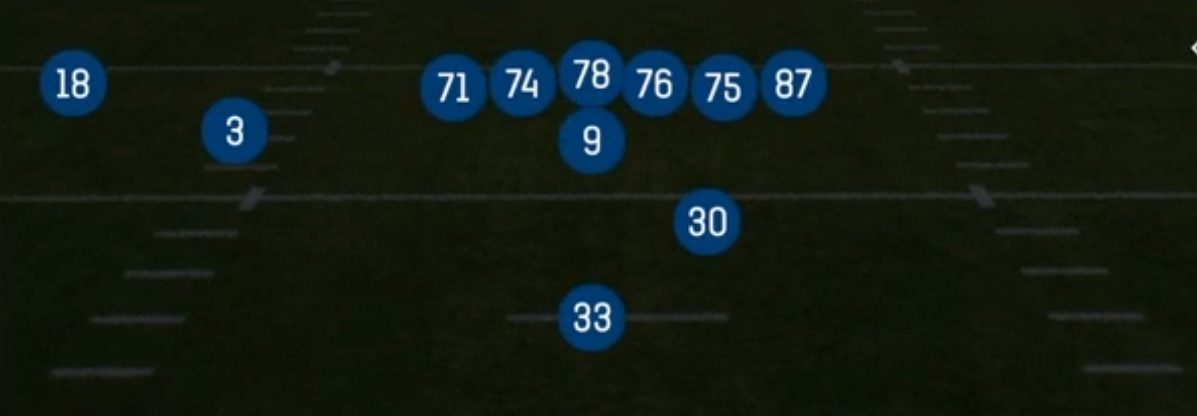
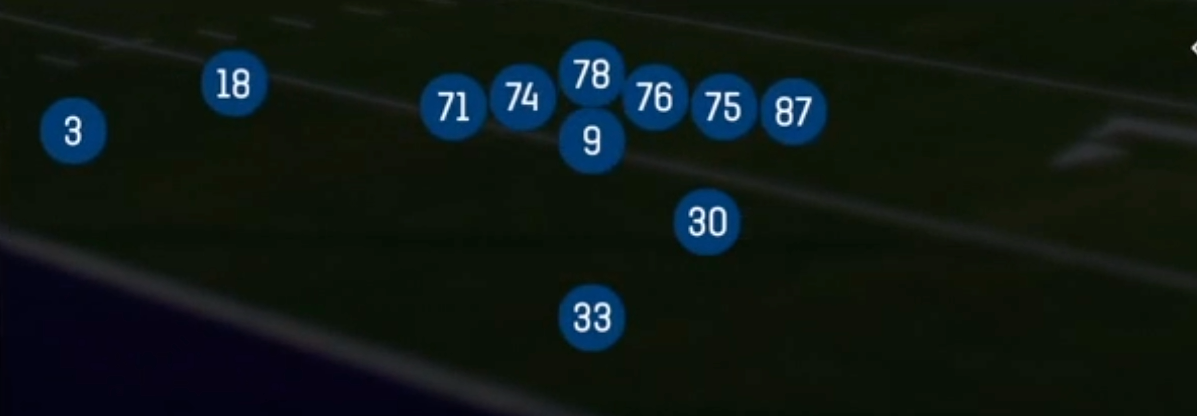
The Wing set in the Strong I formation is a heavy 22 personnel look: a halfback in the deep I, a fullback offset to the strong side, one tight end inline, a second tight end aligned as a wing just off the edge, and a lone X receiver split wide. Most Strong I sets spread the second tight end or a slot receiver outside to stretch the defense horizontally. Wing does the opposite. It compresses the formation and adds an extra gap on the edge, so the defense has to either bring an eighth defender into the box or concede a numbers advantage at the point of attack. The wing tight end is the key piece. He can kick out the end man on the line, seal the edge on HB Toss and HB Stretch, or release late on PA FB Flat and PA Slide when linebackers crash on run action.
Because the only true wideout is the X, this set naturally isolates him on the backside. Defenses that load the box to stop Mtn Power O, Counter Weak, and Inside Zone Wk usually leave the X in press man or Cover 3 with a lone corner and no help underneath. That is why the play list includes Power O Alert X Smoke, HB Blast Alert X Smoke, and X Slant. Pre-snap you read the corner's leverage and cushion, then either hand off into a stacked front or throw the quick smoke or slant to the X against off coverage.
The set carries a Gadget tag for good reason. The play-action package (PA Power O, PA Mtn Power, PA Spot, PA Sprint HB Flat) mirrors the run looks exactly, so the fullback, both tight ends, and the halfback all become surprise targets once the defense commits to the run fit. Goal Line Fade and Spacing round out the menu, giving you a red zone isolation shot and a quick-game option without leaving the heavy personnel grouping.
Strengths
- Two tight ends plus a fullback create a surplus of gap blockers, so Mtn Power O, Counter Weak, and HB Counter Wk consistently outnumber base 4-3 and 3-4 fronts at the point of attack
- The wing tight end gives the play art an extra edge blocker, making HB Toss and HB Stretch dangerous against defenses that set the edge with a single outside linebacker or overplay inside with a nano blitz
- Alert X Smoke packages let you punish Cover 1 and Cover 3 run looks by throwing to the isolated X against off coverage, turning a stacked box into free yardage without an audible
- Play-action from identical run art (PA Power O, PA Mtn Power, PA FB Flat) is an elite zone beater, as flat defenders and hook players bite on the fake and leave the fullback and wing tight end uncovered in the flat and seam
- Goal Line Fade and X Slant give you a clean one-on-one man beater to the lone receiver in the red zone when defenses bring goal line personnel to stop the run
Weaknesses
- With only one wide receiver, the defense can check into heavy run packages, stack eight or nine in the box, and bracket or roll coverage toward the X with little risk
- The compressed formation makes pass concepts slow to develop, so Cover 0 and edge overload blitzes can get home before PA Slide or PA Spot routes clear, especially if you keep both tight ends in to block
- A user-controlled linebacker or safety sitting in the A gap or shooting the run fit can blow up Inside Zone Wk and HB Dive before the fullback reaches the hole
- The Wing alignment telegraphs a run-first tendency, and smart opponents will crash the edge or pinch the defensive line when they see this set repeatedly on early downs
- Lack of speed on the field limits explosive plays, so falling behind by multiple scores makes this set difficult to stay in against Cover 2 and Cover 4 shells that take away the deep X shot
Usage Tips
Count the box pre-snap: with seven or fewer defenders, hand off on Mtn Power O or Counter Weak; with eight or more and off coverage on the X, throw the Alert X Smoke or kill the play to X Slant
Use this set on 3rd and short, 4th and 1, and goal line situations where the extra gap blockers and wing tight end give you the numbers advantage, then dial up PA FB Flat once the defense starts crashing linebackers
Pair every run concept with its play-action mirror (Mtn Power O with PA Mtn Power, Power O Alert X Smoke with PA Power O) so your tendencies look identical in the play art and the defense cannot key your formation
Against press man on the X, hot route him to a fade or streak on PA Spot or Goal Line Fade, and block the halfback to protect against the Cover 0 look that press alignment often signals
If the opponent users the edge on HB Toss or HB Stretch, flip the play to the weak side and run Counter Weak or Mtn Zone Wk to punish the defender for overcommitting
Plays (20)
 Counter WeakCounter, Run Play, Power Run
 FB DiveDive, Run Play
 Goal Line FadeFade, Pass Play, Out +1
 HB Blast Alert X SmokeIso, Run Play, Power Run +2
 HB Counter WkCounter, Run Play, Power Run
 HB DiveDive, Run Play
 HB StretchOutside Zone, Run Play, Zone Run
- HB TossToss, Run Play
 Inside Zone WkInside Zone, Run Play, Zone Run
 Mtn Power OPower, Motion, Run Play +1
 Mtn Zone WkInside Zone, Motion, Run Play +1
 PA FB FlatPlay Action, Flat, Pass Play +4
 PA Mtn PowerPlay Action, Motion, Pass Play +3
 PA Power OPlay Action, Pass Play, Corner +4
 PA SlidePlay Action, Slide, Pass Play +5
 PA SpotPlay Action, Spot, Pass Play +5
 PA Sprint HB FlatPlay Action, Flat, Pass Play +4
 Power O Alert X SmokePower, Run Play, Power Run +2
 SpacingSpacing, Pass Play, Cover 3 Beater +3
 X SlantSlant, Pass Play, Flat +2