Playbooks

At a Glance
In 1 playbook
Overview
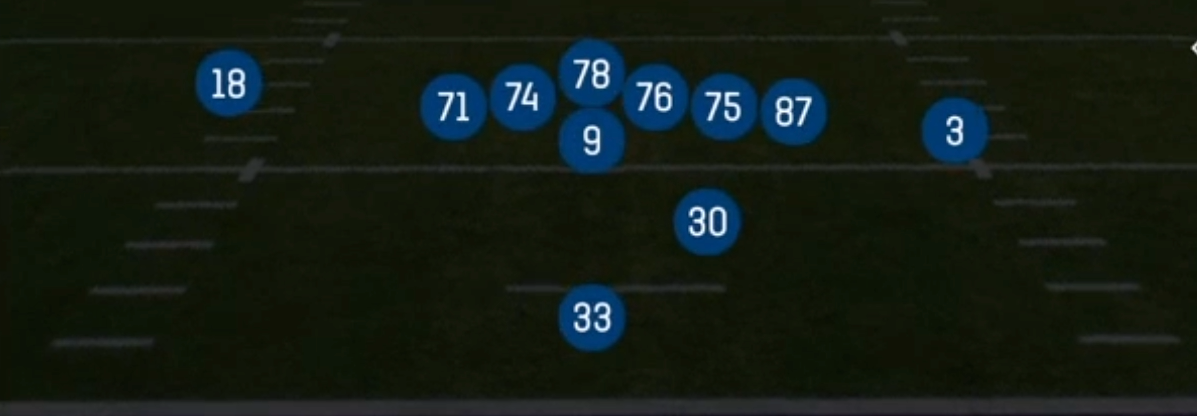
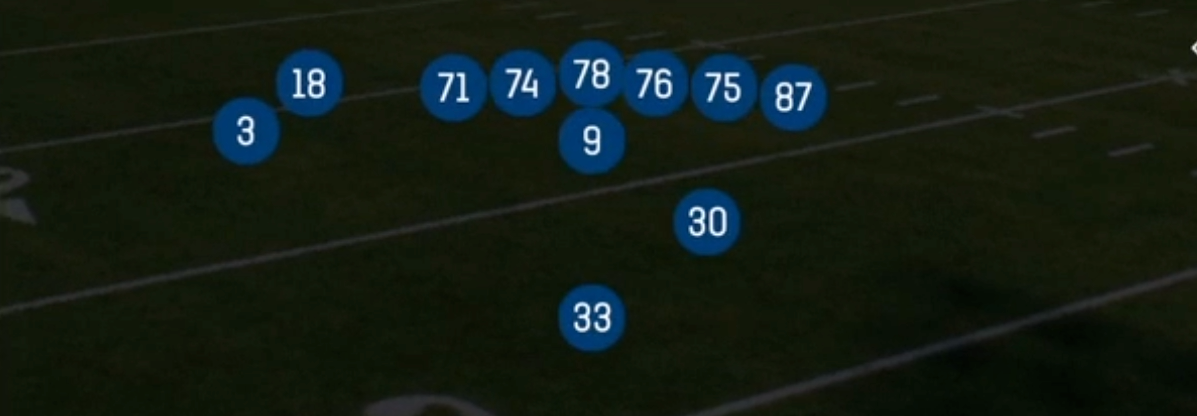
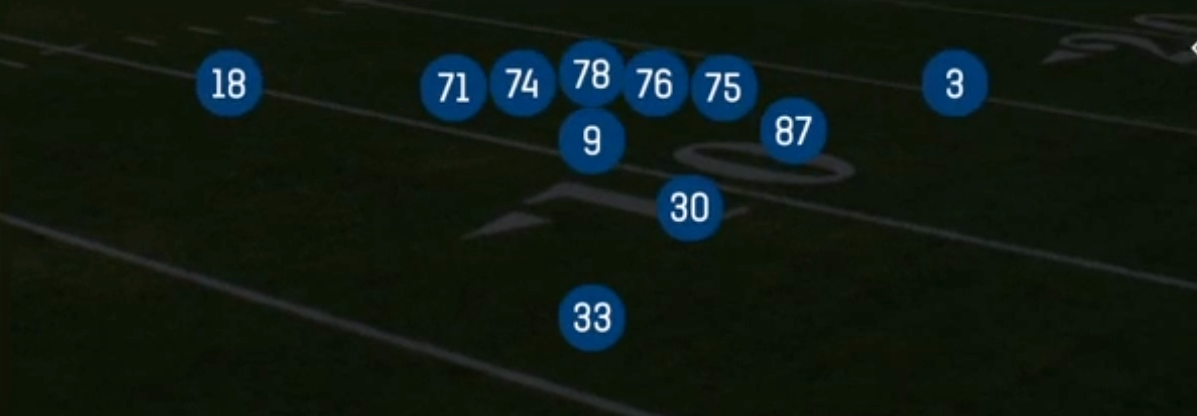
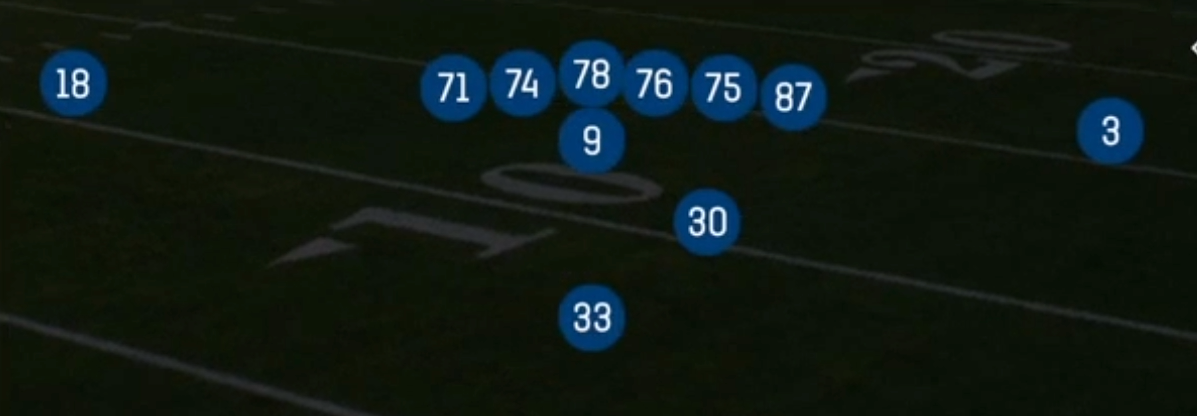
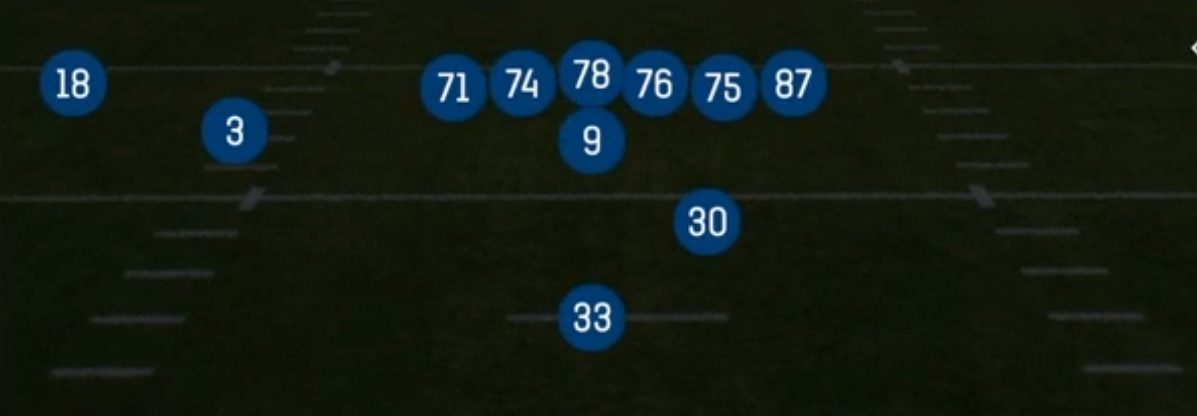
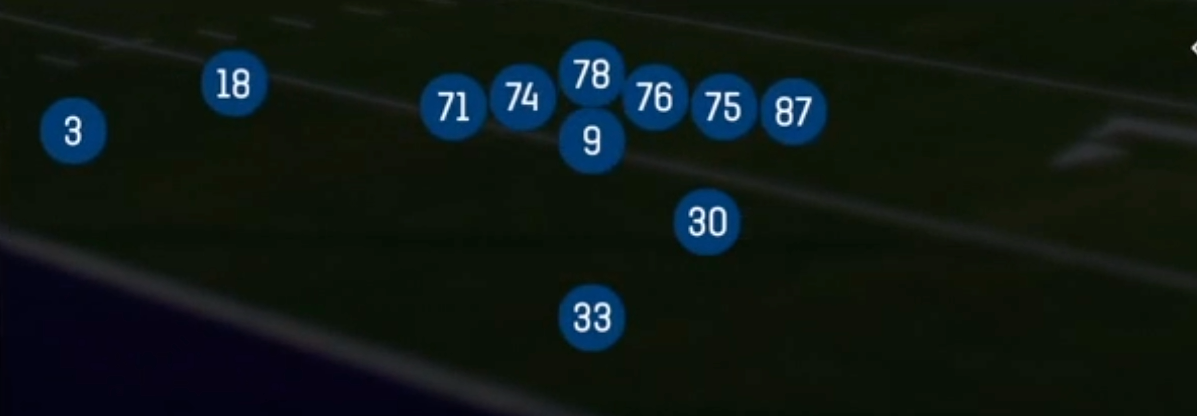
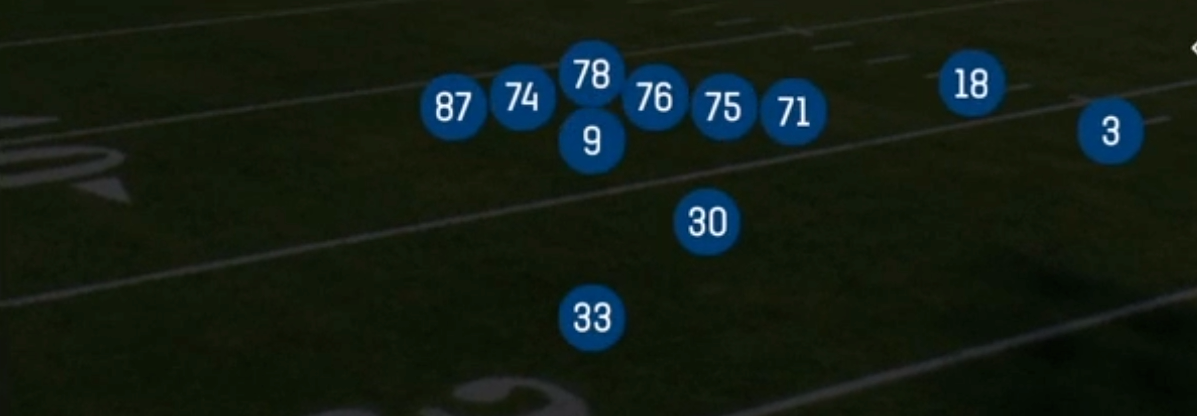
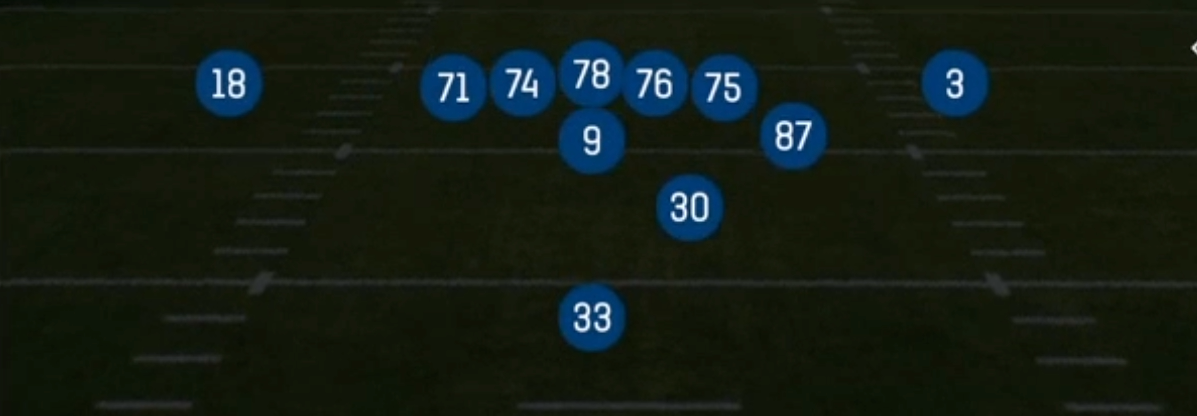
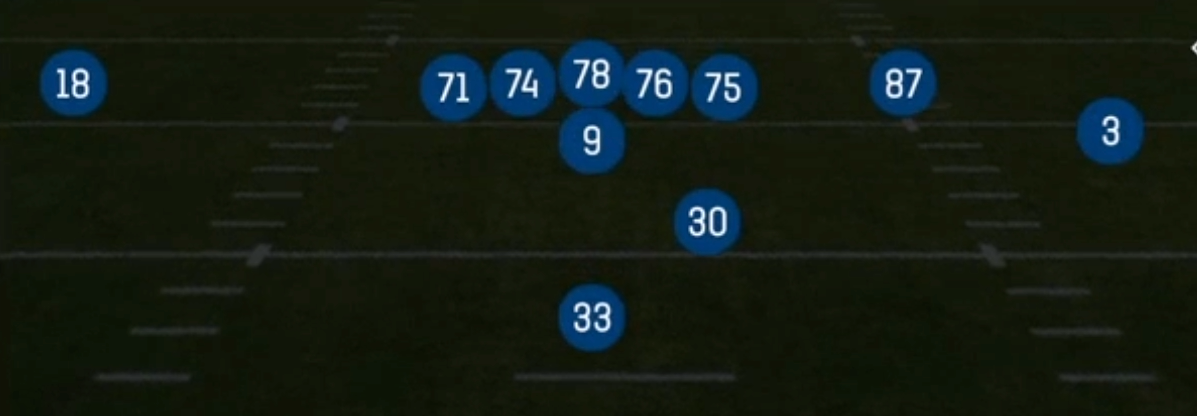
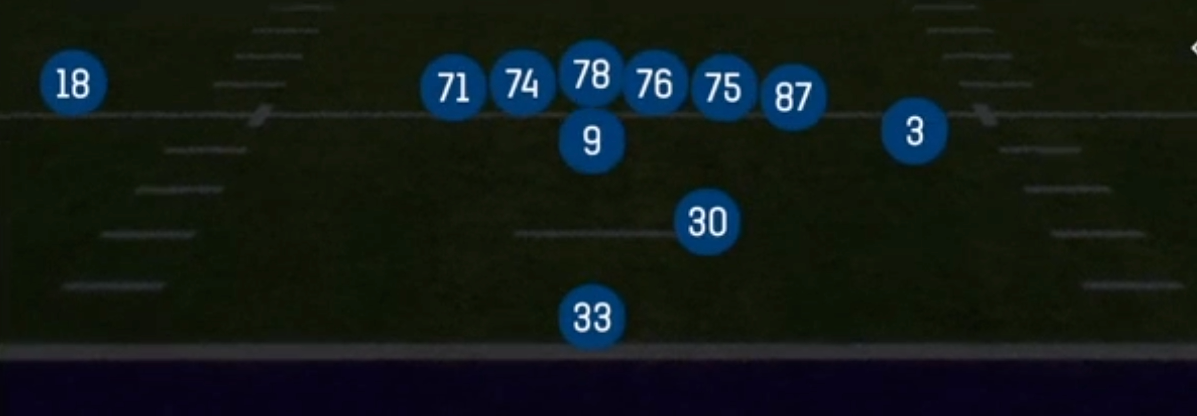
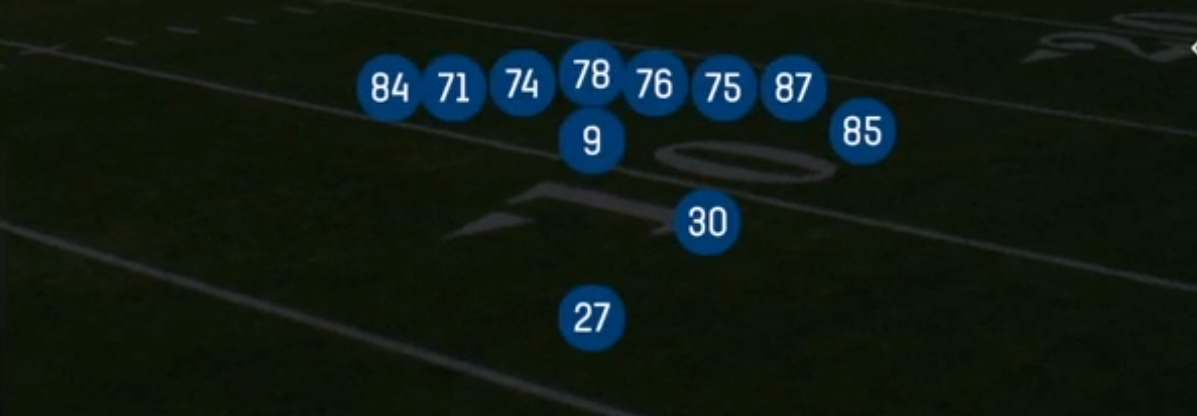
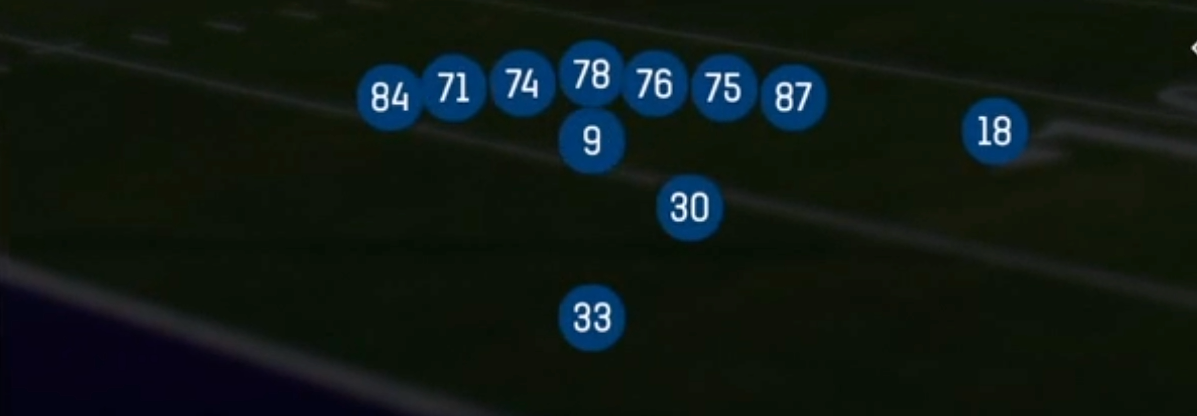
The H Slot set in Strong I keeps the core 21 personnel downhill identity: a fullback offset to the strong side and a halfback deep. What changes is the tight end. Instead of attaching him to the line as a traditional Y, H Slot flexes him off the formation into a slot alignment, which gives the look a spread feel without taking the lead blocker off the field. Compared to Normal or Tight sets in Strong I, this alignment widens the defense horizontally and forces defensive coordinators to decide whether a linebacker or a nickel defender walks out over the H.
That single alignment decision drives the entire set. If the defense stays in base personnel, you get a linebacker matched up in space on your tight end, which is a favorable man beater on Dagger and a clean read for the PA Post Shot. If the defense subs into nickel to cover the slot, you now have a lighter box against a true two back run game, and Power O, Counter Weak, and HB Dive can punish them between the tackles. The Gadget tag fits because the set disguises its intent: it looks like a pass-first shell but carries a full power run menu.
The play-action package ties it together. Inside Zone Wk and HB Stretch establish the flow, then PA FB Flat, PA Boot Slide, and PA Post Shot attack the linebackers and safeties who trigger on run keys. Because the fullback stays in the backfield, the set can sell the run convincingly while the H in the slot gets a free release that an inline tight end would never have against a jamming defender.
Strengths
- Forces a personnel conflict: base defenses leave a linebacker on the flexed H, and nickel defenses lighten the box against Power O and Counter Weak
- Dagger is a strong Cover 3 and Cover 1 beater, with the seam clearing the hook defender so the dig opens behind the flat and curl zones
- PA Post Shot punishes single high safeties who bite on the fullback lead action, turning run tendencies into explosive plays over the top
- PA Boot Slide and PA FB Flat create easy rollout completions against aggressive run fits, and the fullback leaking into the flat is often uncovered when the flat defender crashes
- The fullback remains a true lead blocker, so the set keeps downhill run integrity on HB Dive and Power O while showing a spread alignment
Weaknesses
- Moving the tight end off the line removes an edge blocker, so strong side runs are vulnerable to a crashing end or a nano blitz off the backside edge
- Only five offensive linemen plus a fullback are available in protection, and the H in the slot is usually running a route, so overload blitzes can outnumber protectors on deep drops like Dagger and PA Post Shot
- A user-controlled linebacker or safety sitting in the middle of the field can jump the dig on Dagger and wall off the post, taking away the two main intermediate throws
- The pass menu is thin, so opponents who recognize the formation can sit on play-action and play Cover 4 or Cover 2 Man to sit over the shot plays
- If the defense matches with a hybrid safety or dime linebacker who can cover and fill, the personnel conflict disappears and the set loses much of its leverage
Usage Tips
Read the defender over the H before the snap: a linebacker aligned in the slot means take the passing matchup with Dagger, while a nickel corner or safety there signals a light box for Power O or HB Dive
On 1st and 10 and 2nd and short, run Inside Zone Wk and HB Stretch early to build tendency, then call PA Post Shot or PA Boot Slide once the safeties start triggering downhill
Against heavy pressure, hot route the fullback to a block or a quick flat on PA FB Flat, and consider a slant hot route on the H to give yourself a fast answer against zero blitz looks
When you see a single high safety and man coverage, Dagger's dig and the PA Post Shot are your best man beaters, so audible into them when the defense shows press and a crowded box
In short yardage and red zone situations, the set is a sneaky way to spread the box without leaving 21 personnel, so pair Counter Weak with a quick PA Boot Slide to keep edge defenders honest
Plays (9)
 Counter WeakCounter, Run Play, Power Run
 DaggerDagger, Pass Play, Cover 2 Beater +6
 HB DiveDive, Run Play
 HB StretchOutside Zone, Run Play, Zone Run
 Inside Zone WkInside Zone, Run Play, Zone Run
 PA Boot SlidePlay Action, Slide, Pass Play +5
 PA FB FlatPlay Action, Flat, Pass Play +4
 PA Post ShotPlay Action, Post, Pass Play +1
 Power OPower, Run Play, Power Run