Playbooks

At a Glance
In 13 playbooks
Overview
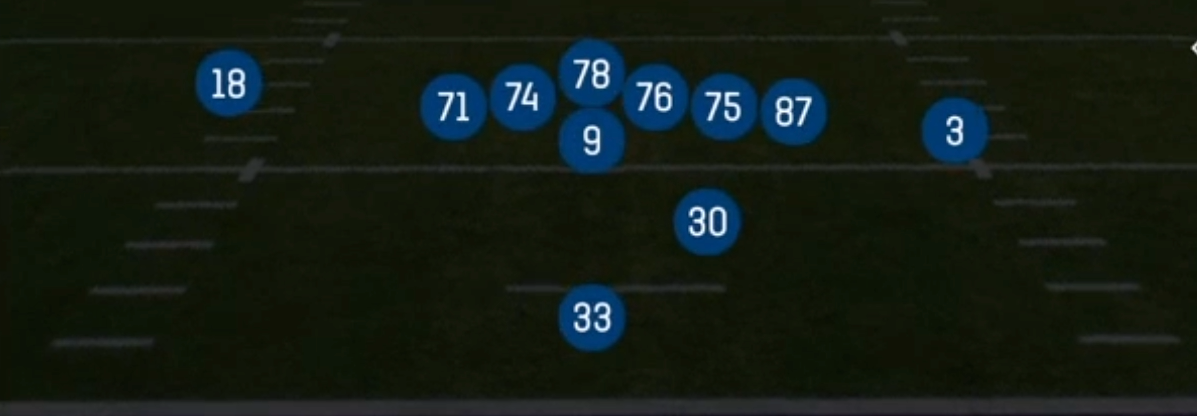
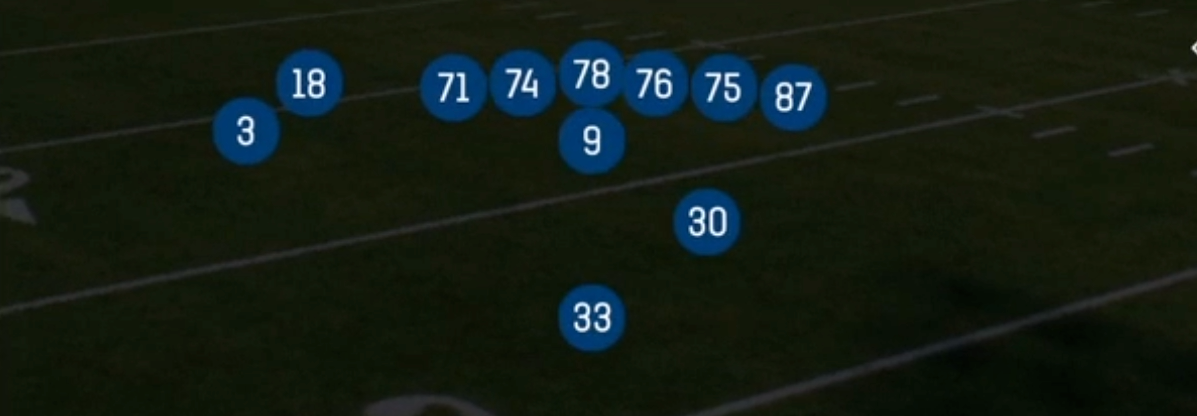
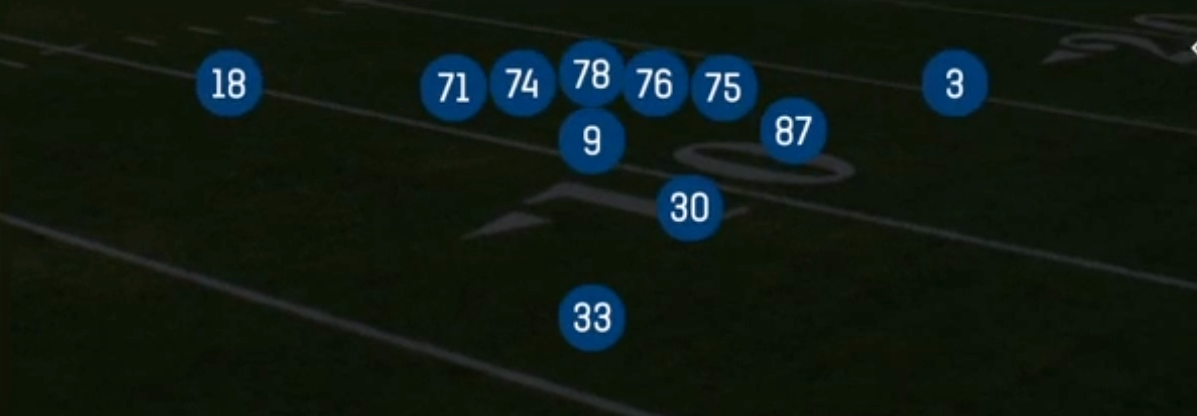
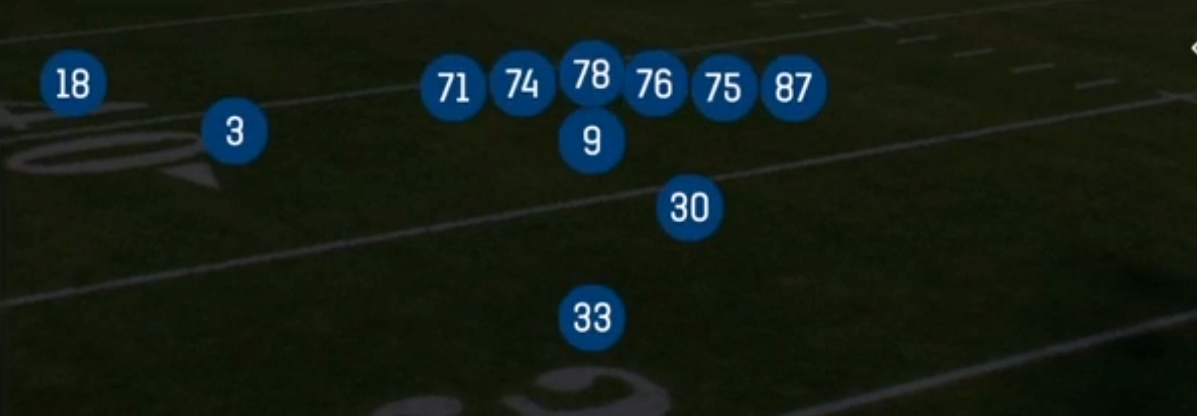
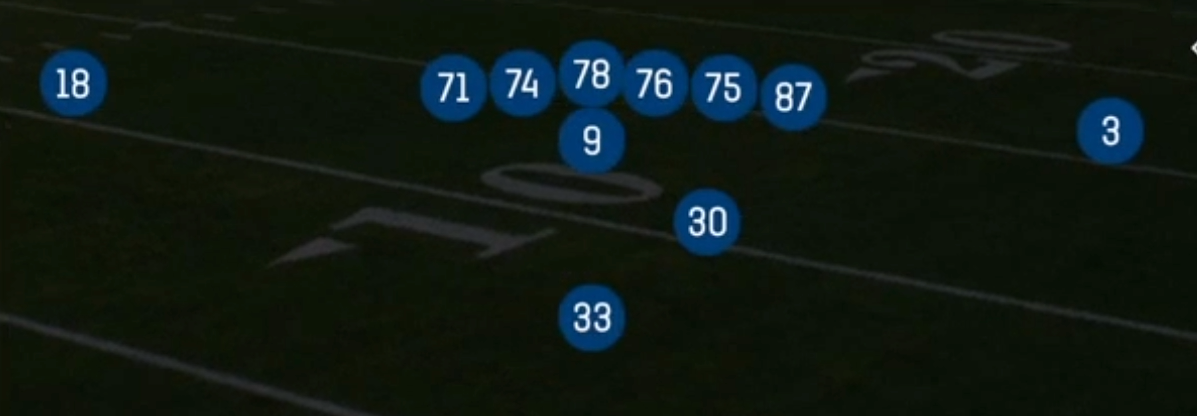
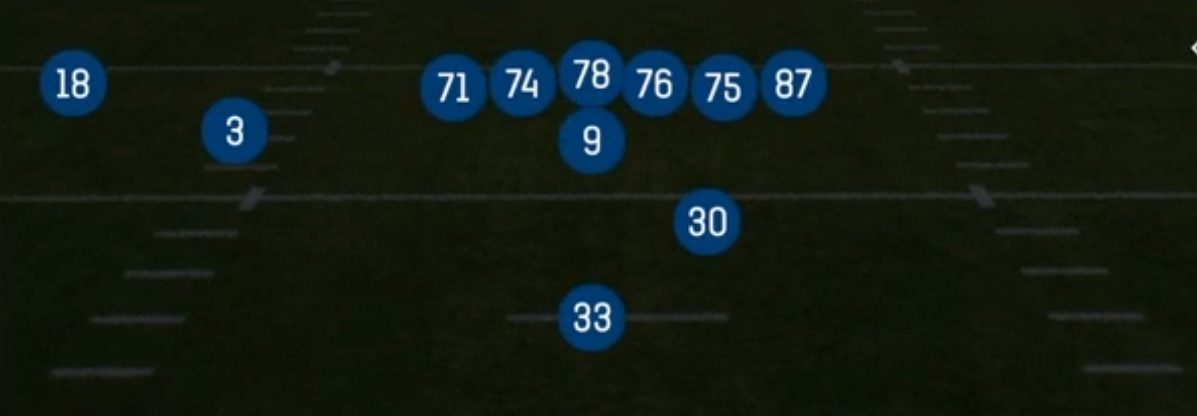
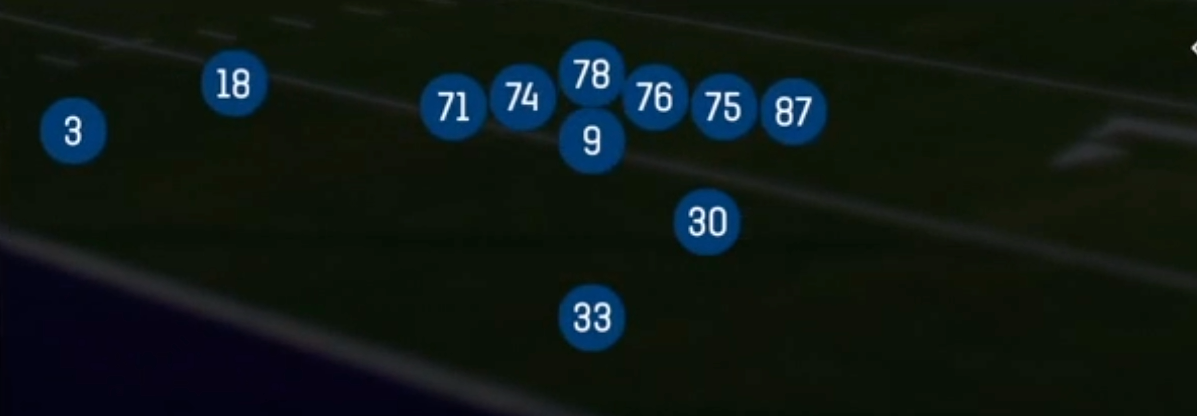
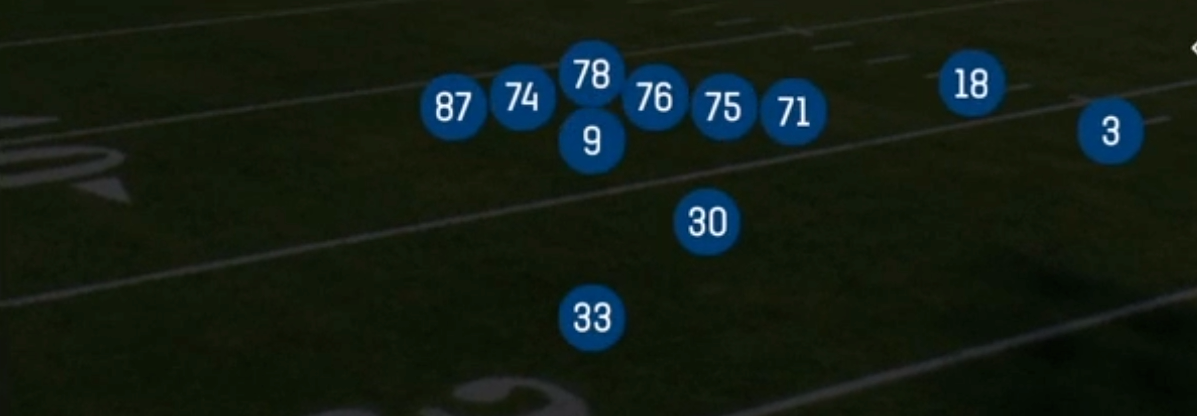
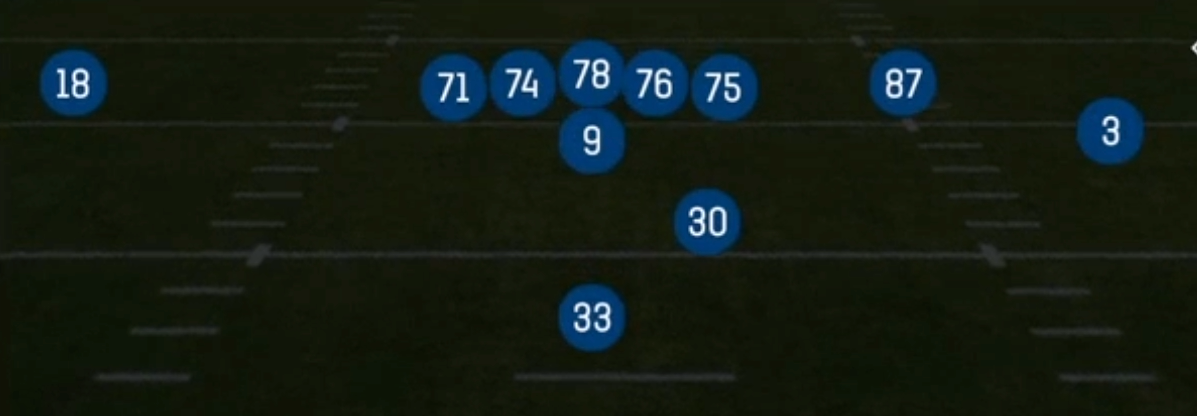
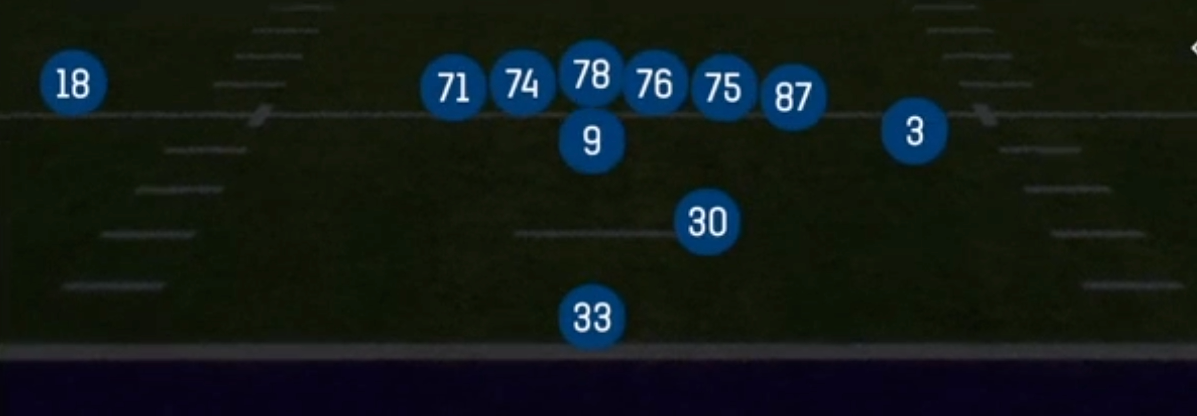
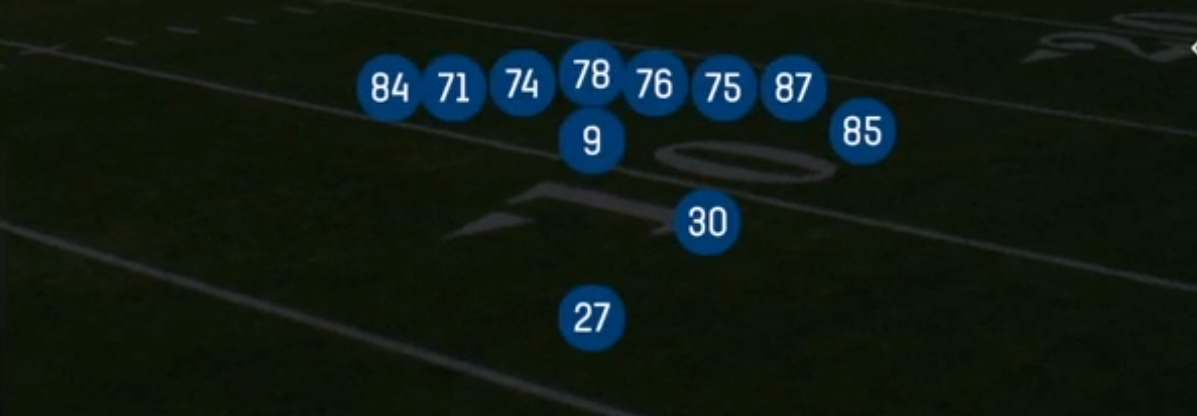
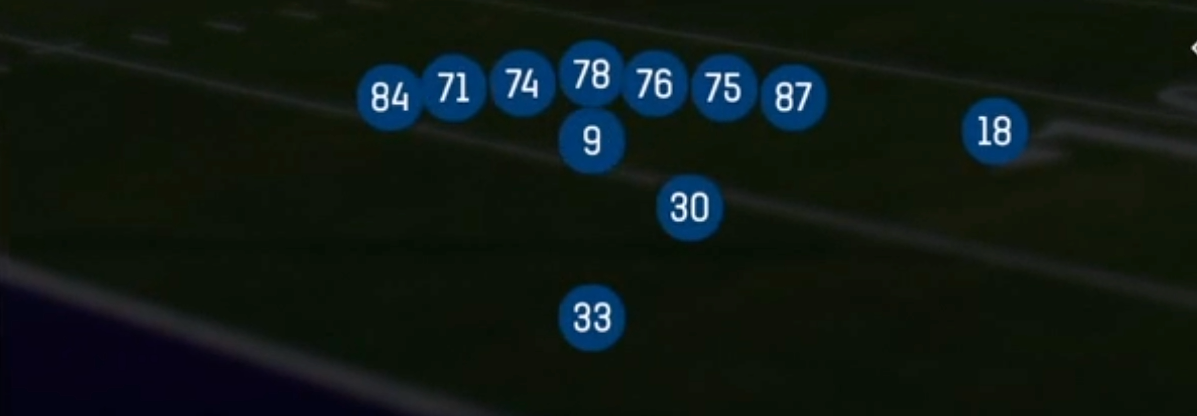
Y Off Close takes the standard Strong I look (fullback offset to the strong side behind the tackle) and moves the tight end off the line into a close wing alignment tucked just outside the strong tackle. The TE is no longer attached as an inline blocker. That one change separates Y Off Close from the base Strong I sets. The TE becomes a movable piece who can arc, kick out, wham, or leak into routes without being jammed at the line. The defense still sees 21 personnel and heavy run strength to one side, but every gap assignment shifts because the Y can climb to the second level or insert on the backside with a split zone or counter track.
The play list is built around that flexibility. Zone Split Lead, SFT Mtn Zone Wk, and Mtn Counter Solid use the off TE and fullback as lead or trap blockers. HB Blunt Dive, HB Blast, and HB Stretch give you a downhill power menu that fits a Power HB. The play action side is loaded: PA Boot X Shot, PA Scissors, SFT Mtn PA Y-Fork, SFT PA Double Cross, and Mtn PA Counter all use the same backfield action as the run game. TE Option adds a gadget look that isolates the tight end against a linebacker or safety who has spent the series filling downhill.
The matchup advantage comes from forcing base personnel. Most opponents answer 21 with base 4-3 or 3-4, which leaves linebackers covering the off TE and fullback in the flat. That puts pressure on the defense's weakest cover players. It also leaves the X receiver alone on the backside against single coverage on boot concepts. A 3DRB at halfback turns the backfield into a real receiving threat on Mtn Flood and Double Cross, so the defense can't sit in heavy fronts without paying for it.
Strengths
- The off TE alignment creates clean wham, arc, and split zone blocking angles, which makes Zone Split Lead and SFT Mtn Zone Wk hard to fit for defenses that load the strong side B gap
- PA Boot X Shot and PA Scissors share run action with HB Stretch and Zone Split Lead. Linebackers who flow on the fake leave the deep crosser and corner route wide open against Cover 3 and Cover 1
- Mtn Flood gives you a reliable three level zone beater to the boot side (flat, intermediate out, deep corner). Hot routing the HB to a wheel punishes Cover 2 and Cover 4 squat corners
- SFT PA Double Cross and SFT Mtn PA Y-Fork are strong man beaters because the TE releases from off the ball with a free runway, which creates natural separation from linebackers in Cover 1 and Cover 0
- TE Option and the counter package (Counter Weak, Mtn Counter Solid, Mtn PA Counter) punish users who cheat to the strong side pre snap, giving you a built in answer to aggressive run commits
Weaknesses
- Off ball TE alignment gives up the edge seal, so a nano blitz or overload off the strong edge can hit the backfield before the fullback or TE reaches his block on stretch and counter plays
- Boot and Scissors concepts take long developing play action drops, making them vulnerable to backside contain blitzes and a user controlled edge defender who stays home on the fake
- Only two true wide receivers leaves thin spread concepts, so a defense can match with base personnel and play Cover 1 robber or a user in the middle hook to take away crossers without fear of empty or trips looks
- The set tips run strength heavily to the strong side. Smart opponents shift linebackers strong, slant the D line, and force you to live on the weak side counters or give the look away through tendencies
- Limited quick game options mean long yardage downs (3rd and 8 plus) push you into slow PA shots or Mtn Flood, which opponents can sit on with Cover 2 sink or Cover 3 buzz
Usage Tips
Use Y Off Close on 1st and 10 and 2nd and short to establish HB Blast and Zone Split Lead, then call PA Boot X Shot or PA Scissors from the same look once you see the linebackers or safety crashing on the run fake
Read the box pre snap: if the defense shows six in the box or a light nickel, stay with HB Blunt Dive or HB Blast. If you see eight in the box with a single high safety, audible to SFT PA Double Cross or SFT Mtn PA Y-Fork to attack man coverage
When the defense slants or shifts strong, check to Counter Weak or Mtn Counter Solid to hit the vacated backside gap. Mtn PA Counter off that action is a strong follow up once the user starts jumping the counter
Against Cover 3, run Mtn Flood and hot route the X to a streak or post to hold the deep middle safety, freeing the corner route and flat for easy yards on the boot side
Save TE Option for red zone or short yardage after several downhill runs have pulled the defense in, and use a 3DRB so the HB flat and checkdown stay live if the blitz arrives early
Plays (15)
 Counter WeakCounter, Run Play, Power Run
 HB BlastIso, Run Play, Power Run
 HB Blunt DiveDive, Run Play
 HB StretchOutside Zone, Run Play, Zone Run
 Mtn Counter SolidCounter, Motion, Run Play +1
 Mtn FloodFlood, Motion, Pass Play +6
 Mtn PA CounterPlay Action, Motion, Pass Play +5
 PA Boot X ShotPlay Action, Pass Play
- PA Boot X Shot (1)Play Action, Pass Play, Deep Cross +3
 PA ScissorsPlay Action, Scissors, Pass Play +7
 SFT Mtn PA Y-ForkPlay Action, Motion, Pass Play +3
 SFT Mtn Zone WkInside Zone, Motion, Run Play +1
 SFT PA Double CrossPlay Action, Crosser, Motion +4
 TE OptionOption Route, Pass Play, Angle +3
 Zone Split LeadInside Zone, Run Play, Zone Run