Playbooks

At a Glance
Overview
The Y Off Trio Wk set is an 11 personnel look out of Shotgun. It stacks three eligible receivers to the trio side and flexes the tight end off the line of scrimmage. The halfback aligns to the weak side, away from the trio, which leaves the single receiver backside isolated. That weak side alignment is what separates it from standard Trio or Bunch sets in the formation. The back becomes a real threat to the solo side on swings, circles, and slip screens, and he can lead or insert on runs like Buck Sweep and Power Read. Because the Y is off the ball, he can motion, arc block, or release cleanly without being jammed. The defense has to account for him as both a blocker and a receiver on every snap.
The trio side creates constant leverage problems for zone defenders. Concepts like Flood, Strong Flood, Stick, Saints Cross, and Curls Combo put three defenders in conflict on one half of the field. Meanwhile the backside X gets true isolation on Slants, Comebacks, In Go, and Dagger X Out. Defenses that rotate coverage toward the trio open up the solo receiver and the weak side back. Defenses that stay balanced get outnumbered on the trio side. This is where the SLWR tag shines, because a slot receiver with elite route running can win against linebackers and nickel corners from the inside of the trio.
The set also carries a deep Motion (Mtn) and Orbit package: SFT Mtn Stack Shake N Up, SFT Mtn Stack PoCo, Mtn Smash Go, Orbit PA Scissors, and Orbit RPO Buck Swing. Pre-snap movement reveals man or zone and forces defenders to bump or pass off receivers. Add RPO Alert Orbit, Y Lead Read Option, and a full run menu of Inside Zone, Mtn Split Zone, Mtn Outside Zone, and HB Mid Draw. The result is a complete spread attack from one personnel grouping. The 3DRB, Gadget, and Power HB tags reflect that versatility, since the back is equally valuable as a receiver, a gadget motion piece, or a downhill runner.
Strengths
- Trio side zone beaters like Flood, Strong Flood, Stick, and Curls Combo create high-low and horizontal stretches that overload Cover 3 and Cover 4 flats, with the off ball Y releasing free into voids
- The isolated backside X is a true man beater on Slants, Comebacks, In Go, and Dagger X Out, especially when the defense rotates safety help toward the three receiver side
- The weak side HB alignment turns HB Slip Screen, HB Circle, and Orbit RPO Buck Swing into built-in pressure punishers that attack the vacated side of the field against edge and slot blitzes
- Mtn and Orbit motion plays such as SFT Mtn Stack Shake N Up, Mtn Smash Go, and Orbit PA Scissors reveal man or zone pre-snap and create natural rubs and stack releases that beat press man
- A balanced run and RPO menu (Inside Zone, Mtn Split Zone, Power Read, Y Lead Read Option, RPO Alert Orbit) keeps light boxes honest and punishes nickel and dime personnel that sub in to defend the trio
Weaknesses
- Only five linemen and a flexed Y means protection is thin, so overload blitzes from the trio side or a nano blitz off the weak edge can get home before deep shots like Four Verticals or PA Post Dig Shot develop
- The formation telegraphs strength, so a user-controlled linebacker or safety sitting in the trio side curl or hook zone can jump Stick, Curls Combo, and Saints Cross throws
- When the defense bracket shades or doubles the backside X with Cover 2 man or a cloud flat, the isolation concept loses value and forces reads into a crowded trio side
- The weak side HB offset tips run direction on some looks, letting aggressive defenders crash on Buck Sweep and HB Sweep while slanting the defensive line toward the back
- Motion heavy plays can backfire against Cover 0 and overload pressure, since the snap timing leaves less time to hot route or slide protection before the blitz arrives
Usage Tips
Use motion on SFT Mtn Stack PoCo or Mtn Smash Go to read the defense: if a defender follows the motion across, it is man, so go to the isolated X or a trio side rub. If defenders bump, it is zone, so work Flood or Stick to the overloaded side
On 3rd and short to medium, call Stick, Spot Slot Out, or Quick Unders and hot route the HB to a block or quick out depending on whether the defense shows pressure from the weak edge
When the defense plays a single high shell and shades a safety over the trio, audible to Dagger X Out, Comebacks, or In Go to attack the backside X one on one
Against nickel or dime with a light box, lean on Inside Zone, Mtn Split Zone, and Power Read, then use RPO Alert Orbit or Orbit RPO Buck Swing to punish linebackers who flow downhill
In the red zone and two minute drill, pair Four Verticals or Corner Strike with HB Slip Screen and Double Drags as blitz answers, and keep a Slants or Quick Fork Zig audible ready for Cover 0
Plays (55)
 Buck SweepSweep, Run Play
 ComebacksComeback, Pass Play, Block and Release +2
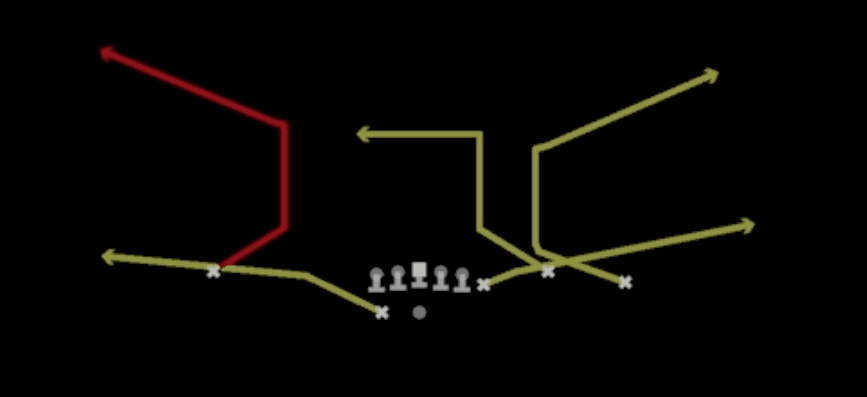 Corner StrikeCorner, Pass Play, Flat +1
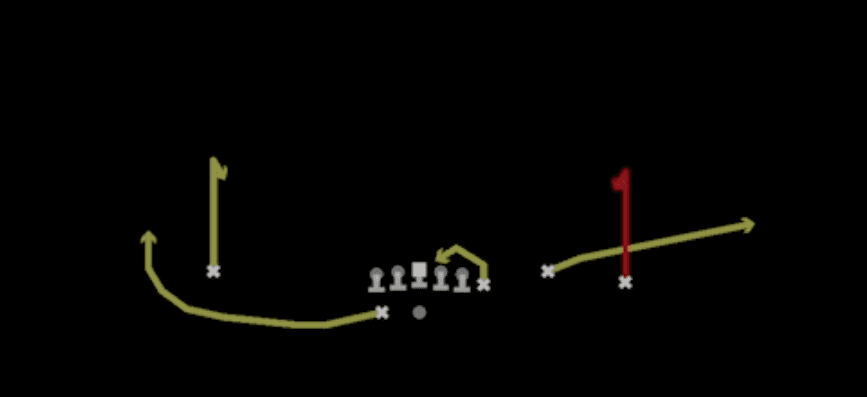 Curls ComboCurl, Pass Play, Flat +1
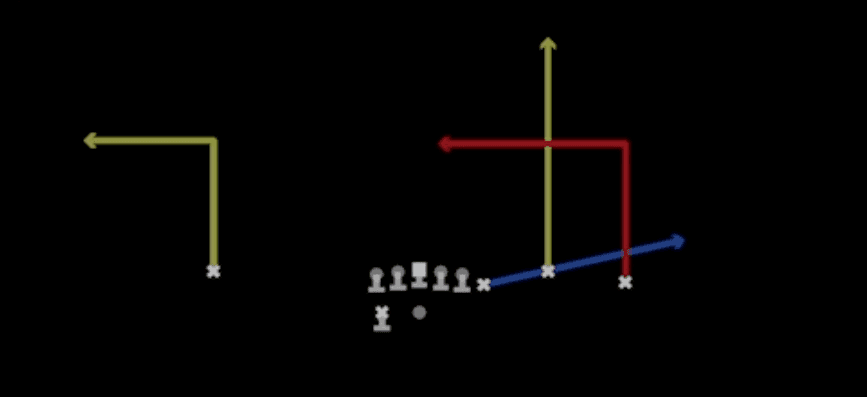 Dagger X OutOut, Dagger, Pass Play +5
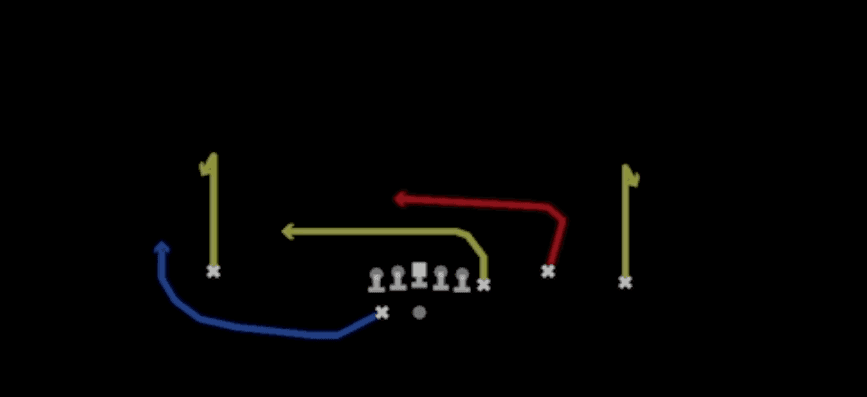 DBL InsIn, Pass Play, Drag +3
- Deep InDig, Drag, Crosser +3
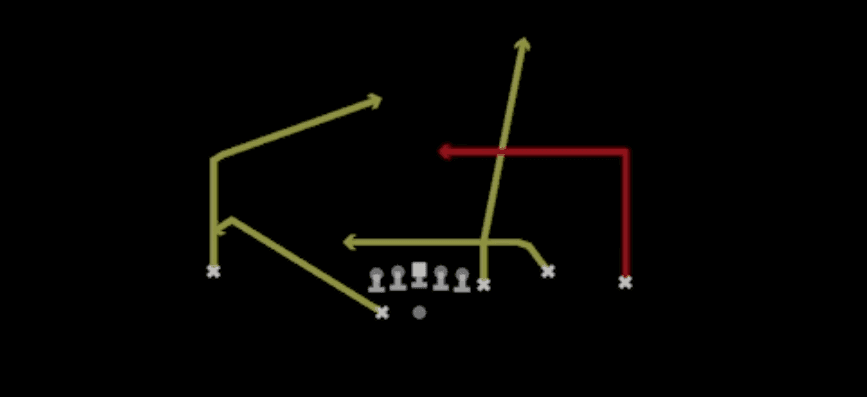 Deep lnPass Play, In, Dig +7
 Deep OutOut, Pass Play, Block and Release +3
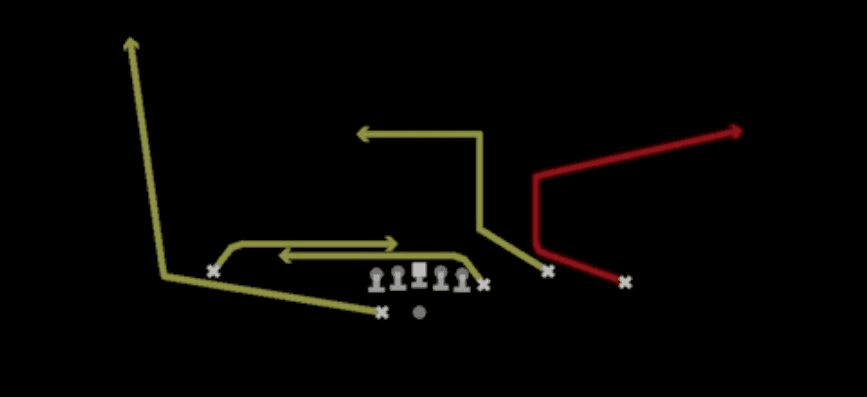 Double DragsDrag, Pass Play, Corner +3
 Double GoGo, Pass Play
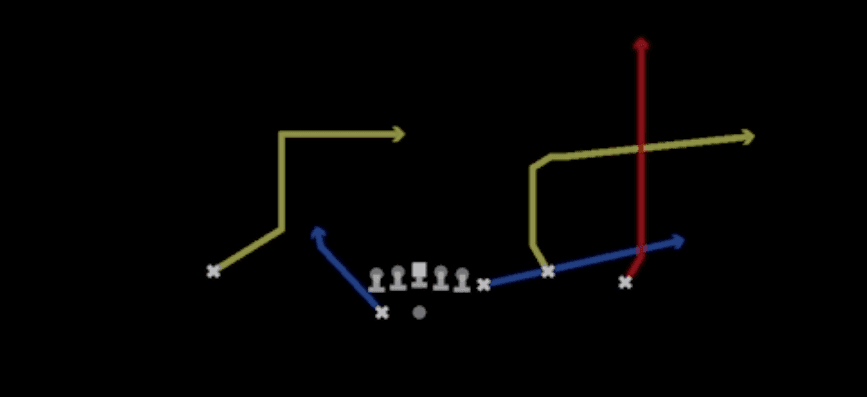 FloodFlood, Pass Play, Cover 3 Beater +5
 Flood PostPost, Flood, Pass Play +5
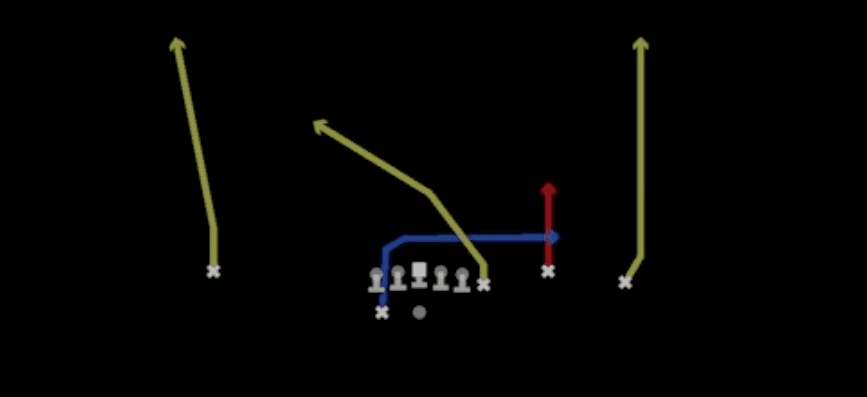 Four VerticalsFour Verts, Pass Play, Cover 2 Beater +6
 HB BaseDive, Run Play
 HB CirclePass Play, Go, Flood +8
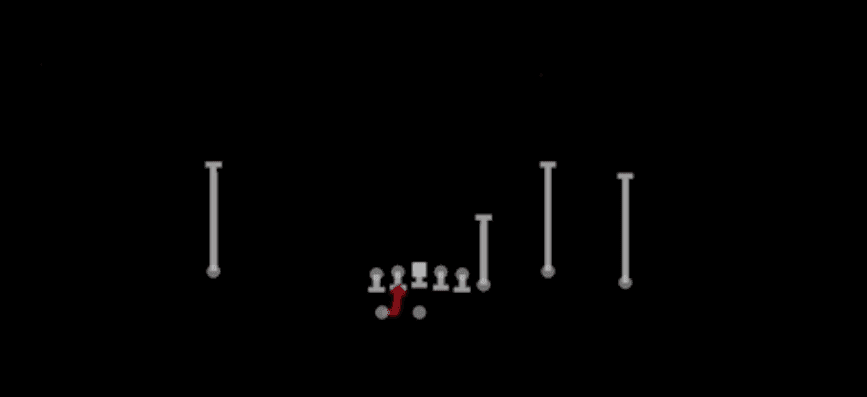 HB Mid DrawDraw, Run Play
 HB Slip ScreenScreen Pass, Hb Screen, Pass Play +5
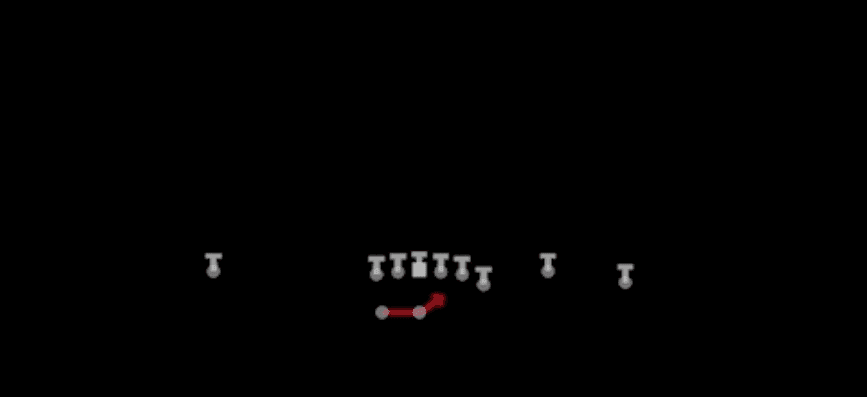 HB SweepSweep, Run Play
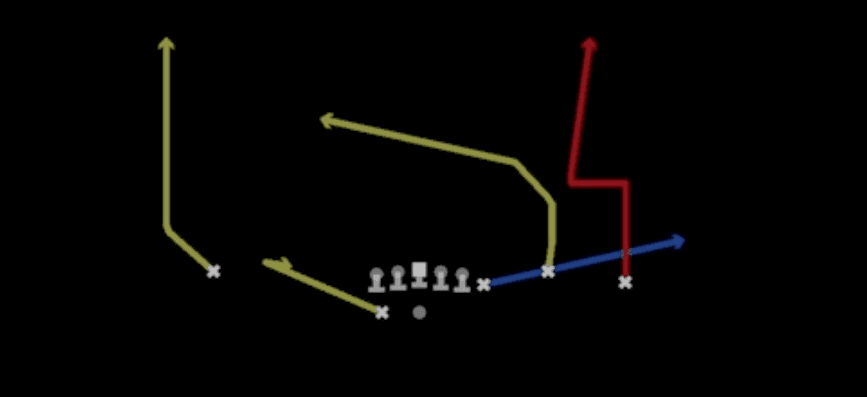 In GoGo, Pass Play, Block and Release +4
 Inside ZoneInside Zone, Run Play, Zone Run
 MillsMills, Pass Play, Cover 4 Beater +4
 Mtn Outside ZoneOutside Zone, Motion, Run Play +1
 Mtn PA Deep OverPlay Action, Deep Over, Motion +6
 Mtn Smash GoGo, Smash, Motion +6
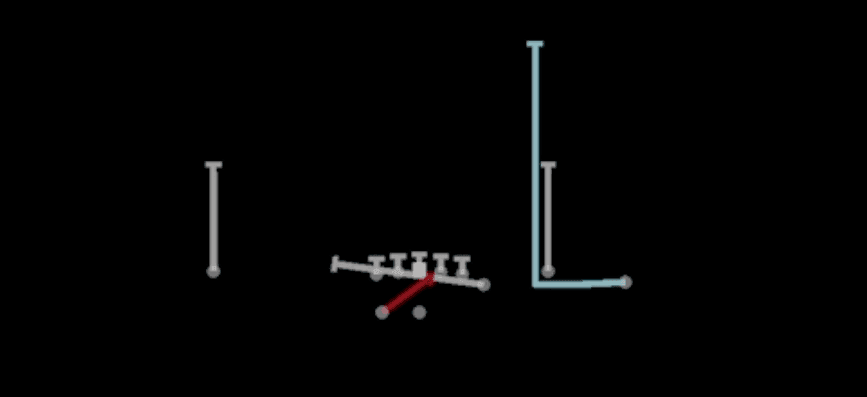 Mtn Split ZoneMotion, Inside Zone, Run Play +1
 Orbit PA CrossPlay Action, Motion, Pass Play +6
 Orbit PA ScissorsPlay Action, Scissors, Motion +8
- Orbit RPO Buck SwingRPO, Swing, Motion +2
 OutsOut, Pass Play, Flat +1
 PA Post Dig ShotPlay Action, Dig, Post +3
 PA WR InPlay Action, Pass Play, Post +4
 PA Y WheelPlay Action, Wheel, Pass Play +5
 Power ReadPower, Run Play, Power Run
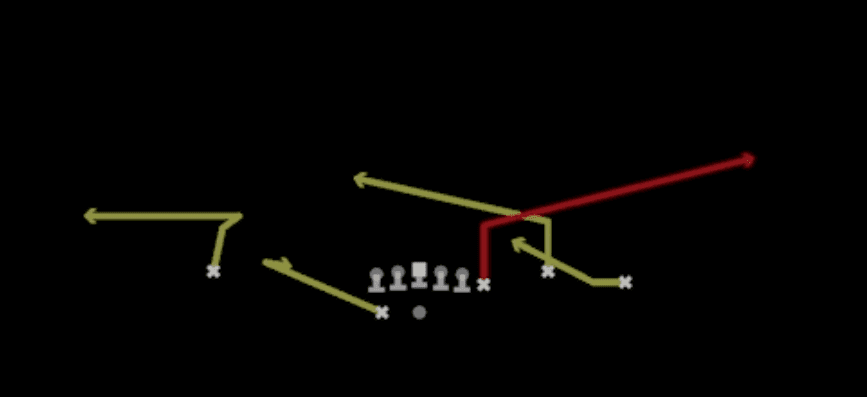 Quick Fork ZigQuick Pass, Pass Play, Slant +1
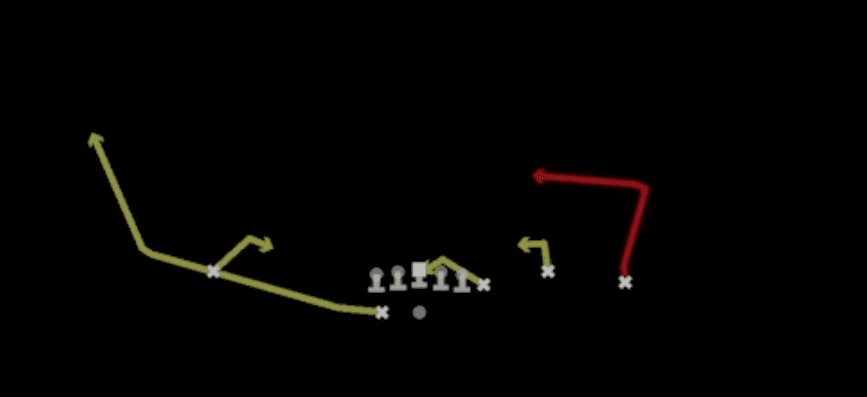 Quick Short PostQuick Pass, Post, Pass Play +1
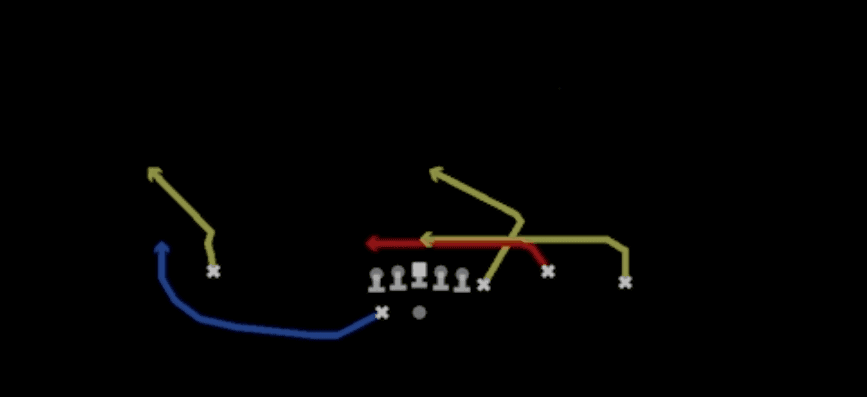 Quick UndersQuick Pass, Pass Play, Drag +5
 RPO Alert OrbitRPO, Motion, Pass Play +1
 Saints CrossCrosser, Pass Play
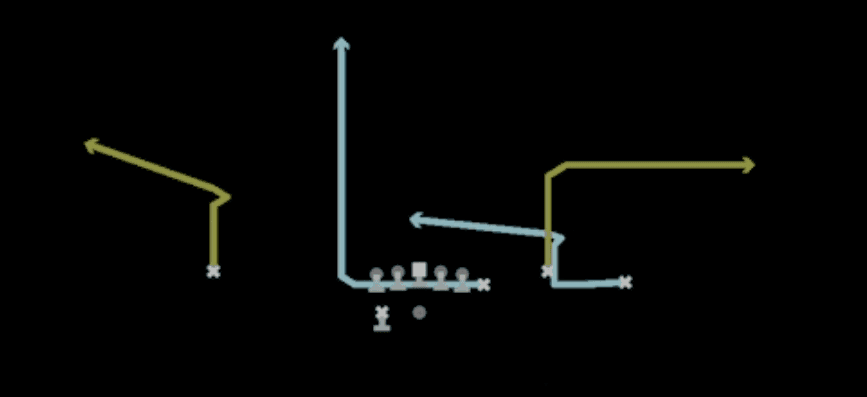 SFT Mtn Stack PoCoPost Corner, Motion, Pass Play +5
 SFT Mtn Stack Salem Y-OutMotion, Pass Play, Block and Release +2
 SFT Mtn Stack Shake N UpMotion, Corner Stop, Post +3
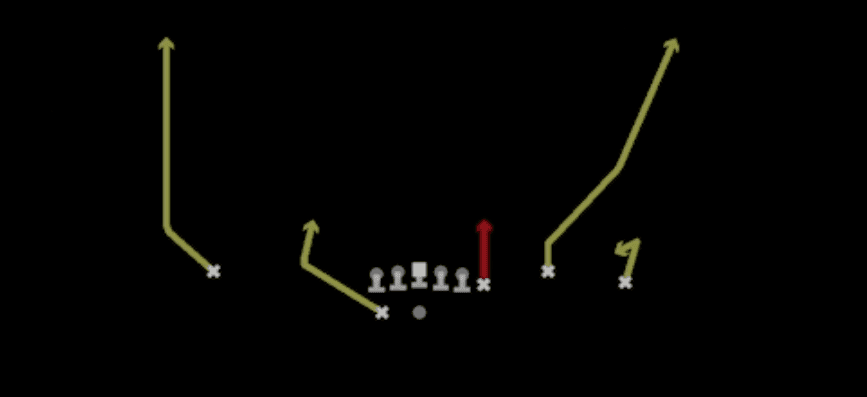 Shock H OptionOption Route, Motion, Pass Play +3
 SlantsSlant, Pass Play, Flat
 Slot 2 BucPass Play, Quick Pass, Go +9
 Slot CrossCrosser, Pass Play, Curl +4
- Slot Cross(1)Crosser, Pass Play, Block and Release +3
 Slot Deep CornerCorner, Pass Play, Curl +3
 Slot OptionOption Route, Pass Play, Comeback +2
 Spot Slot OutOut, Spot, Pass Play +5
 StickStick, Stick Concept, Pass Play +4
 Stick N UpStick, Stick Concept, Pass Play +5
 Strong FloodFlood, Pass Play, Cover 3 Beater +5
 Vertical TE CrossCrosser, Pass Play, Angle +1
 Y Lead Read OptionRead Option, Run Play









