Playbooks
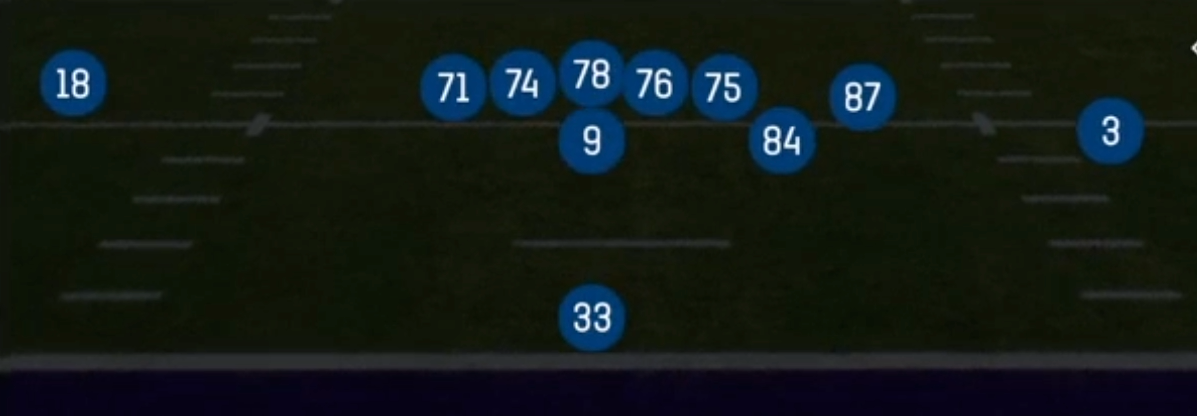
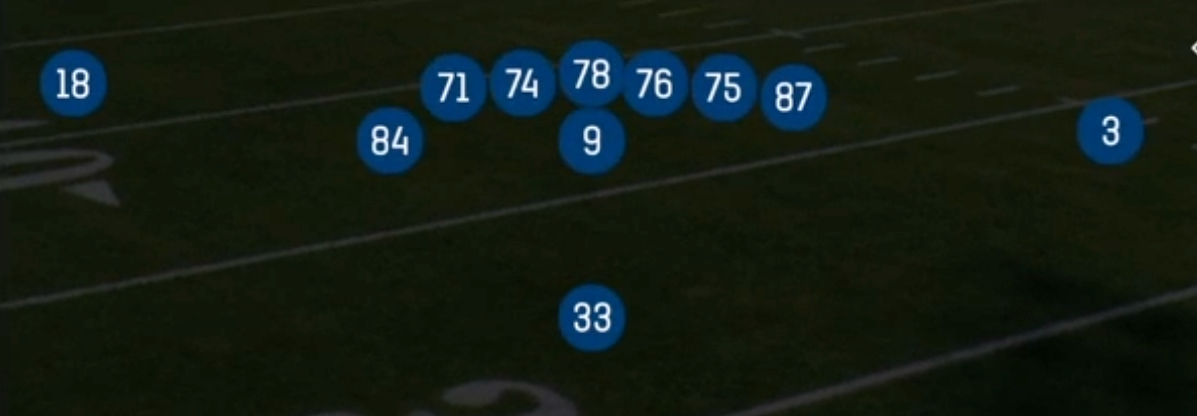
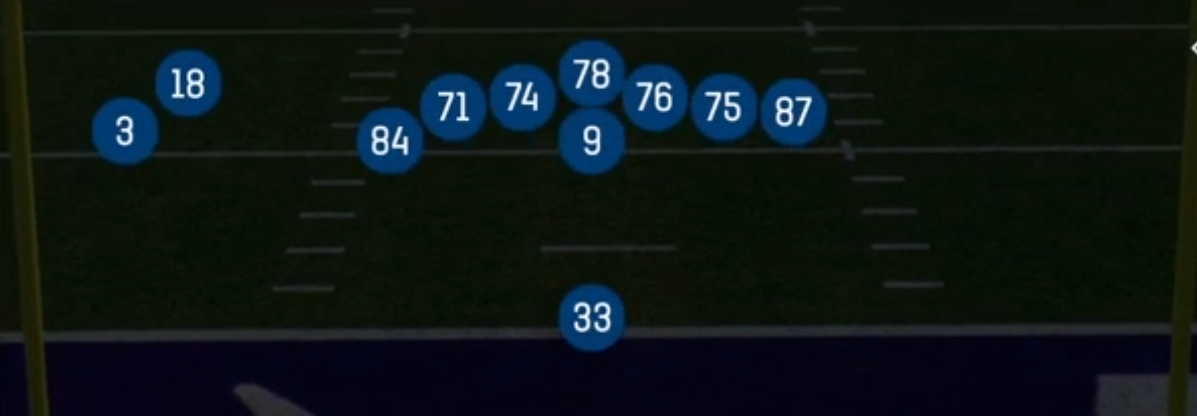
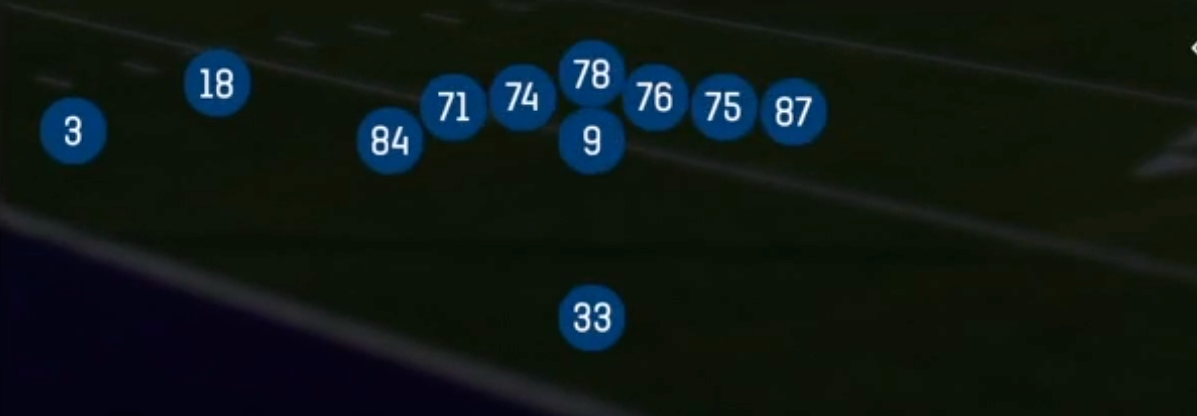
Wing Pair Heavy

At a Glance
In 16 playbooks
Overview
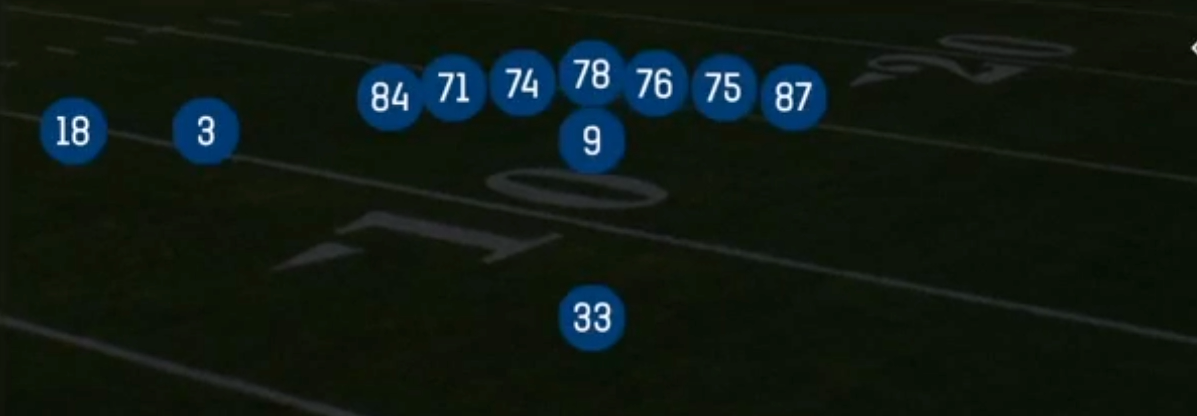
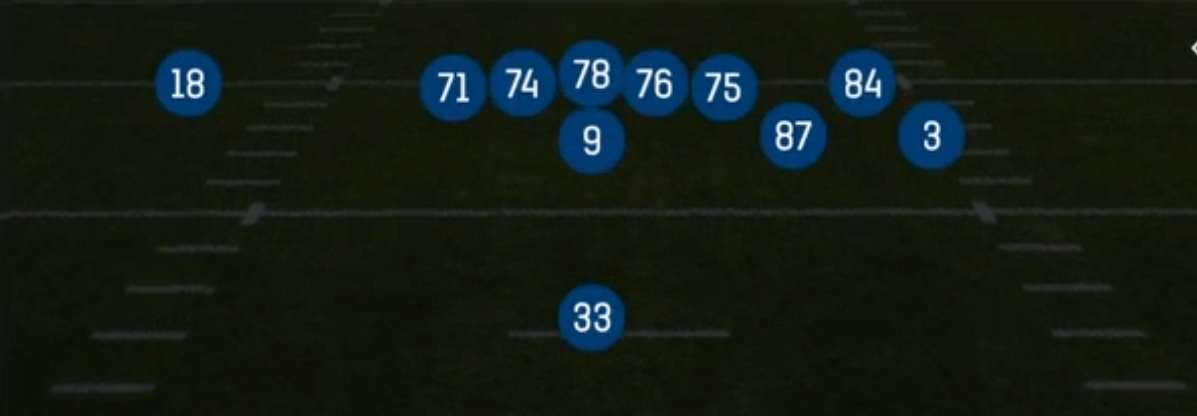
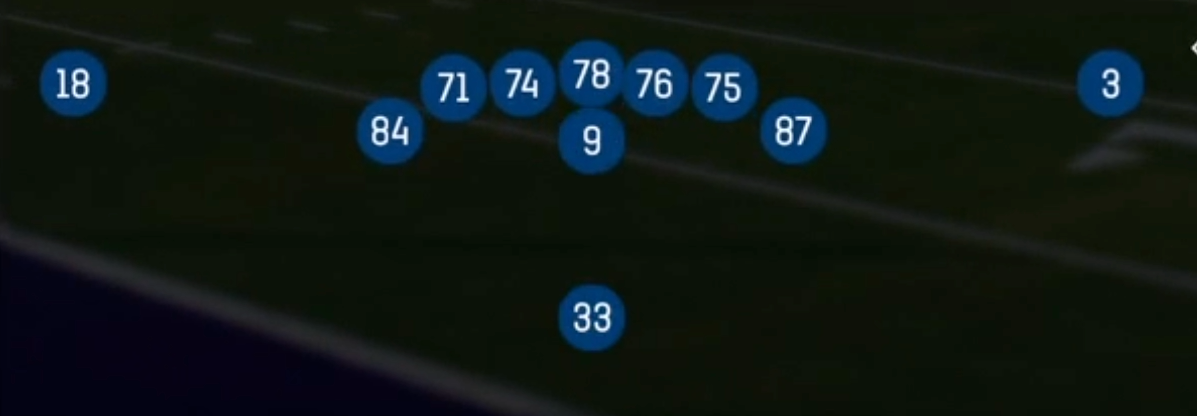
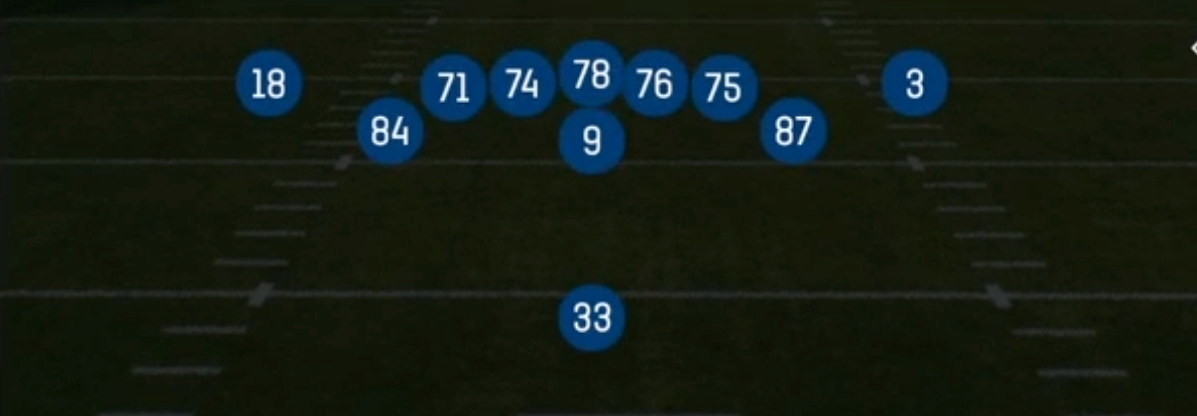
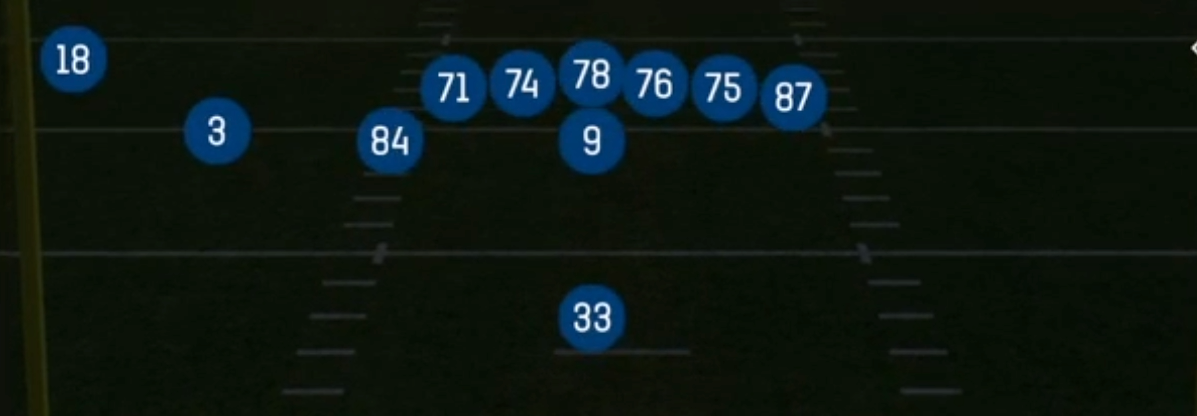
Wing Pair Heavy is the Singleback set built to win the line of scrimmage. It puts 12 personnel (1 RB, 2 TE, 2 WR) on the field and stacks both tight ends to the same side, one inline next to the tackle and one on the wing just off his hip. The result is an unbalanced, run-strong surface that creates an extra gap to the strength. Most other Singleback sets spread the tight ends or flex one out as a receiver. Wing Pair Heavy commits both blockers to one side, which forces the defense to declare its strength and add a defender to the box or risk getting outnumbered at the point of attack.
The wing tight end is the key piece. He can arc, kick out, seal the edge, or release into the flat on the same pre-snap look, so Mtn Power O, 26 Duo, HB Counter Wk, and HB Stretch all look identical to PA Sprint HB Flat, Mtn PA X Zig Flood, and Mtn PA Deep Flood until the ball is snapped. With the RB aligned directly behind the QB, the defense cannot read run direction from the backfield, and the inside zone, duo, and dive concepts can hit either A gap.
The matchup advantage comes from what the defense does to stop the run. When linebackers and a safety roll down to handle the double tight end surface, the backside receiver is left isolated, often on an island against a corner with no safety help. Heavy boots and flood concepts then attack the grass the rolled coverage vacates. Personnel packages with a reliable receiving TE on the wing are especially dangerous, because that TE can win against a linebacker in the seam or flat off play action.
Strengths
- Built-in extra gap to the strong side lets Mtn Power O, 26 Duo, and HB Stretch outnumber base 4-3 and 3-4 fronts, forcing defenses to spend a safety in the box just to match numbers.
- Identical pre-snap looks on runs and play action make Mtn PA X Zig Flood and Mtn PA Deep Flood lethal against Cover 3 and Cover 1 when the flat defender and robber bite on the run fake, leaving the deep out and corner routes open.
- HB Counter Wk and the weak side runs punish defenses that shift their front or slant hard toward the wing pair, hitting the vacated backside gap for explosive gains.
- The backside WR is frequently isolated one on one when the defense rolls toward the tight ends, making Y Stick, Mtn Spot, and hot routed slants or fades reliable man beaters on the weak side.
- RPO Stretch Alert Lookie turns overloaded boxes into free throws: if the box is loaded, the quick lookie or alert route wins against man, and if the defense plays soft, the stretch run has numbers.
Weaknesses
- Only two true wide receivers limit horizontal stretch, so Cover 2 man and Cover 4 Palms can match the vertical threats and sit on crossers in Mtn Mesh Drive without fear of a third or fourth quick option.
- Heavy run tendency is easy to scout: a user linebacker shaded toward the wing side, combined with a run commit or plus one box, blows up Mtn Power O, HB Inside Zone, and HB Dive before they reach the second level.
- Play action shots like PA Ctr Shot and Mtn PA Deep Flood take time to develop, so an edge blitz off the weak side or a nano overload away from the tight ends can hit the QB before the deep routes break.
- The unbalanced alignment tips run strength, allowing defenses to slant or angle the defensive line toward the wing pair and clog the frontside gaps on stretch and duo.
- A user safety sitting in the flat or curl zone on the strong side can erase PA Sprint HB Flat and the flood flat routes, forcing the QB to hold the ball or throw into tight windows.
Usage Tips
Run this set on 1st and 10 and short yardage to establish Mtn Power O and 26 Duo early, then attack the adjustments with Mtn PA X Zig Flood and Mtn PA Deep Flood once the defense starts rolling a safety into the box.
Read the box count pre-snap: six or fewer defenders in the box means hand it off on HB Inside Zone or HB Stretch, while seven or more with a single high safety is your cue to audible to a play action flood or RPO Stretch Alert Lookie.
Watch the weak side corner. If he is pressed with no safety over the top, hot route the backside WR to a fade or slant and take the isolated one on one matchup instead of forcing the play action concept.
Use HB Counter Wk as a counterpunch when the opponent slants the line or shifts linebackers toward the tight ends, and pair it with Mtn HB Plunge on goal line and 3rd and 1 when the defense plays a balanced front.
Against heavy blitzes, block the wing TE and RB on play action shots, or check to quick game like Y Stick and Mtn Spot to get the ball out before pressure arrives off the unprotected weak edge.
Plays (15)
 26 DuoDuo, Run Play, Power Run
 HB Counter WkCounter, Run Play, Power Run
- HB DiveRun Play
- HB Inside ZoneRun Play
- HB StretchRun Play
 Mtn HB PlungeMotion, Run Play
 Mtn Mesh DriveMesh, Drive, Motion +7
 Mtn PA Deep FloodPlay Action, Flood, Motion +6
 Mtn PA X Zig FloodPlay Action, Flood, Motion +6
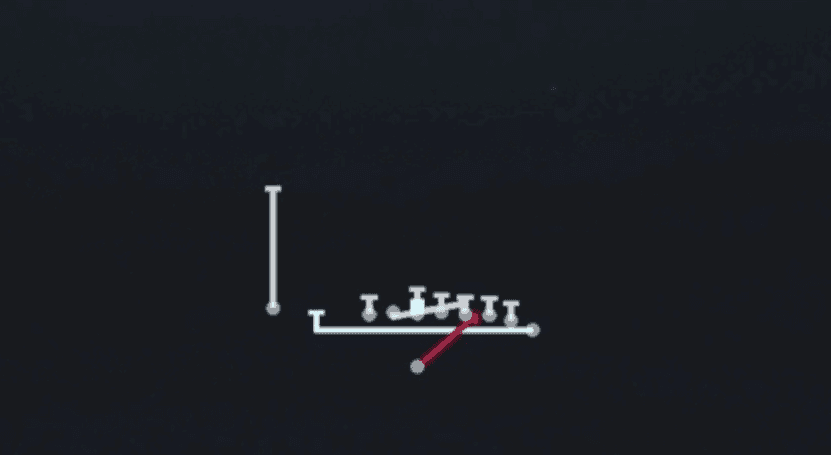 Mtn Power OPower, Motion, Run Play +1
 Mtn SpotSpot, Motion, Pass Play +5
 PA Ctr ShotPlay Action, Pass Play, Deep Cross +3
 PA Sprint HB FlatPlay Action, Flat, Pass Play +4
 RPO Stretch Alert LookieOutside Zone, RPO, Run Play +3
 Y StickStick, Stick Concept, Pass Play +2