Playbooks

Quick Reference
Breakdown
Over Storm Brave is a Dime 2-3-6 blitz package that sends four rushers straight up the middle off the snap, with the two interior defenders crossing paths to create natural traffic for the offensive line. The blocking assignment shown has all four underneath defenders dropping into shallow, tight zone drops after showing pressure, which disguises the true intent of the call. This is a sim pressure look designed to confuse the quarterback's protection reads pre-snap while dropping into man or zone coverage behind it, making it effective against both quick-game man beaters and hot-route heavy offenses.
Defensive Reads
Watch the offensive line splits pre-snap since tight splits often indicate the offense expects interior pressure and will slide protection to the middle. If the running back stays in to chip block the interior rushers, that is a sign the offense read the sim pressure correctly, so be ready to bail into your zone drop assignment quickly. This call beats quarterbacks who hold the ball on deep drops since the interior crossing rush collapses the pocket fast. Against empty or spread formations, check if the slot corners are showing hard outside leverage, which means the offense may try to attack the shallow zone vacated by the crossing rushers. If the quarterback checks to a screen or quick RPO at the line, be ready to have your zone droppers sink under the crossing routes rather than committing to the pass rush.
Usage Tips
Use this on early downs when the offense has shown a tendency to throw quick, timing-based routes since the crossing action underneath disrupts option routes and slants. Disguise the blitz by showing a standard Dime alignment pre-snap and only bring the interior rushers late to keep the quarterback guessing. Pair this call with Cover 1 Hole or Cover 3 Match in your play-calling sequence so the offense cannot key on formation tendencies. Take user control of one of the crossing interior defenders to manually time the rush and bait the quarterback into a hot throw. Save this for third and short or second and medium situations where the offense is likely to run quick game or RPOs rather than deep drops.
Other Plays in 2-3-6
 1 Double SlotCover 1, Man Coverage
 1 Double TECover 1, Double Te, Man Coverage
 1 Double Wr1Cover 1, Double Wr1, Man Coverage
 1 Double Wr2Cover 1, Double Wr2, Man Coverage
- Bracket 9 Switch
 Bracket Switch WillieMan To Man, Man Coverage
- Buck Slant 3Cover 3, Line Slant, Zone Coverage
 Cover 1 HoleCover 1, Cover 1 Hole, Man Coverage
- Cover 1 LB BlitzCover 1, Blitz, LB Blitz +1
- Cover 1 QB ContainCover 1, Contain, Man Coverage
 Cover 1 Robber Show 2Cover 1, Cover 1 Robber, Man Coverage
- Cover 2 Hard FlatCover 2, Zone Coverage
 Cover 2 InvertCover 2, Inverted Coverage, Zone Coverage
 Cover 2 ManCover 2 Man, Man To Man, Man Coverage
- Cover 2 SinkCover 2, Zone Coverage
- Cover 3 BluffCover 3, Zone Coverage
 Cover 3 Buzz MableCover 3, Cover 3 Buzz, Zone Coverage
- Cover 3 Buzz MatchCover 3, Cover 3 Buzz, Cover 3 Match +1
- Cover 3 Buzz Show 2Cover 3, Cover 3 Buzz, Zone Coverage
- Cover 3 Hard FlatCover 3, Zone Coverage
 Cover 3 MatchCover 3, Cover 3 Match, Zone Coverage
 Cover 3 SkyCover 3, Cover 3 Sky, Zone Coverage
 Cover 4 PalmsCover 4, Cover 4 Palms, Zone Coverage
 Cover 4 QuartersCover 4, Quarters, Zone Coverage
- Cover 6
- Cover 6 InvertCover 6, Inverted Coverage, Zone Coverage
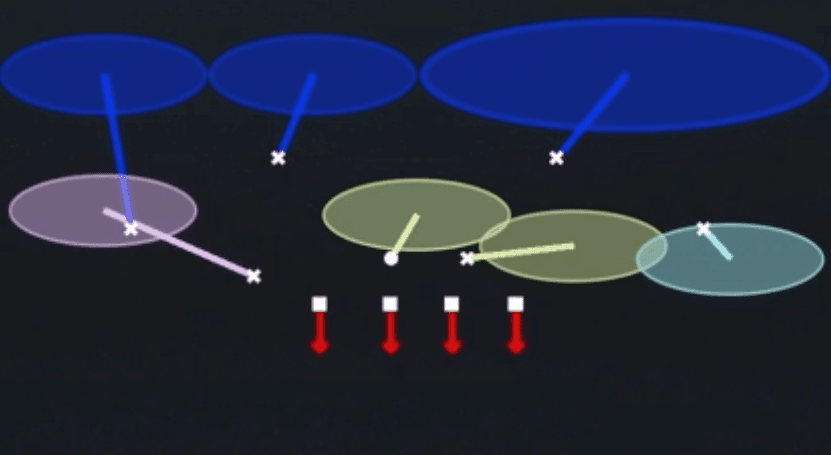 Cover 6 Show 2Cover 6, Zone Coverage
 Cover 6 WillieCover 6, Zone Coverage
- Cover 9 Sammie
 Cover 9 Show 2Cover 9, Zone Coverage
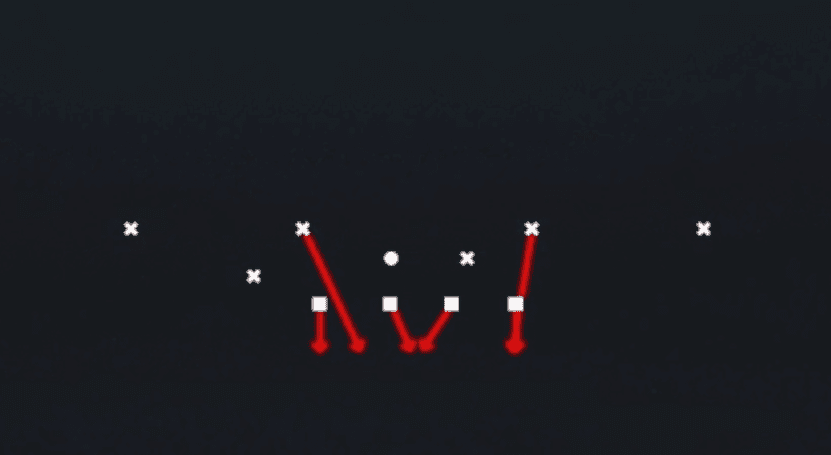 Dbl Safety BlitzBlitz, Safety Blitz
 Double BracketMan To Man, Man Coverage
 Double Bracket SwitchMan To Man, Man Coverage
 Edge Blitz 0Cover 0, Blitz, Edge Blitz +2
 Edge Blitz 3Cover 3, Blitz, Edge Blitz +1
 Field Sim 3Cover 3, Simulated Pressure, Zone Coverage +1
- FS Middle 3Cover 3, Zone Coverage
 FS Will Blitz 0Cover 0, Blitz, LB Blitz +3
- Man Double BuzzMan To Man, Man Coverage
 Nickel 2 TrapCover 2, Trap Coverage, Zone Coverage
 Nickel Sim 2Cover 2, DB Blitz, Simulated Pressure +2
 Overload 3 PressCover 3, Overload Blitz, Zone Coverage +1
- Pounder
- Press QuartersQuarters, Cover 4, Zone Coverage
- Prowl Slant 3 SeamCover 3, Line Slant, Zone Coverage
- Roll 23 Cloud
- Roll Cover 2 Invert
- Roll Cover 3 Cloud
- Roll King
- Roll Ring
- Silver Shoot PinchBlitz, Pinch
 Sim Pressure 3Cover 3, Simulated Pressure, Zone Coverage +1
- Slant Zone 2Cover 2, Zone, Line Slant +1
- SS Overload 3Cover 3, Overload Blitz, Zone Coverage +1
 Tampa 2Cover 2, Tampa 2, Zone Coverage
- Under Smoke 2Cover 2, Blitz, Safety Blitz +1