Playbooks

At a Glance
In 19 playbooks
Overview
Spread Dbl Flex is one of the most versatile 11 personnel looks in the Shotgun formation, built around a balanced 2x2 spread with the tight end detached from the core as a flexed receiver instead of sitting in a traditional inline stance. The halfback aligns next to the quarterback in the gun, which gives you a legitimate run threat and a checkdown option on every snap. Compared to tighter Shotgun sets, this alignment spreads the defense horizontally and forces defenders to declare their coverage before the snap. Linebackers who stack the box get stressed by quick game to the flexed tight end, and those who widen give up interior run lanes.
The flexed tight end is the matchup engine of this set. When the defense stays in base personnel, you get a receiver-sized route runner working against a linebacker. When they go nickel or dime to match, you can hand off on Inside Zone, HB Counter, and HB Mid Draw against a lighter box. The set carries a deep motion menu (the Mtn tags) that lets you shift the halfback or a receiver pre-snap to reveal man or zone. Mtn Fk Swing Wheel, Mtn DBL Slants Wheel, and Mtn Flood H-Wheel all use motion to create leverage problems and stretch coverage vertically out of the backfield.
With 3DRB and Gadget tags, Spread Dbl Flex rewards a pass-catching halfback and a mobile quarterback. HB Slip Screen, Mtn HB Swing, and Mtn Fk Swing Mid Screen get your back into space. Read Option, QB Wrap, RPO Peek Slant, RPO Zone Peek, and RPO Alert Z Screen give dual-threat quarterbacks built-in conflict reads. Add staples like Mesh, Mtn Mesh Spot, Four Verticals, and Y Shallow Cross, and you have a set that can serve as your whole offense.
Strengths
- The flexed tight end creates an automatic mismatch against base defenses, and concepts like Y Shallow Cross, Cross H Divide, and Mtn Curls H-Sluggo isolate him on linebackers who cannot carry him vertically or across the field.
- Mesh, Mtn Mesh Spot, Slants Middle, and Quick Slants are elite man beaters because the crossing traffic creates natural rubs, and the halfback flat or swing gives you a quick answer against Cover 0 pressure.
- The motion package (Mtn DBL Slants Wheel, Mtn Fk Swing Wheel, Mtn Flood H-Wheel) reveals man versus zone pre-snap and gets the 3DRB matched on a linebacker running a wheel up the sideline, which is a consistent big play against Cover 1 and Cover 3 Match.
- Flood and high-low zone beaters like Curl Flats, Z Spot, Flanker Dig, and Mtn DBL Dig Swing stress Cover 3 and Cover 4 by putting multiple defenders in conflict, while PA Dig and PA Slot Post punish safeties who trigger downhill on the run fake.
- The RPO and option tree (RPO Peek Slant, RPO Zone Peek, RPO Alert Z Screen, Read Option, QB Wrap) punishes defenders who cheat, forcing the defense to spend a user on the quarterback or give up easy yards.
Weaknesses
- Only one inline blocker at best, since the tight end is detached, so edge pressure and nano blitzes off the boundary get home fast on deeper drops like Four Verticals, PA Comebacks, and Deep Curl unless you slide protection or keep the halfback in.
- The 2x2 spread tells a good opponent what you want, and a user-controlled middle linebacker or robber safety sitting in the shallow window can take away Mesh, Y Shallow Cross, and Inside Cross, which are the set's most spammed concepts.
- The run game is light on power concepts, so heavy nickel with a sixth box defender or a crashing edge can stall Inside Zone and HB Quick Base, and Read Option loses its value if the quarterback lacks speed.
- Screens such as HB Slip Screen, Mtn WR Slip Screen, and Mtn Fk Swing Mid Screen are easy to sniff out when defenders are put in QB contain or when a user drops into the flat before the snap.
- Motion plays take time to develop, and opponents who show pressure and rotate late can bait you into snapping mid-motion into the wrong coverage read, leading to sacks or turnovers on wheel and fade concepts.
Usage Tips
Before the snap, motion the halfback or flanker on Mtn plays and watch the defender who follows: if someone trails across the formation it is man, so work the rub on Mtn Mesh Spot or the wheel on Mtn DBL Slants Wheel; if the defense bumps over it is zone, so flip to Curl Flats or Flanker Dig.
On 3rd and short to medium against Cover 0 or Cover 1, call Mesh or Slants Middle and hot route the halfback on a quick out or slant to give yourself an immediate answer before pressure arrives.
When your opponent drops a linebacker into a deep zone or plays a lot of Cover 3, run Y Shallow Cross or Cross H Divide and read the hook defender: throw the shallow when he sinks, and hit the dig or divide route behind him when he jumps the crosser.
Use RPO Peek Slant and RPO Zone Peek on early downs to keep your run game efficient, and if you see a user sitting in the slant window, give the handoff and let the box count work in your favor.
Against heavy blitz looks, block the halfback or slide the line, then audible to HB Slip Screen or Mtn WR Slip Screen to punish overaggressive rushers, but save screens for when the edge defenders are actually crashing rather than sitting in contain.
Plays (43)
 Corner StrikeCorner, Pass Play, Block and Release +1
- Cross H DivideCrosser, Deep Cross, Post +4
 Curl FlatsCurl, Pass Play, Flat +1
 Deep CurlCurl, Pass Play, Drag +4
 Flanker DigDig, Pass Play, Flat +3
 FL CrossCrosser, Pass Play, Corner +4
 Four VerticalsFour Verts, Pass Play, Cover 2 Beater +5
- HB CounterRun Play
 HB Mid DrawDraw, Run Play
 HB Quick BaseDive, Run Play
 HB Slip ScreenScreen Pass, Hb Screen, Pass Play +2
 HB SweepSweep, Run Play
 Hitch CornersHitch, Pass Play, Corner +1
 Inside CrossCrosser, Pass Play, Post +4
 Inside ZoneInside Zone, Run Play, Zone Run
 MeshMesh, Pass Play, Man Beater +5
 Mtn Curls H-SluggoSluggo, Motion, Pass Play +3
 Mtn DBL Dig SwingDig, Swing, Motion +4
 Mtn DBL Slants WheelWheel, Motion, Pass Play +3
 Mtn Fades H-ChoiceOption Route, Motion, Pass Play +3
 Mtn Fk Swing Mid ScreenPlay Action, Screen Pass, Swing +3
 Mtn Fk Swing WheelPlay Action, Wheel, Swing +6
 Mtn Flood H-WheelWheel, Flood, Motion +7
 Mtn HB SwingSwing, Motion, Pass Play +2
 Mtn Mesh SpotSpot, Mesh, Motion +8
 Mtn WhipsMotion, Whip, Pass Play +4
 Mtn WR Slip ScreenScreen Pass, Motion, Pass Play +2
 Mtn Z CrossMotion, Crosser, Pass Play +5
 PA ComebacksPlay Action, Pass Play, Comeback +2
 PA DigPlay Action, Dig, Pass Play +4
 PA ReadPlay Action, Pass Play, Deep Cross +4
- PA Slot PostPost, Curl, Hitch +3
 QB WrapDesigned Qb Run, Run Play
 Quick SlantsSlant, Pass Play, Flat
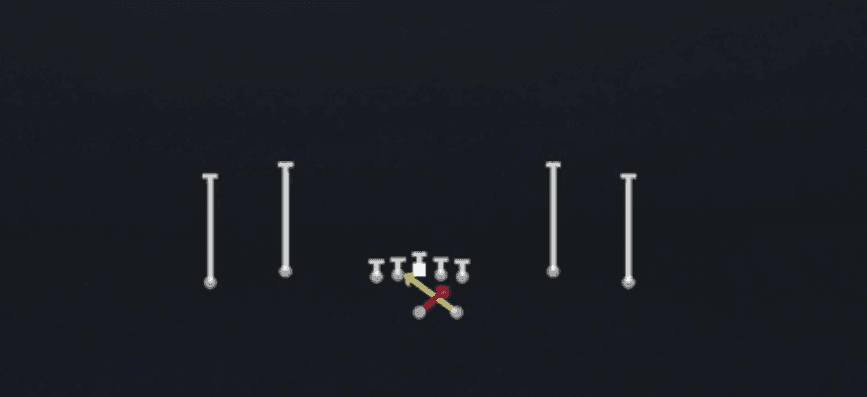 Read OptionRead Option, Run Play
 RPO Alert Z ScreenScreen Pass, RPO, Pass Play +2
 RPO Peek SlantRPO, Slant, Pass Play +1
- RPO Zone PeekRPO, Pass Play, Run Play +2
 Slants MiddleSlant, Pass Play, Flat
 Slot OutOut, Pass Play, Block and Release +3
 Slot OutsOut, Pass Play, Angle +3
 Y Shallow CrossShallow Cross, Pass Play, Crosser +5
 Z SpotSpot, Pass Play, Cover 3 Beater +4









