Playbooks
3-2-6

At a Glance
In 15 playbooks
Overview
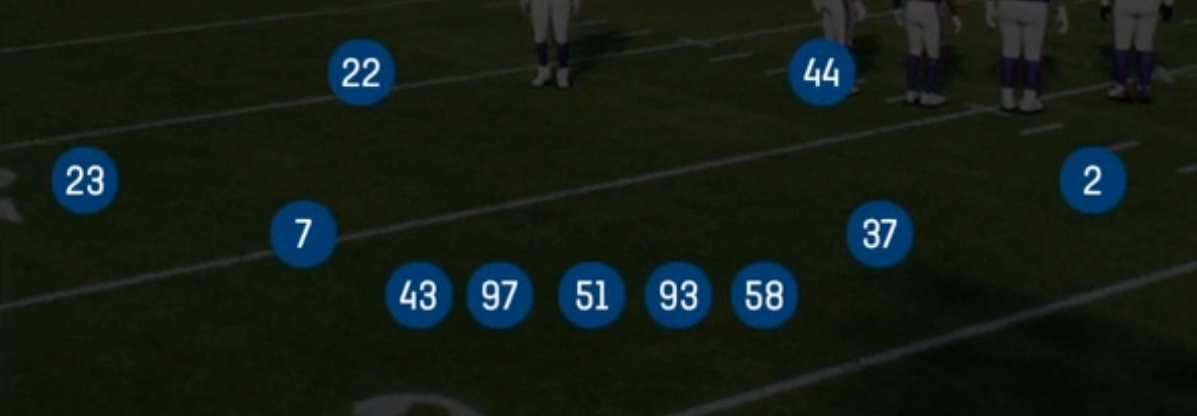
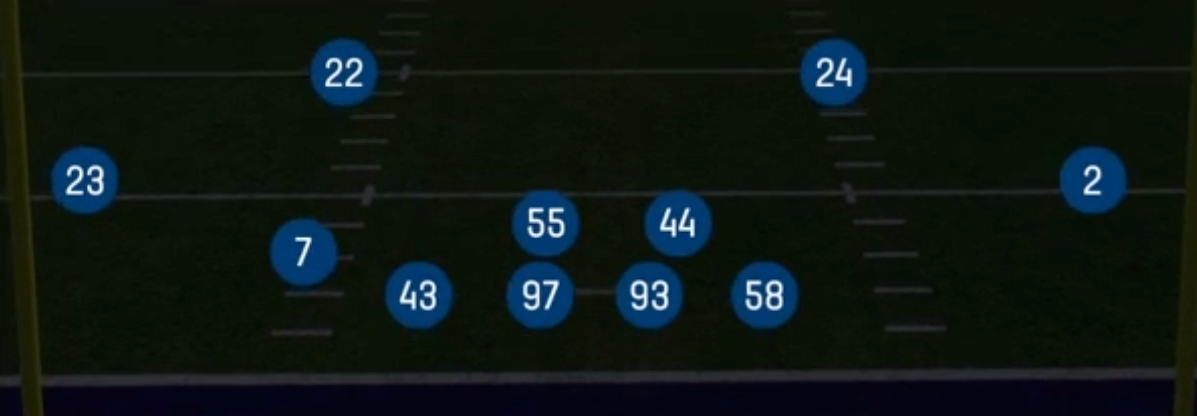
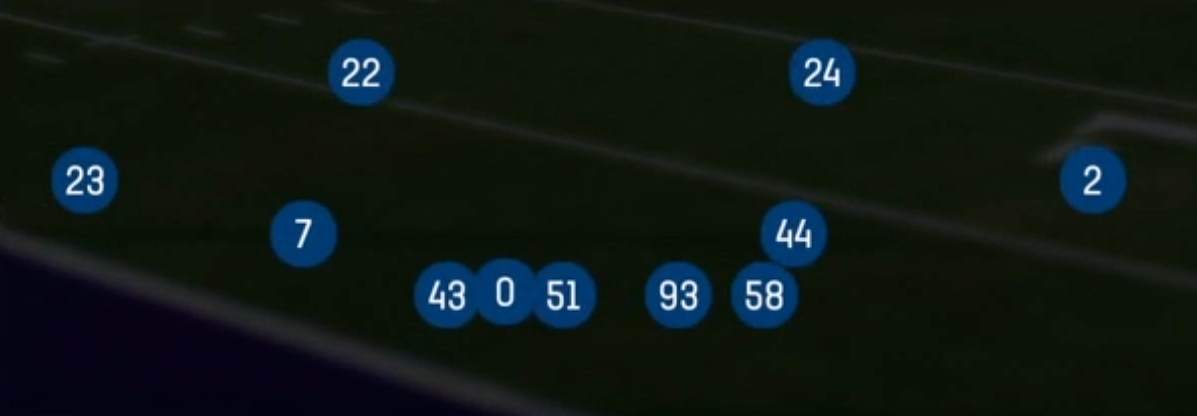
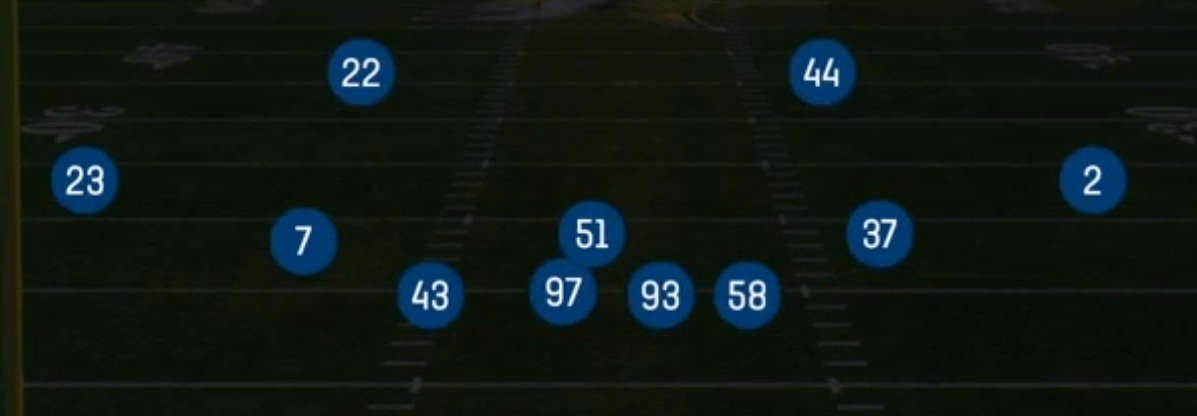
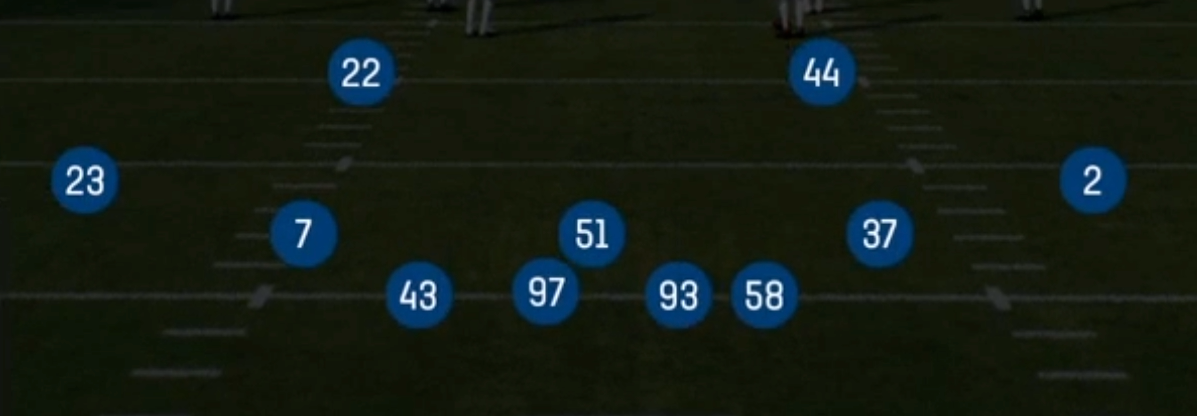
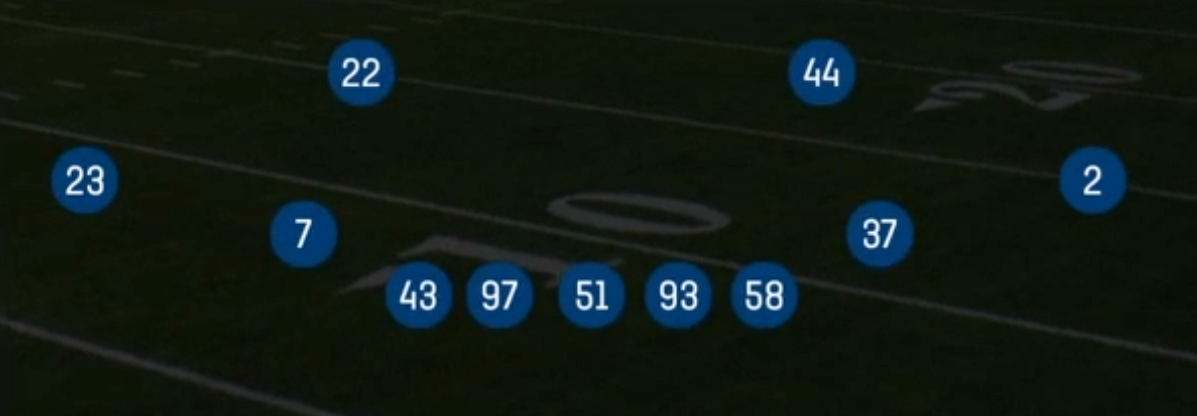
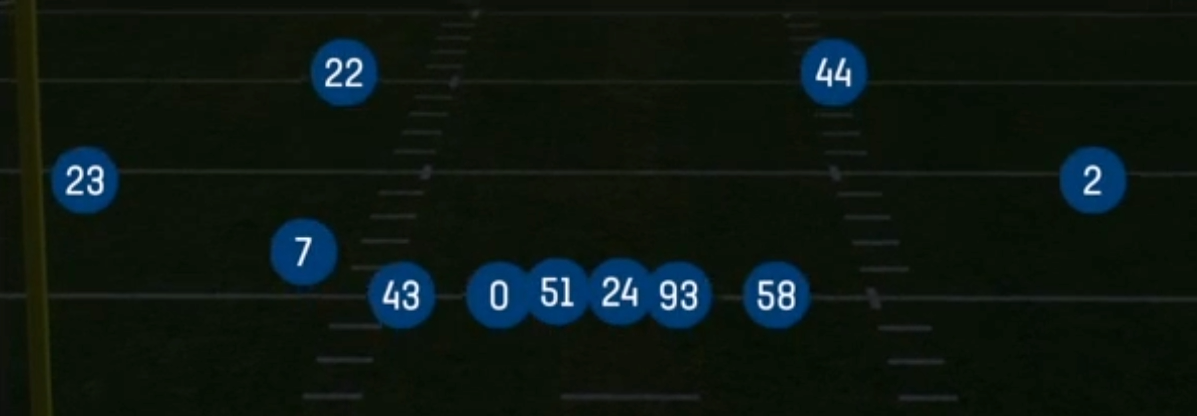
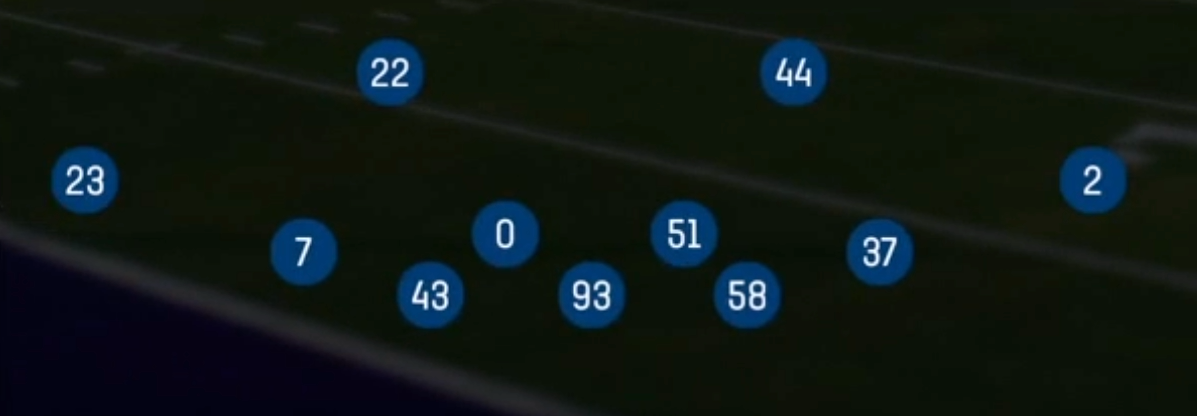
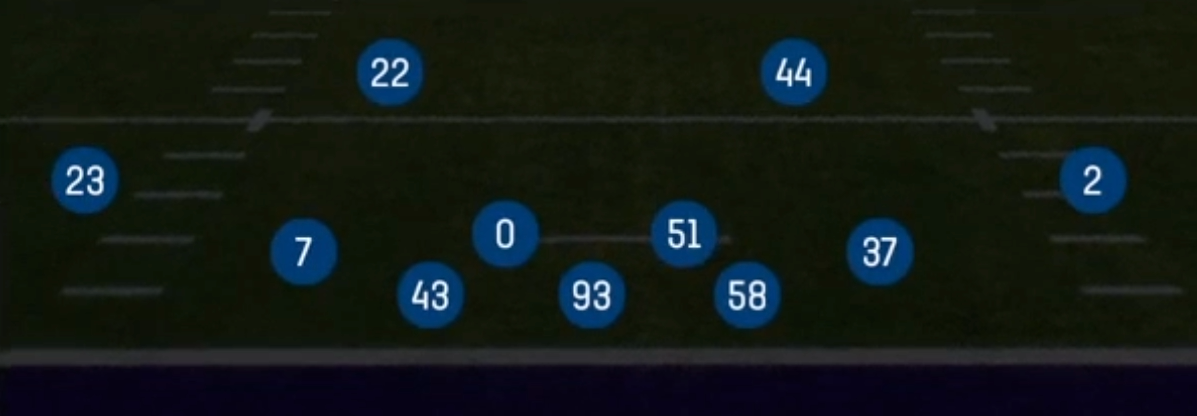
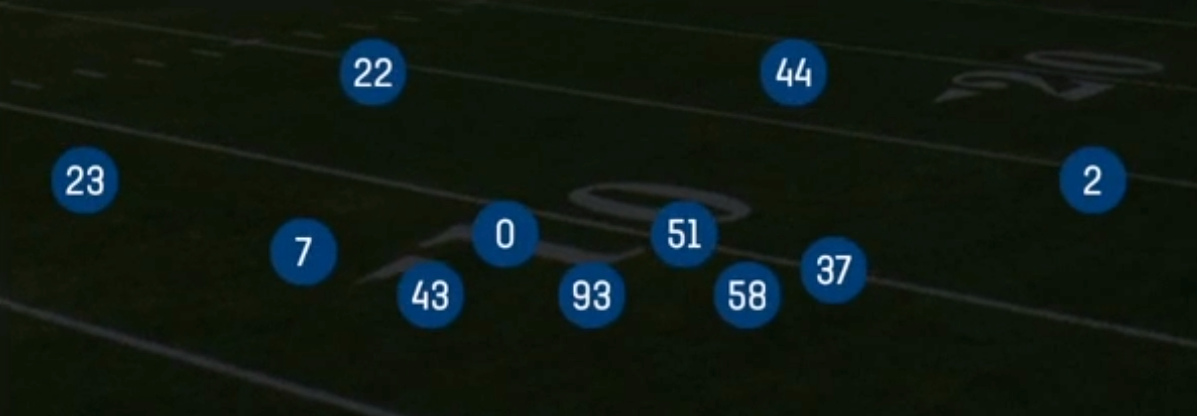
The 3-2-6 set in the Dime formation puts three down linemen, two linebackers, and six defensive backs on the field. It is built to match spread personnel without giving up as much box integrity as lighter looks. Standard Dime sets lean on a four-man front with a single linebacker, which gives you a stronger natural rush but leaves one second-level defender to handle the middle. The 3-2-6 trades that fourth rusher for a second linebacker. You get two true hook defenders to wall off crossers, spy mobile quarterbacks, and fill run gaps, while still carrying six DBs to match slot receivers and flexed tight ends.
The front typically shows a 3-4 style alignment with two defensive ends and a nose. The two linebackers stack behind the line, giving you flexible pressure from the second level. Behind them, the six DBs let you rotate a nickel or dime back into robber, buzz, or blitz roles without leaving a slot uncovered. This is where calls like Okie Roll 2, Okie Eagle 3, and Overload 3 Seam Press come alive. Offenses reading a three-man rush pre-snap often misidentify where the fourth and fifth rushers are coming from, which creates free runners on sim pressures and zone blitzes.
Offensively, this set is designed to neutralize 10, 11, and empty personnel concepts. Think mesh, drive, Texas, flood, and four verticals. The extra DBs let you run Double Bracket or 1 Double Wr1 to take a WR1 out of the game entirely. The second linebacker keeps RPO slants and shallow crossers from becoming free yards. You can isolate the offense's best receiver with bracket calls and still field a legitimate hook-curl presence underneath, which most Dime sets cannot offer.
Strengths
- Double Bracket, 1 Double Wr1, and 1 Double Wr2 let you erase an elite receiver with two defenders while the second linebacker still patrols the middle, killing option routes and drag concepts that target the bracket's vacated zone
- Okie Roll 2, Okie Eagle 3, FS Zone Blitz, and SS Zone Blitz create disguised pressure from a three-man front, so offenses sliding protection pre-snap often leave a linebacker or nickel back unblocked, and quarterbacks throw hot into dropping linemen
- The coverage menu is deep: Cover 3 Buzz Match, Cover 4 Palms, Cover 6 Willie, and Cover 3 Cloud all run from the same look, which lets you rotate post-snap and punish quarterbacks who read the shell by safety alignment alone
- Two linebackers give you legitimate hook and curl coverage against mesh, drive, and shallow cross, and you can user one linebacker as a middle robber while the other spies or fills, which is a luxury you lose in 4-1-6 Dime looks
- Zero Blitz, DB Fire 2, and Hot Blitz 3 bring overwhelming pressure off the edge with DBs who close quickly, making this set lethal against empty sets and slow-developing four verticals on third and long
Weaknesses
- With only three down linemen and six DBs, the box is light against 12 and 21 personnel, so inside zone, power, and counter can gash you, especially when the offense audibles to a run after reading your pre-snap Dime personnel
- Base calls like Cover 4 Drop, Tampa 2 Drop, and Cover 3 Lock rush only three, giving patient quarterbacks time to work deep crossers and scramble lanes, so you must set QB contain or spy with a linebacker to avoid giving up chunk scrambles
- Zone blitzes and Zero Blitz leave the flats and middle soft when pressure is picked up, and smart opponents counter with hot route slants, screens to the RB, or quick outs to the vacated zone, which turns aggressive calls into explosive plays
- Tight ends and big-bodied slot receivers can post up smaller DBs in man coverage calls like Cover 2 Man and Cover 1 Robber Press, and a quarterback who identifies the mismatch pre-snap will throw back-shoulder fades and seam routes all game
- Opponents who spam motion can reveal man versus zone quickly, which exposes the set's reliance on disguise, and without adjusting alignment or using coverage shells, your pressure packages become predictable
Usage Tips
Deploy the 3-2-6 on third and medium through third and long, in two-minute drills, and against 10, 11, or empty personnel, then audible out to a heavier Nickel or base front if the offense subs in a second tight end or fullback
Use Cover 3 Buzz Match or Cover 6 Willie as your base look and mix in Okie Eagle 3 or FS Zone Blitz from the same pre-snap alignment, so the quarterback cannot predict pressure based on the shell
Against a dominant WR1, call Double Bracket or 1 Double Wr1, then user the free linebacker in the middle hook to take away the dig or drag the offense uses to attack the bracket
When running three-man rush calls like Cover 4 Drop or Tampa 2 Drop, assign a linebacker to QB spy and set contain on your edges to prevent scrambles, and consider a hook zone adjustment on the nickel to clog crossing routes
If the offense lines up in empty or trips with a slow-developing concept, audible to Zero Blitz, DB Fire 2, or Edge Blitz 3 and shade your coverage underneath to force a hot throw into a contested window
Plays (28)
 1 Double Wr1Cover 1, Double Wr1, Man Coverage
 1 Double Wr2Cover 1, Double Wr2, Man Coverage
- 3-2Zone, Zone Coverage
 Cover 1 Robber PressCover 1, Cover 1 Robber, Press Man +1
 Cover 2 ManCover 2 Man, Man To Man, Man Coverage
 Cover 3 Buzz MatchCover 3, Cover 3 Buzz, Cover 3 Match +1
 Cover 3 CloudCover 3, Cover 3 Cloud, Zone Coverage
 Cover 3 Hard FlatCover 3, Zone Coverage
 Cover 3 LockCover 3, Zone Coverage
 Cover 4 DropCover 4, Zone Coverage
 Cover 4 PalmsCover 4, Cover 4 Palms, Zone Coverage
 Cover 4 QuartersCover 4, Quarters, Zone Coverage
 Cover 6Cover 6, Zone Coverage
 Cover 6 WillieCover 6, Zone Coverage
 DB Fire 2Cover 2, Blitz, DB Blitz +1
 Dbl Safety GoSafety Blitz, Blitz
 Double BracketMan To Man, Man Coverage
 Edge Blitz 1Cover 1, Blitz, Edge Blitz +1
 Edge Blitz 3Cover 3, Blitz, Edge Blitz +1
 FS Zone BlitzZone, Blitz, Safety Blitz +2
 Hot Blitz 3Cover 3, Blitz, Zone Coverage
 Okie Eagle 3Cover 3, Zone Coverage
 Okie Roll 2Cover 2, Zone Coverage
 Overload 3 Seam PressCover 3, Overload Blitz, Zone Coverage +1
 SS Zone BlitzZone, Blitz, Safety Blitz +2
 Tampa 2Cover 2, Tampa 2, Zone Coverage
 Tampa 2 DropCover 2, Tampa 2, Zone Coverage
 Zero BlitzBlitz, Zero Blitz, Cover 0 +1