Playbooks
Quick Reference
In 15 playbooks
Receiver routes
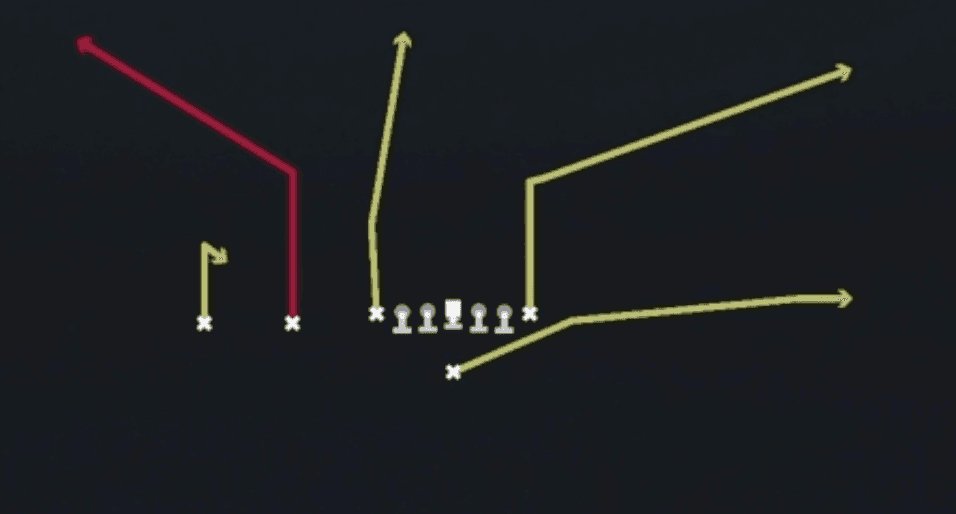
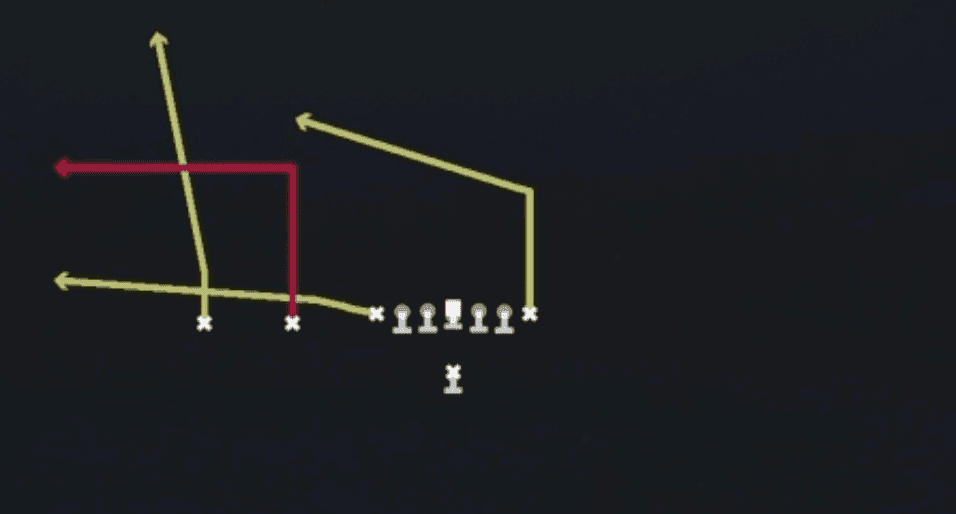
Depth-chart slots are shown as they line up in the base package for this set.
| Player | Side | Route |
|---|---|---|
| HB1 | Middle | Flat |
| TE2 | Left | Streak |
| WR2 | Left | Hitch |
| WR1 | Left | Corner |
| TE1 | Right | Corner |
Read progression
- WR1 left, Corner
- WR2 left, Hitch
- TE1 right, Corner
- HB1, Flat
- TE2 left, Streak
Breakdown
Smash out of Singleback Ace Slot lines up in 12 personnel with two receivers to the boundary and a slot receiver plus a tight end to the field. The boundary corner route runs the deep clear-out while the outside receiver on that side runs a hitch underneath it, forming the classic high-low smash concept, while the field side stacks a vertical seam route from the slot with a corner route from the tight end and a flat route from the backfield releasing to the sideline. This is a zone beater built to attack Cover 2 and Cover 3 by stretching the deep and short defenders vertically on both sides, and the primary read starts with the boundary smash combo (hitch to corner) before working to the field side seam and corner if the safety rotates away.
Defensive Reads
Watch the flat defender to the boundary immediately after the snap, since Cover 2 corners who sit on the hitch route leave the corner route wide open behind them. Key the deep safety rotation before the snap, because a two-high shell that rotates to one side signals which smash combo will be open. Against Cover 3, the outside cornerback in the flat has to choose between the flat route and the corner route from the tight end, so throwing off his leverage is the tell. Man coverage with no safety help over the top gets exposed by the corner routes on both sides, so look for a defender trailing on the outside hip pre-snap as a man coverage indicator. Beware of Cover 4 or Cover 6 shells with two deep safeties who can sink under the corner routes, since this concept relies on stressing a single high or rotated defender rather than a true two-deep shell that stays disciplined.
Usage Tips
Pre-snap, identify whether the safeties are showing two-high or rotating to single-high, since this concept is designed to gash Cover 2 corners who have to choose between the hitch and the corner route. If you see Cover 3 or a single-high safety, work the field side seam and corner combo instead of the boundary smash since the flat defender cannot cover both vertical stems. Use the flat route from the backfield as a hot route answer versus blitz, since it releases quickly and gives you an outlet if the corner routes are covered. This play shines on third and medium to third and long because it forces defenders to declare between the sticks and the sideline. Pair it in your play-calling sequence with Curl Flat or Slot Under to keep the defense guessing between quick zone-beater concepts and this deeper smash shot, and mix in Roll Out Smash later in a series to give the same picture with a play-action rollout twist.
Other Plays in Ace Slot
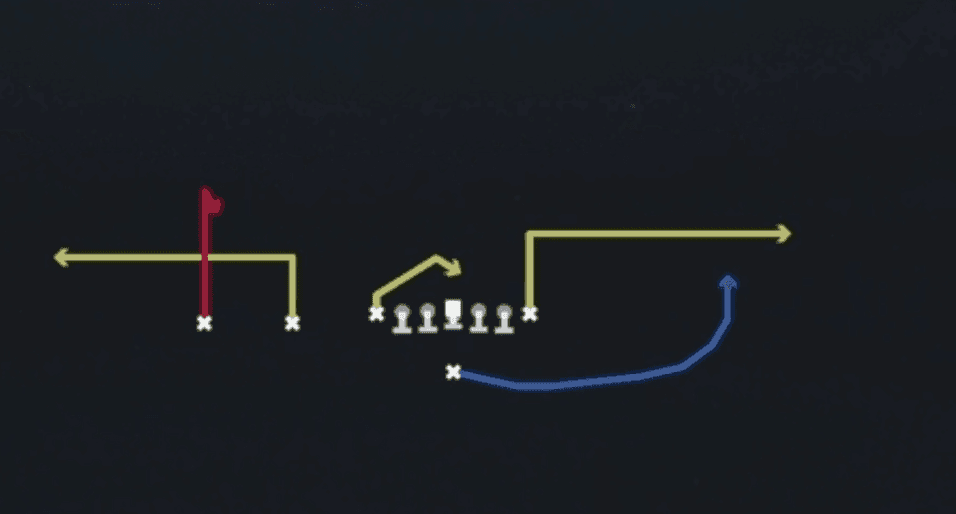 Curl FlatCurl, Curl Flat, Pass Play +4
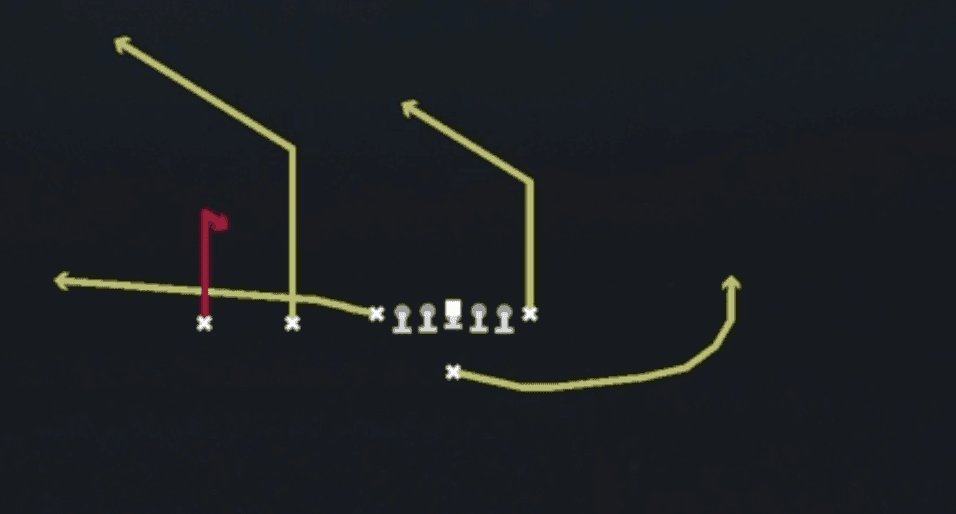 Curl Flat CornerFlat, Curl, Corner +6
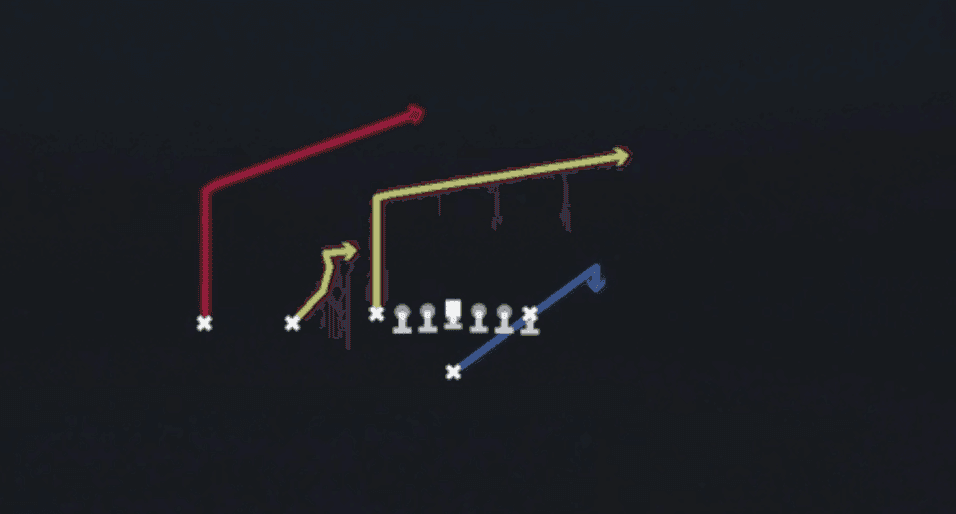 DBL PostPost, Double Posts, Pass Play +4
 FloodFlood, Pass Play, Cover 3 Beater +4
 HB Blunt DiveDive, Run Play
 HB CounterCounter, Run Play, Power Run
 HB DiveDive, Run Play
 HB Dive LtDive, Run Play
- HB MisdirectionMisdirection, Run Play
 HB Power OPower, Run Play, Power Run
 HB Slip ScreenScreen Pass, Hb Screen, Pass Play +3
 HB StretchOutside Zone, Run Play, Zone Run
 HB Stretch Alert BubbleOutside Zone, Run Play, Zone Run +2
 HB Zone Alert BubbleInside Zone, Run Play, Zone Run +2
 Mtn HB SlashMotion, Run Play
 Mtn PA Z SlidePlay Action, Slide, Motion +6
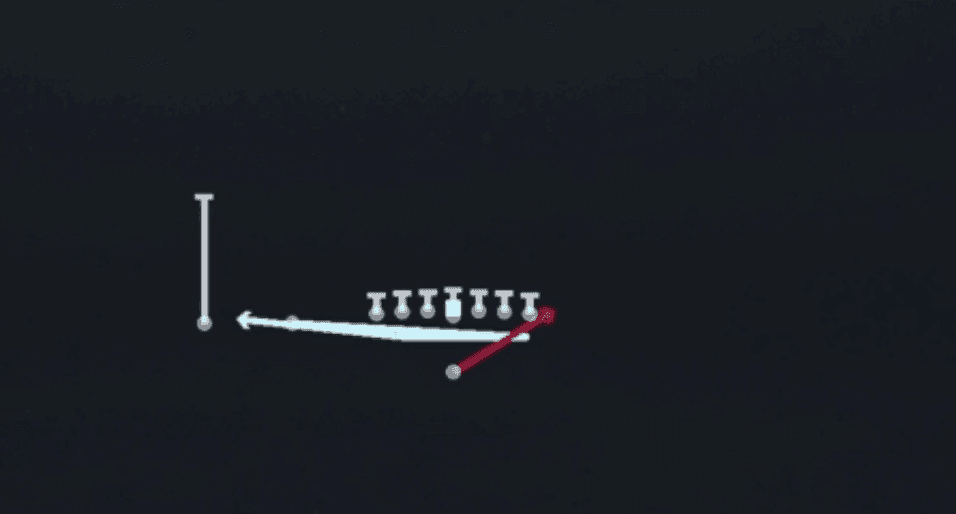 Mtn Wide ZoneOutside Zone, Motion, Run Play +1
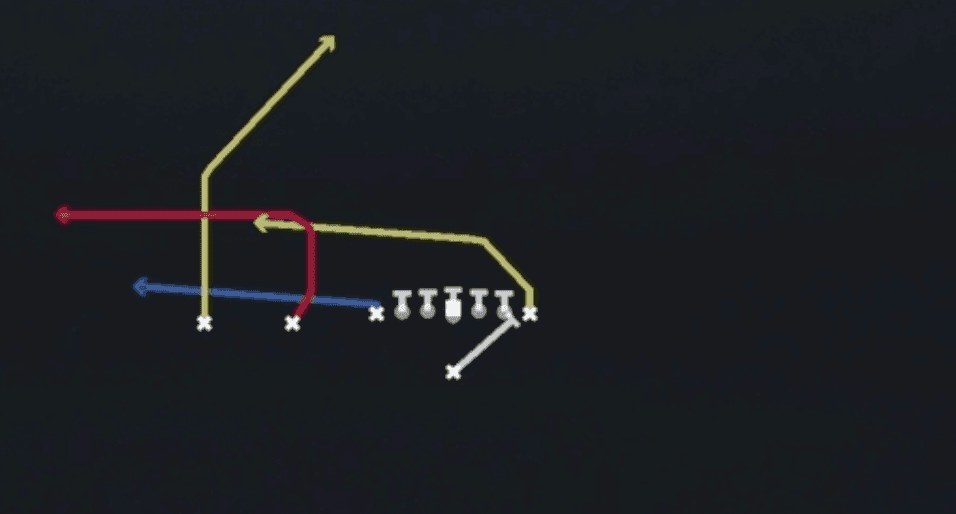 PA BootPlay Action, Pass Play, Block and Release +4
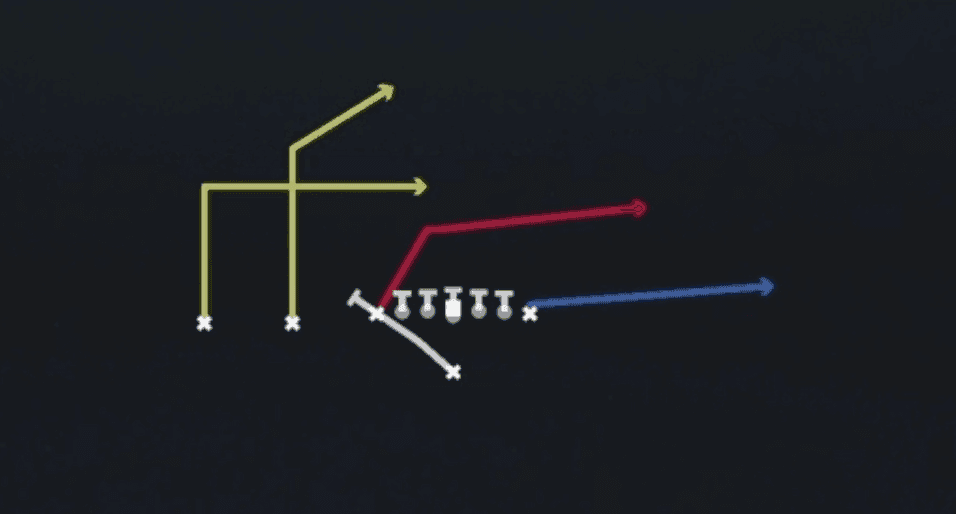 PA Boot OverPlay Action, Pass Play, Block and Release +4
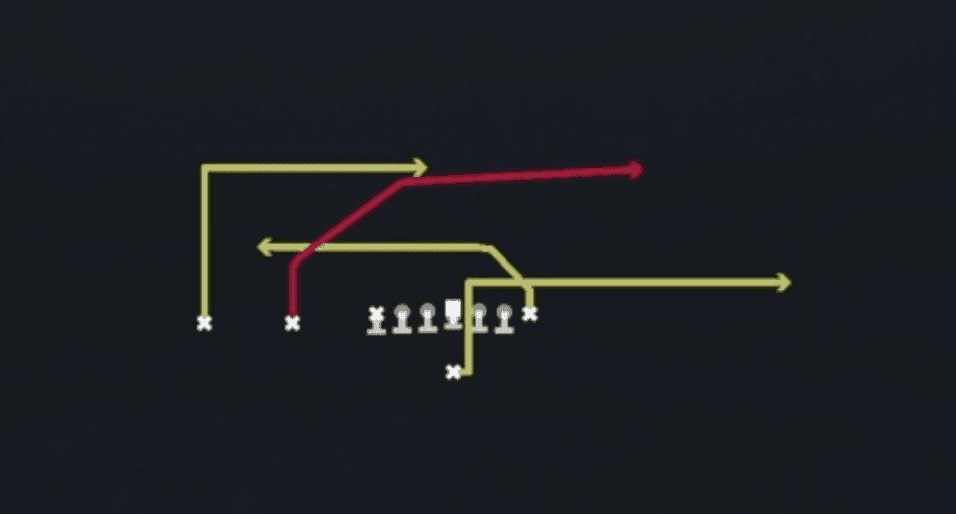 PA CrossPlay Action, Crosser, Pass Play +4
 PA Ctr WagglePlay Action, Pass Play, Block and Release +3
 PA FL StretchPlay Action, Pass Play, Deep Cross +5
 PA Heel BootPlay Action, Pass Play, Block and Release +4
 PA Scissors FloodPlay Action, Flood, Scissors +7
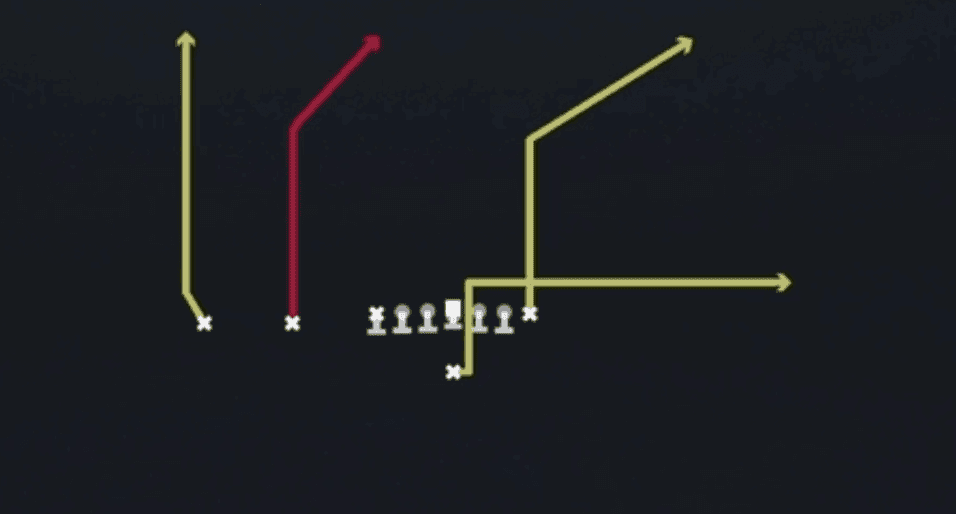 PA VertsPlay Action, Four Verts, Pass Play +6
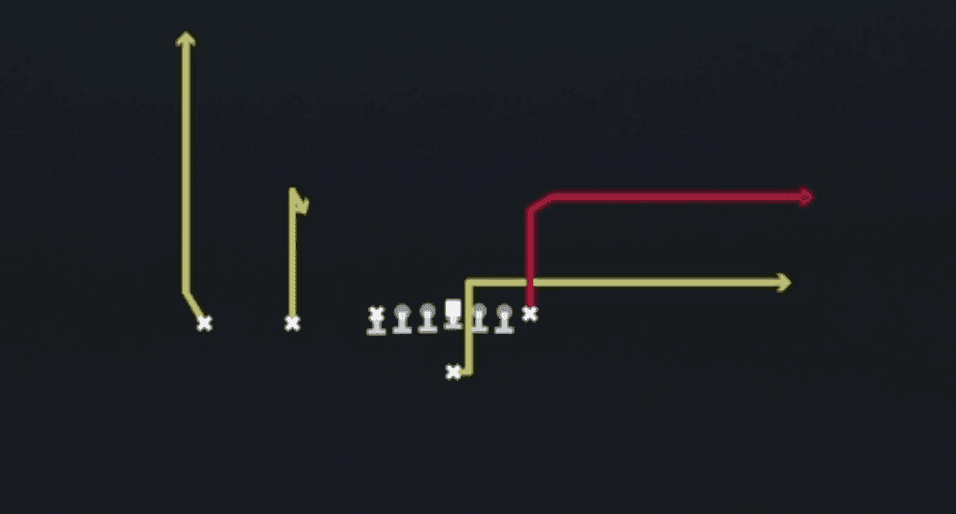 PA Y-CornerPlay Action, Pass Play, Curl +2
- Roll Out SmashSmash, Pass Play, Cover 2 Beater +2
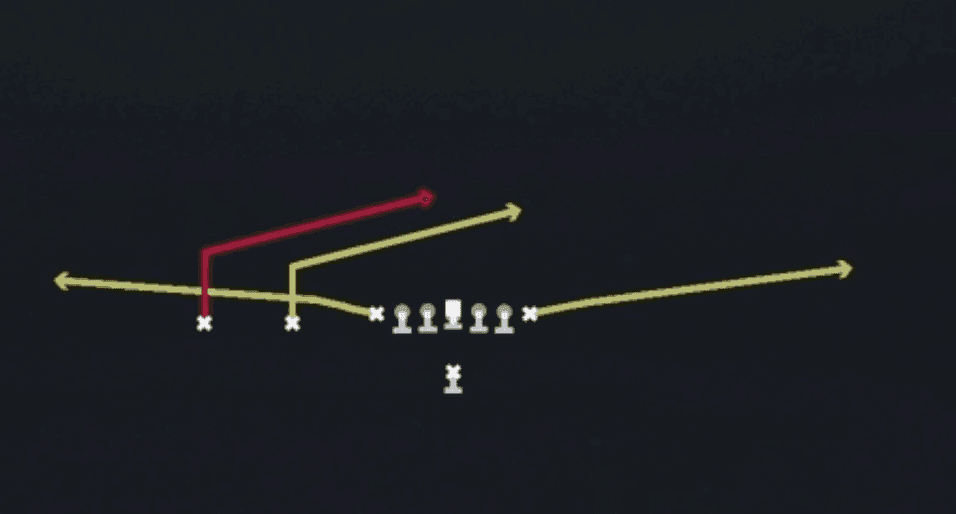 SlantsSlant, Pass Play, Flat
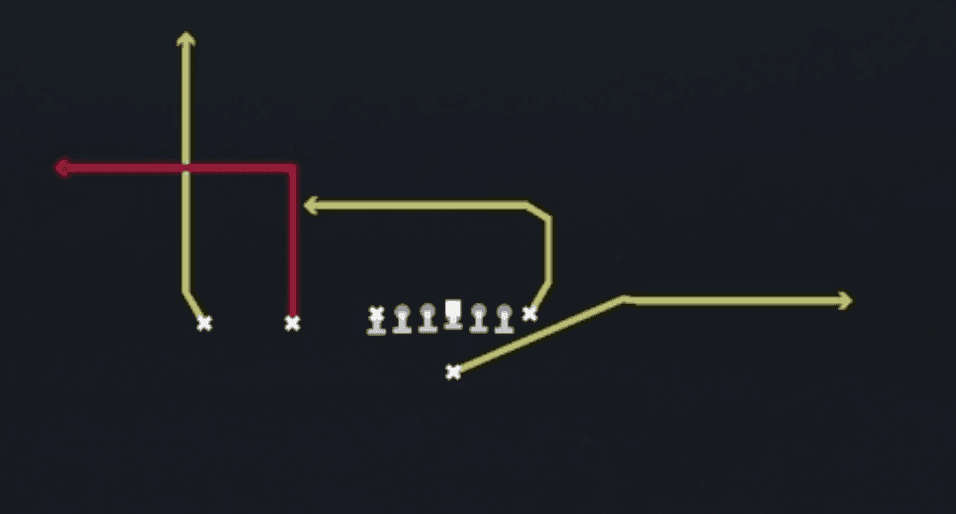 Slot OutOut, Pass Play, Drag +3
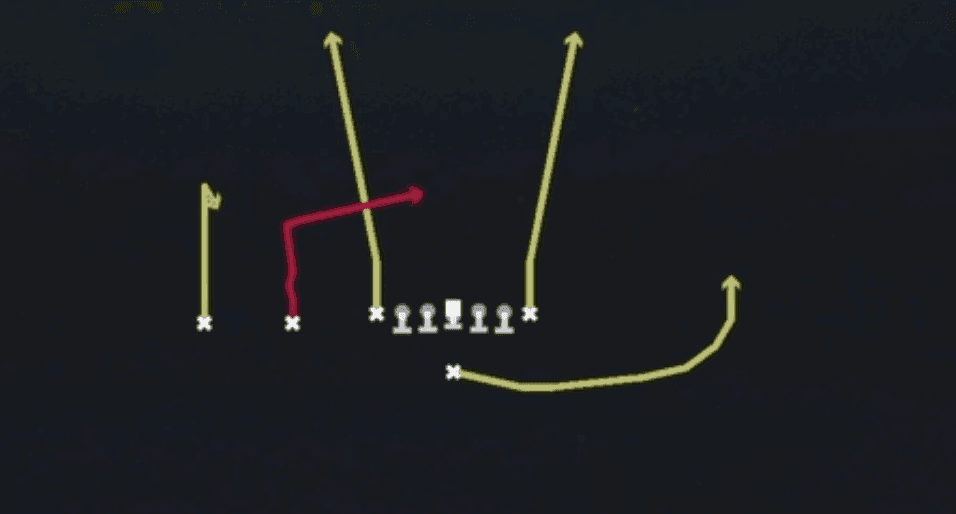 Slot UnderPass Play, Quick Pass, Slant +8
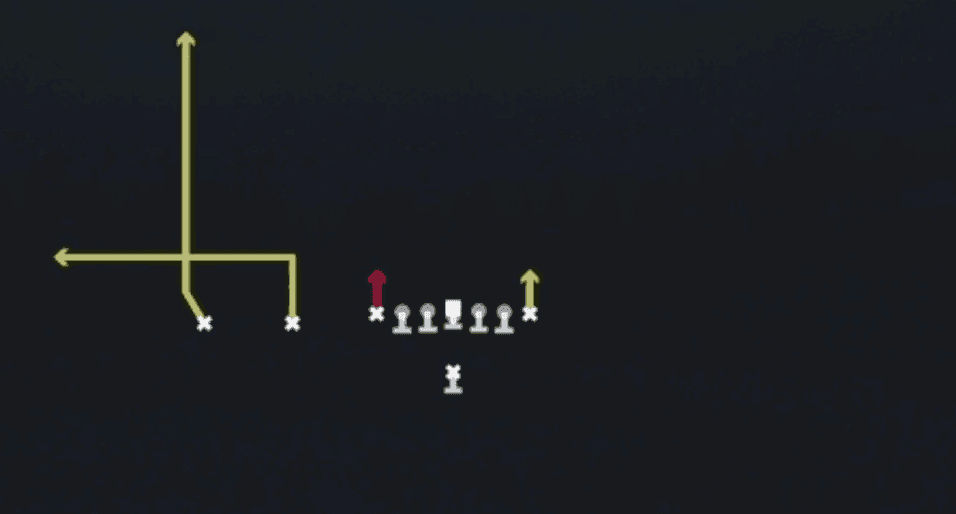 StickStick, Stick Concept, Pass Play +2
 Texan Y DragDrag, Pass Play, Curl +3
 VertsFour Verts, Pass Play, Cover 2 Beater +7
- Weak FloodFlood, Pass Play, Cover 3 Beater +6
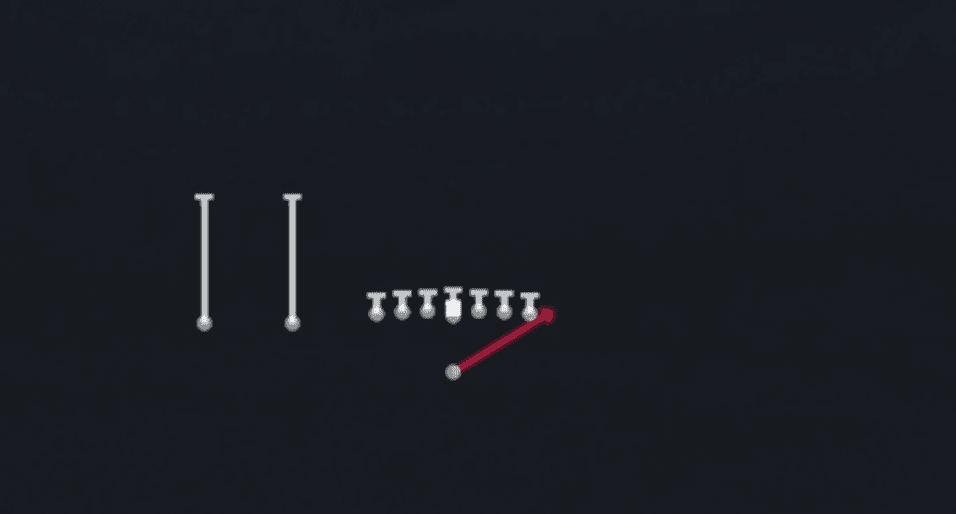 Wide ZoneOutside Zone, Run Play, Zone Run