Playbooks
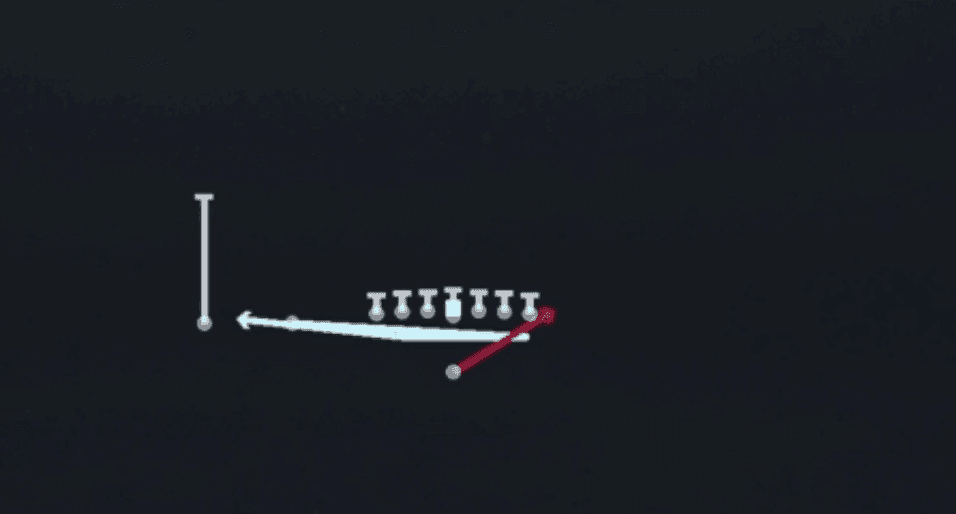
Quick Reference
Breakdown
Mtn Wide Zone out of Singleback Ace Slot 12 personnel motions a receiver or tight end across the formation pre-snap before the ball is snapped, sliding the defense's alignment to help identify blitz or coverage rotation. The offensive line and TE flow together in a lateral zone blocking scheme heading toward the play side, with the HB reading his blocks off the double team and cutback lanes created by the line's zone steps. This is a pure outside zone run play, not a pass or RPO, and the primary read is the backside cutback versus the play side bounce, with the running back keying the widest zone blocker's leverage first.
Defensive Reads
Check safety depth before the snap, if both safeties are deep the box is likely light and this run hits fast to the play side edge. Watch the play side linebacker's first step, if he flows hard with the zone action the cutback lane behind him opens for the HB. Beware of user-controlled defensive ends crashing down inside, this can blow up the zone track before the back reaches the line. Look for overloaded run blitzes or crashing edge defenders, since Mtn Wide Zone relies on lateral stretch and struggles if the edge is not sealed. Cover 3 and Cover 1 with aggressive linebackers flowing to the ball are the toughest shells to run against, while spread out zone shells with light boxes get gashed by the cutback.
Usage Tips
Use the pre-snap motion to bait linebackers into flowing early or to expose man coverage versus zone shells before the snap.
Call this on early downs like first and ten or second and short to keep the defense honest and set up your play-action shots later in the drive.
If the defense shows a heavy box with safeties crashed down, hot route the motion man into a quick option route to punish overaggressive run fits.
Pair Mtn Wide Zone with Mtn HB Slash and HB Counter from the same set so linebackers cannot key the zone steps and sit on the cutback lane.
Attack light boxes and nickel or dime packages where the defense has sacrificed run support for coverage numbers on the perimeter.
Other Plays in Ace Slot
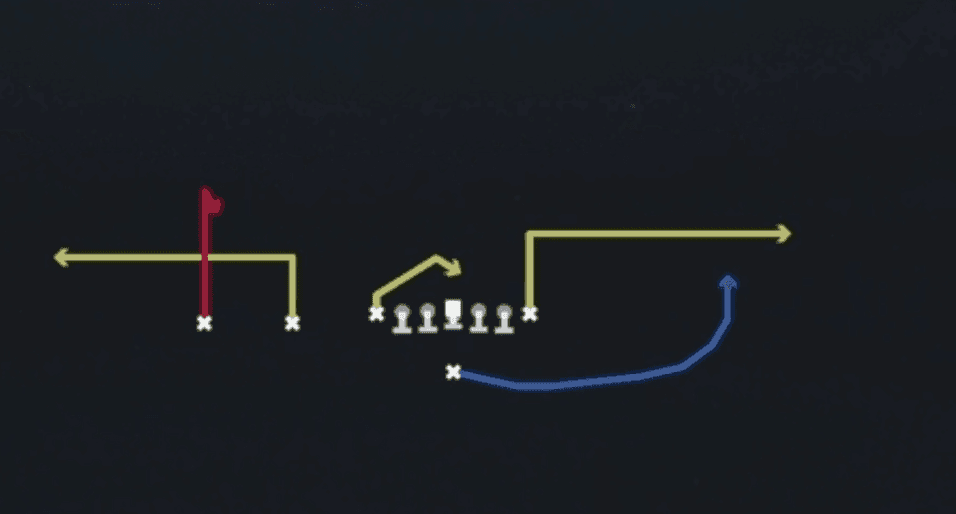 Curl FlatCurl, Curl Flat, Pass Play +4
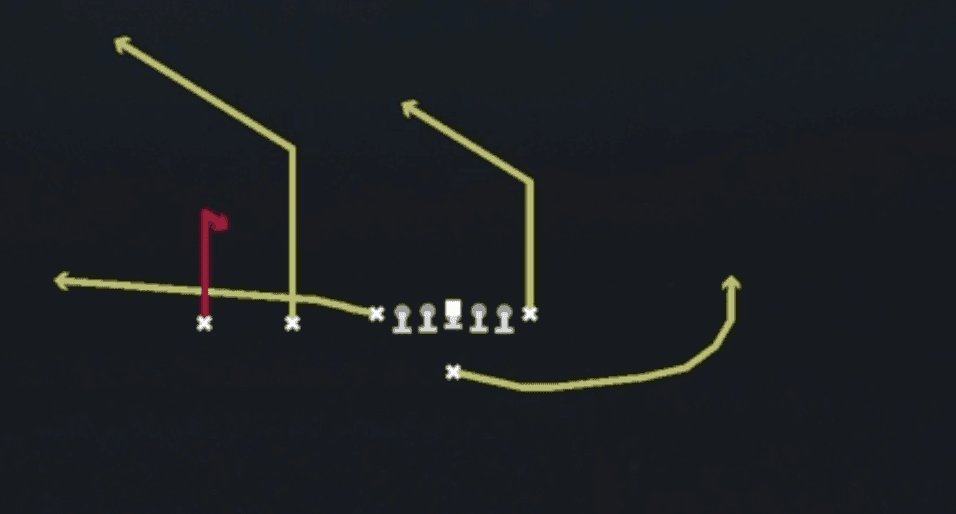 Curl Flat CornerFlat, Curl, Corner +6
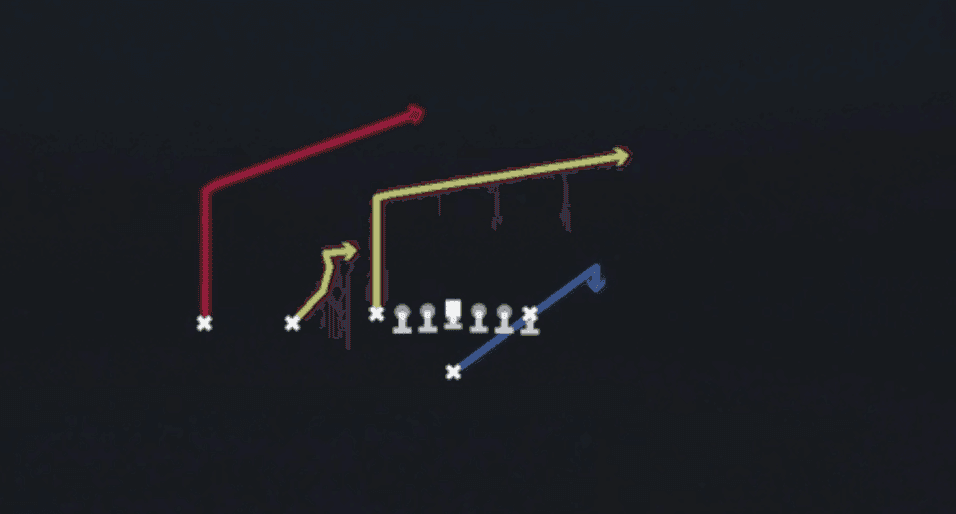 DBL PostPost, Double Posts, Pass Play +4
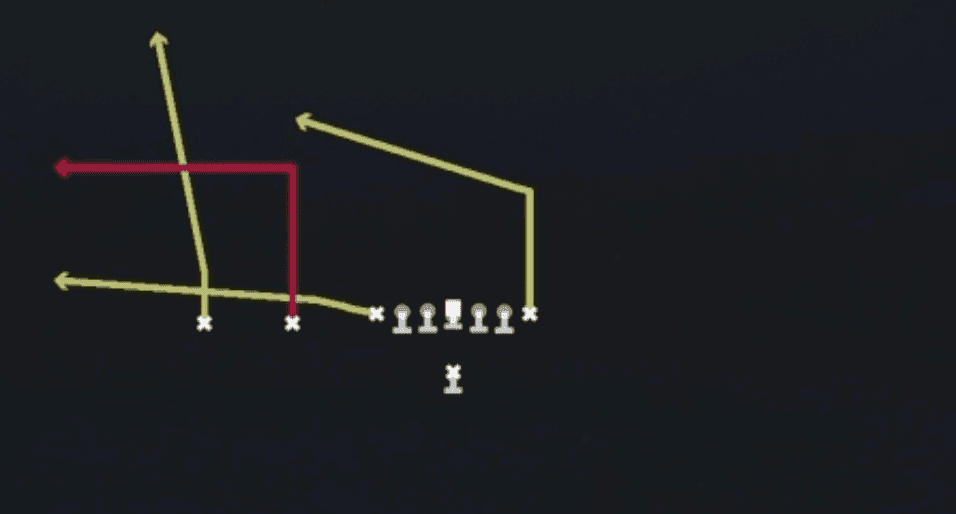 FloodFlood, Pass Play, Cover 3 Beater +4
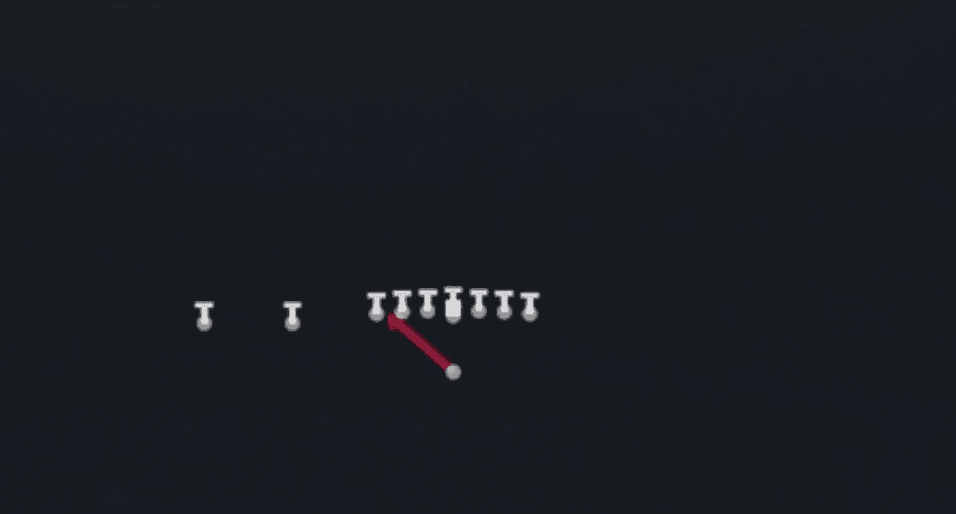 HB Blunt DiveDive, Run Play
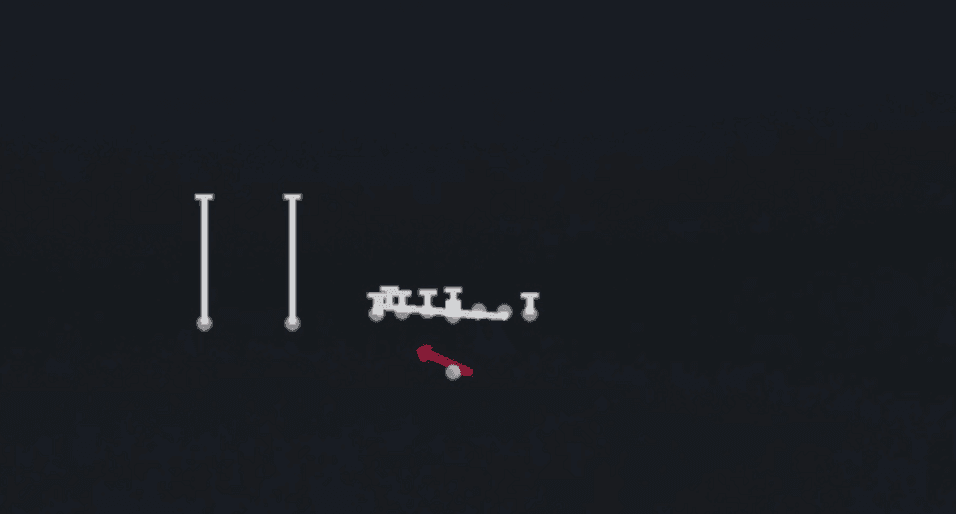 HB CounterCounter, Run Play, Power Run
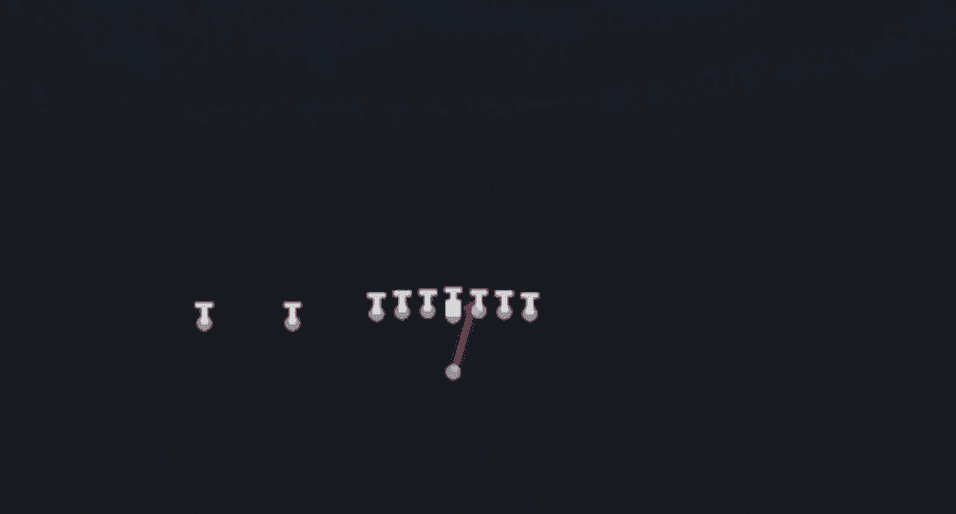 HB DiveDive, Run Play
 HB Dive LtDive, Run Play
- HB MisdirectionMisdirection, Run Play
 HB Power OPower, Run Play, Power Run
 HB Slip ScreenScreen Pass, Hb Screen, Pass Play +3
 HB StretchOutside Zone, Run Play, Zone Run
 HB Stretch Alert BubbleOutside Zone, Run Play, Zone Run +2
 HB Zone Alert BubbleInside Zone, Run Play, Zone Run +2
 Mtn HB SlashMotion, Run Play
 Mtn PA Z SlidePlay Action, Slide, Motion +6
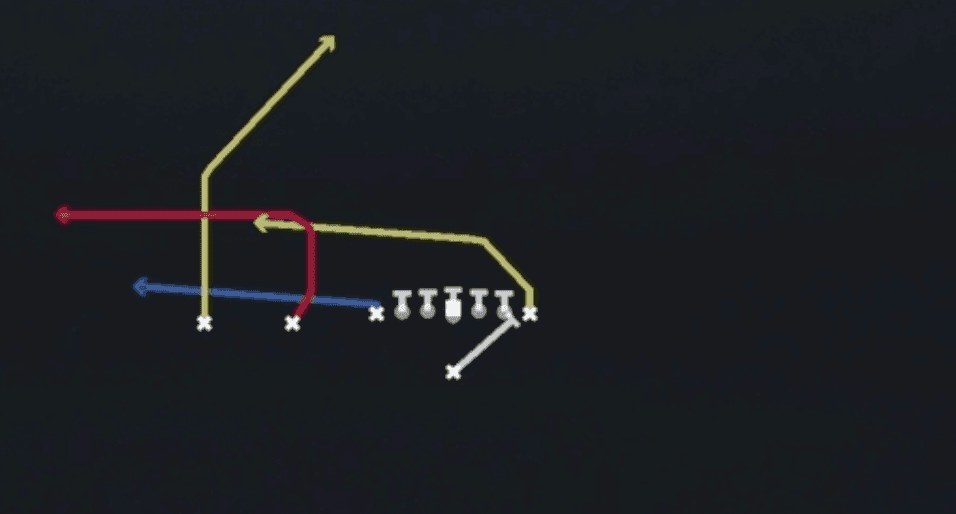 PA BootPlay Action, Pass Play, Block and Release +4
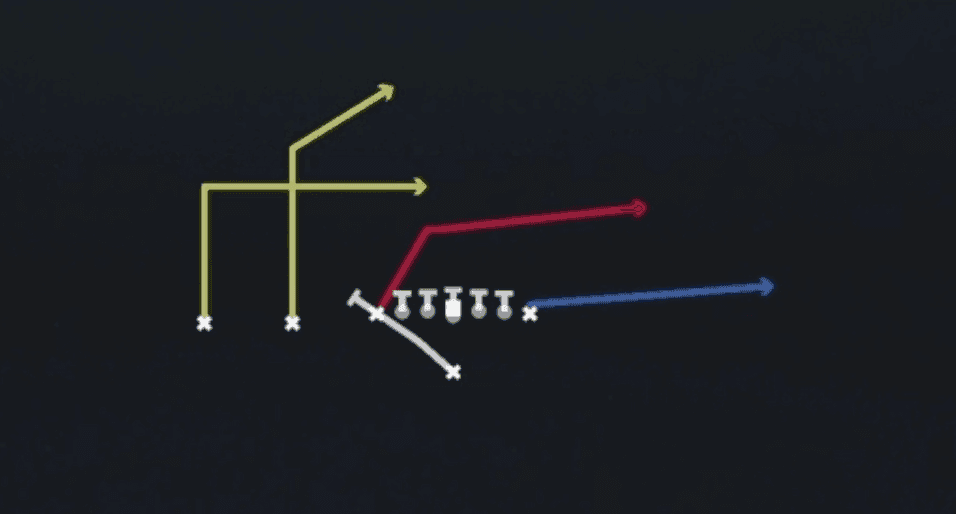 PA Boot OverPlay Action, Pass Play, Block and Release +4
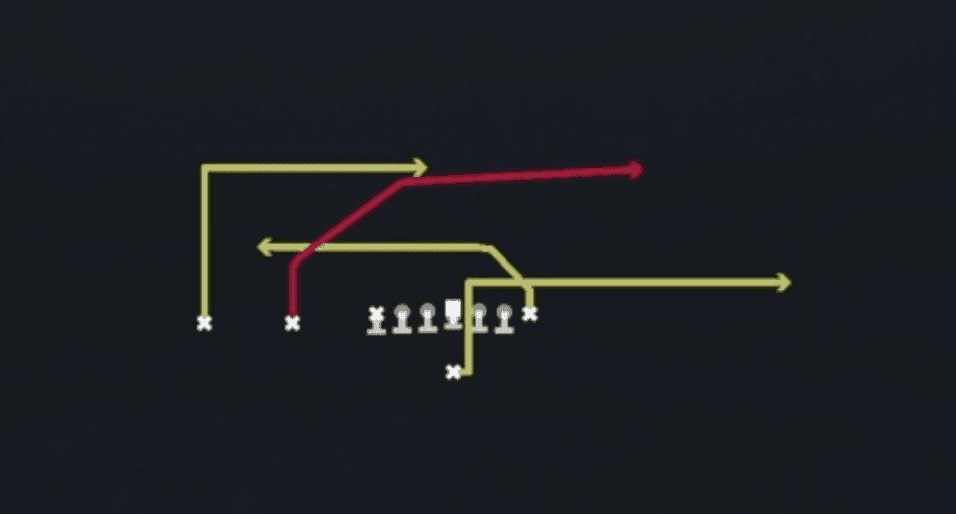 PA CrossPlay Action, Crosser, Pass Play +4
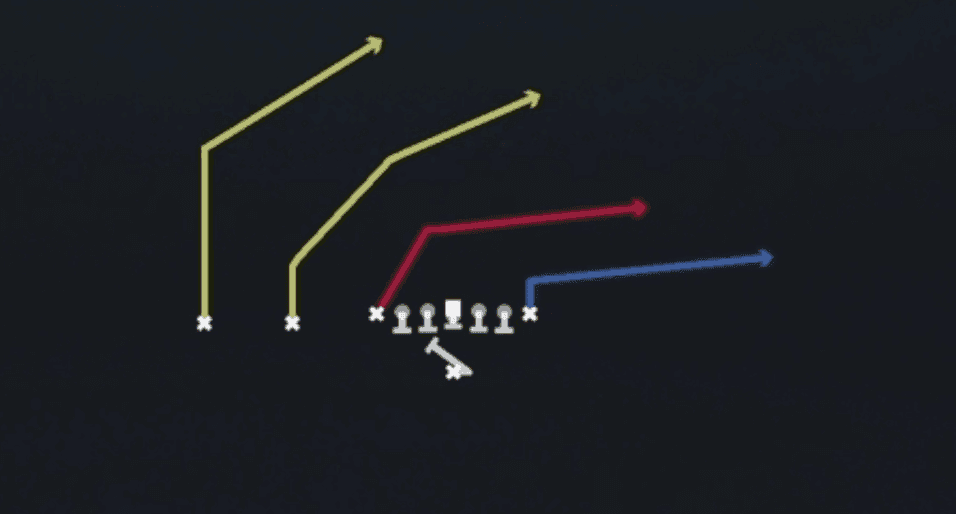 PA Ctr WagglePlay Action, Pass Play, Block and Release +3
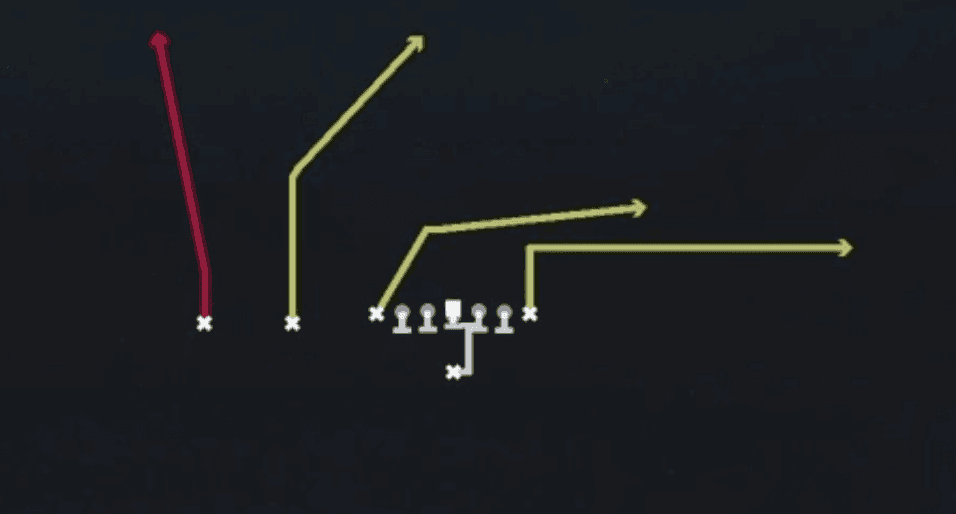 PA FL StretchPlay Action, Pass Play, Deep Cross +5
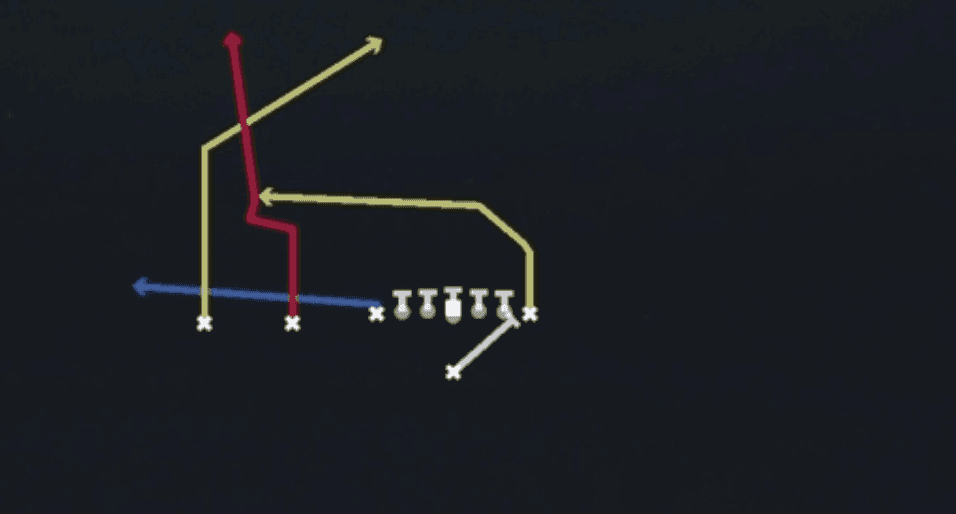 PA Heel BootPlay Action, Pass Play, Block and Release +4
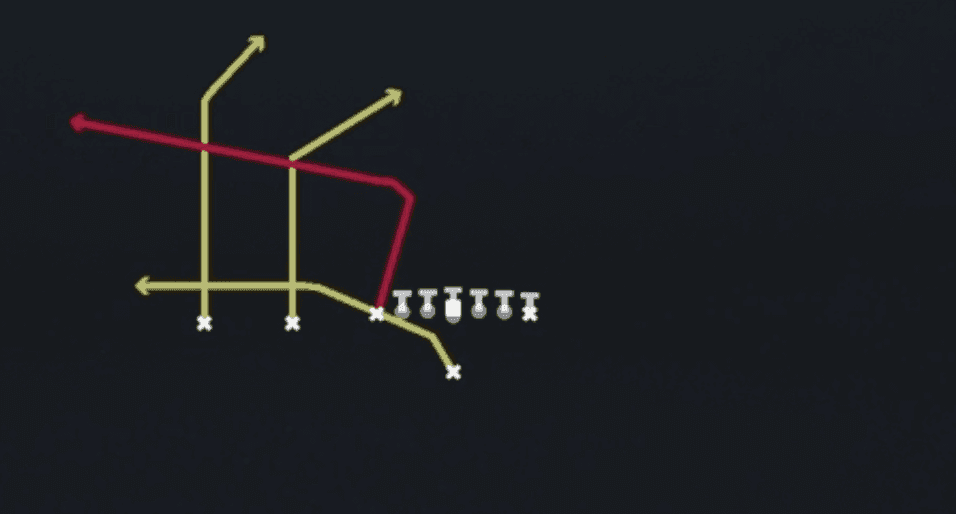 PA Scissors FloodPlay Action, Flood, Scissors +7
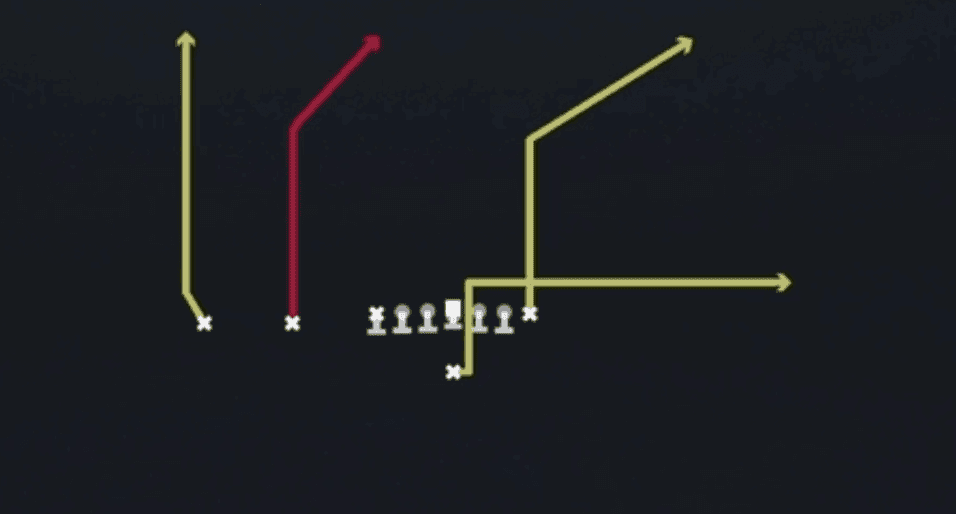 PA VertsPlay Action, Four Verts, Pass Play +6
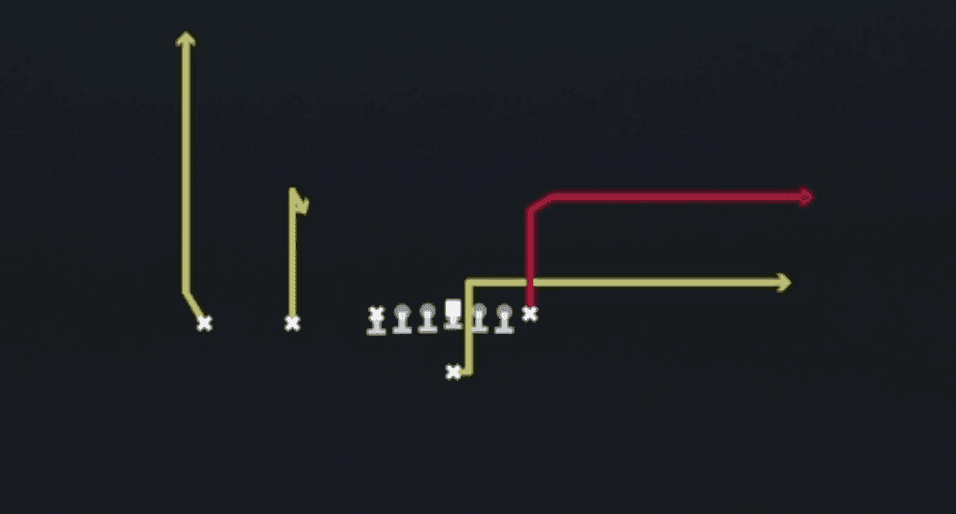 PA Y-CornerPlay Action, Pass Play, Curl +2
- Roll Out SmashSmash, Pass Play, Cover 2 Beater +2
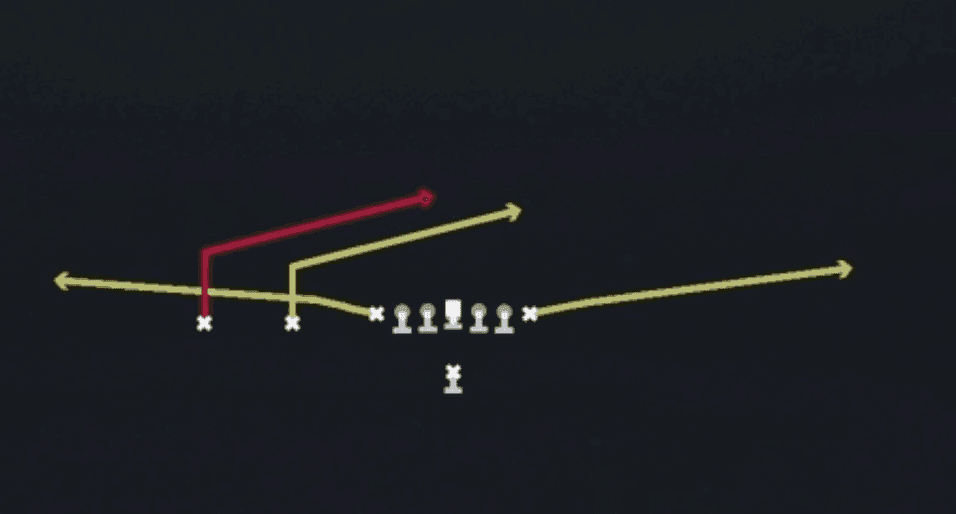 SlantsSlant, Pass Play, Flat
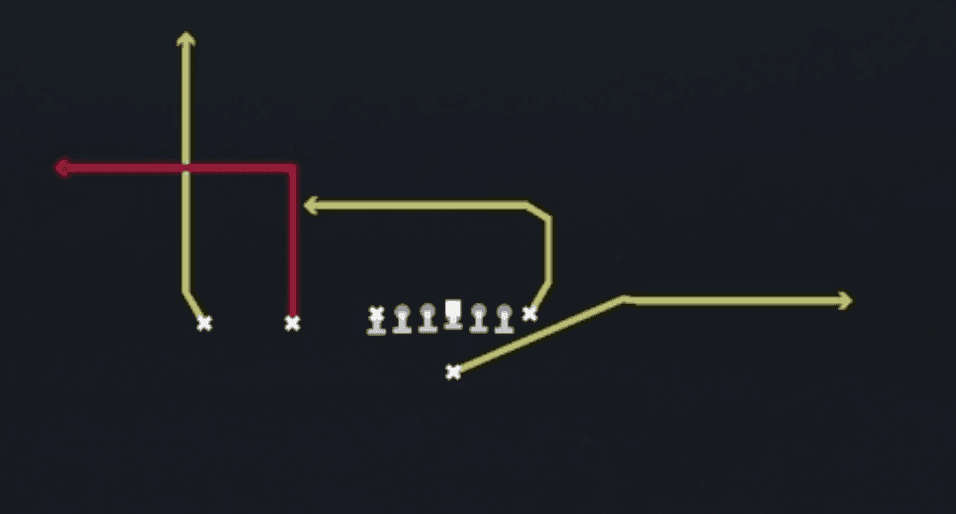 Slot OutOut, Pass Play, Drag +3
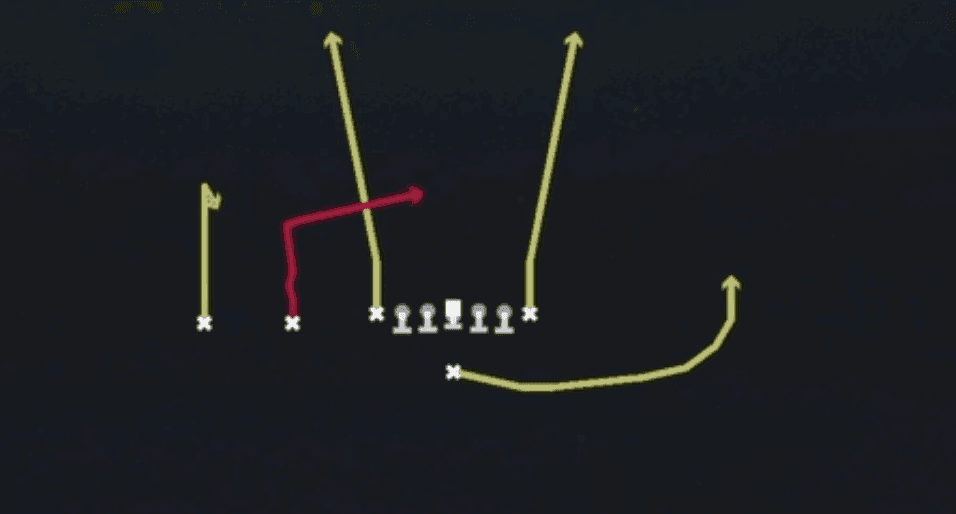 Slot UnderPass Play, Quick Pass, Slant +8
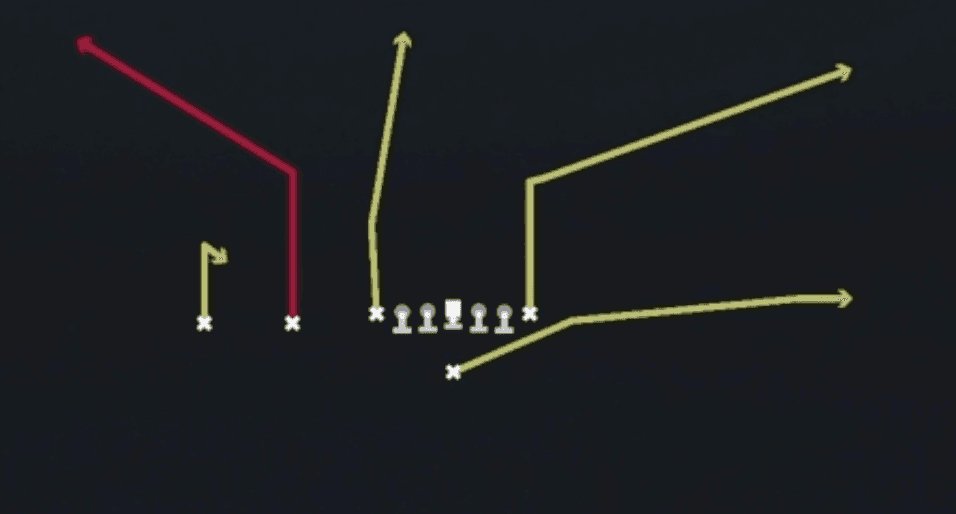 SmashSmash, Pass Play, Cover 2 Beater +4
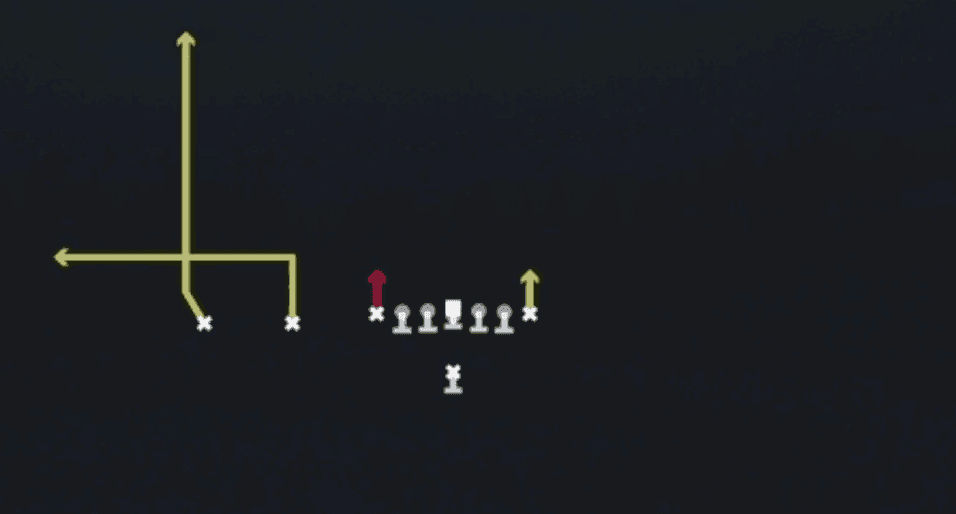 StickStick, Stick Concept, Pass Play +2
 Texan Y DragDrag, Pass Play, Curl +3
 VertsFour Verts, Pass Play, Cover 2 Beater +7
- Weak FloodFlood, Pass Play, Cover 3 Beater +6
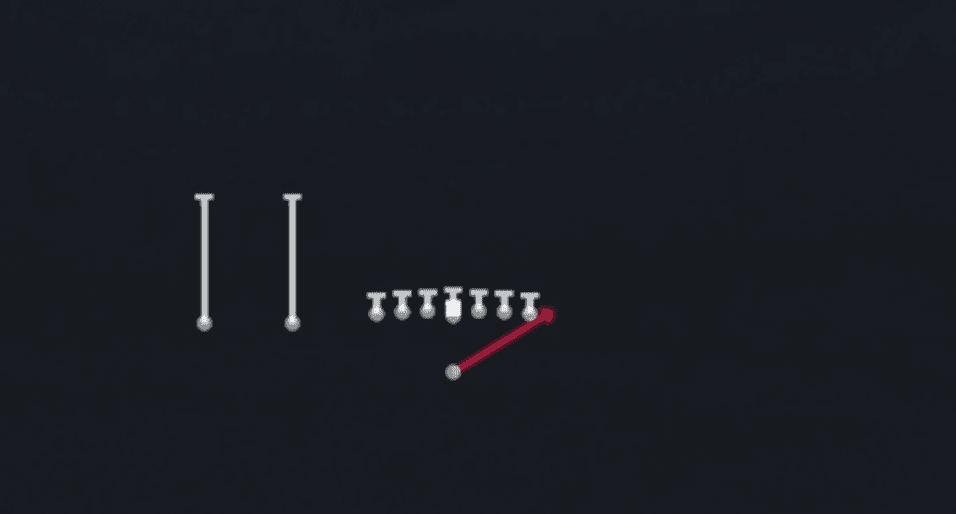 Wide ZoneOutside Zone, Run Play, Zone Run