Playbooks

Overview
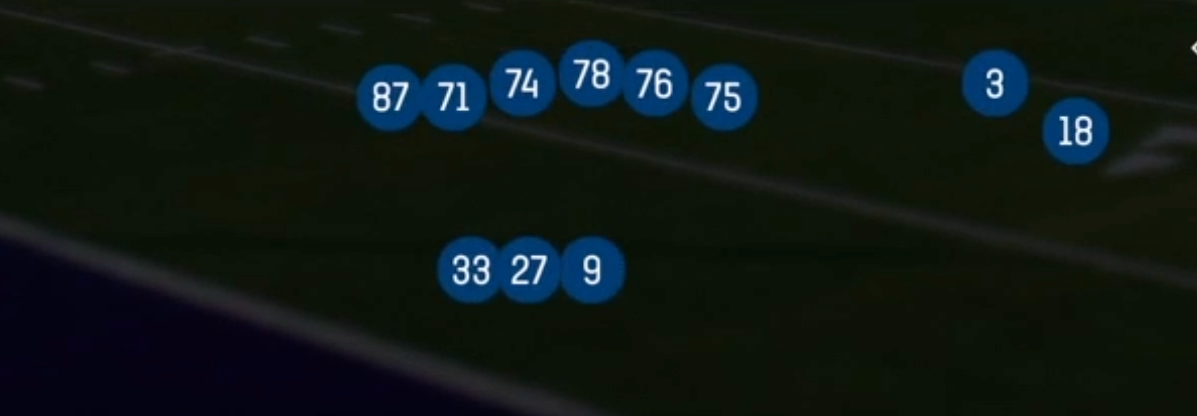
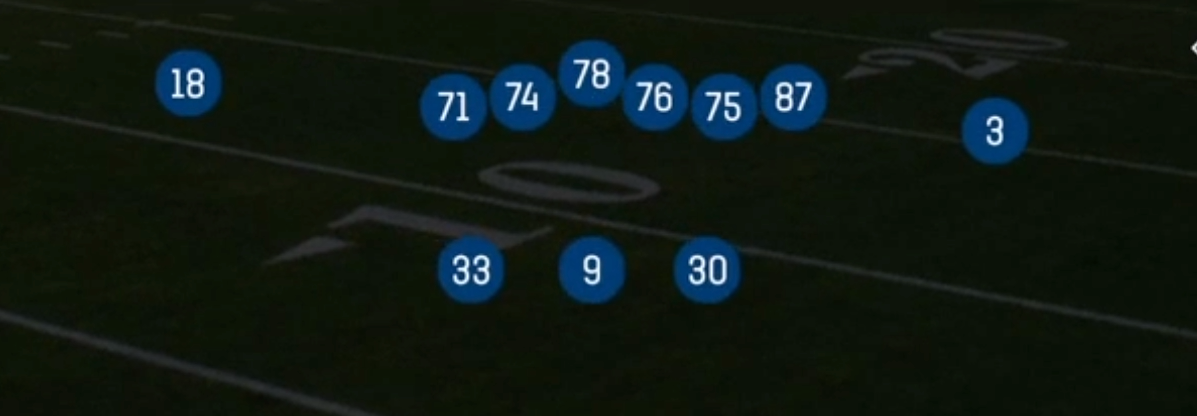
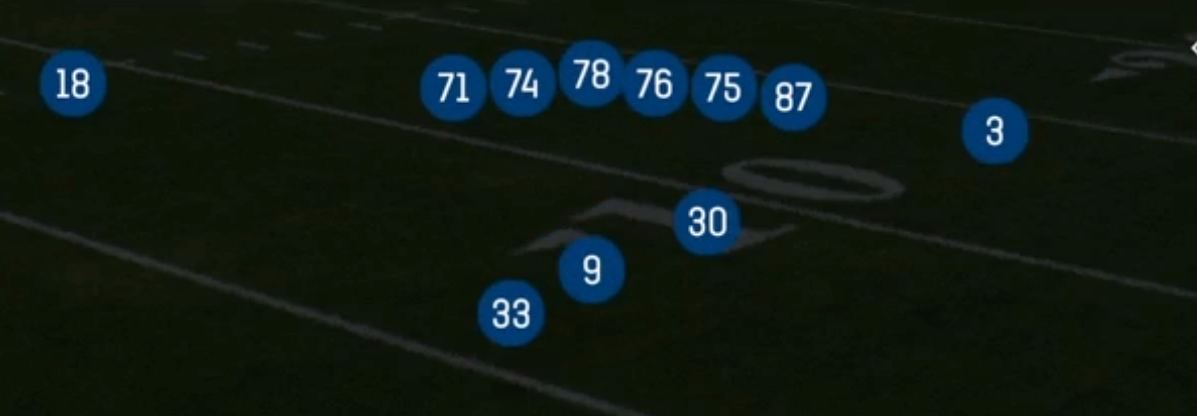
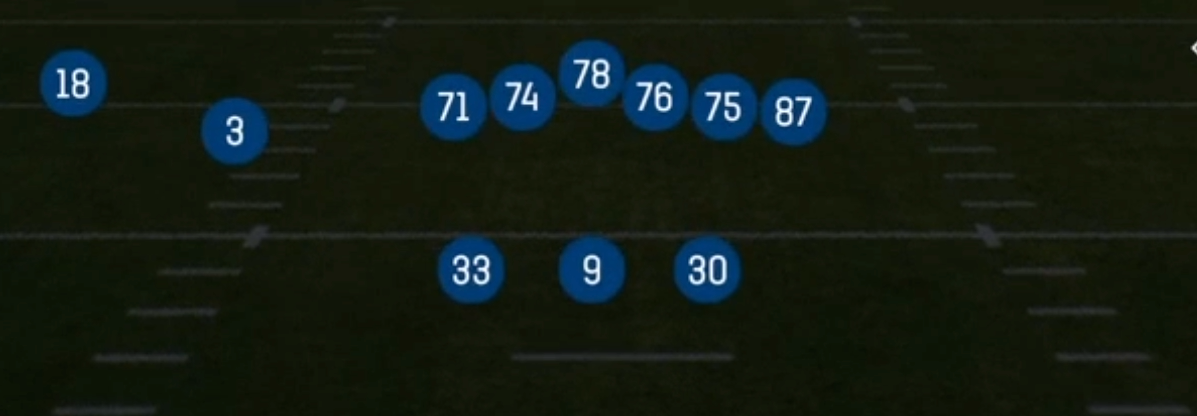
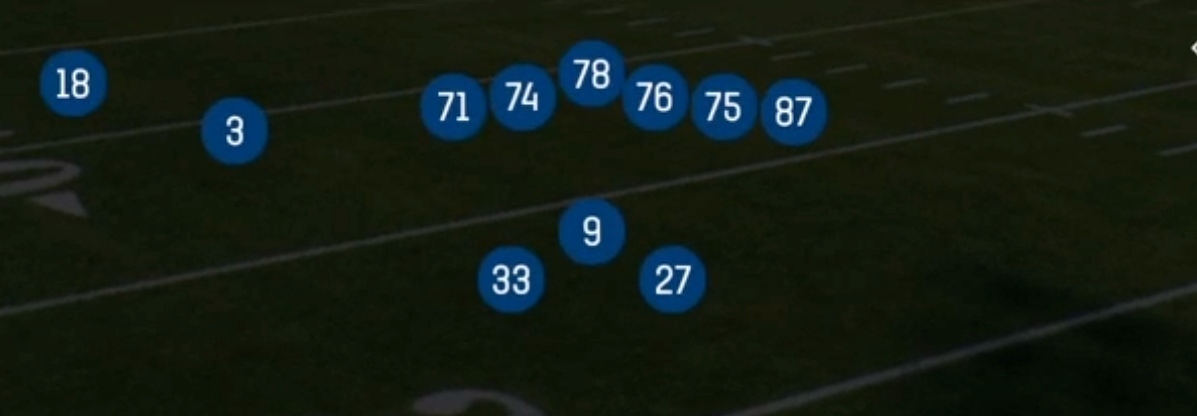
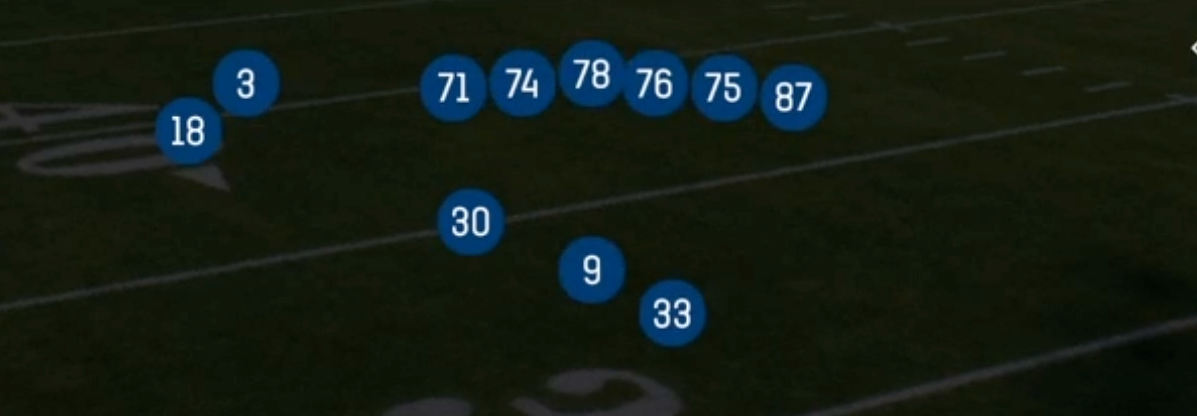
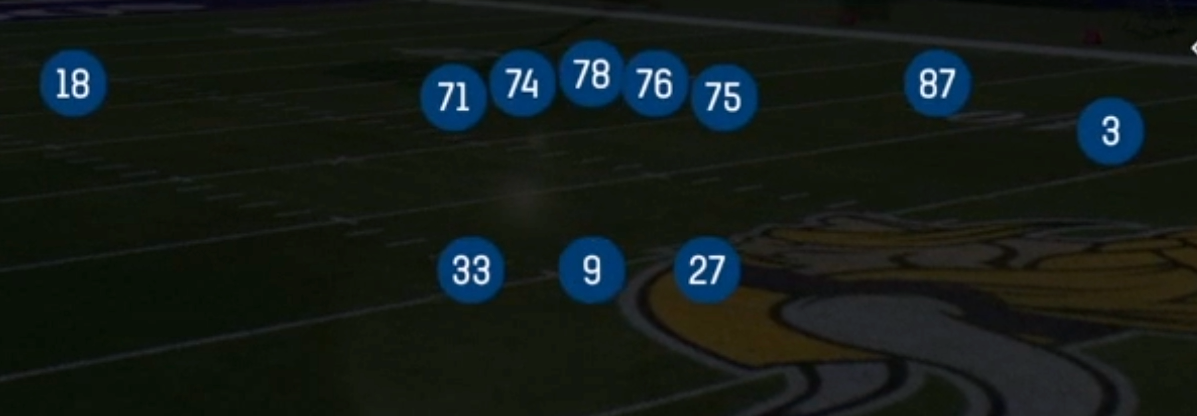
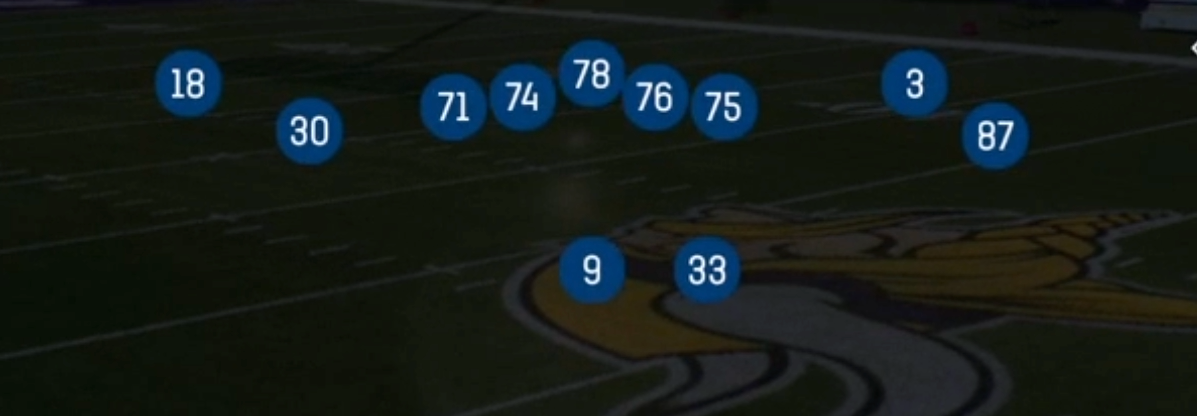
Shotgun Split Y Off is a 21 personnel set: two running backs flank the quarterback in a split backfield, the tight end aligns off the line as a wing or flexed H, and two receivers stretch the field outside. Most Shotgun sets thin the box with extra receivers. This one keeps two backs and a detached tight end on the field, so defenses that match personnel have to stay in base or heavy nickel. Your backs and tight end then become the primary weapons against linebackers and safeties.
The split backfield gives you run threats on both sides and makes true option football possible from the gun. Read Option, Mtn Triple Option Lt, RPO Zone Peek, Inside Zone Split, and Mtn Split Lead Zone let you attack the edge defender and the box count with a lead blocker already in place. Because the tight end is off the ball, the Mtn plays can motion him across the formation to create unbalanced looks, change the strength call, and flip where the defense has to rotate.
The passing game is built around getting backs into routes against linebackers. PA Snag HB Wheel, Wheel Trail, Mtn Lead Swing Spacing, Backs Cross, and HB Slip Screen put a 3DRB or gadget back on a linebacker in space. The Mtn H Angle family (Angle N Out, Angle N Up) isolates the H on a linebacker with a two-way angle break, a classic man beater. Corner Strike, Y Curl, and Mtn Mesh Rail handle zone. Combined with a power back running Outside Zone and HB Inside, the set forces defenses to choose between stopping the run and covering the backfield.
Strengths
- Two backs in the backfield let you release a 3DRB on wheels, angles, and rails against linebackers. PA Snag HB Wheel and Wheel Trail are elite man beaters, especially against Cover 1 where the wheel outruns a MLB or hook defender down the sideline.
- The Mtn H Angle series (Mtn H Angle, Angle N Out, Angle N Up) isolates the H on the second level. The angle break wins inside leverage against man. Against zone it settles into the hole under the hook defender, giving you a quick, reliable read on every coverage shell.
- Option depth is rare for a Shotgun set. Read Option, Mtn Triple Option Lt, and RPO Zone Peek punish defenders who crash or cheat on the edge, and the pitch back gives you a numbers advantage against Cover 0 and Cover 1 with a single high safety.
- The power run game holds up against base defense. Inside Zone Split, Mtn Split Lead Zone, and HB Inside use the second back as a lead blocker to create a hat on hat look, so a Power HB can grind out four to five yards against nickel and dime personnel.
- Mtn Mesh Rail, Corner Strike, and Y Curl are strong zone beaters. The rail route stresses Cover 3 buzz defenders, Corner Strike high lows the cloud corner in Cover 2, and motion pre-snap reveals man or zone before you commit to a read.
Weaknesses
- You only have two true wide receivers, so defenses can bracket or press your outside targets with Cover 2 Man or shade coverage. That takes away your best route runner and forces you to beat the defense with backs and the tight end.
- With both backs in the pattern, pressure through the A gaps can outnumber your protection. A nano blitz or overload on the side of the releasing back leaves the QB unprotected on longer developing concepts like Corner Strike and PA Snag HB Wheel.
- A user-controlled MLB or robber sitting in the middle can erase the H angle, backs cross, and mesh concepts. These plays all converge in the short middle, so one disciplined user can shut down a large share of the play art.
- The option and RPO plays depend on the edge read. Opponents who use contain on the defensive end or an outside linebacker, then user the QB spy, can force bad pitches or give ups. Your offense then relies on the interior run game.
- The run heavy personnel and split backfield alignment are easy to key on. Smart opponents will match with base 4-3 or 3-4 and add a box safety, crowding the zone runs and removing your numbers advantage in the box.
Usage Tips
Use the Mtn plays early in drives to read coverage. If the defender travels with the motioning H, you have man, so go to Mtn H Angle N Out or PA Snag HB Wheel. If defenders bump and pass off, you have zone, so work Mtn Mesh Rail or Corner Strike.
On 3rd and short or in the red zone, call Mtn Triple Option Lt or Read Option against Cover 0 and Cover 1 looks. Put your fastest back at the pitch spot and hold the ball until the edge defender commits.
Hot route the second back to a block when you see six or more rushers showing pressure. Keep the wheel or angle on the other back, and use slide protection toward the blitz side to buy time for your primary read.
Pair Inside Zone Split and HB Inside with PA HB Sneak and Mtn PA HB Seam. After you establish the power run on first and second down, the linebackers will bite on play action, and the leaking back or seam route will beat them over the top.
When opponents drop into Cover 3 or Cover 4 on 2nd and medium, use RPO Zone Peek or HB Slip Screen. The quick throw to the flat or the screen beats soft zone cushions and keeps you ahead of the chains without exposing the QB to a delayed blitz.
Plays (23)
 Backs CrossCrosser, Pass Play, Comeback +3
 Corner StrikeCorner, Pass Play, Flat +1
 HB InsideDive, Run Play
 HB Slip ScreenScreen Pass, Hb Screen, Pass Play +4
 H ChoiceOption Route, Pass Play, Corner +2
 Inside Zone SplitInside Zone, Run Play, Zone Run
 Mtn H AngleAngle, Motion, Pass Play +5
 Mtn H Angle N OutOut, Angle, Motion +1
- Mtn H Angle N UpAngle, Motion, Pass Play +6
 Mtn H SneakMotion, Drag, Crosser +5
- Mtn Lead SwingSwing, Option Route, Pass Play
- Mtn Lead Swing SpacingSwing, Hitch, Pass Play
- Mtn Mesh RailCurl, Flat, Option Route +2
 Mtn PA HB SeamPlay Action, Seam, Motion +4
 Mtn Split Lead ZoneMotion, Run Play
 Mtn Triple Option LtTriple Option, Motion, Run Play
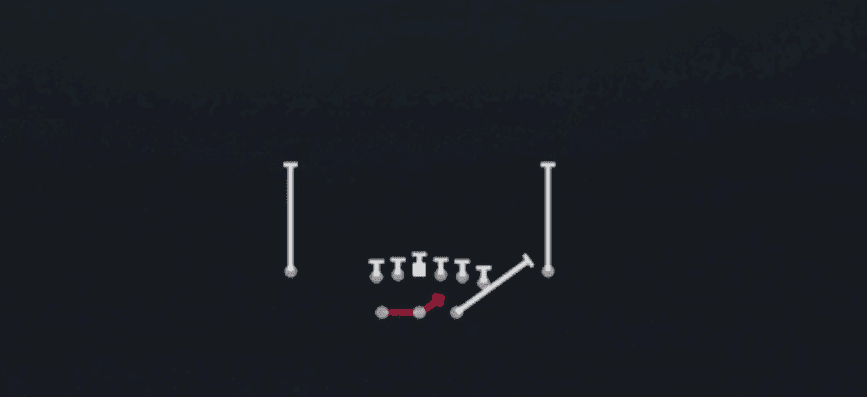 Outside ZoneOutside Zone, Run Play, Zone Run
 PA HB SneakPlay Action, Pass Play, Deep Cross +3
 PA Snag HB WheelPlay Action, Wheel, Snag +6
 Read OptionRead Option, Run Play
- RPO Zone PeekSlant, Pass Play, Run Play
 Wheel TrailWheel, Pass Play, Trail +5
 Y CurlCurl, Pass Play, Out +1