Playbooks

Split Pro Near

SpecialistsGadget

At a Glance

FormationShotgun
Plays18

Overview

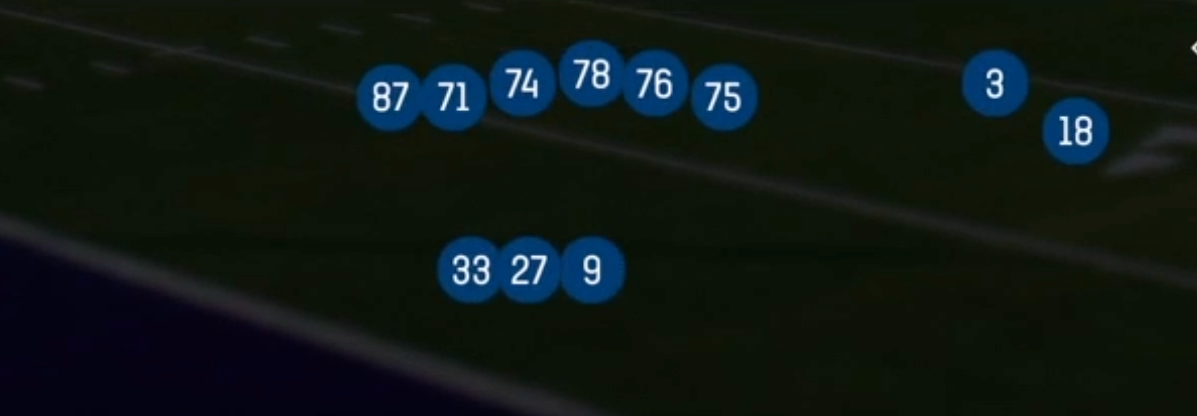
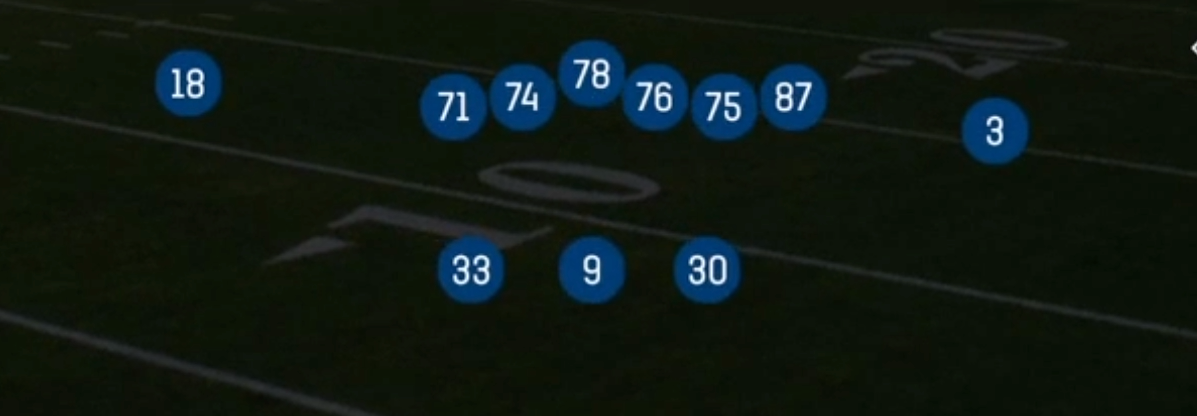
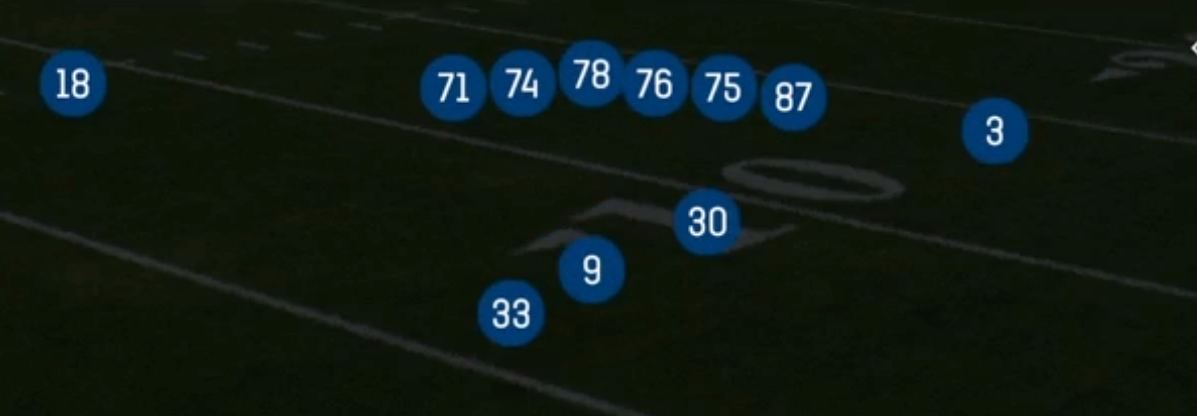
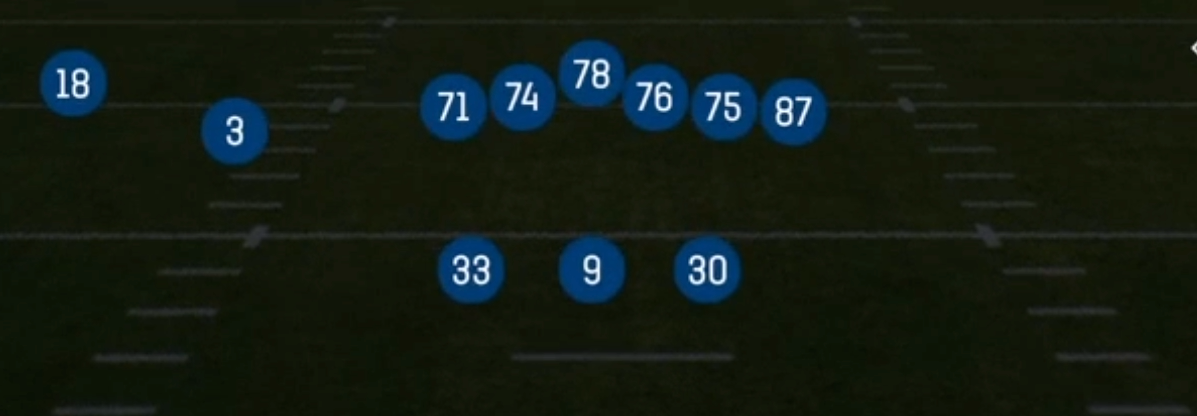
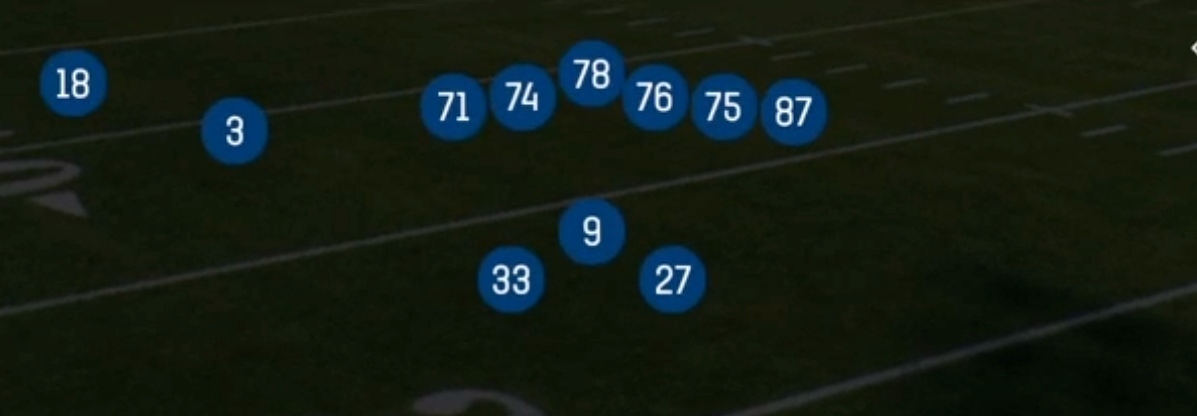
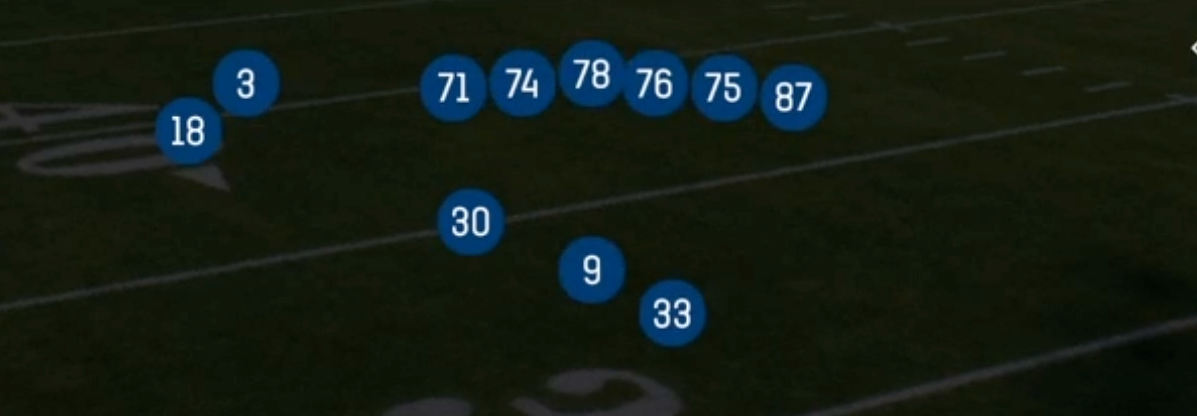
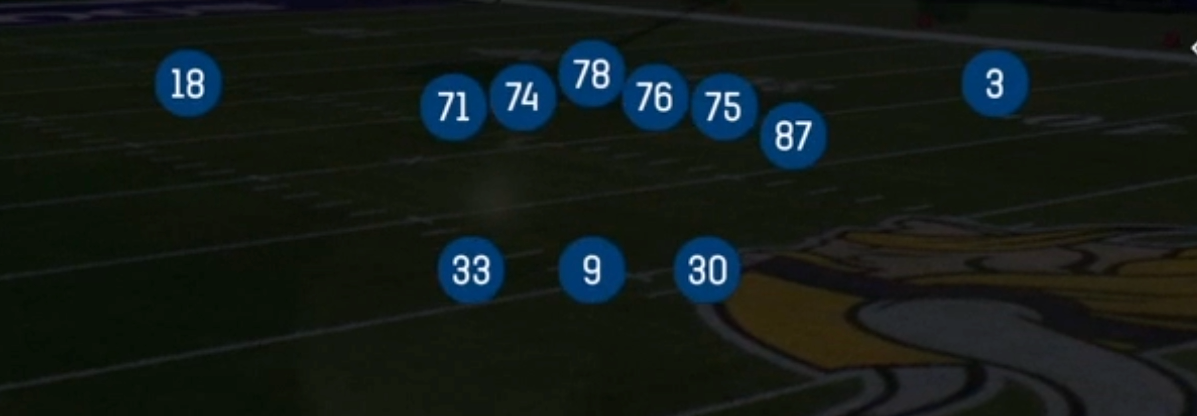
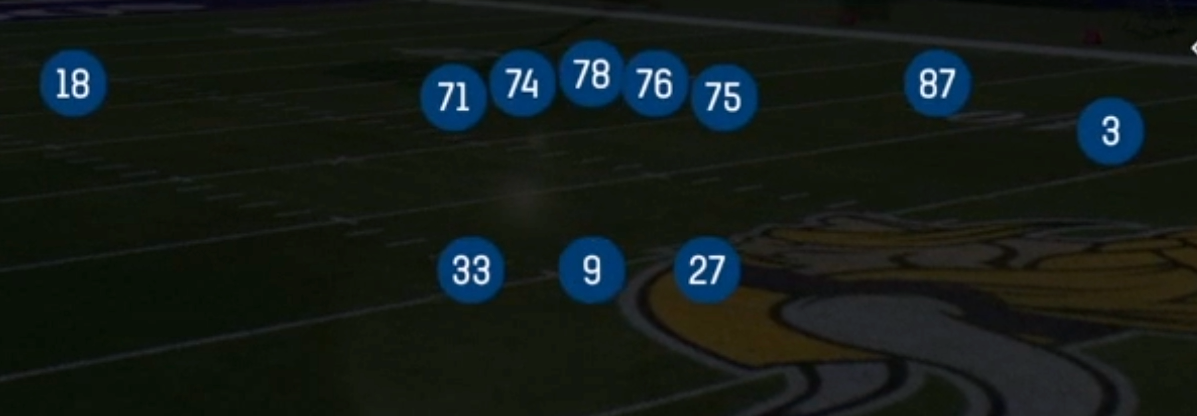
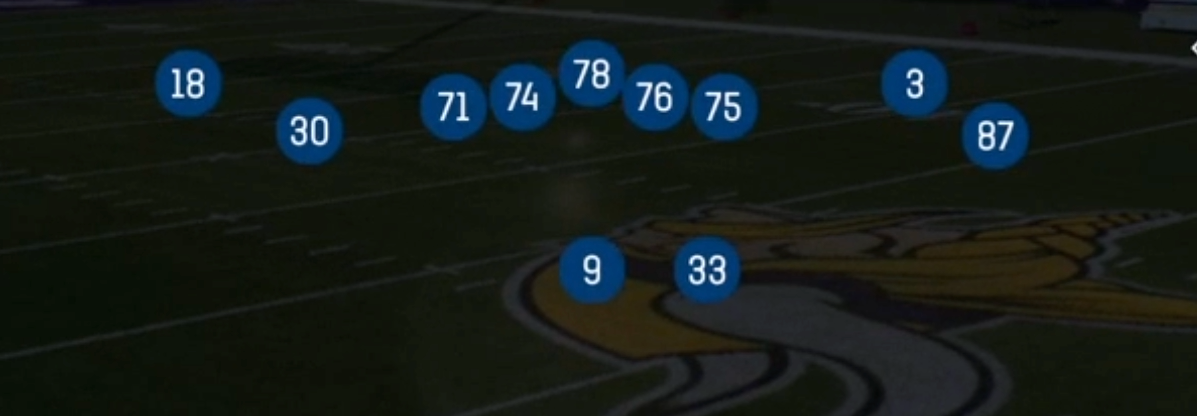
Split Pro Near puts 21 personnel in a Shotgun alignment with the fullback offset next to the quarterback and the halfback aligned to the near side, giving you a two back look out of a spread-friendly snap. Unlike Shotgun sets that spread four or five eligible receivers wide, Split Pro Near keeps two backs in the backfield and one tight end attached, which means defenses are usually forced into base or big personnel. That opens up run fits you normally only get from under center while still letting you read coverage from depth.

The alignment difference matters most in the box. With the fullback in the backfield you get a legitimate lead blocker for Mtn Counter, 0 1 Trap, and Inside Zone, plus a second protector for PA Y Leak and PA Flood that most Shotgun sets cannot offer. At the same time the halfback offset to the near side sells outside zone and Mtn HB Toss flow, which is what makes Read Option, RPO Read F Slide, and Mtn PA Fk Toss so nasty off the same initial backfield picture.

Where this set really wins is matchup isolation. Defenses that stay in base against 21 personnel leave a linebacker or safety accounting for the fullback on Smash FB Angle, and that is a mismatch you can hunt every single snap. Meanwhile the tight end and slot side gets Mesh Dig Wheels and Y Cross to attack the middle of the field, and the isolated outside receiver on Corner Strike and Slant Switch draws single high or press man with no help, which is exactly the look you want for a hot routed fade or a quick slant.

Strengths

  • Mesh Dig Wheels is a complete coverage beater: the mesh crossers destroy man, the dig sits in the Cover 3 hole, and the wheel punishes any defender who bites on the underneath rub
  • Smash FB Angle isolates the fullback on a linebacker or safety, and the angle route out of the backfield is one of the best man beaters in the game against slow user defenders
  • Heavy run menu (Inside Zone, Outside Zone, Same Side Zone, Mtn Counter, 0 1 Trap, Mtn HB Toss) with a real fullback lead blocker, so you can hammer light boxes without leaving Shotgun
  • Play action package (Mtn PA Fk Toss, PA Flood, PA Y Leak, Corner Strike) sells the same backfield flow as the base runs, and the extra back in protection means PA concepts actually hold up against four man rushes
  • Read Option and RPO Read F Slide punish edge defenders who crash, and you can hot route the slide to a slant or drag to turn it into a quick constraint throw against zone

Weaknesses

  • Only three eligible receivers get out fast on most concepts, so aggressive nano blitz looks and overloaded A gap pressure force you into a hot route or a checkdown instead of a full field read
  • The 21 personnel tell is obvious, so opponents who read personnel will stay in base or bring in a run stopping nickel package, taking away the light box you were trying to attack
  • Zero receiver depth on the isolated side means good user-controlled corners can sit on Corner Strike and Slant Switch with no vertical threat pulling them off
  • Backfield motion and toss flow are predictable once you show them: users will crash the edge and take away Mtn HB Toss and Mtn PA Fk Toss with a single user defender
  • Limited answers against quarters and 2 Man with a plugging user linebacker, since the mesh and cross concepts get carried and the angle route gets bracketed

Usage Tips

Check the box count pre-snap. Six or fewer in the box means run Inside Zone, Mtn Counter, or 0 1 Trap. Seven or more means go to Mesh Dig Wheels or Y Cross and throw into the vacated middle

Against single high man, hot route the isolated outside receiver to a fade or slant on Corner Strike and let Smash FB Angle work underneath as your safety valve

Run Outside Zone and Mtn HB Toss early in a game to set up Mtn PA Fk Toss and PA Y Leak later, since the play action art mirrors the run flow exactly

On third and medium, Slants and Slant Switch give you a quick timing answer to blitz looks. Motion the fullback out to check man versus zone before you commit

Use Read Option and RPO Read F Slide when the opponent is user controlling a linebacker, because the read key makes the unblocked edge defender wrong regardless of which way he plays it

Plays (18)

Plays in Split Pro Near
PlayOpen
0 1 Trap
Corner Strike
HB Slip Screen
Inside Zone
Mesh Dig Wheels
Mtn Counter
Mtn HB Toss
Mtn PA Fk Toss
Outside Zone
PA Flood
PA Y Leak
Read Option
RPO Read F Slide
Same Side Zone
Slants
Slant Switch
Smash FB Angle
Y Cross

Other Sets in Shotgun

4wr Pack Trips

18 Plays · 1 RB, 0 TE, 4 WR

4WR Trips Strong

18 Plays · 1 RB, 0 TE, 4 WR

5WR Flex Trey

16 Plays · 0 RB, 1 TE, 4 WR

5WR Tight

15 Plays · 0 RB, 0 TE, 5 WR

5WR Trio

31 Plays · 1 RB, 1 TE, 3 WR

5WR Trips

18 Plays · 0 RB, 0 TE, 5 WR

Ace

28 Plays · 1 RB, 2 TE, 2 WR

Ace Offset

17 Plays · 1 RB, 2 TE, 2 WR

Ace Slot

16 Plays · 1 RB, 2 TE, 2 WR

Ace Slot Offset

22 Plays · 1 RB, 2 TE, 2 WR

Box

18 Plays · 1 RB, 0 TE, 4 WR

Box HB Strong

6 Plays · 1 RB, 1 TE, 3 WR

Box Offset Wk

19 Plays · 1 RB, 1 TE, 3 WR

Box Y Off

12 Plays · 1 RB, 1 TE, 3 WR

Box Y Split

24 Plays · 1 RB, 1 TE, 3 WR

Bunch

54 Plays · 1 RB, 1 TE, 3 WR

Bunch HB Str

12 Plays · 1 RB, 1 TE, 3 WR

Bunch Offset

31 Plays · 1 RB, 1 TE, 3 WR

Bunch Offset Close

11 Plays · 1 RB, 1 TE, 3 WR

Bunch Open

9 Plays · 1 RB, 0 TE, 4 WR

Bunch Open Offset

19 Plays · 1 RB, 1 TE, 3 WR

Bunch Open TE

16 Plays · 1 RB, 1 TE, 3 WR

Bunch Quads

9 Plays · 1 RB, 1 TE, 3 WR

Bunch Quads Close

6 Plays · 1 RB, 1 TE, 3 WR

Bunch Quads Open

6 Plays · 1 RB, 1 TE, 3 WR

Bunch Spread

24 Plays · 1 RB, 1 TE, 3 WR

Bunch Spread Nasty

38 Plays · 1 RB, 1 TE, 3 WR

Bunch Str Nasty

33 Plays · 1 RB, 1 TE, 3 WR

Bunch Str Offset

46 Plays · 1 RB, 1 TE, 3 WR

Bunch TE

57 Plays · 1 RB, 1 TE, 3 WR

Bunch TE Str

13 Plays · 1 RB, 1 TE, 3 WR

Bunch TE Wk

18 Plays · 1 RB, 1 TE, 3 WR

Bunch Trio Open

12 Plays · 1 RB, 1 TE, 3 WR

Bunch Wide

29 Plays · 1 RB, 1 TE, 3 WR

Bunch Wide Nasty

23 Plays · 1 RB, 1 TE, 3 WR

Bunch X Nasty

61 Plays · 1 RB, 1 TE, 3 WR

Bunch Y-Flex

37 Plays · 1 RB, 1 TE, 3 WR

Bunch Y-Trips

15 Plays · 1 RB, 1 TE, 3 WR

Cluster

15 Plays · 1 RB, 1 TE, 3 WR

Cluster HB Str

18 Plays · 1 RB, 1 TE, 3 WR

Dbls Flex Y Off Close

24 Plays · 1 RB, 1 TE, 3 WR

Deebo Package

6 Plays · Unknown

Deuce

26 Plays · 1 RB, 2 TE, 2 WR

Deuce Close

53 Plays · 1 RB, 2 TE, 2 WR

Doubles

69 Plays · 1 RB, 1 TE, 3 WR

Doubles Flex

27 Plays · 1 RB, 1 TE, 3 WR

Doubles Flex WK Pats

13 Plays · Unknown

Doubles Flex Wk Swap

12 Plays · 1 RB, 1 TE, 3 WR

Doubles Flex Y Off Close

21 Plays · 1 RB, 1 TE, 3 WR

Doubles HB Wk

48 Plays · 1 RB, 1 TE, 3 WR

Doubles Hip

13 Plays · 1 RB, 1 TE, 3 WR

Doubles Off Close

10 Plays · 1 RB, 1 TE, 3 WR

Doubles Off Close Wk

22 Plays · 1 RB, 1 TE, 3 WR

Doubles Offset

44 Plays · 1 RB, 1 TE, 3 WR

Doubles Offset Wk

57 Plays · 1 RB, 1 TE, 3 WR

Doubles Stack Clamp

27 Plays · 1 RB, 1 TE, 3 WR

Double Stack

21 Plays · 1 RB, 1 TE, 3 WR

Doubles Y-Flex

29 Plays · 1 RB, 1 TE, 3 WR

Doubles Y-Flex Offset

15 Plays · 1 RB, 1 TE, 3 WR

Doubles Y Off

73 Plays · 1 RB, 1 TE, 3 WR

Doubles Y Off Nasty

21 Plays · 1 RB, 1 TE, 3 WR

Doubles Y Off WK

29 Plays · 1 RB, 1 TE, 3 WR

Doubles Z Close

14 Plays · 1 RB, 1 TE, 3 WR

Doubles Z Close Wk

20 Plays · 1 RB, 1 TE, 3 WR

Double Wing

9 Plays · 2 RB, 3 TE, 0 WR

Duo Offset

19 Plays · Unknown

Duo Slot Open

19 Plays · 2 RB, 0 TE, 3 WR

Duo Twins Flex

9 Plays · 2 RB, 1 TE, 2 WR

Empty Ace

15 Plays · 1 RB, 2 TE, 2 WR

Empty Base

35 Plays · 1 RB, 1 TE, 3 WR

Empty Base Flex

35 Plays · 1 RB, 1 TE, 3 WR

Empty Base Trio

21 Plays · 1 RB, 1 TE, 3 WR

Empty Bunch

9 Plays · 1 RB, 1 TE, 3 WR

Empty Bunch Open

17 Plays · 1 RB, 1 TE, 3 WR

Empty Bunch Tight

12 Plays · 1 RB, 1 TE, 3 WR

Empty Bunch Wide

16 Plays · 1 RB, 1 TE, 3 WR

Empty Bunch Y Flex

9 Plays · 1 RB, 1 TE, 3 WR

Empty Chips

9 Plays · 1 RB, 1 TE, 3 WR

Empty Chips Nasty

12 Plays · 1 RB, 1 TE, 3 WR

Empty Chips Quads

9 Plays · 1 RB, 1 TE, 3 WR

Empty Chips Tight

11 Plays · 1 RB, 1 TE, 3 WR

Empty HB Wide

13 Plays · 1 RB, 1 TE, 3 WR

Empty Quads

9 Plays · 0 RB, 1 TE, 4 WR

Empty Sketch Stack

10 Plays · 1 RB, 1 TE, 3 WR

Empty Steeler

12 Plays · 1 RB, 1 TE, 3 WR

Empty Strong Slots

9 Plays · 1 RB, 1 TE, 3 WR

Empty Trey

21 Plays · 1 RB, 1 TE, 3 WR

Empty Trey Flex

12 Plays · Unknown

Empty Trey Stack

15 Plays · 1 RB, 1 TE, 3 WR

Empty Triple Stack

3 Plays · 1 RB, 1 TE, 3 WR

Empty Trips Speed

15 Plays · 1 RB, 1 TE, 3 WR

Empty Y Slot

15 Plays · 1 RB, 1 TE, 3 WR

Flanker Close

17 Plays · 1 RB, 0 TE, 4 WR

Flanker Close WK

9 Plays · 1 RB, 1 TE, 3 WR

Flex Y Off

20 Plays · 1 RB, 1 TE, 3 WR

Flex Y Off Close

19 Plays · 1 RB, 1 TE, 3 WR

Flex Y Off Wk

30 Plays · 1 RB, 1 TE, 3 WR

Gadget Backfield

6 Plays · 3 RB, 1 TE, 1 WR

Gadget Package

6 Plays · 3 RB, 1 TE, 1 WR

Go Go Twins Flex

9 Plays · 2 RB, 1 TE, 2 WR

Heavy Panther

9 Plays · 2 RB, 3 TE, 0 WR

Monster

3 Plays · 1 RB, 1 TE, 3 WR

Normal Flex Snug

17 Plays · 1 RB, 1 TE, 3 WR

Normal Flex Wing

12 Plays · 1 RB, 1 TE, 3 WR

Normal Off Close Wk

24 Plays · 1 RB, 1 TE, 3 WR

Normal Wing Pats Close

7 Plays · Unknown

Normal Y Off

64 Plays · 1 RB, 1 TE, 3 WR

Normal Y Off Close

62 Plays · 1 RB, 1 TE, 3 WR

Normal Y Off Wk

40 Plays · 1 RB, 1 TE, 3 WR

Open Flex

10 Plays · 1 RB, 1 TE, 3 WR

Slot Left

9 Plays · 1 RB, 1 TE, 3 WR

Slot Right

23 Plays · 1 RB, 1 TE, 3 WR

Slot WR Backfield

7 Plays · Unknown

Split Close

30 Plays · 2 RB, 0 TE, 3 WR

Split Close Pro

15 Plays · 2 RB, 1 TE, 2 WR

Split Cowboy

17 Plays · 1 RB, 1 TE, 3 WR

Split Flanker Close

9 Plays · 2 RB, 0 TE, 3 WR

Split Offset

34 Plays · 2 RB, 0 TE, 3 WR

Split Pro Offset Wk

6 Plays · 2 RB, 1 TE, 2 WR

Split Slot Offset

47 Plays · 2 RB, 0 TE, 3 WR

Split Slot Open

50 Plays · 2 RB, 0 TE, 3 WR

Split Twins

6 Plays · 2 RB, 1 TE, 2 WR

Split Twins Offset

13 Plays · 2 RB, 1 TE, 2 WR

Split Twins Offset Close

15 Plays · 2 RB, 1 TE, 2 WR

Split Twins Stack

6 Plays · 2 RB, 1 TE, 2 WR

Split U Off Close

9 Plays · 2 RB, 2 TE, 1 WR

Split Wing Nasty

6 Plays · 2 RB, 2 TE, 1 WR

Split WR Backfield

9 Plays · 1 RB, 1 TE, 3 WR

Split Y-Flex

33 Plays · 2 RB, 1 TE, 2 WR

Split Y Off

23 Plays · 2 RB, 1 TE, 2 WR

Split Y Off Close

10 Plays · 1 RB, 1 TE, 3 WR

Spread

85 Plays · 1 RB, 0 TE, 4 WR

Spread 4wr

1 Play · 1 RB, 1 TE, 3 WR

Spread Dbl Flex

43 Plays · 1 RB, 1 TE, 3 WR

Spread Dbl Flex Wk

22 Plays · 1 RB, 1 TE, 3 WR

Spread Flex

29 Plays · 1 RB, 1 TE, 3 WR

Spread Slots Close

22 Plays · 1 RB, 0 TE, 4 WR

Spread Y-Flex

69 Plays · 1 RB, 1 TE, 3 WR

Spread Y-Flex Wk

50 Plays · 1 RB, 1 TE, 3 WR

Spread Y-Slot

93 Plays · 1 RB, 1 TE, 3 WR

Spread Y-Slot Wk

56 Plays · 1 RB, 1 TE, 3 WR

Stack HB WK

15 Plays · 1 RB, 1 TE, 3 WR

Stack Y-Flex

16 Plays · 1 RB, 1 TE, 3 WR

Stack Y Off

17 Plays · 1 RB, 1 TE, 3 WR

Tackle Over

9 Plays · 1 RB, 1 TE, 3 WR

Tackle Over Trips

10 Plays · 1 RB, 1 TE, 3 WR

Tight

34 Plays · 1 RB, 1 TE, 3 WR

Tight Base Flex

9 Plays · 2 RB, 1 TE, 2 WR

Tight Doubles

19 Plays · 1 RB, 1 TE, 3 WR

Tight Flex

25 Plays · 1 RB, 1 TE, 3 WR

Tight Flex Offset

15 Plays · 1 RB, 1 TE, 3 WR

Tight Flex Wk

24 Plays · 1 RB, 1 TE, 3 WR

Tight Offset TE

18 Plays · 1 RB, 1 TE, 3 WR

Tight Open

55 Plays · 1 RB, 1 TE, 3 WR

Tight Slot Flip

9 Plays · 1 RB, 1 TE, 3 WR

Tight Slot Open

10 Plays · 1 RB, 1 TE, 3 WR

Tight Slots

40 Plays · 1 RB, 1 TE, 3 WR

Tight Slots HB Wk

19 Plays · 1 RB, 1 TE, 3 WR

Tight Y Off

43 Plays · 1 RB, 1 TE, 3 WR

Tight Y Off Wk

54 Plays · 1 RB, 1 TE, 3 WR

Trey

12 Plays · 1 RB, 1 TE, 3 WR

Trey 4WR

21 Plays · 1 RB, 0 TE, 4 WR

Trey Offset

24 Plays · 1 RB, 1 TE, 3 WR

Trey Open

85 Plays · 1 RB, 1 TE, 3 WR

Trey Open HB Str

48 Plays · 1 RB, 1 TE, 3 WR

Trey Open Offset

42 Plays · 1 RB, 1 TE, 3 WR

Trey Y-Flex

47 Plays · 1 RB, 1 TE, 3 WR

Trey Y-Flex Str

22 Plays · 1 RB, 1 TE, 3 WR

Trey Y Iso

15 Plays · 1 RB, 1 TE, 3 WR

Trio

30 Plays · 1 RB, 1 TE, 3 WR

Trio 4wr Str

15 Plays · 1 RB, 0 TE, 4 WR

Trio HB Wk

30 Plays · 1 RB, 1 TE, 3 WR

Trio Offset

18 Plays · 1 RB, 1 TE, 3 WR

Trio Offset Wk

17 Plays · 1 RB, 1 TE, 3 WR

Trio Rt Open

1 Play · 1 RB, 1 TE, 3 WR

Trio Y-Flex

32 Plays · 1 RB, 1 TE, 3 WR

Trips

49 Plays · 1 RB, 0 TE, 4 WR

Trips HB Wk

61 Plays · 1 RB, 0 TE, 4 WR

Trips Slots Close

27 Plays · 1 RB, 0 TE, 4 WR

Trips TE

65 Plays · 1 RB, 1 TE, 3 WR

Trips TE Flex

25 Plays · 1 RB, 1 TE, 3 WR

Trips TE Flex Close WK

30 Plays · 1 RB, 1 TE, 3 WR

Trips TE Offset

24 Plays · 1 RB, 1 TE, 3 WR

Trips TE Offset Wk

25 Plays · 1 RB, 1 TE, 3 WR

Trips X Nasty

23 Plays · 1 RB, 1 TE, 3 WR

Trips X Nasty Offset WK

12 Plays · 1 RB, 1 TE, 3 WR

Trips X Nasty Off Wk

12 Plays · 1 RB, 1 TE, 3 WR

Trips Y-Flex

22 Plays · 1 RB, 1 TE, 3 WR

Trips Y Iso

12 Plays · 1 RB, 1 TE, 3 WR

Trips Y Slot Str

6 Plays · 1 RB, 1 TE, 3 WR

U Off Stack

13 Plays · 1 RB, 2 TE, 2 WR

U Off Trips

30 Plays · 1 RB, 2 TE, 2 WR

U Off Trips Flex

15 Plays · 1 RB, 2 TE, 2 WR

U Off Trips Wk

23 Plays · 1 RB, 2 TE, 2 WR

Wide 5wr

24 Plays · Unknown

Wide Doubles Y Off WK

10 Plays · 1 RB, 1 TE, 3 WR

Wide Normal Y Off

6 Plays · 1 RB, 1 TE, 3 WR

Wide Slot Left

16 Plays · Unknown

Wide Slot Right WK

16 Plays · 1 RB, 1 TE, 3 WR

Wide Trips

15 Plays · 1 RB, 0 TE, 4 WR

Wide Trips HB WK

16 Plays · 1 RB, 0 TE, 4 WR

Wide Y Off Trips

11 Plays · 1 RB, 1 TE, 3 WR

Wide Y Trips WK

16 Plays · Unknown

Wing

15 Plays · 1 RB, 2 TE, 2 WR

Wing Close Offset

10 Plays · Unknown

Wing Flex Offset

27 Plays · 1 RB, 2 TE, 2 WR

Wing Flex Offset Wk

24 Plays · 1 RB, 2 TE, 2 WR

Wing HB Wk Close

9 Plays · 1 RB, 2 TE, 2 WR

Wing Pair

16 Plays · 1 RB, 3 TE, 1 WR

Wing Slot Offset

75 Plays · 1 RB, 2 TE, 2 WR

Wing Slot Offset WK

21 Plays · 1 RB, 2 TE, 2 WR

Wing Slot Wk

50 Plays · 1 RB, 2 TE, 2 WR

Wing Stack

21 Plays · 1 RB, 2 TE, 2 WR

Wing Stack Wk

26 Plays · 1 RB, 2 TE, 2 WR

Wing Tight

16 Plays · 1 RB, 3 TE, 1 WR

Wing Tight Flip

12 Plays · 1 RB, 3 TE, 1 WR

Wing Tight Nasty

6 Plays · 1 RB, 3 TE, 1 WR

Wing Tight Z

10 Plays · 1 RB, 3 TE, 1 WR

Wing Trio

18 Plays · 1 RB, 1 TE, 3 WR

Wing Trips WK

30 Plays · 1 RB, 1 TE, 3 WR

Wing Trips Wk Nasty

16 Plays · 1 RB, 1 TE, 3 WR

Wing Trips WK Nasty Mug

20 Plays · Unknown

Y Off Trio Close

35 Plays · 1 RB, 1 TE, 3 WR

Y Off Trio Close WK

21 Plays · 1 RB, 1 TE, 3 WR

Y Off Trio Wk

55 Plays · 1 RB, 1 TE, 3 WR

Y Off Trips

64 Plays · 1 RB, 1 TE, 3 WR

Y Off Trips Close

31 Plays · 1 RB, 1 TE, 3 WR

Y Off Trips Nasty

15 Plays · 1 RB, 1 TE, 3 WR

Y Off Trips Pats

32 Plays · Unknown

Y Off Trips Stack

3 Plays · Unknown

Y Off Trips Wk

68 Plays · 1 RB, 1 TE, 3 WR

Y Trio Offset Wk

23 Plays · 1 RB, 1 TE, 3 WR

Y Trips

4 Plays · 1 RB, 1 TE, 3 WR

Y Trips 1 Slot

1 Play · 1 RB, 1 TE, 3 WR

Y Trips Offset

25 Plays · 1 RB, 1 TE, 3 WR

Y Trips Offset Wk

15 Plays · 1 RB, 1 TE, 3 WR

Y Trips Wk

100 Plays · 1 RB, 1 TE, 3 WR