Playbooks

At a Glance
Overview
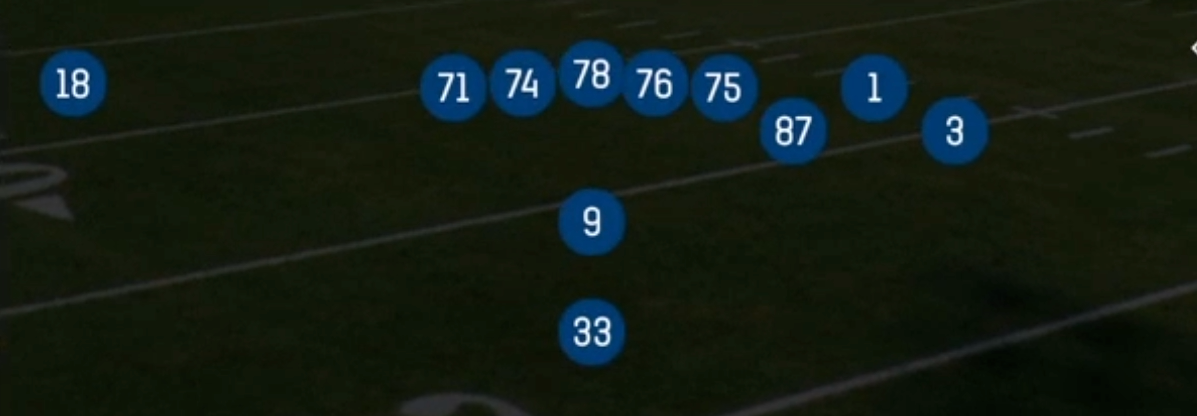
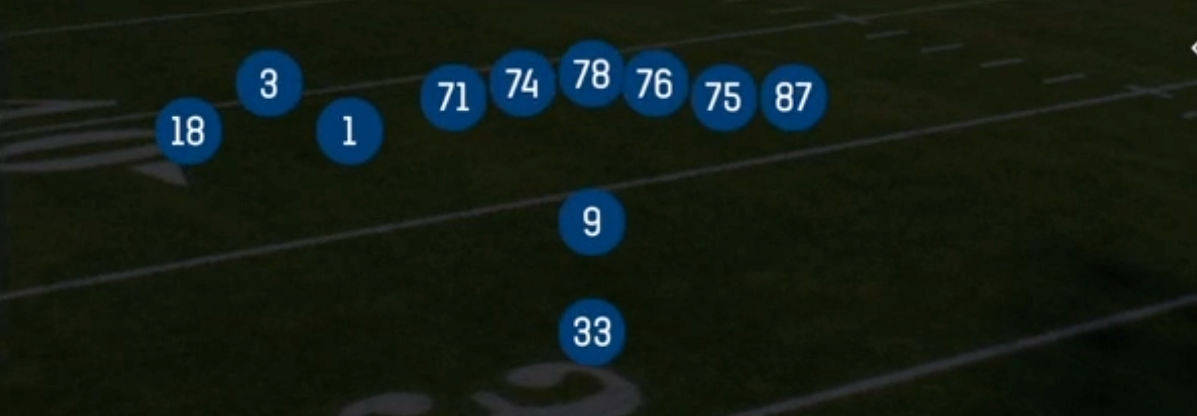
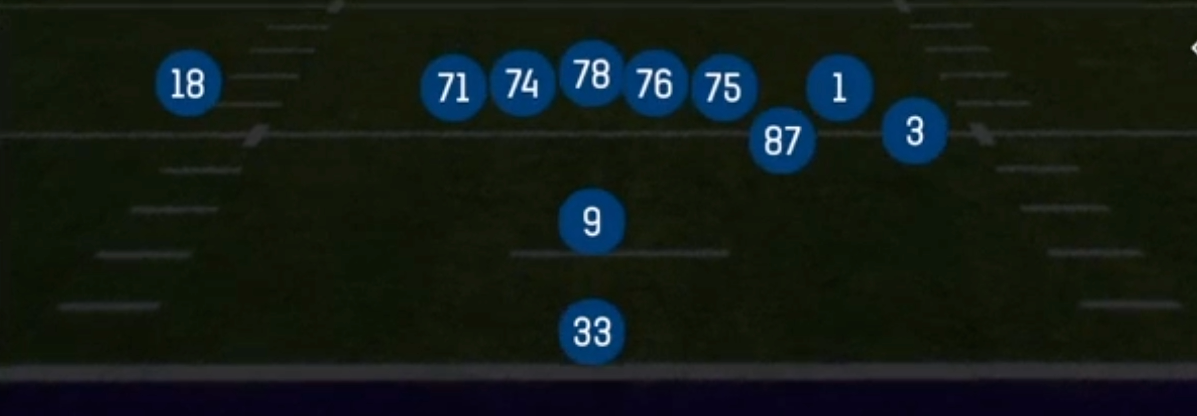
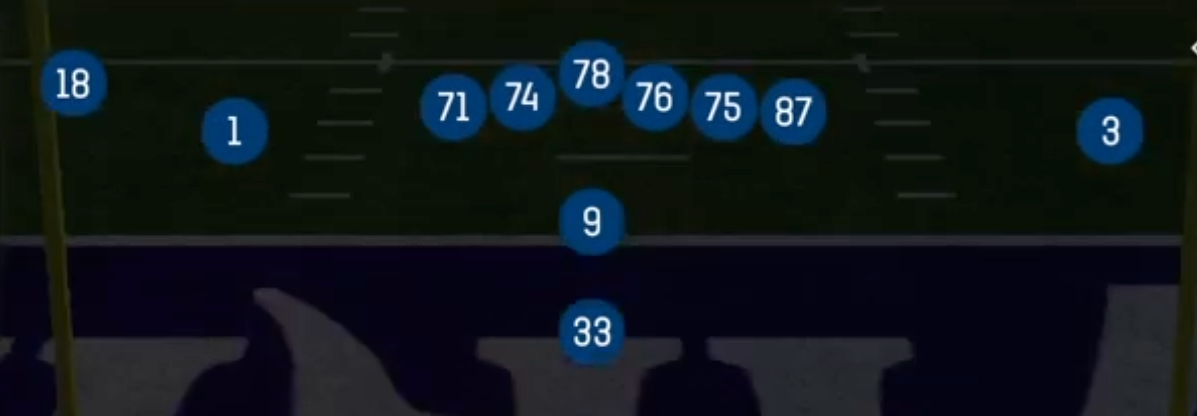
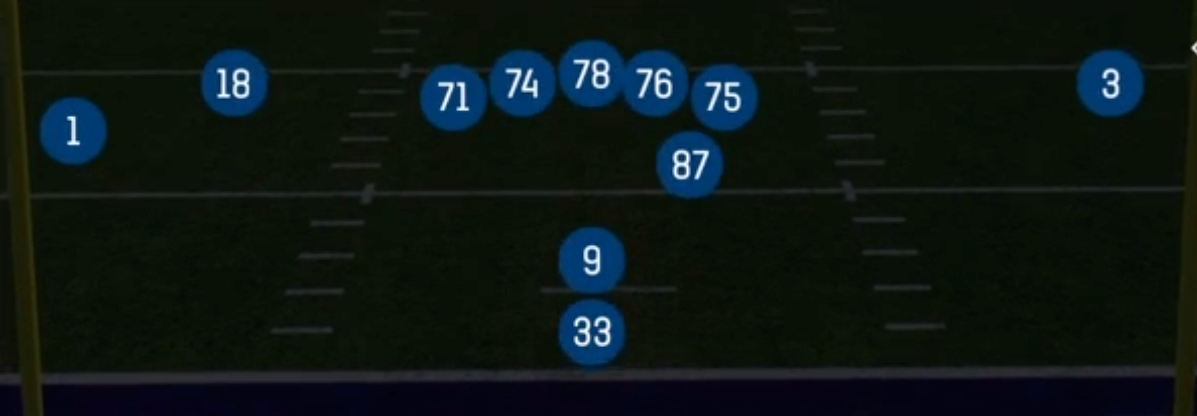
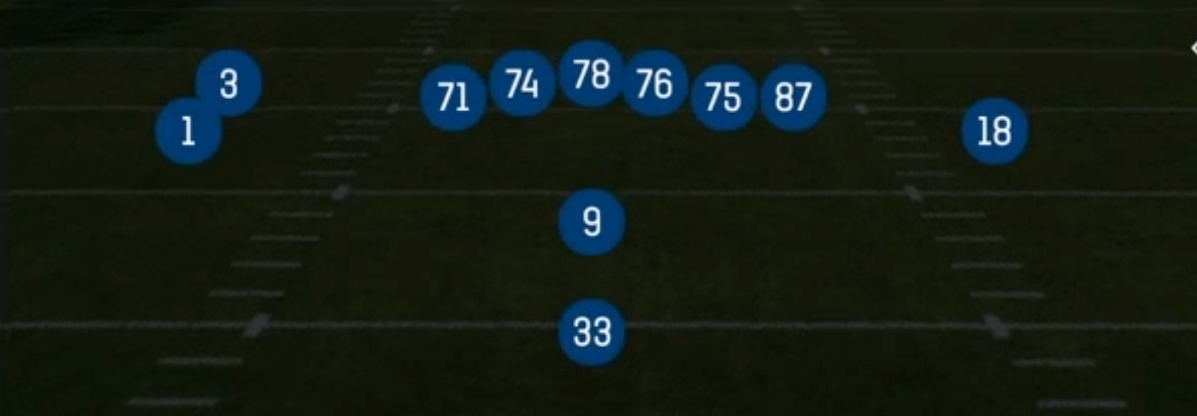
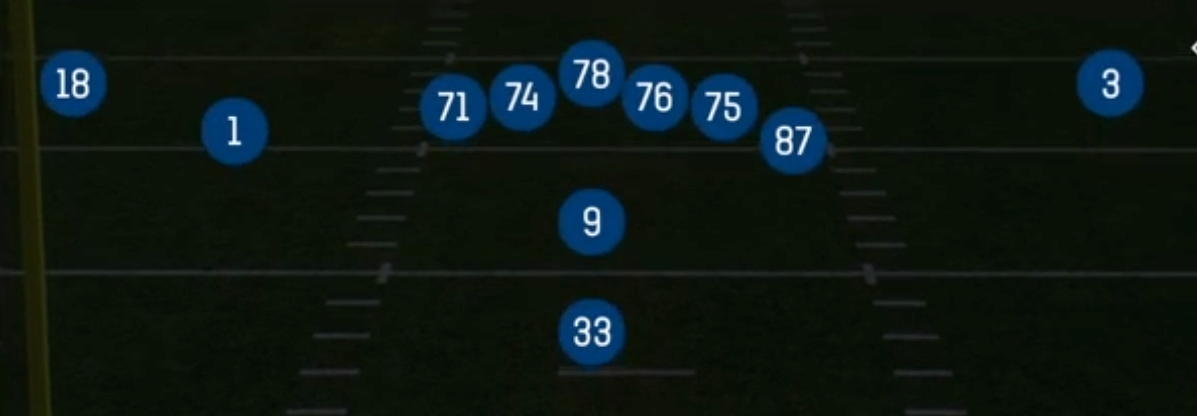
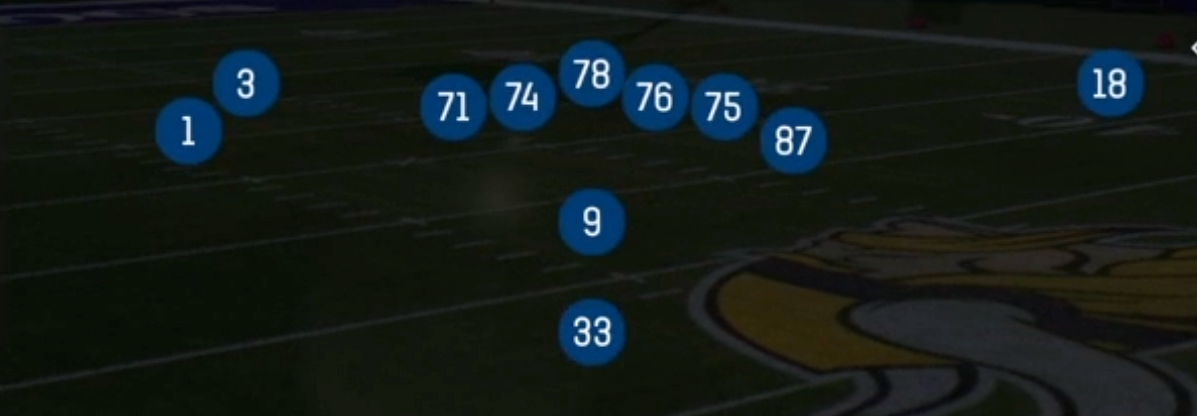
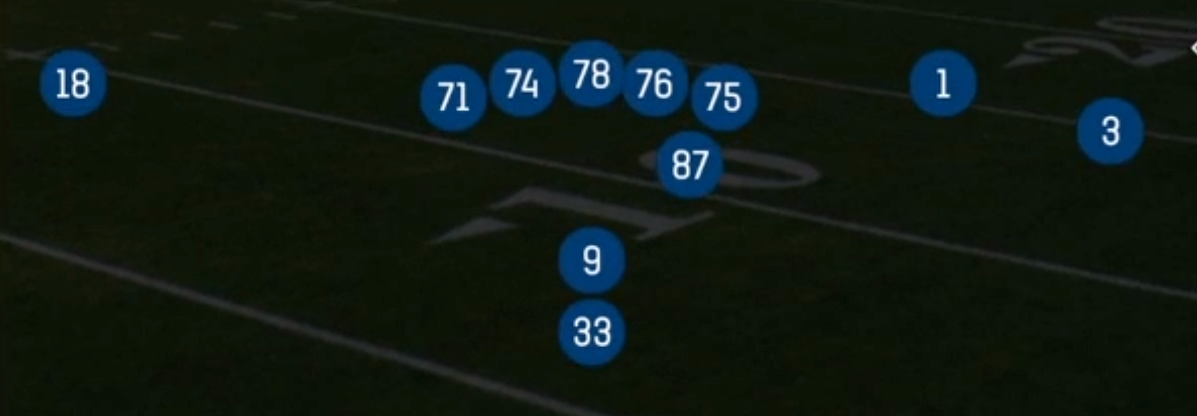
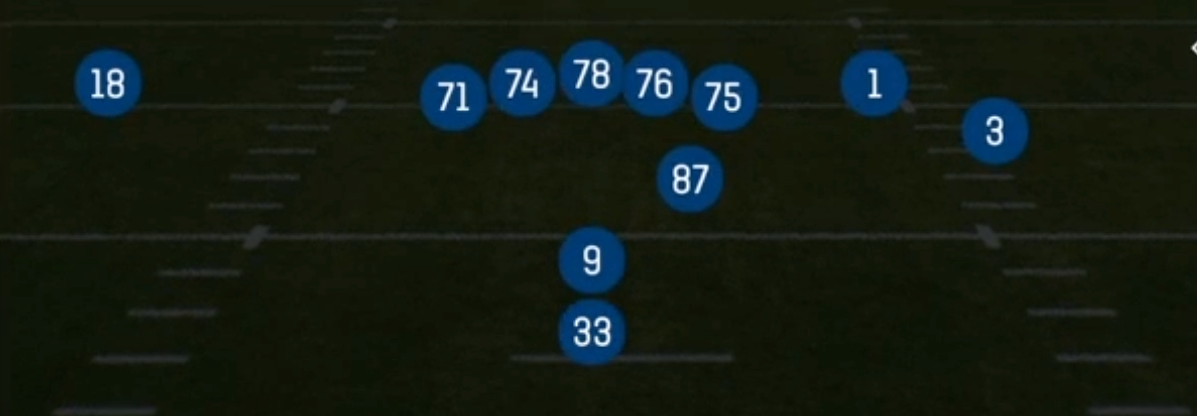
The Y Trips set in the Pistol formation puts the tight end (the Y) into a three-receiver surface alongside two wideouts, leaving a single receiver isolated on the backside. The quarterback sits in the short Pistol alignment with the running back directly behind him. Most Pistol sets balance the receivers or keep the tight end attached to the line. Y Trips instead stretches the defense horizontally toward the trips side while keeping a downhill run threat from the back. That split gives you a spread passing look and a true north and south run game from the same pre-snap picture, which is hard for defenses to key.
The 11 personnel package (1 RB, 1 TE) is where the matchup leverage comes from. Detached into the trips surface, your tight end draws a linebacker or safety in man coverage, a clear size advantage against smaller defenders on Y Stick, Y Trail, and Smash concepts. Defenses that roll coverage toward the three-receiver side leave the backside X receiver in pure one on one isolation. That makes Four Verticals, PA Comebacks, and Curls reliable shots against single-high looks. The SLWR tag reflects the slot alignment on the left side, which opens option routes and quick hitters from the slot.
Conceptually, this set covers almost everything: quick game (Y Stick, Curls, WR Screen), vertical stretches (Four Verticals, Mtn Corner Strike), play-action boot and waggle action (PA Ctr Waggle, PA Read), and screens (HB Slip Screen, Mtn HB Slip Screen). The run menu is deep, with zone (HB Zone Wk, HB Stretch), gap (Strong Power, HB Counter, Pin Pull Sweep), interior downhill (HB Dive, HB Slam), draws, and the Gadget tagged Read Option. Because the Pistol hides the running back behind the quarterback, run and pass keys look identical at the snap, which gives Y Trips its strength against defenders reading the backfield.
Strengths
- Trips surface with the detached tight end creates a natural three-level flood, and Y Trail and Smash stress Cover 3 and Cover 4 rotations by putting the Y on a linebacker or safety in space
- Backside X receiver isolation punishes defenses that rotate coverage to the trips side, making PA Comebacks, Curls, and a hot routed fade or slant on the single receiver dependable man beaters against Cover 1 and Cover 0
- Pistol backfield alignment disguises run direction, so HB Counter, Strong Power, and Pin Pull Sweep hit with pulling linemen before second-level defenders can read flow, and the Read Option adds a quarterback keep that punishes crashing edge defenders
- Deep quick game menu with Y Stick, WR Screen, and HB Slip Screen gives you built-in blitz answers without audibling out of the set, keeping your tendency tree hidden
- Play-action concepts like PA Ctr Waggle and PA Read gain extra value because the Pistol run fakes look identical to your real run calls, pulling user-controlled linebackers downhill and opening intermediate windows behind them
Weaknesses
- With the tight end detached into the trips surface, only five linemen and the running back are available to protect, so nano blitzes and overload pressure off the backside edge can reach the quarterback before deep concepts like Four Verticals and Mtn Corner Strike develop
- Defenses that check Cover 3 Buzz or match coverage to the trips side can take away the flood concepts while keeping a safety over the top of the isolated X receiver, removing your easiest reads
- Runs toward the trips side lack an attached tight end at the point of attack, so HB Stretch and Strong Power into the surface can get stuffed by an edge setter or a user who crashes the C gap
- Skilled users who sit in the hook zone over the trips side can jump Y Stick and Curls, especially if you repeatedly throw to the same option route on third down
- The Read Option depends on a mobile quarterback, and with a slow pocket passer the keep option becomes a liability that lets defenders play the running back aggressively
Usage Tips
Before the snap, count the safeties and check leverage on the backside X: against single-high with press on the isolated receiver, hot route a fade or slant, or audible to PA Comebacks for an easy man beater
On 3rd and short to medium, call Y Stick or Curls and watch the flat defender; if he widens with the outside receiver, hit the Y on the stick, and if he sinks, throw the flat immediately
Pair Strong Power or HB Counter early in drives with PA Ctr Waggle or PA Read later so the identical Pistol run look pulls user linebackers downhill and opens the intermediate crossers
When the defense shows a heavy blitz look with defenders creeping into the A gaps, audible to HB Slip Screen, Mtn HB Slip Screen, or WR Screen to punish the pressure, or slide protection and block the running back to buy time on Smash
In the red zone, use Smash or Y Trail against Cover 2 and Cover 4, and hot route the backside X to a slant against man; the trips spacing condenses well inside the 20 and forces tough coverage checks
Plays (22)
 CurlsCurl, Pass Play, Block and Release +2
 Four VerticalsFour Verts, Pass Play, Cover 2 Beater +7
 HB CounterCounter, Run Play, Power Run
 HB DiveDive, Run Play
 HB DrawDraw, Run Play
 HB SlamDive, Run Play
 HB Slip ScreenScreen Pass, Hb Screen, Pass Play +4
 HB StretchOutside Zone, Run Play, Zone Run
 HB Zone WkInside Zone, Run Play, Zone Run
 Mtn Corner StrikeCorner, Motion, Pass Play +3
 Mtn HB DrawDraw, Motion, Run Play
 Mtn HB Slip ScreenScreen Pass, Hb Screen, Motion +5
 PA ComebacksPlay Action, Pass Play, Comeback +3
 PA Ctr WagglePlay Action, Pass Play, Block and Release +3
 PA ReadPlay Action, Pass Play, Post +3
 Pin Pull SweepSweep, Pin And Pull, Run Play +1
 Read OptionRead Option, Run Play
 SmashSmash, Pass Play, Cover 2 Beater +5
 Strong PowerPower, Run Play, Power Run
 WR ScreenScreen Pass, Wr Screen, Pass Play +2
 Y StickStick, Stick Concept, Pass Play +3
 Y TrailTrail, Pass Play, Block and Release +3