Playbooks

At a Glance
Overview
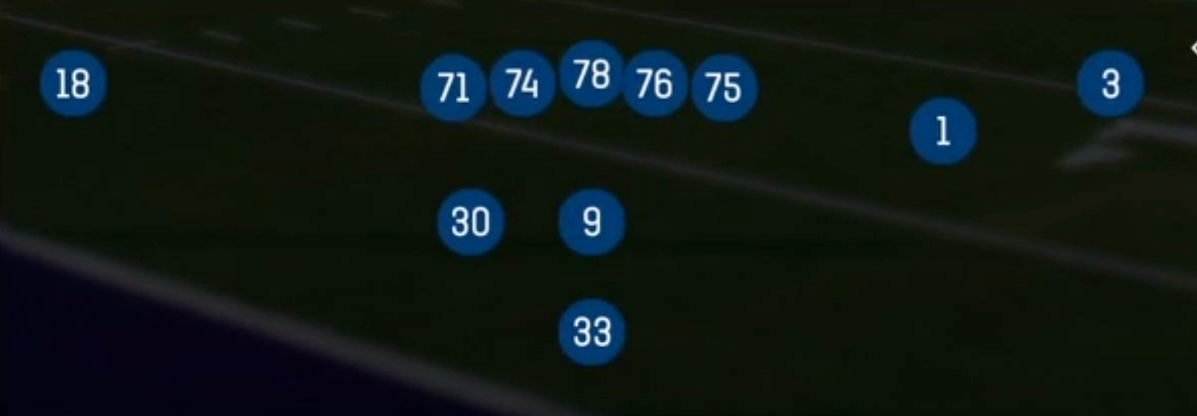
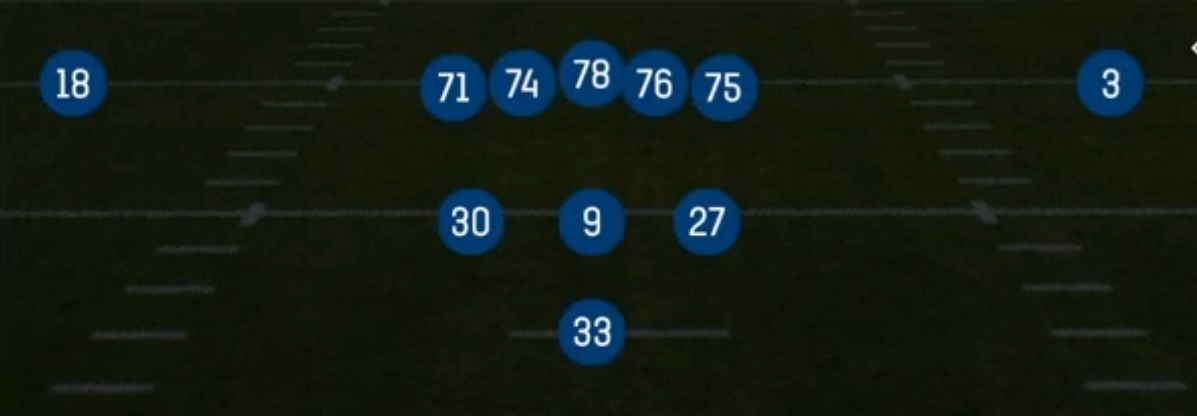
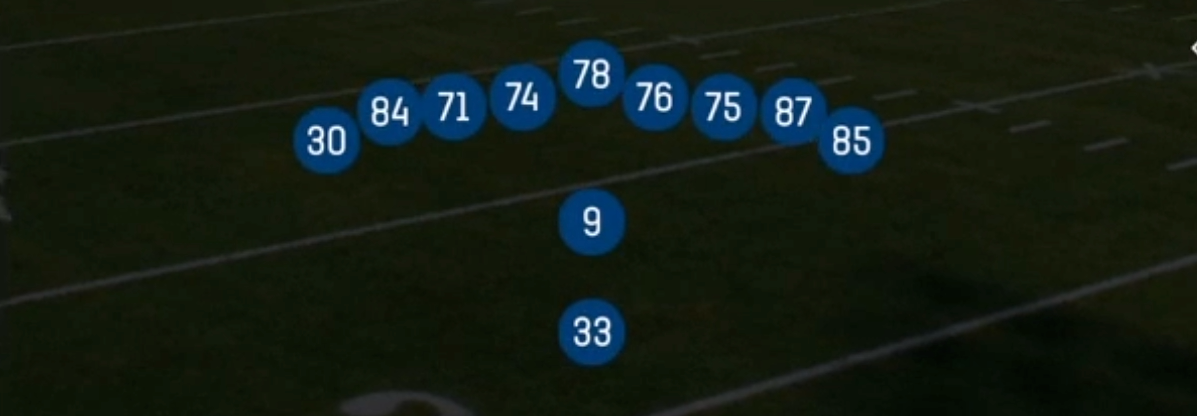
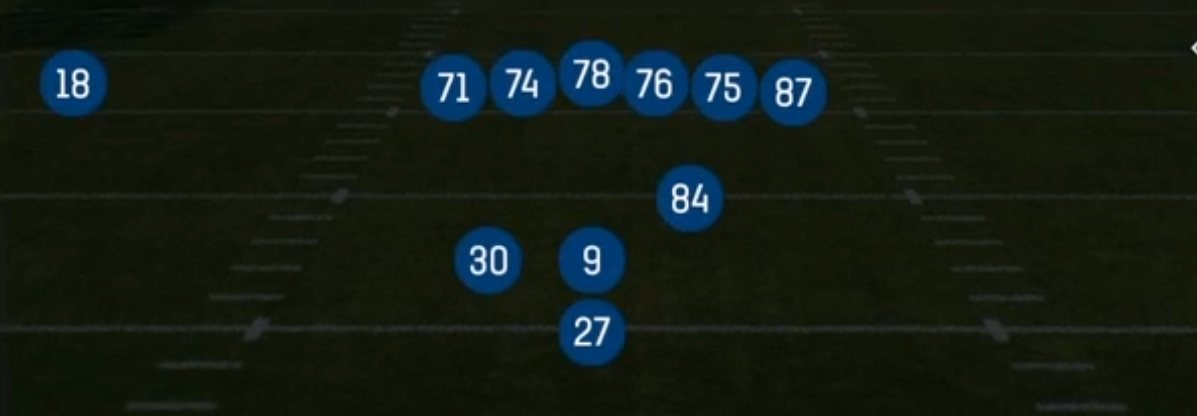
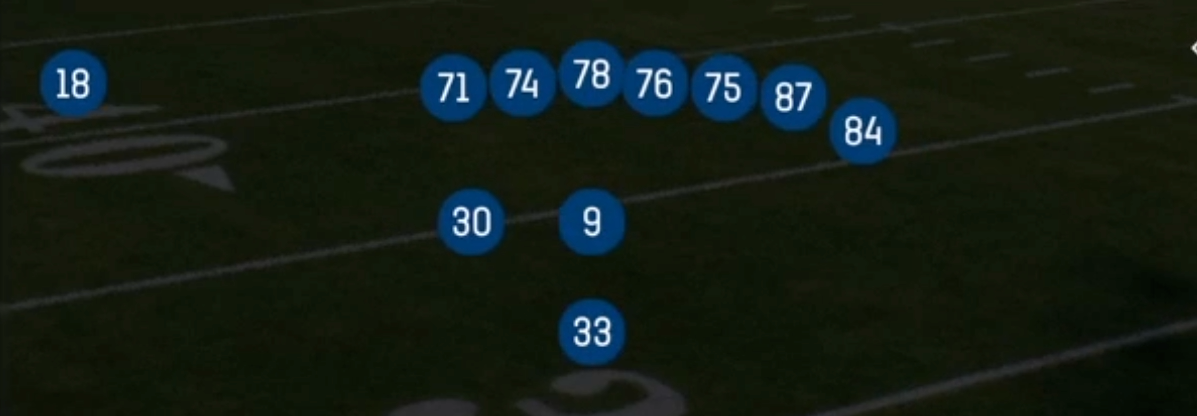
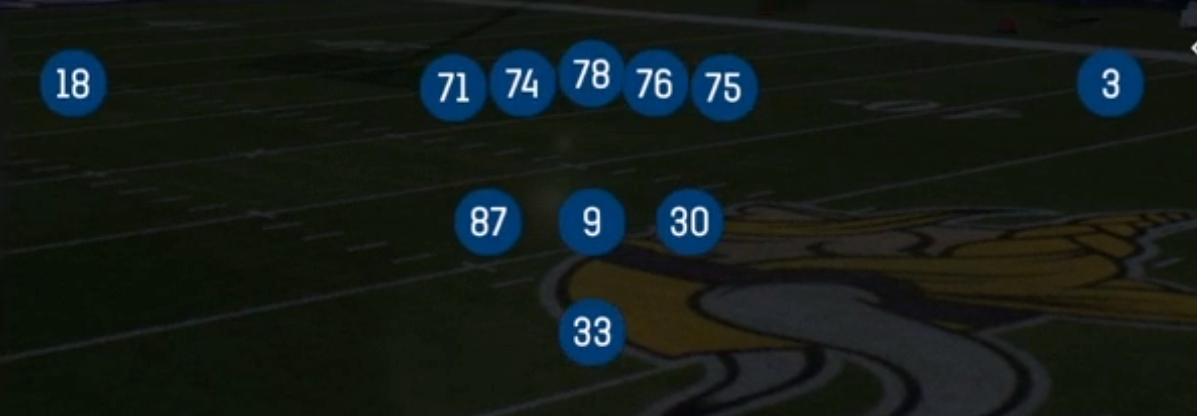
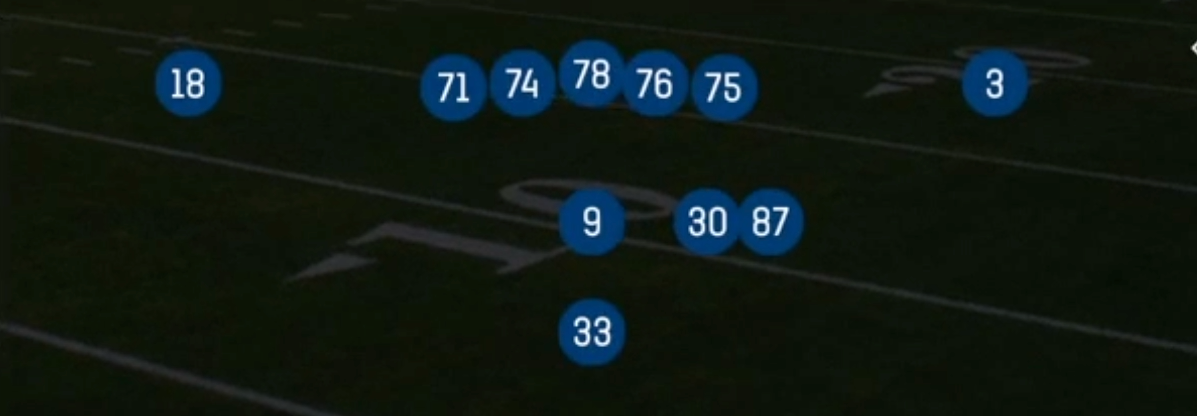
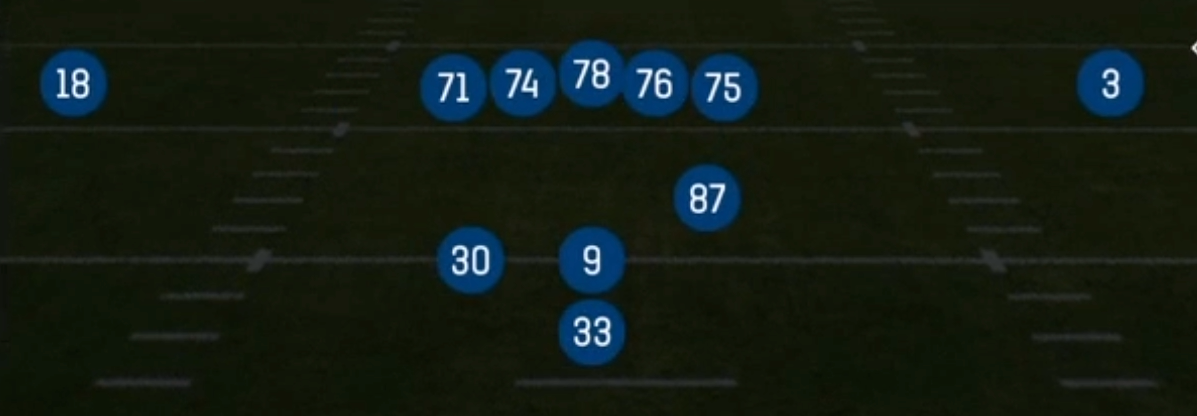
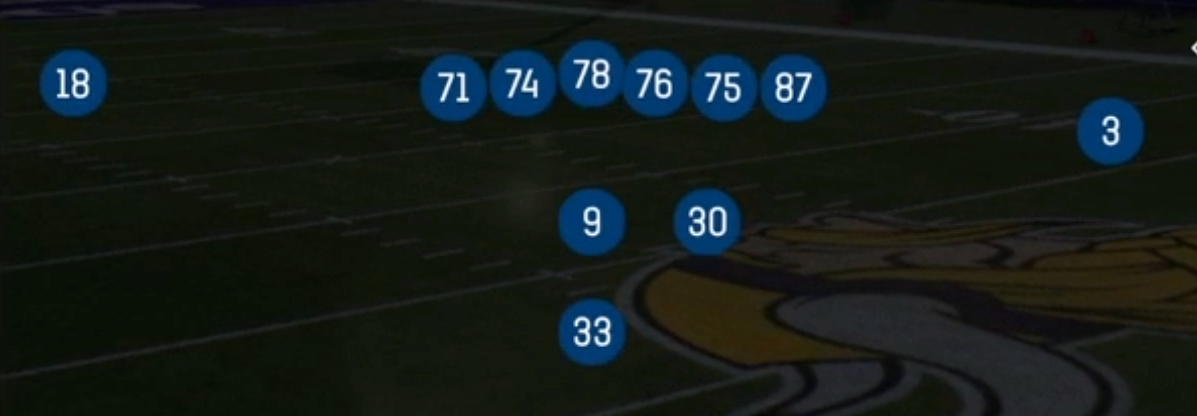
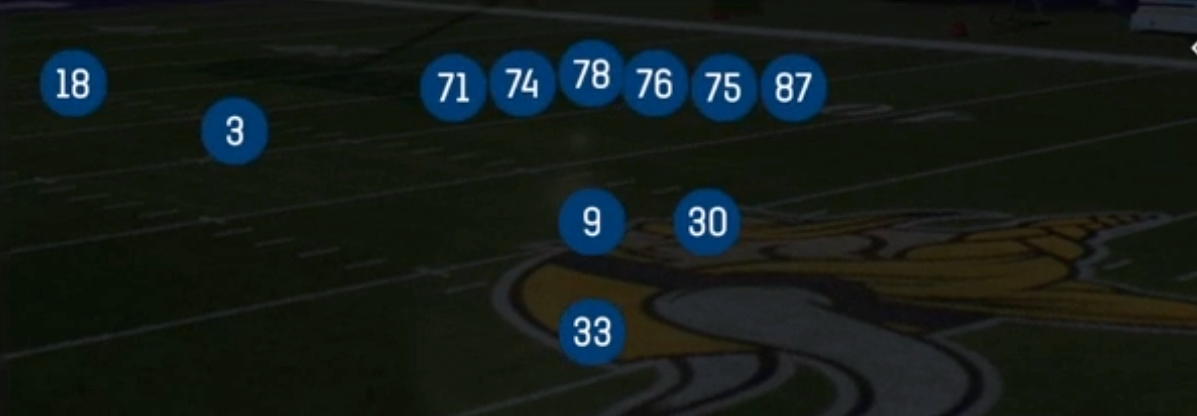
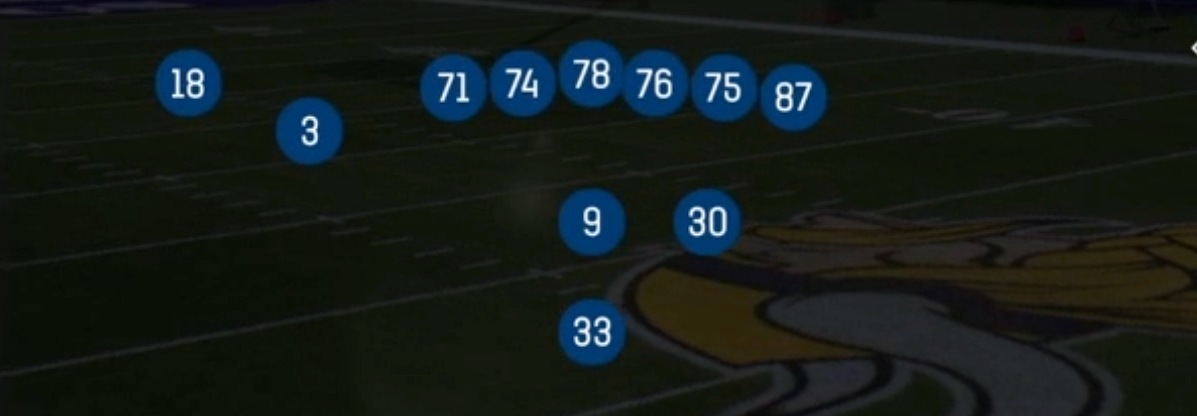
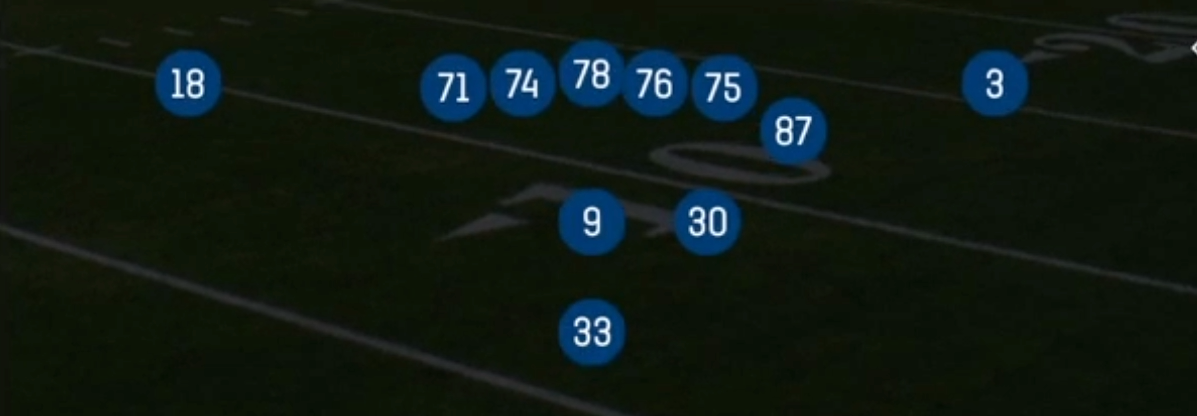
Strong Slot Open is the Pistol's spread option look in 20 personnel: two running backs, no tight end, and three wide receivers. Two receivers stack to the strong side as a split end and slot, a lone receiver works the backside, and the FB aligns offset beside the QB while the HB sits at depth directly behind him. Heavier Pistol sets rely on an attached tight end. This set has no inline blocker, so it spreads the defense horizontally and still keeps two real run threats in the backfield. That combination is why it carries the Gadget and SLWR tags. The slot receiver is the focal point of the passing game, and the backfield can run downhill, run option, or leak into routes.
The personnel creates two main matchup problems. With no tight end on the field, defenses usually answer 20 personnel with nickel or dime, which puts lighter bodies in the box against FB Belly, Inside Zone Split, and F Lead Read Option. If the defense stays in base to handle the two backs, the slot receiver draws a linebacker or safety on concepts like Y Cross, China Y Corner, and Mid Slants. The FB is also a legitimate receiving threat on FB Cross Screen and as a checkdown on Flat Combo, which forces defenders to respect him on every snap.
The play list covers every layer of a modern spread option attack. Quick game includes Scat, Shakes, and Mesh. Alert RPOs include Stretch Alert X Lookie and Zone Alert Bubble. Orbit motion supplies misdirection through Orbit PA Wheel, Orbit HB Off Tackle, and Orbit Triple Option. Play action shots come from PA Flood and PA Slide. You can build a full game plan from this one set, and because the formation looks identical on runs, options, and passes, opponents get almost nothing to key on pre snap.
Strengths
- Light box advantage: 20 personnel pulls nickel and dime onto the field, and FB Belly, HB Dive, and Inside Zone Split punish six man boxes with a lead blocker nobody accounted for.
- Orbit motion creates real misdirection. Orbit Triple Option, Orbit HB Off Tackle, and Orbit PA Wheel all start with the same look, so defenders who flow with the motion open cutback lanes or leave the wheel uncovered against Cover 3 and Cover 1.
- The alert RPOs build in automatic answers. Zone Alert Bubble and Stretch Alert X Lookie let you throw the bubble or the backside glance when the defense overplays the run, or hand off into a light box, which is excellent against zero and cover 1 blitz looks.
- Strong side slot isolation. Y Cross, China Y Corner, and Mid Slants target the SLWR against linebackers and safeties, and Mesh and Mesh Dig give you elite man beaters with natural rubs from the two receiver side.
- The screen game has both backs available. HB Slip Screen and FB Cross Screen slow down heavy pass rush and nano blitzes because the backfield already has two bodies set to leak out.
Weaknesses
- There is no tight end for pass protection. Overload and edge pressure from the three receiver side can beat the RB and FB pickups, especially against Cover 0 blitzes that send more rushers than you can protect.
- The perimeter run game is limited. With no attached blocker, HB Zone and stretch actions struggle against a defense that keeps a linebacker or safety walked down on the edge, and a user controlled force defender can crush outside runs.
- A disciplined user lurking the middle hurts the core concepts. Mesh, Mesh Dig, Y Cross, and Mid Slants all attack the hook and curl zones, and a user sitting in the middle hole can undercut crossers and force turnovers.
- The backside is thin. Only one receiver lines up weak side, so bracket coverage or a cloud rotation toward the lone X takes away half the field on alert and option plays.
- The option reads create turnover risk. The Orbit Triple Option and F Lead Read Option can be spilled by scrape exchanges and user controlled contain defenders, which leads to tackles for loss and forced pitches in traffic.
Usage Tips
Count the box before every snap. With six or fewer defenders in the box, stay on FB Belly, Inside Zone Split, or HB Dive. With seven or more, audible to Zone Alert Bubble or Scat to throw to numbers on the perimeter.
Against man coverage and Cover 1 on third and medium, call Mesh or Mesh Dig and hot route the backside receiver to a slant so you have a quick man beater if the rubs get jammed.
Use Orbit motion as your tendency breaker. Run Orbit HB Off Tackle two or three times, then call Orbit PA Wheel against Cover 3 on early downs, when linebackers are keyed on the run fit.
When you read a Cover 2 shell, go to PA Flood or China Y Corner. The corner route from the slot attacks the hole between the flat defender and the half field safety, and the backside dig controls the safety.
If the defense brings nano blitz pressure off the slot side, check to HB Slip Screen or FB Cross Screen. You can also block the FB with a hot route on Y Cross to buy time for the deep crosser against aggressive man blitzes.
Plays (25)
 China Y CornerCorner, Pass Play, Curl +2
 FB BellyRun Play, Power Run, Power +2
 FB Cross ScreenScreen Pass, Pass Play, Crosser +2
 Flat ComboFlat, Pass Play, Curl +1
 F Lead Read OptionRead Option, Run Play
 HB DiveDive, Run Play
 HB DrawDraw, Run Play
 HB Slip ScreenScreen Pass, Hb Screen, Pass Play +4
 HB ZoneInside Zone, Run Play, Zone Run
 Inside Zone SplitInside Zone, Run Play, Zone Run
 MeshMesh, Pass Play, Man Beater +4
 Mesh DigDig, Mesh, Pass Play +5
 Mid SlantsSlant, Pass Play, Flat
 Mtn SpotSpot, Motion, Pass Play +4
 Orbit HB Off TackleMotion, Off Tackle, Run Play
 Orbit PA WheelPlay Action, Wheel, Motion +4
 Orbit Triple OptionTriple Option, Motion, Run Play
 PA FloodPlay Action, Flood, Pass Play +5
 PA SlidePlay Action, Slide, Pass Play +4
 ScatScat, Pass Play, Hitch +2
 ShakesPass Play, Quick Pass, Slant Flat +6
 Stretch Alert X LookieOutside Zone, Run Play, Zone Run +2
 UnderPass Play, Corner, Go +5
 Y CrossY Cross, Pass Play, Crosser +4
 Zone Alert BubblePass Play, Bubble Screen, Screen Pass +4