Playbooks

At a Glance
In 2 playbooks
Overview
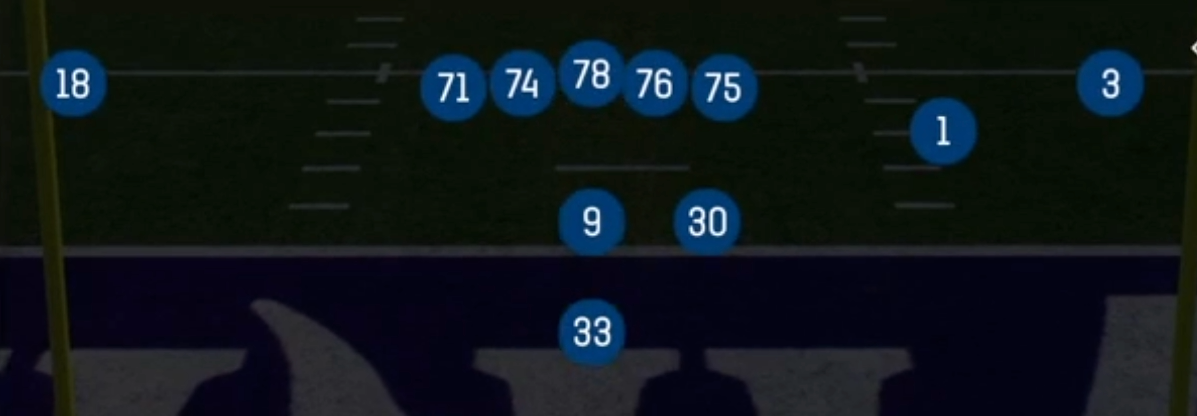
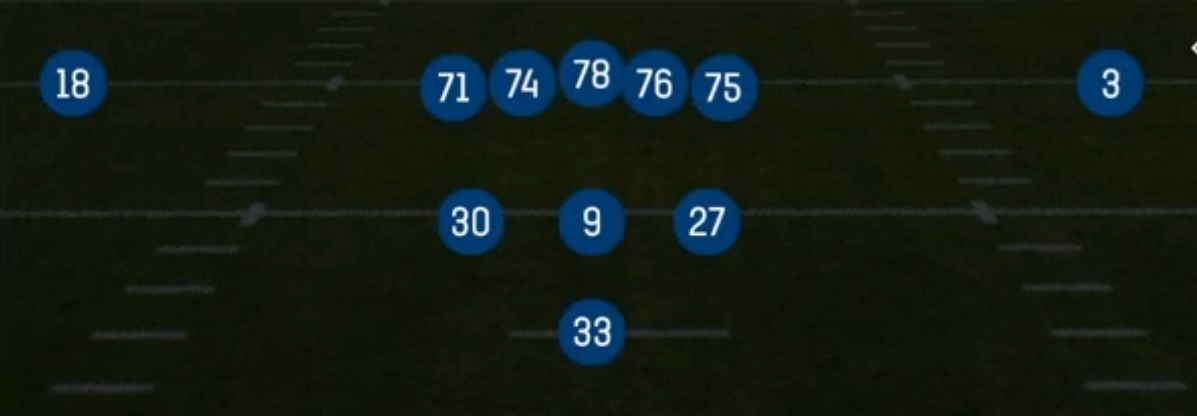
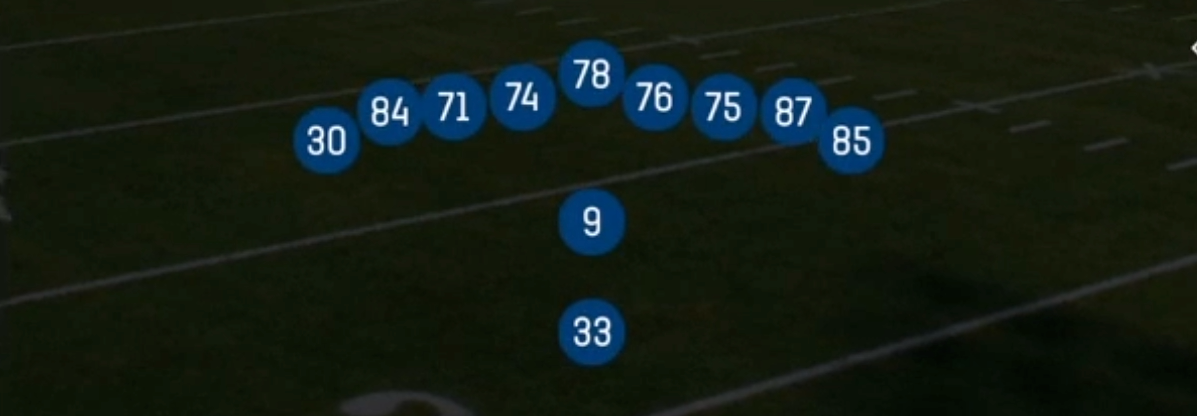
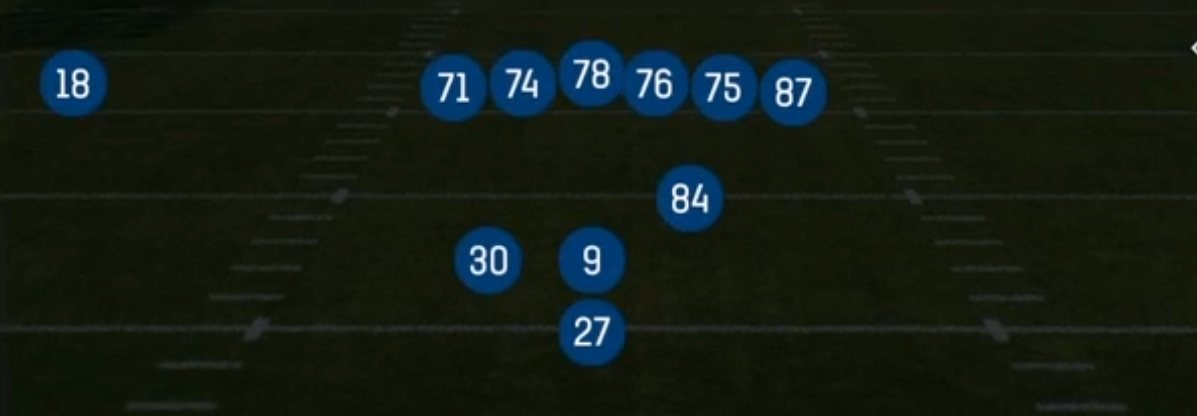
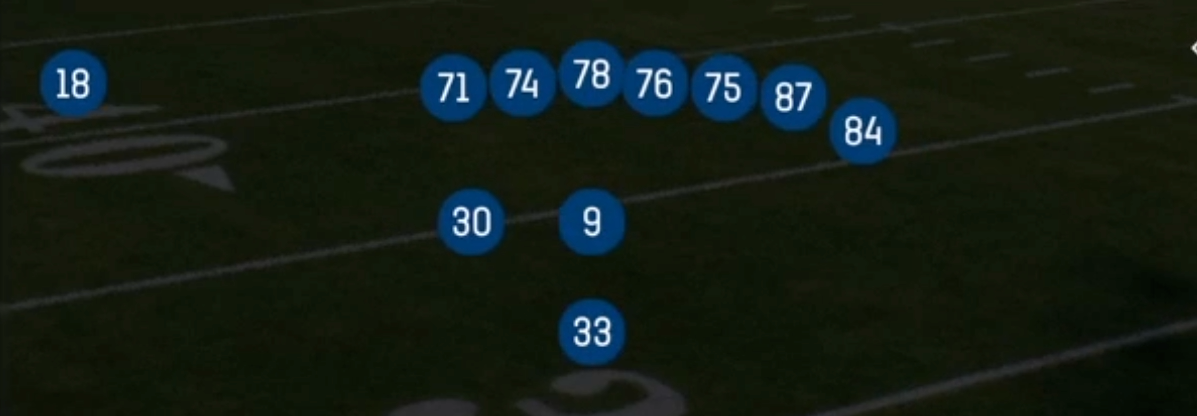
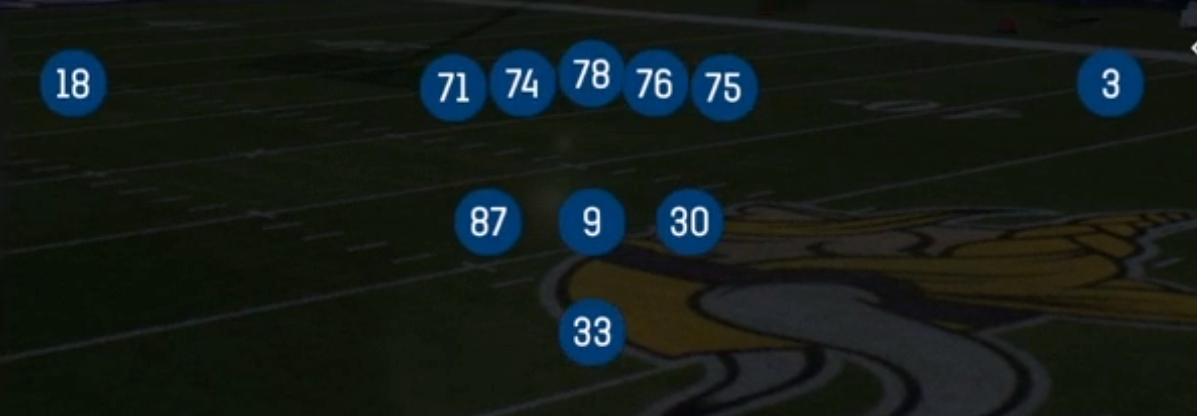
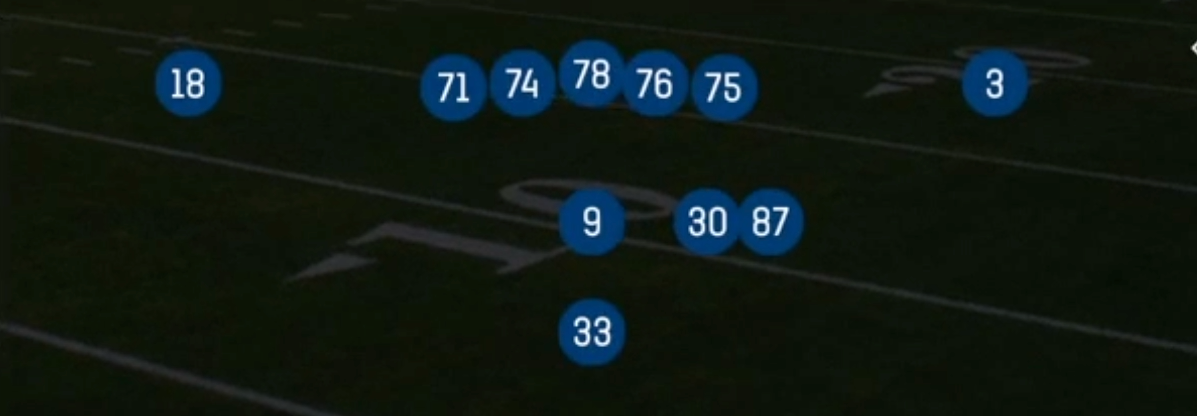
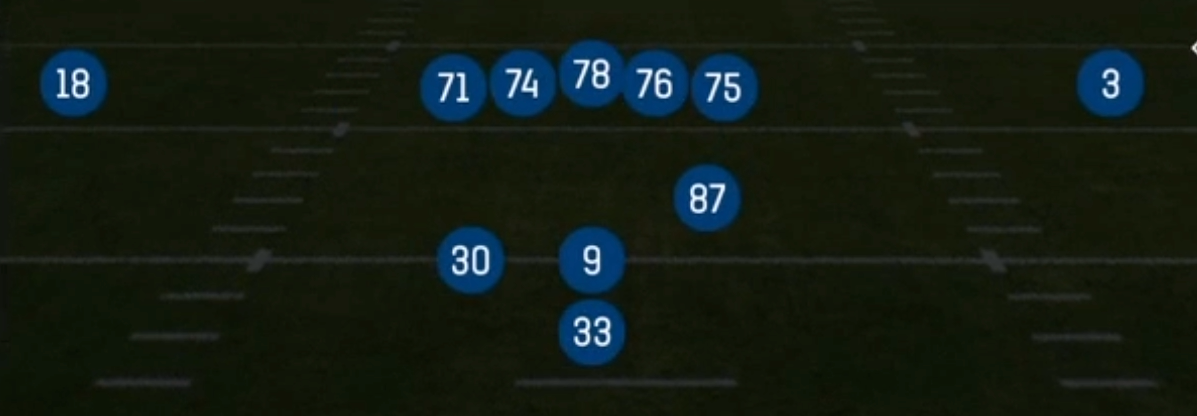
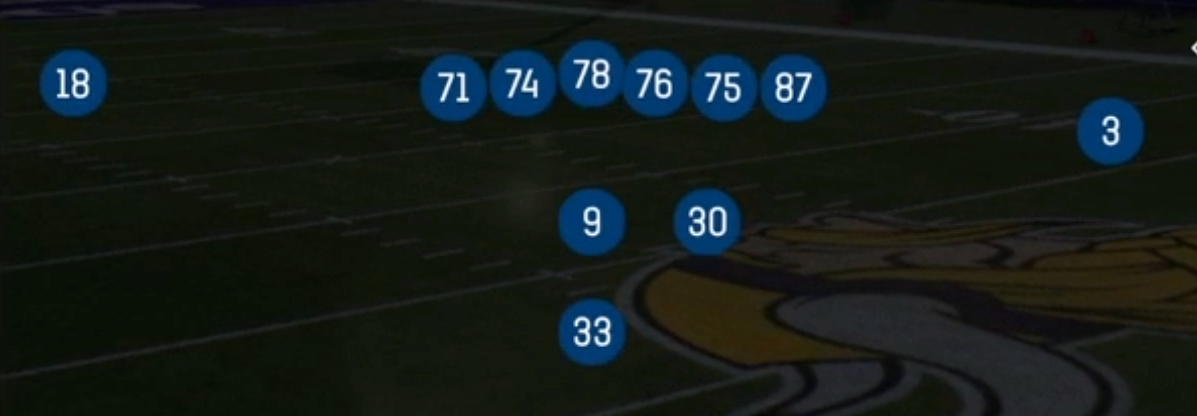
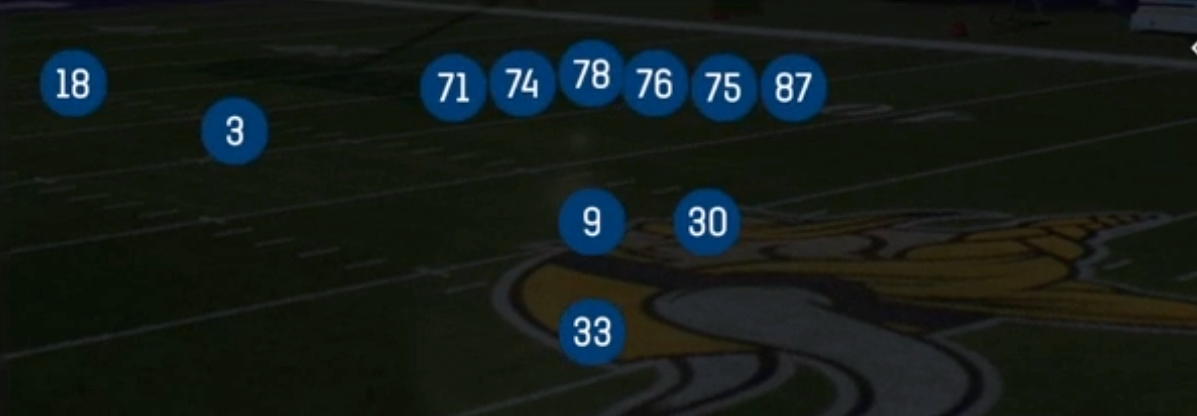
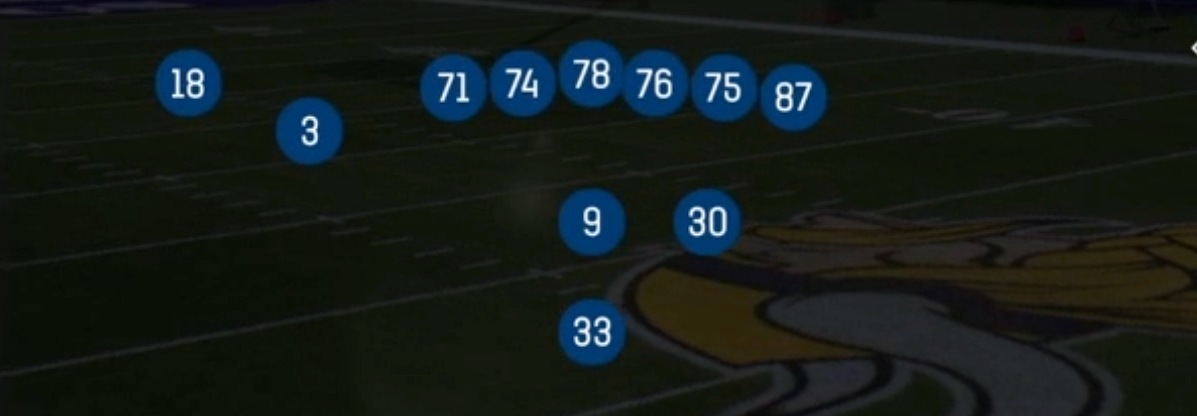
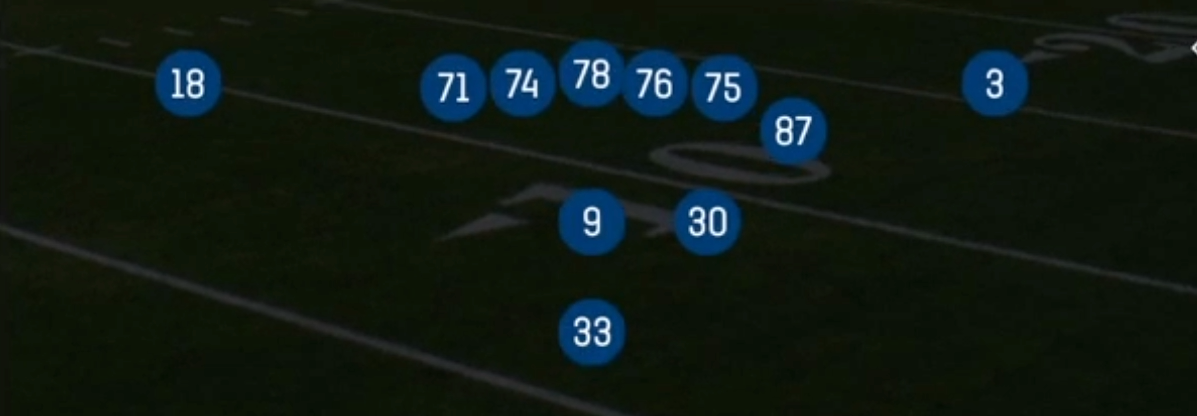
Weak Slot Open is a 20 personnel look inside the Pistol formation: two running backs, three wide receivers, and no tight end. Instead of stacking a fullback or second back in the backfield, the set moves that extra back out wide and pairs him in the slot on the weak side of the formation. That is the Gadget element. The quarterback still sits in the short Pistol alignment with the primary HB directly behind him, so you keep the downhill run threat and the read option mesh while showing a spread passing shell. Compared to heavier Pistol sets, Weak Slot Open empties the box, forces defenses into nickel or dime personnel, and gives you a true multi-threat skill player lined up where linebackers and safeties usually have to account for him.
The real value comes from how that slot back creates mismatches. Defenses that stay in base to respect the run leave a linebacker in man coverage on a satellite HB, which is a free win on Z Under, Shallow Cross, and Slants. Defenses that sub in a nickel corner to match the receiver count are now light against Inside Zone Split, HB Dive, and Lead Read Option. The jet motion package (Jet Touch Pass, Jet Pass Fk Zone, Zone Fake Jet) uses that slot player as a perimeter speed threat, so linebackers and the weak side edge have to widen before the snap. That opens interior run lanes and play-action windows.
Conceptually, the set covers almost every modern spread offense tool in one playbook page: RPO style alert tags (Zone Alert Smoke, Zone Alert Bubble, Counter Alert Smoke), quick game (Slants, Mtn Y Stick), intermediate crossers (Y Cross, Shallow Cross), flood and boot concepts (Mtn Flood, PA Boot Slide), and shot plays (Corner Strike, PA Short Post, Deep Curls). Because the run and pass looks start from the same alignment, you can build a tendency breaking gameplan where every play complements another and the defense cannot key the formation.
Strengths
- Jet motion from the weak slot forces defenders to widen pre-snap, and Jet Touch Pass, Jet Pass Fk Zone, and Zone Fake Jet let you tag the same look as a perimeter sweep, a play-action shot, or an inside zone cutback, so users lose their read on the motion man.
- The alert packages (Zone Alert Smoke, Zone Alert Bubble, Counter Alert Smoke) punish loaded boxes: if the defense walks a safety down or sits a linebacker over the slot, you throw the smoke or bubble into instant leverage, and if they stay soft you hand it off into a light box.
- The satellite HB in the slot is a built-in man beater against base defense, because Z Under, Mtn Z Under, and Shallow Cross put a running back on a linebacker in space where the play art naturally rubs through traffic.
- Zone beaters are well represented: Mtn Flood and PA Boot Slide stretch Cover 3 and Cover 4 horizontally with high, middle, and low levels, while Y Cross and Deep Curls attack the seams and curl windows behind hook defenders.
- The Pistol alignment keeps downhill run fits intact out of an empty looking shell, so Inside Zone Split, HB Dive, HB Draw, and Lead Read Option all hit hard against nickel and dime personnel brought in to match the receiver count.
Weaknesses
- No tight end and a back split out wide means you only have five linemen plus one back to protect, so nano blitzes and overload pressure off the edge can get home before the deeper concepts like Corner Strike and Deep Curls develop.
- A user-controlled linebacker or safety who sits in the middle hook zone can erase Y Cross, Shallow Cross, and Z Under, since most of the intermediate pass game in this set crosses the same window.
- The second back is usually slower and a worse route runner than a true slot WR, so against man coverage with a quality nickel corner the weak slot matchup flips in the defense's favor.
- Cover 2 man and 2 man under shells with a spy take away both the read option keeper and the underneath crossers, forcing you to beat press on the outside with quick game only.
- The jet motion and alert tags can become a tell if overused, and opponents who recognize the motion can shade their user defender toward the flat or crash the edge to blow up the sweep and bubble looks.
Usage Tips
Before the snap, read the defensive personnel: if they stay in base with a linebacker over the weak slot, go to Z Under, Mtn Z Under, or Slants to isolate the HB in man, and if they sub in nickel or dime, check to Inside Zone Split or HB Dive to attack the light box.
On early downs, pair Zone Fake Jet with Jet Touch Pass and Jet Pass Fk Zone so the same motion produces a run, a perimeter touch, and a play-action shot, and film study users cannot key on the motion man.
Against Cover 3 on second and medium, run Mtn Flood or PA Boot Slide and hot route the backside receiver to a drag so you have a late throwback option if the flat defender jumps the out.
When you see a single high safety with pressure indicators on third and short, audible to Slants or Mtn Y Stick and slide protection toward the blitz side, keeping the back in to chip if you need extra time.
Save Corner Strike and PA Short Post for after you have established the alert smoke and inside zone runs, then take the shot when the safeties start creeping down to fit the run or jump the bubble.
Plays (22)
 Corner StrikeCorner, Pass Play, Block and Release +1
 Counter Alert SmokeCounter, Run Play, Power Run +2
 Deep CurlsCurl, Pass Play, Hook +1
 HB DiveDive, Run Play
 HB DrawDraw, Run Play
 HB StretchOutside Zone, Run Play, Zone Run
 Inside Zone SplitInside Zone, Run Play, Zone Run
 Jet Pass Fk ZoneMotion, Pass Play
 Jet Touch PassMotion, Pass Play
 Lead Read OptionRead Option, Run Play
 Mtn FloodFlood, Motion, Pass Play +5
 Mtn Y StickStick, Stick Concept, Motion +6
 Mtn Z UnderMotion, Comeback, Corner +4
 PA Boot SlidePlay Action, Slide, Pass Play +4
 PA Short PostPlay Action, Pass Play, Comeback +3
 Shallow CrossShallow Cross, Pass Play, Crosser +4
 SlantsSlant, Pass Play, Swing
 Y CrossY Cross, Pass Play, Crosser +4
 Zone Alert BubblePass Play, RPO, Bubble Screen +4
 Zone Alert SmokePass Play, Quick Pass, Bubble Screen +5
 Zone Fake JetMotion, Run Play
 Z UnderPass Play, Corner, Go +6